Bath Shower Screen Buying Guide: Choosing the Right Option
Choosing a screen can transform an existing bath into a practical showering area without relying on a curtain. This bath shower screen buying guide explains the main styles, fitting options, space requirements, installation steps, and maintenance points to consider before purchasing.
The best choice should contain splashes effectively, suit the bathroom’s design, provide comfortable access, and leave enough room for cleaning. Checking the bath, wall, fittings, and nearby plumbing before buying can also reveal issues that may need attention before installation.
Understanding Bath Shower Screens
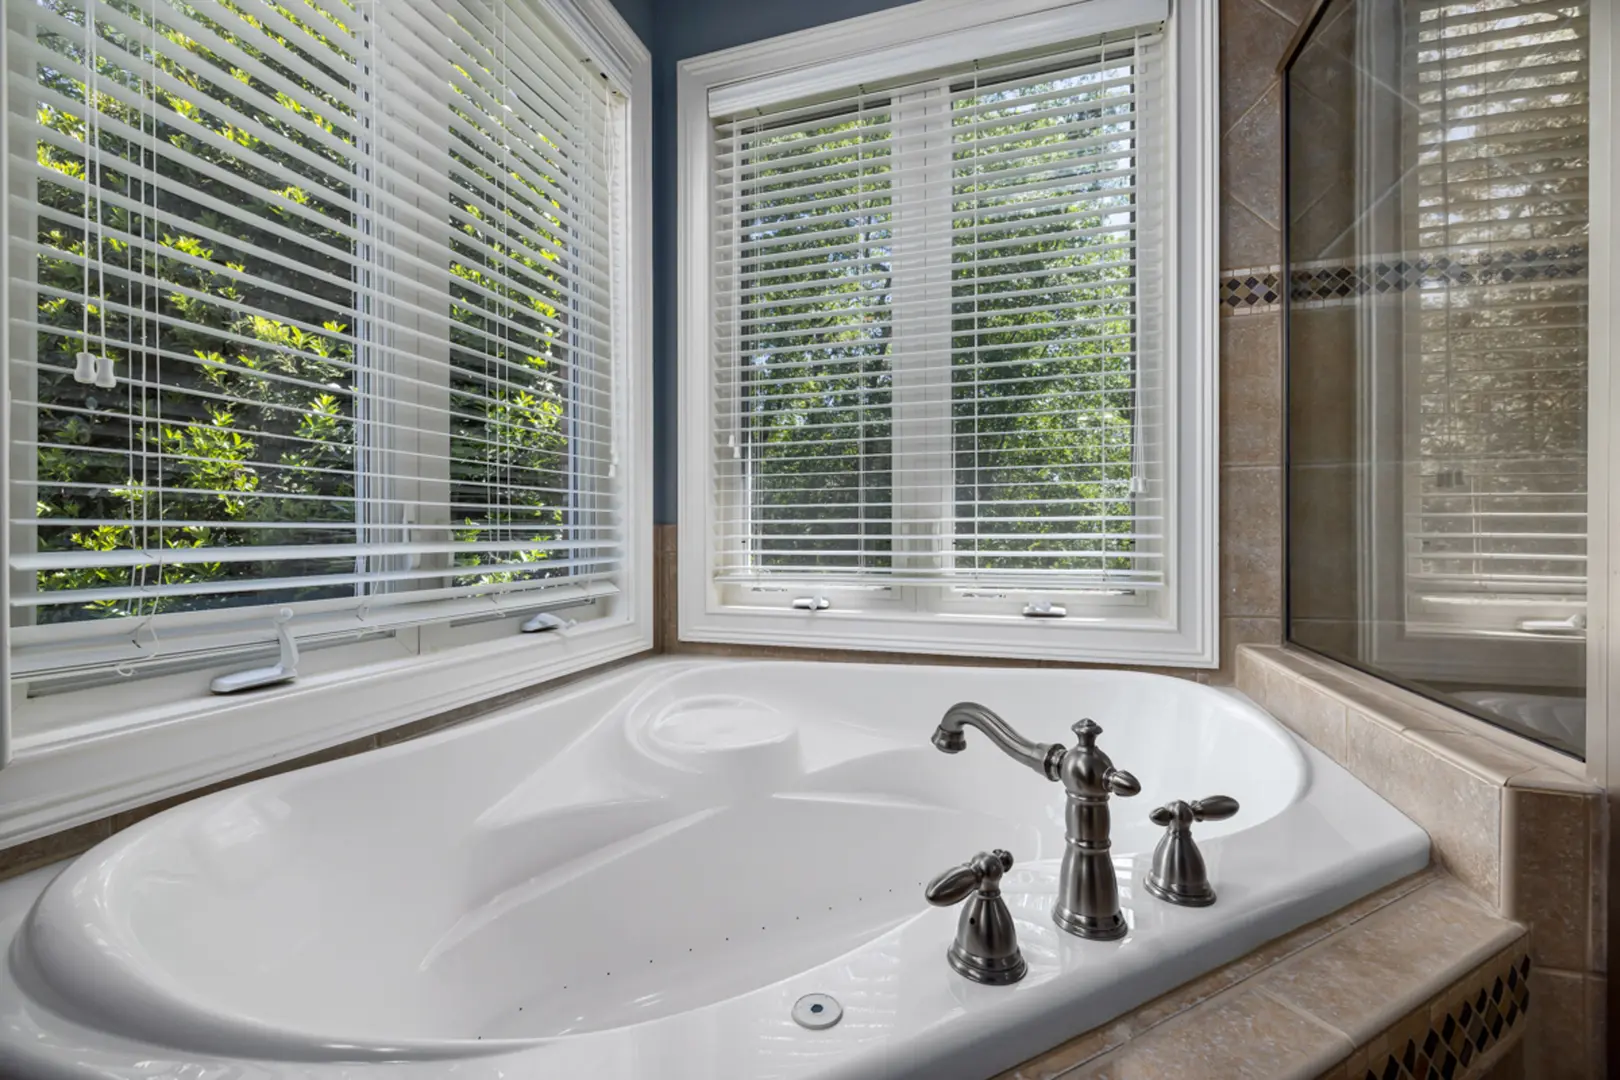
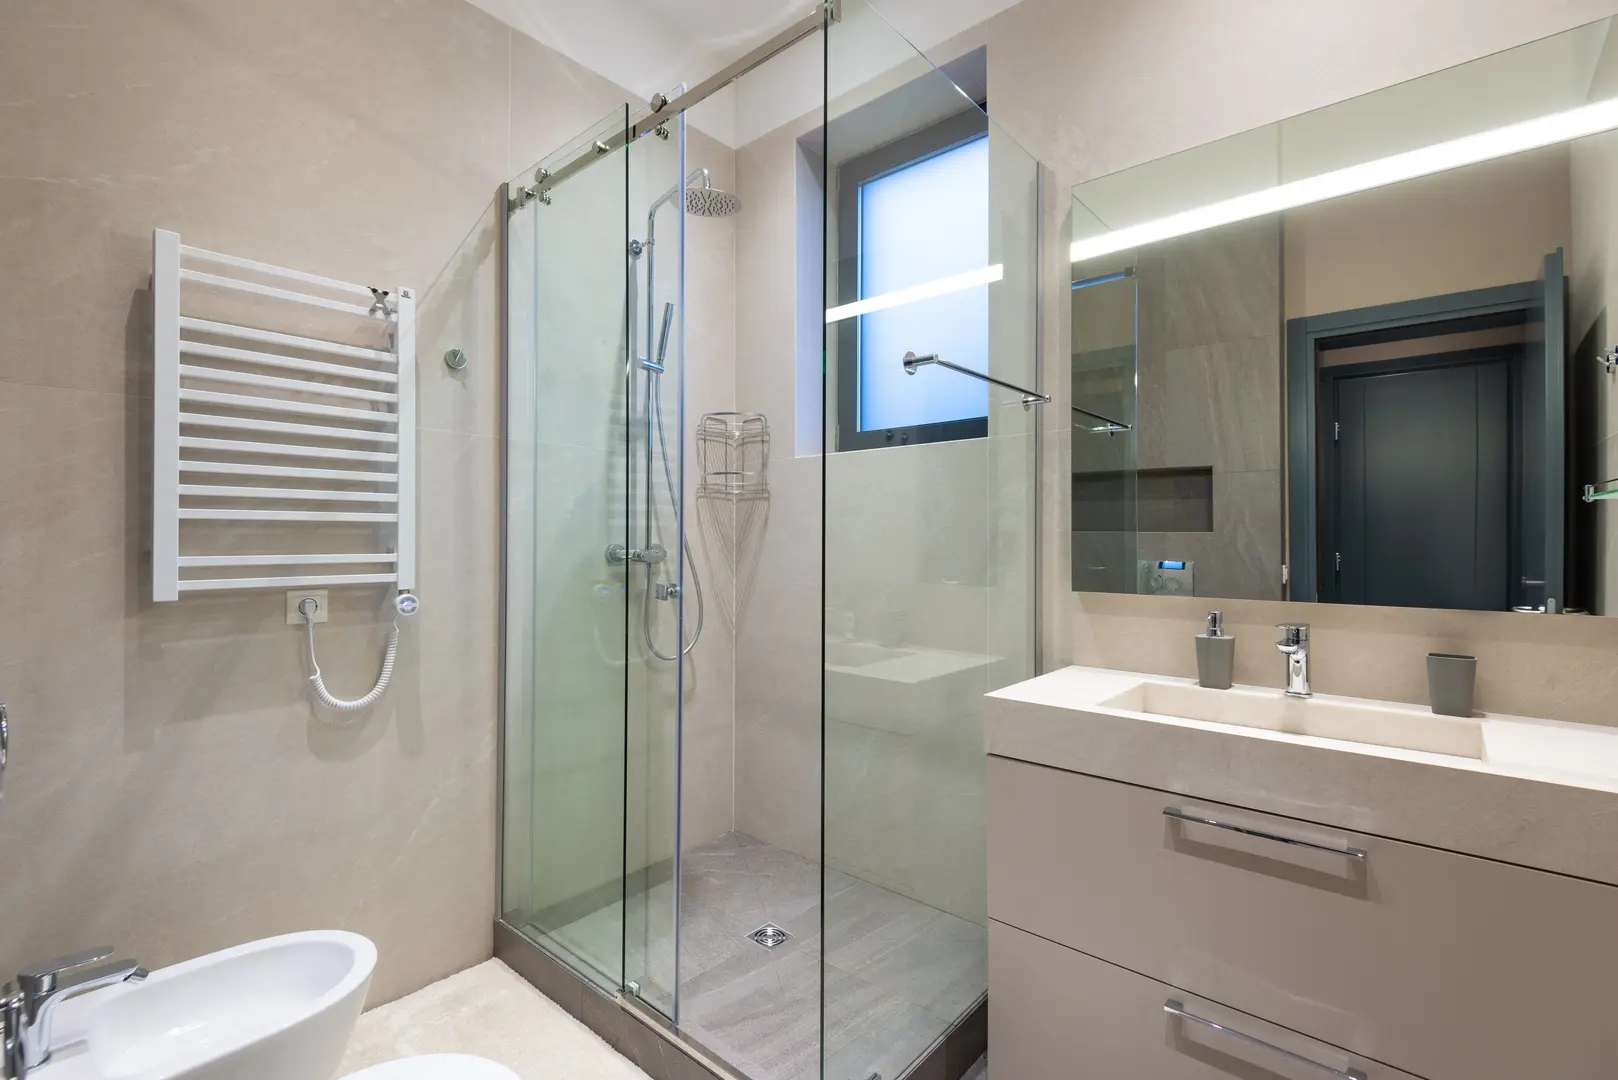
A bath shower screen is a glass panel installed along the edge of a bath to help keep shower water inside the bathing area. It provides a more structured alternative to a shower curtain and is particularly useful when adding a shower over an existing bath.
Compared with curtains, glass screens offer several practical and decorative benefits:
- Water containment: The panel creates a barrier between the showering area and the bathroom floor.
- A stylish appearance: Glass can give a bathroom a cleaner, more coordinated look.
- Straightforward cleaning: A smooth panel is generally easy to wipe down after use.
- A choice of configurations: Screens are available in fixed, hinged, folding, sliding, curved, square, and shaped designs.
- Optional built-in features: Some models incorporate useful additions such as towel rails.
Although all bath shower screens serve a similar purpose, their shapes and opening mechanisms affect access, cleaning, and the amount of space required. Consider who will use the bath, how the room is arranged, and whether the panel will need to move out of the way.
Exploring Bath Shower Screen Styles
Bath shower screens come in different forms to meet functional and decorative needs. A simple square panel may suit a streamlined room, while a curved or sail-shaped design can soften or enhance the overall scheme. Folding and sliding screens can provide more flexible entry where a fixed panel would be restrictive.
When comparing designs, look beyond appearance. Ask how the screen opens, how easily you can reach each surface for cleaning, and whether fittings such as towel rails will be useful or obstructive. The screen must also be compatible with the selected wall-mounted or bath-mounted arrangement.
Curved Screens for Softer Bathroom Lines
A curved bath shower screen has a rounded outer edge rather than a fully rectangular profile. This shape introduces softer lines, which can balance bathrooms dominated by straight-edged tiles, cabinets, and sanitaryware.
Curved screens work well when you want the practical simplicity of a single glass panel without the sharper outline of a square model. The curve is primarily a design feature, so the screen’s overall size and fitting method remain important. Check that its coverage is appropriate for the position of the shower and that it will not restrict access to taps or bath controls.
The rounded form can also coordinate with curved basins, mirrors, or shower fittings, helping the room feel visually consistent.
Folding Screens for Flexible Access
Folding bath shower screens use multiple panes that fold together. This can make the bath easier to access because the screen can be moved aside rather than remaining across the bath edge. The flexible opening makes folding designs particularly worth considering where accessibility is a priority.
Available configurations may use different numbers of panes. When choosing between them, consider:
- How compactly the panes fold
- How much clear access they provide
- Whether there is enough space to move them comfortably
- How easily each pane, edge, and connection can be cleaned
- Whether the folded screen will interfere with taps or other fittings
Multiple panes create additional joints and edges, so cleaning access deserves careful consideration. Before purchasing, picture how you will reach both sides of every section. A screen that opens conveniently but is awkward to maintain may not be the most practical long-term choice.
Square Screens for a Contemporary Look
Square screens use a standard geometric form with straight sides and defined corners. Their simple profile gives bathrooms a crisp, modern feel and works especially well with rectangular baths, straight-edged furniture, and angular fittings.
This style is a versatile option for homeowners who prefer an understated screen rather than a strongly shaped feature. Its broad glass surface also keeps the design visually straightforward.
A square screen’s simplicity does not remove the need for practical checks. Confirm that its length provides suitable splash coverage and that any hinged movement will not be blocked by a basin, cabinet, towel rail, or door. If the screen moves for cleaning or entry, there must be enough clear space around it.
Sliding Screens for Convenient Entry
Sliding screens use panels that move across one another, providing access without requiring the full outward swing of a hinged screen. This can be helpful where floor space is limited or where nearby bathroom fixtures would obstruct a swinging panel.
The sliding action may also allow the panels to be repositioned for cleaning. Check how much of the bath opening becomes accessible and whether you can comfortably reach the overlapping glass and tracks.
Moisture can collect around overlapping sections, tracks, or connections if these areas are not dried and cleaned. Include them in routine maintenance rather than wiping only the main glass surfaces. Regular inspection will also help identify worn seals or developing leaks before water reaches surrounding areas.
Sail Screens for a Bold Modern Style
A sail screen has a distinctive shaped profile, often using an angled or sweeping edge rather than a complete rectangle. Its modern outline can turn a practical shower barrier into a prominent design feature.
This style pairs naturally with contemporary fittings and can introduce visual movement into a bathroom built around simple lines. It may be a good choice when the screen is intended to contribute to the room’s character rather than blend into the background.
Because the shaped edge provides different coverage from a full square panel, assess both form and function. Consider where shower spray is most likely to travel and whether the sail design provides enough protection for the surrounding floor and furnishings.
Key Factors When Choosing a Bath Shower Screen
The right screen must suit the bathroom’s style, available space, access requirements, bath, wall, and shower position. Start by assessing the room rather than selecting a design based only on photographs.
Important points include:
- The screen’s shape and visual effect
- Its length and position on the bath
- Whether it is fixed, hinged, folding, or sliding
- The space required to open or move it
- Access for entering the bath and cleaning the glass
- Compatibility with the bath edge and adjoining wall
- The preferred wall-mounted or bath-mounted fitting solution
- Useful extras, including an integrated towel rail
Wall-mounted solutions rely on a secure connection at the adjacent wall, commonly using a channel or similar fixing arrangement. Bath-mounted elements interact directly with the bath edge and must be positioned and sealed correctly. The exact fitting requirements depend on the screen and its supplied instructions, so verify compatibility before drilling or applying sealant.
Carry out thorough checks before purchasing. Inspect the bath edge, wall surface, existing sealant, shower fittings, and nearby plumbing for visible problems. Homeowners sometimes discover plumbing issues only after committing to a bathroom project. Identifying concerns early allows them to be addressed before a new screen conceals access or is exposed to a leak.
Choosing a Screen Style to Suit the Bathroom
Screen design affects how the whole room feels. A square model reinforces straight lines and can create a clean, contemporary appearance. A curved screen softens the scheme and complements rounded fixtures. A sail screen makes a bolder statement and works well alongside modern fittings.
Use the bathroom’s existing shapes as a starting point:
- Choose square for a crisp, geometric look.
- Choose curved to introduce softer lines.
- Choose sail-shaped for a more distinctive modern feature.
- Choose folding where flexible access is a leading concern.
- Choose sliding where a swinging panel would be inconvenient.
Also consider the visibility of frames, channels, hinges, handles, and optional towel rails. These details should coordinate with nearby fittings without compromising operation. A built-in rail may be convenient, but it should remain easy to reach and should not interfere with the movement of the screen.
Avoid choosing style independently of function. A visually impressive screen will still be frustrating if it blocks controls, makes cleaning difficult, or cannot open fully.
Matching Screen Size to Space and Access Needs
Screen length influences both water containment and bath access. A longer panel can cover more of the showering area, but it may leave a smaller opening for getting in, reaching taps, or cleaning the bath. A shorter design may provide easier access but must still be suitable for the shower position.
Measure the available area and consider the screen in both its closed and open positions. In particular, check:
- The usable length of the bath edge
- The location of taps and shower controls
- The distance to basins, toilets, cabinets, and doors
- The clear area needed by a swinging screen
- The room required to unfold a multi-pane model
- The access available when sliding panels overlap
- Whether both sides of the glass can be reached for cleaning
Maneuverability matters as much as the screen’s stated dimensions. Imagine standing beside the bath with the screen open, wiping its outer surface, reaching into corners, and accessing the controls. If these movements seem restricted, consider a folding or sliding alternative.
Accessibility needs should be evaluated for everyone who regularly uses the bathroom. A screen that folds away may create a more generous opening, while a fixed panel may be simpler but less adaptable.
Steps for Installing a Bath Shower Screen
Installation generally involves checking the components, marking the fixing points, drilling, securing the wall channel, positioning the glass, and sealing the relevant edges. The screen must be stable and watertight, so follow the manufacturer’s instructions supplied with the chosen model.
Before starting, inspect the fixing area and surrounding plumbing. Existing leaks, loose fittings, damaged seals, or unstable surfaces should receive prompt attention. Installing a screen over an unresolved problem can make later repair more disruptive.
Glass panels can be heavy and require careful handling. If you are unsure whether the wall is suitable, cannot identify safe drilling positions, or are not confident about achieving a secure fit, use an appropriately qualified installer.
Tools and Materials to Prepare
The installation instructions should confirm the exact equipment required. A typical tool list includes:
- Electric drill
- Hammer
- Masking tape
- Pencil
- Sealant gun
- Spirit level
- Screwdrivers
- Tape measure
- Suitable silicone sealant
Keep all screen components, fixings, and instructions together before work begins. Do not substitute fittings without confirming that they are appropriate for the installation.
Masking tape can help protect the marking area and make pencil positions easier to see. The spirit level is essential for checking alignment before the channel and screen are fully secured.
Installing, Securing, and Sealing the Screen
Follow the supplied instructions because fixing arrangements vary between products. The general sequence is:
- Check the package. Confirm that all screen parts, seals, channels, screws, and other fittings are present. Read the instructions before drilling.
- Inspect the installation area. Check the wall, bath edge, existing sealant, and visible plumbing connections for damage or leaks.
- Measure and position the channel. Use the tape measure and spirit level to establish the correct location against the wall.
- Mark the fixing holes. Hold the wall channel in position and mark the specified screw points with a pencil. Masking tape may make the marks clearer.
- Drill the holes. Drill only after checking the positions carefully and considering any concealed plumbing or other services.
- Attach the wall channel. Fit it securely using the correct supplied or specified fixtures, checking that it remains level.
- Insert and secure the screen. Position the glass in the channel and install the required screws, seals, or supports in the order given by the manufacturer.
- Check operation. If the screen hinges, folds, or slides, move it carefully to confirm that it operates freely and does not hit nearby fixtures.
- Apply silicone sealant. Seal the specified edges to create a watertight junction. Follow the product instructions regarding placement and curing before using the shower.
- Inspect the finished installation. Check alignment, stability, fittings, and seals before regular use.
Secure fixture installation is essential. A loose channel, poorly supported screen, or incomplete seal can allow movement and leakage. Do not ignore small leaks after installation: even a minor, persistent escape of water can eventually damage surrounding materials. Investigate the source promptly rather than repeatedly wiping up the visible water.
Regular Maintenance and Inspections
Routine care helps keep the screen working properly and gives you an opportunity to catch problems early. Clean the glass, edges, hinges, folds, sliding sections, and other fittings according to the screen’s care guidance.
Inspect the following areas regularly:
- Silicone seals around the wall and bath
- Moving hinges, folds, and sliding panels
- Wall channels, screws, and other fixtures
- Overlapping sections where moisture may collect
- The bath edge and nearby wall surfaces
- The floor and surrounding areas for signs of escaping water
- Visible shower and plumbing connections
Pay attention to small changes, including loose fittings, gaps in sealant, or recurring dampness. Early checks can prevent a minor maintenance issue from developing into water damage and a more costly repair. If a screen becomes unstable or a leak cannot be traced, stop relying on temporary fixes and arrange an appropriate inspection.
A well-chosen screen should combine suitable coverage, comfortable access, straightforward cleaning, and a design that complements the bathroom. Careful selection, secure installation, and regular inspections will help it remain both practical and attractive.