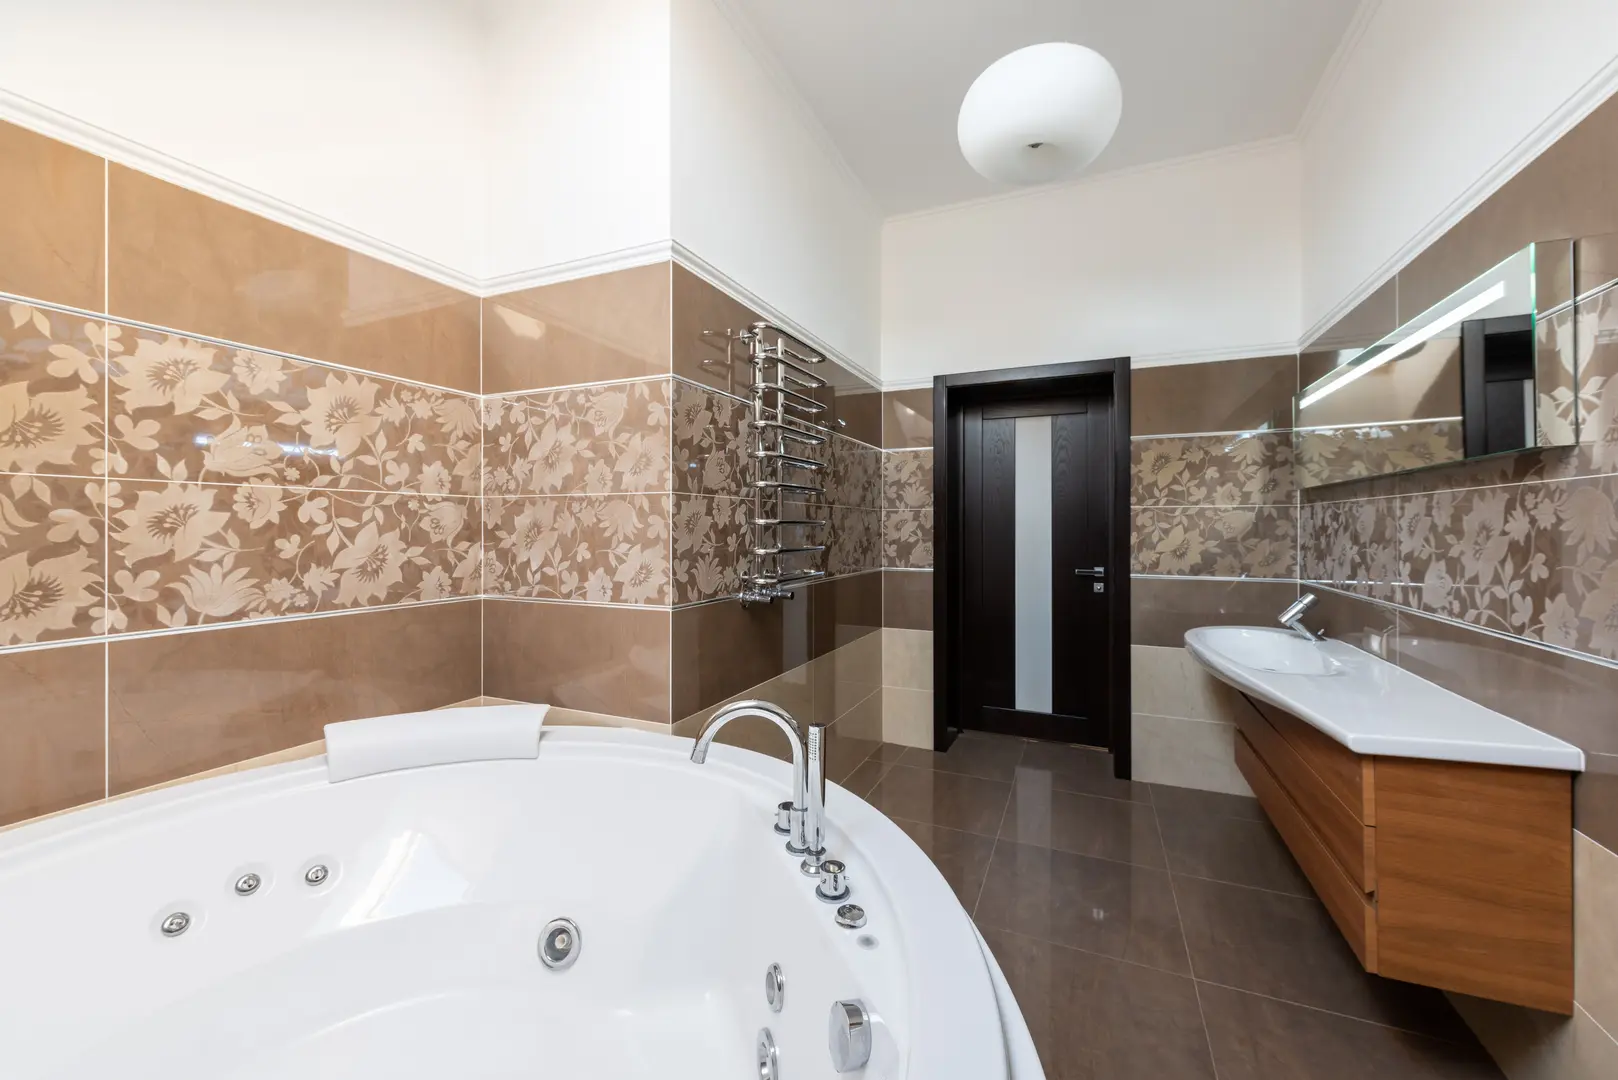
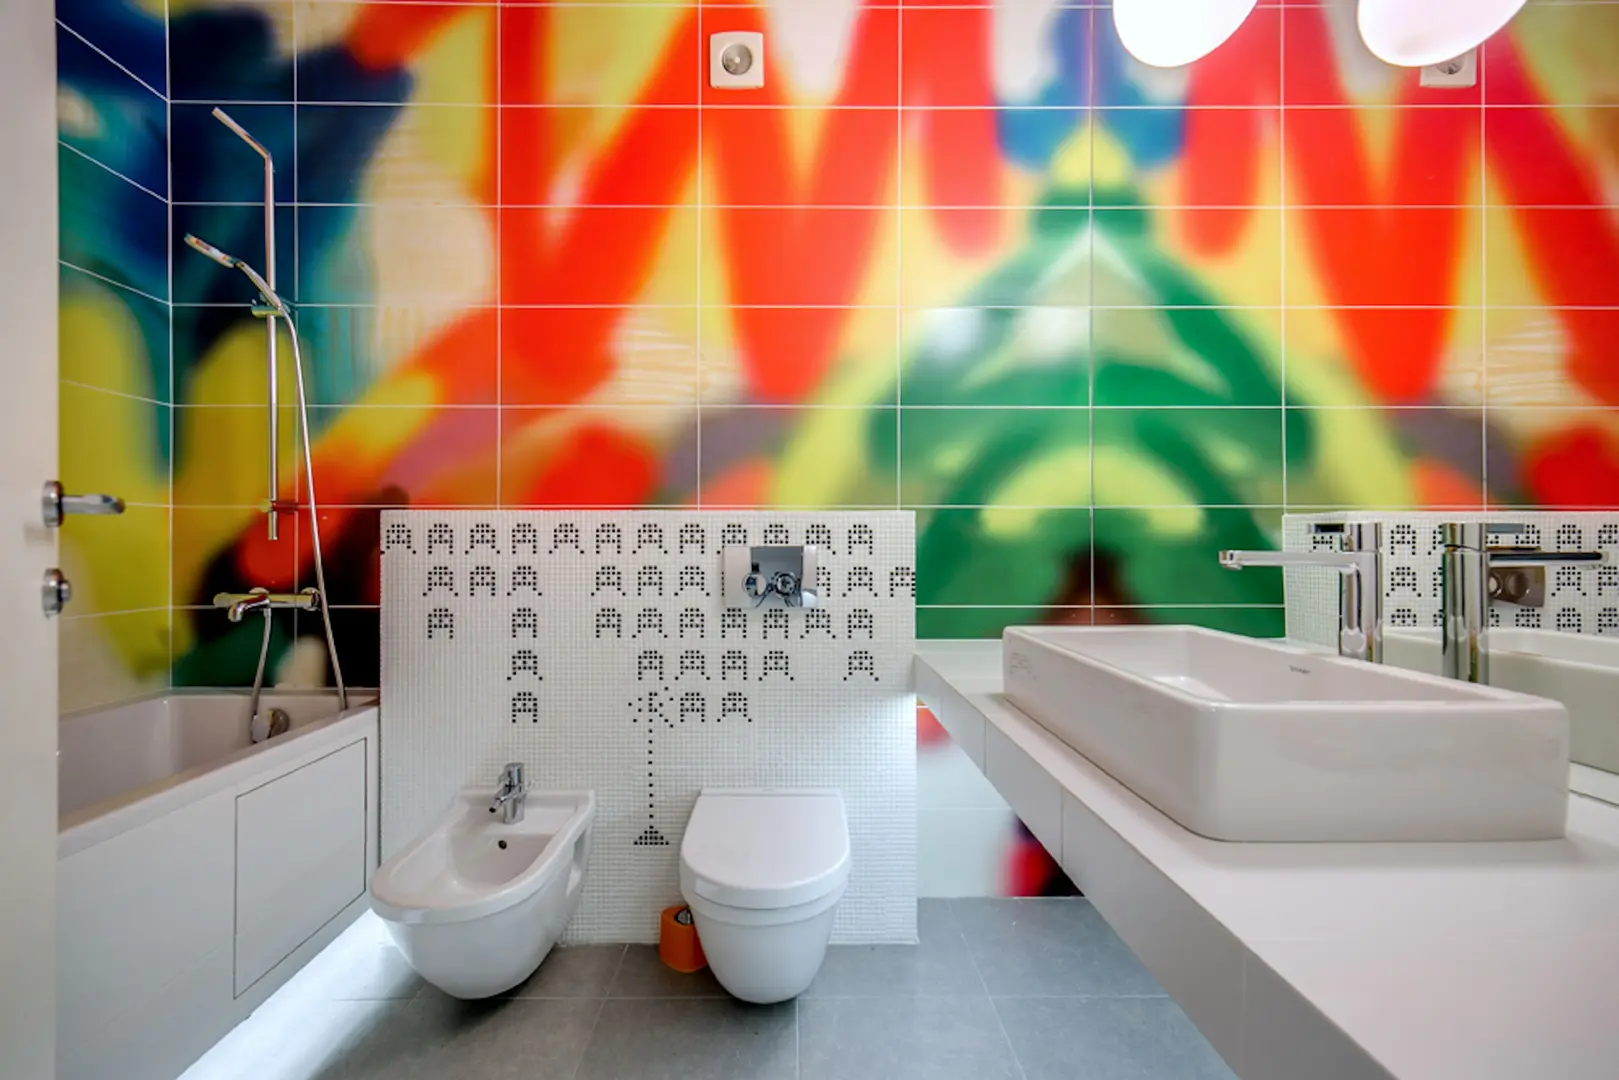
Bathroom Lighting Tips for a Safer, Better-Designed Space
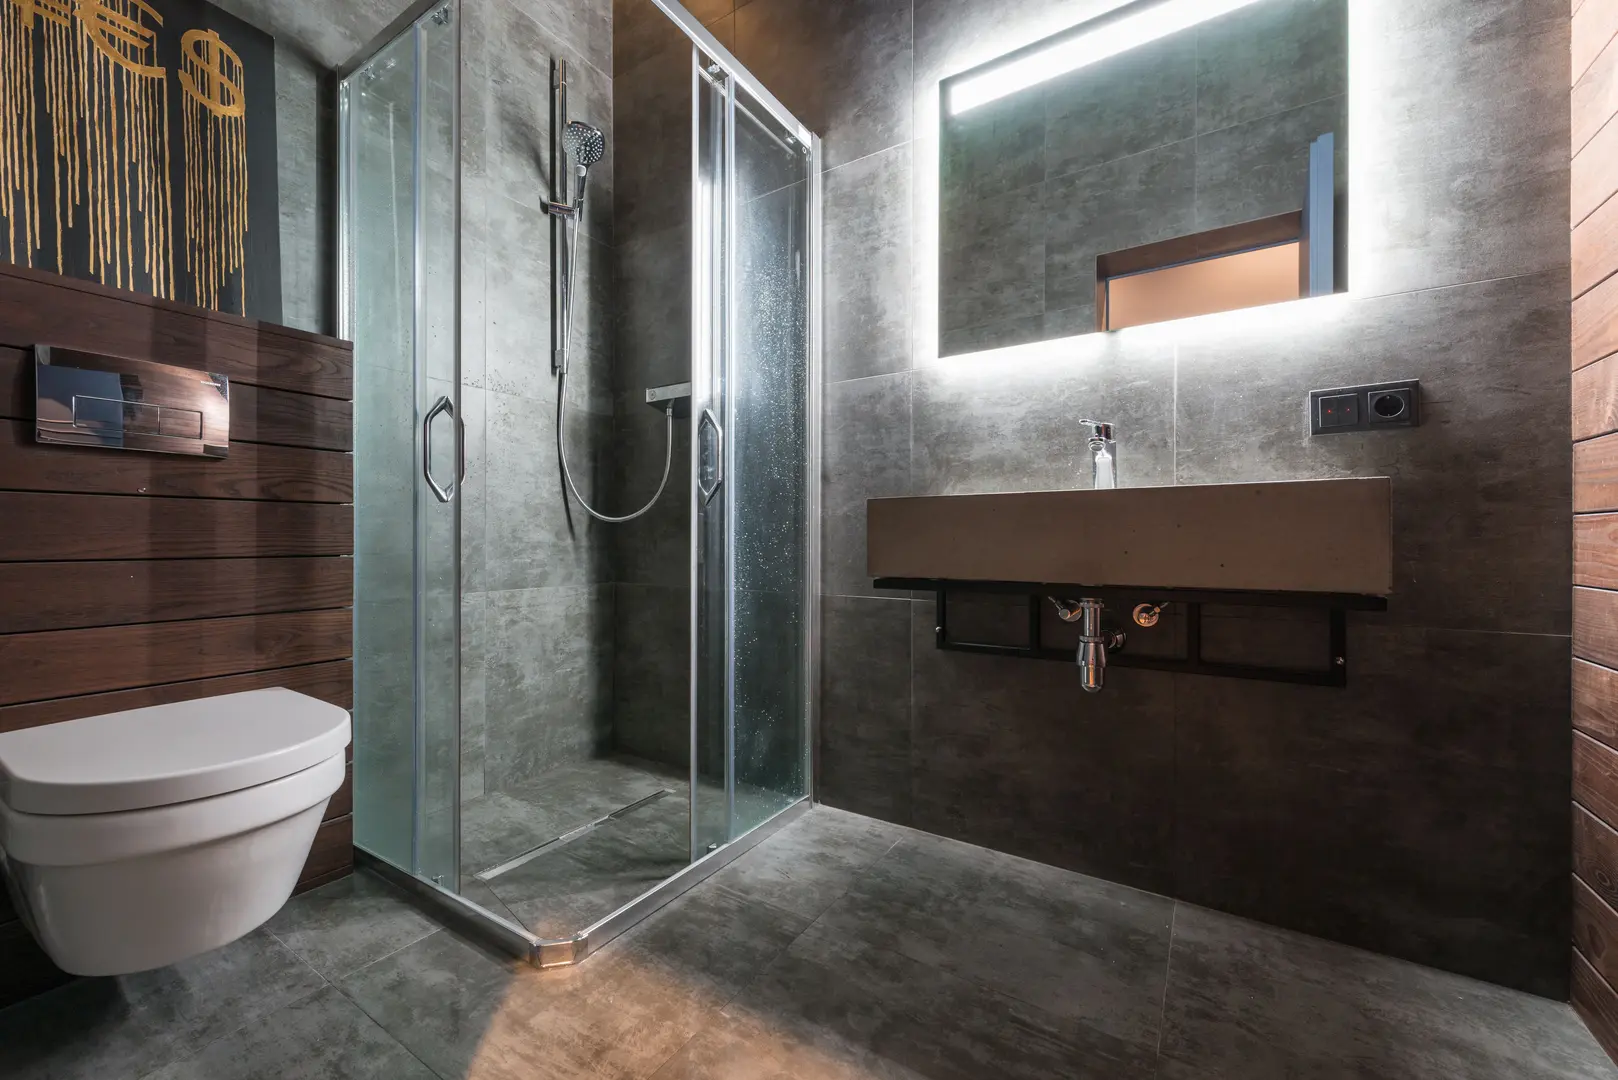
Good bathroom lighting supports safe movement, everyday grooming, and the overall design of the room. It should provide clear visibility where needed without making the space feel harsh or clinical. The best results come from planning ceiling, wall, and mirror lighting together—and including fixtures, controls, and wiring in the renovation budget from the beginning.
These bathroom lighting tips will help you create a layered scheme that balances practical illumination with a softer, more comfortable atmosphere.
Ceiling Lights: Choose the Right Protection
Ceiling lighting often provides the bathroom’s main source of general illumination. Because bathrooms contain water and moisture, however, fixture selection cannot be based on appearance alone. The fitting must have an appropriate IP rating for its location.
An IP rating indicates the level of protection provided by the light’s enclosure. Different parts of a bathroom require different levels of protection, so always consider where a ceiling light will be installed:
- Choose an IP44 ceiling light above a bath.
- Choose an IP65 ceiling light above a shower.
Do not assume that every recessed, flush, or enclosed-looking fixture is suitable for these areas. Check the stated IP rating and confirm that the light is designed for bathroom installation.
Flush-mounted halogen or LED fixtures are practical options for ceiling lighting. Their low-profile appearance can help maintain clean sightlines, particularly in compact bathrooms or rooms with relatively low ceilings. They can also be arranged to spread light across the room instead of concentrating all the illumination in one central spot.
Placement matters as much as fixture type. A single bright ceiling light may illuminate the floor and major surfaces, but it can also create strong shadows around the face, inside the shower, or near storage. Rather than asking one fixture to perform every function, use ceiling lights as the general layer in a broader lighting plan.
When deciding where they should go, consider the bathroom’s main features:
- The bath or shower
- The vanity and mirror
- Storage cabinets
- The toilet area
- Main walking routes
- Dark corners or enclosed sections
This does not mean every feature needs its own ceiling light. The aim is to distribute illumination so the room feels clear and usable without becoming uncomfortably bright.
Avoid relying on harsh overhead lighting as the only source of light. A powerful central fitting may seem like a simple solution, but it rarely produces a flattering or relaxing effect. It can also make the room feel visually flat because there is little variation between task areas and background illumination. Ceiling fixtures work better when complemented by diffused wall lighting and focused mirror lighting.
Lighting should be addressed during the first-fix stage of a renovation, when the electrical layout is being planned. Decide on the approximate number, type, and location of lights before walls and ceilings are finished. Early planning makes it easier to create the intended layout rather than adapting the design around limited wiring points later.
Prepare a lighting budget at the same time as the rest of the bathroom budget. Include more than the visible fixtures. Depending on the project, the lighting allowance may also need to cover wiring work, switches, dimming controls, and installation.
A simple budget can separate lighting into three categories:
| Lighting layer | Main purpose | Items to budget for |
|---|---|---|
| Ceiling lighting | General visibility | IP-rated fixtures, wiring, switches, installation |
| Wall lighting | Softer ambience | Bathroom-safe fittings, diffusers, compatible dimming controls |
| Task lighting | Grooming at the mirror | Mirror lights, wiring points, controls, installation |
Leaving lighting until the end can lead to overspending or compromises. For example, you may discover that the preferred fixture was not included in the original allowance, or that the wiring layout cannot support the intended placement without additional work.
Low-cost fixtures are not always good value if their light quality is poor or they need frequent replacement. Focus on bathroom suitability, construction quality, light diffusion, and compatibility with the planned controls. A smaller number of well-chosen fixtures is usually a better design decision than filling the room with cheap lights that do not perform their roles effectively.
Wall Lights for a Softer Ambience
Wall lights create a softer layer of illumination that ceiling fixtures cannot provide on their own. They can make the bathroom feel more comfortable in the evening, reduce the visual severity of overhead lighting, and add depth by lighting surfaces at a different level.
As with ceiling fittings, choose wall lights specifically designed for bathroom use. A decorative wall light intended for a bedroom or hallway should not be moved into a bathroom simply because it suits the style. Confirm that the fixture is appropriate for its intended bathroom location.
Diffused light is particularly useful on walls. A diffuser softens the visible light source and helps reduce hard-edged shadows. This can make the room feel calmer while providing more comfortable illumination around the vanity, bath, or open wall areas.
Wall lights can support several design goals:
- Balance: They prevent all light from coming from the ceiling.
- Comfort: Diffused illumination feels gentler than a bare or highly concentrated source.
- Depth: Lighting at more than one height gives the room a layered appearance.
- Flexibility: Wall lights can be used independently when full ceiling lighting is unnecessary.
- Decoration: The fittings can contribute to the bathroom’s finishes and overall style.
The position of wall lights should relate to the room’s layout rather than being chosen only for symmetry. Check how doors, cabinets, mirrors, towel storage, and shower screens will affect both installation and light distribution. A fitting may look centered on a plan but feel awkward once the surrounding features are in place.
Think about the visual effect when the light is both on and off. A fixture should fit comfortably into the composition of the wall, but its illumination also needs to reach the intended area without producing distracting shadows.
Dimming controls can make wall lighting more adaptable. At a brighter setting, the lights can contribute to general visibility. At a lower setting, they can create a more subdued atmosphere for bathing or evening use. Choose fixtures, light sources, and controls intended to work together rather than assuming that every bathroom light can be dimmed.
A practical layered setup might allow you to use:
- Ceiling and wall lights together for full-room illumination.
- Wall lights alone for softer ambient lighting.
- Mirror lights for focused grooming.
- Dimmed wall lighting when a lower level of illumination is preferred.
Separate controls make these combinations easier to use. If every fixture operates from one switch, the benefit of layering is reduced. Control planning should therefore happen alongside fixture placement during the initial electrical design.
Wall fixtures also deserve a realistic share of the budget. They are sometimes treated as optional decorations and added only if money remains after the main renovation. This approach can result in a room with good finishes but uncomfortable lighting.
Allow for quality bathroom-safe fixtures from the start. When comparing options, consider the appearance of the fitting, the softness of its illumination, and whether it works with the proposed control system. Choosing solely by the lowest price can lead to disappointing light quality or the inconvenience of replacing fixtures more frequently.
The finish should coordinate with the bathroom, but it does not have to match every tap or accessory exactly. The more important design question is whether the wall light belongs in the room visually and provides the intended ambience. A restrained fixture may blend into a minimalist bathroom, while a more decorative design can become part of the room’s character—provided it is suitable for bathroom use.
Task Lighting: Focus on the Mirror
Task lighting supports activities that require a clear view, including shaving, applying makeup, skincare, and other grooming routines. In most bathrooms, the mirror is the main task area, so its lighting should be planned as a functional element rather than an afterthought.
Aim for illumination that is soft but clear. The face should be easy to see without the light feeling glaring or producing heavy shadows. Frosted halogen or fluorescent lights are options to consider because the frosted treatment can help soften the output.
Mirror lighting should complement the ceiling layer. An overhead fixture may brighten the vanity surface, but it can cast shadows beneath the brow, nose, or chin. Adding a dedicated light near the mirror directs illumination toward the user rather than relying only on light falling from above.
When selecting a mirror fixture, consider:
- Whether it is designed for bathroom use
- How evenly it lights the face
- Whether the visible light source is softened or diffused
- How it relates to the mirror’s size and position
- Whether doors or cabinets could obstruct it
- How it will be switched and controlled
- Whether its style works with the wider bathroom design
Do not select a mirror light based only on how it looks in a product image. Consider its practical role at the actual vanity. A small decorative fixture may not provide enough useful illumination, while an overly bright, exposed source may be uncomfortable at close range.
If the room has a wide mirror or a shared vanity, make sure the lighting arrangement works across the usable area. The objective is not simply to highlight the mirror as a decorative object. It is to illuminate the people using it.
Include task lighting in the first lighting plan and the initial renovation budget. Retrofitting it later may be less convenient if the necessary wiring point was not provided. Planning early also allows the mirror, vanity, electrical layout, and nearby storage to be coordinated.
Quality is especially noticeable in task lighting because the fixture is viewed and used at close range. Poor diffusion, awkward placement, or an unreliable fitting can affect daily routines. Allocate enough of the lighting budget to choose a well-made, bathroom-appropriate fixture that produces soft, clear illumination.
The Importance of Proper Lighting Placement
Correct placement can improve mirror lighting even when the fixture itself is relatively simple. Lights installed beside the mirror often provide more functional illumination than a light positioned only above it.
Side lighting directs light toward both sides of the face, helping to reduce the shadows created by overhead illumination. If the design allows, placing lights on each side of the mirror can create a more balanced result. The fittings should relate to the mirror and the user rather than being positioned solely to fill empty wall space.
A light above the mirror can still be useful, especially when side space is limited. However, using only an overhead mirror light may leave stronger shadows on the face. Before choosing the arrangement, review the full vanity layout, including the mirror width, cabinets, shelves, and nearby walls.
A practical placement process is:
- Confirm the final position and size of the vanity.
- Determine the mirror’s dimensions and mounting location.
- Identify available wall space beside and above the mirror.
- Choose whether side lighting, top lighting, or a combination is appropriate.
- Coordinate the wiring points before the wall finish is completed.
- Check that cabinets and doors will not block the light.
Safety-focused lighting can also be integrated into grab bars. A grab bar with downward lighting may improve visibility around a bath, shower, or other area where additional support is needed. This can be particularly helpful for people with mobility concerns because it combines physical support with localized illumination.
However, illuminated grab bars will not suit every bathroom design. Their appearance may conflict with a highly traditional or minimal scheme, and they should not be added without considering the room as a whole. Where they are appropriate, treat them as part of both the safety plan and the lighting layout rather than as an isolated accessory.
The most effective bathroom scheme does not depend on one bright fixture. It combines correctly protected ceiling lights, diffused wall lights, and carefully positioned task lighting. Planning these elements during first fix—and budgeting for quality from the outset—creates a room that is safer, easier to use, and better designed.