A Guide to Bathroom Mirror Sizes, Shapes and Placement
Selecting a bathroom mirror involves more than finding a design that fits the wall. Width, shape and mounting position affect how balanced the vanity looks, how much reflection the mirror provides and how comfortably it works for different members of the household.
This bathroom mirror sizes shapes guide explains the main proportions to use, how popular shapes change a room’s character and where to position a mirror in relation to the basin, lighting and ceiling fittings.
Comparing Round, Oval, Rectangular and Arched Mirrors
Mirror shape establishes the visual tone of a bathroom. It can repeat the room’s straight architectural lines, introduce a softer contrast or create a more decorative focal point above the vanity.
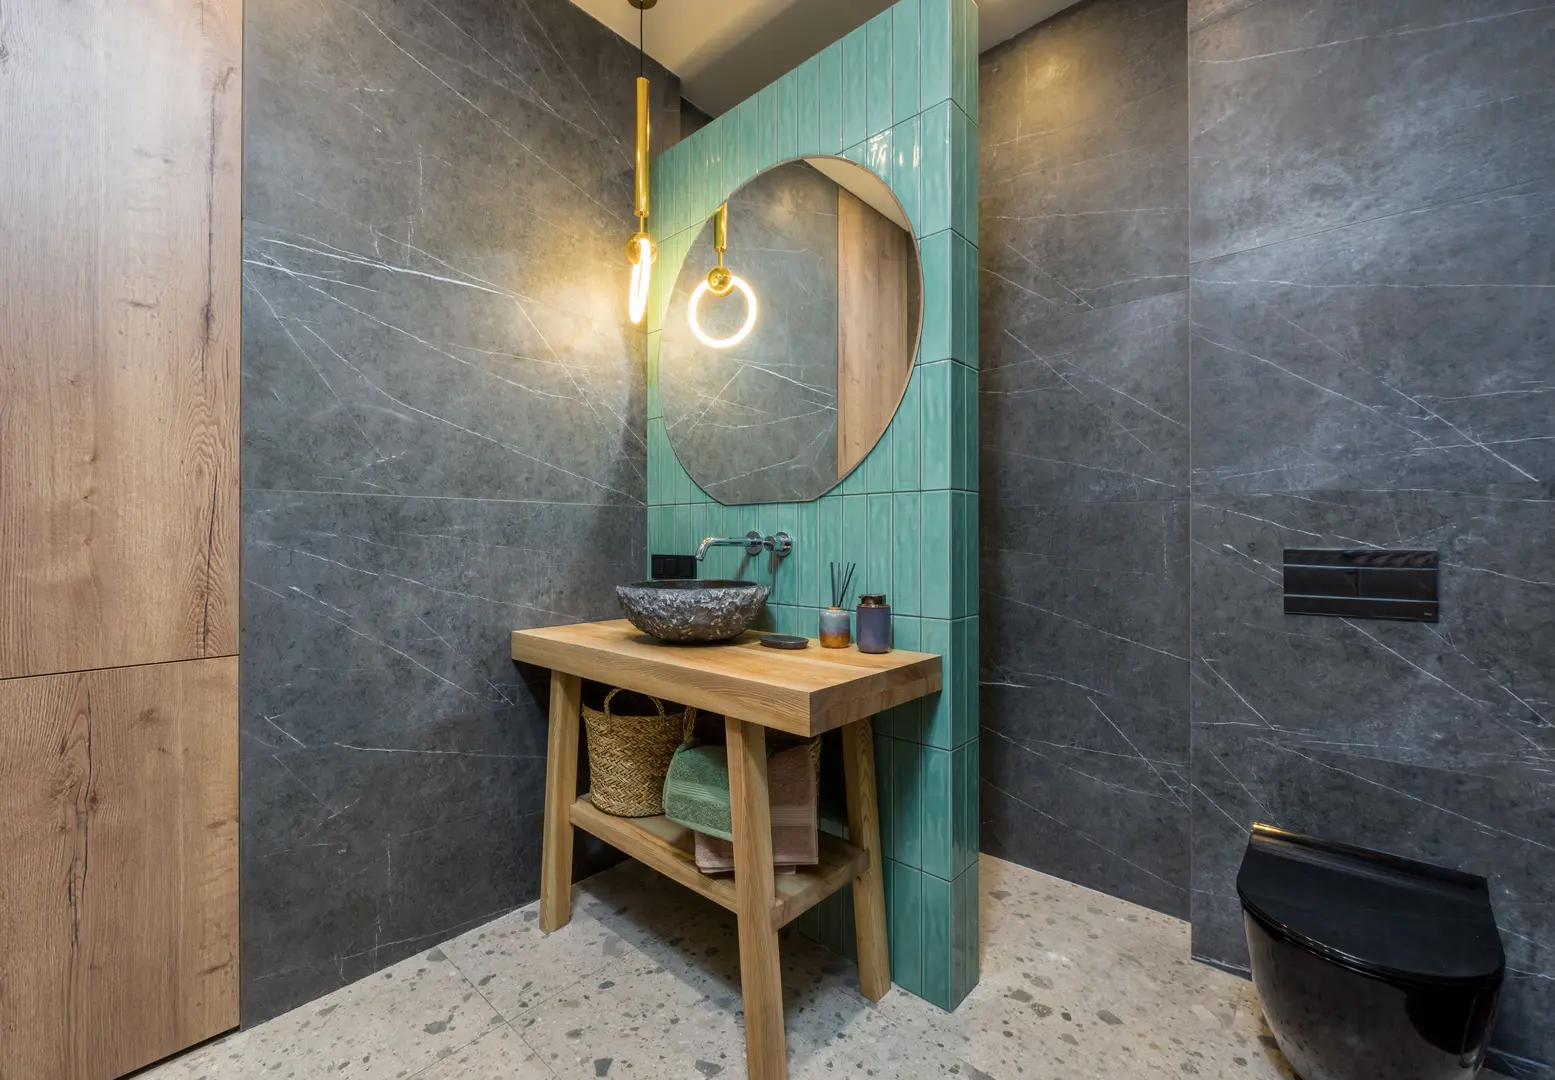
Round mirrors soften bathrooms dominated by straight edges. Vanities, tiles, cabinets and shower screens are often rectangular, so a circular mirror provides a useful visual contrast. Because a round mirror narrows at the top and bottom, it reflects less area than a rectangular mirror of the same maximum width. It therefore tends to work best when its scale has been considered carefully.
Oval mirrors offer a similar softness but with a more elongated profile. A vertical oval can create a sense of height without filling the same wall area as a large rectangle. Its curved outline is also useful when a full circle feels too wide for the available space. The result is generally gentle and streamlined rather than strongly geometric.
Rectangular mirrors provide the greatest reflected area for their overall height and width. Their straight edges coordinate easily with a vanity, basin and tiled wall, making them a practical option when generous reflection is the priority. A wide rectangle can serve a broad vanity, while a tall rectangle can give each basin its own defined mirror on a double-basin unit.
Arched mirrors combine the practical lower area of a rectangle with a curved top. The vertical sides help the mirror align with the vanity, while the arch introduces a softer, more decorative detail. This makes an arched design a useful compromise for a bathroom that needs functional reflection but would benefit from fewer hard lines.
Each of these shapes is available in a range of finishes. The finish can make the outline more prominent or allow it to sit quietly within the wider design. Availability varies by mirror style, so check the shape, dimensions and finish together rather than choosing each feature separately. A finish that looks subtle on a rectangle may give a round or arched mirror a much stronger presence.
When comparing options, consider three factors:
- Visual character: Decide whether the mirror should reinforce the bathroom’s straight lines or soften them.
- Reflected area: Rectangles generally make the fullest use of their dimensions, while curved mirrors lose some usable area around the edges.
- Application: Confirm that the selected mirror is intended for the required location and works with the planned bathroom layout.
Choosing Mirror Shapes for Small Bathrooms
In a small bathroom or cloakroom, the mirror should complement the vanity without overwhelming the wall. Start with the usable wall area rather than selecting a shape based only on appearance.
A rectangular mirror is effective when maximum reflection is important. Its corners use more of the available wall area, and a vertical format can fit above a narrow basin. However, an overly wide rectangle may make a compact vanity appear visually crowded.
A round mirror breaks up the tight grid of small-room tiles, cabinetry and door frames. It can help the space feel less rigid, but its curved edges provide less reflection than a rectangle of equal width. For this reason, choose a diameter that remains proportional to the vanity while still being useful at face height.
An oval design is helpful when the wall is narrow but there is sufficient vertical space. It supplies the softness of a round mirror without requiring the same width. An arched mirror can achieve a similar effect while preserving more reflection through its straight lower section.
Before choosing a shape, mark its proposed outline on the wall. Check that it:
- Sits comfortably within the vanity width
- Leaves room for lighting and ceiling fittings
- Provides reflection at the required eye levels
- Does not conflict visually or physically with nearby practical features
- Leaves space for any accessibility elements, including grab bars where needed
A small room benefits from careful editing, but that should not mean omitting features required by the people using it. Personal needs and practical clearances should guide the layout before decorative preferences.
Choosing the Correct Mirror Size for a Vanity
As a general starting point, choose a mirror that is approximately 70–80% of the vanity width. This produces a clear relationship between the two elements while keeping the mirror visually contained above the vanity.
For example, a 600mm-wide vanity works well with a mirror around 420–480mm wide. A 450mm mirror falls within that range and equals 75% of the vanity width.
Round mirrors require a slightly different approach because the maximum width occurs only across the centre. A useful guide is to select a diameter around 60–70% of the vanity width. This smaller proportion helps prevent the circle from appearing too dominant, particularly where the wall is narrow.
These percentages are starting points rather than substitutes for measuring. Also consider:
- The usable wall width above the vanity
- Whether the mirror is framed or visually prominent
- The position of wall lights or other fittings
- How much reflection each user needs
- Whether the mirror will serve one basin or two
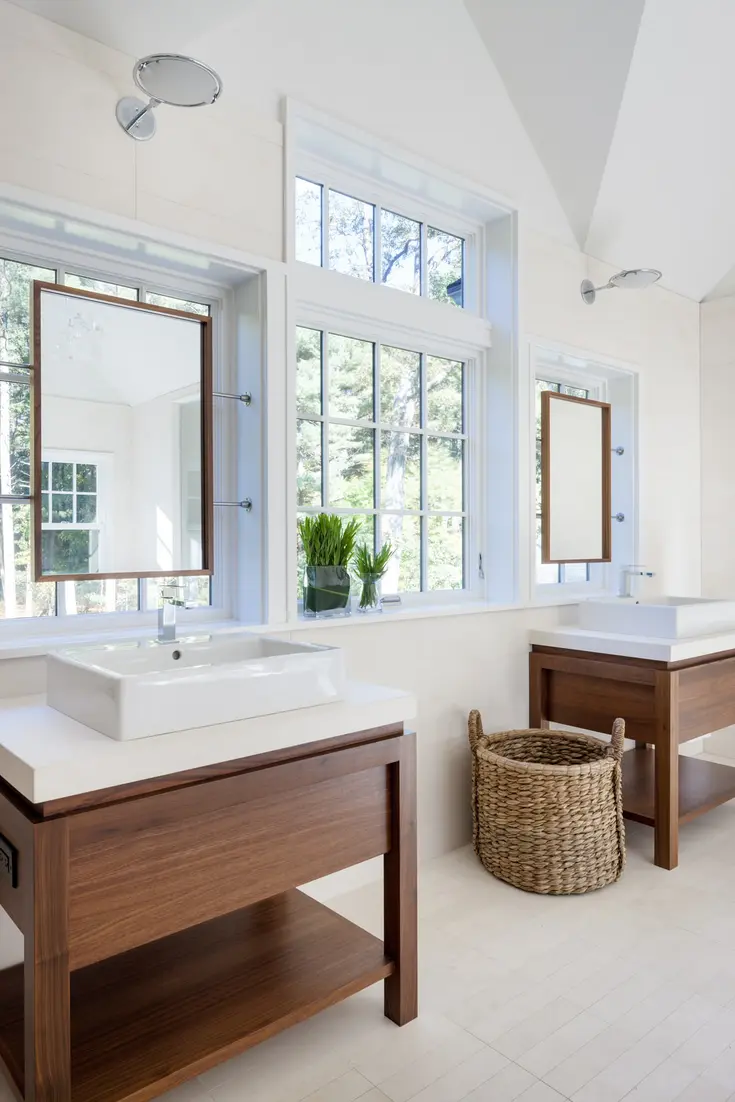
For a double-basin vanity, two mirrors are often more balanced than one very large mirror. Position one above each basin and size the pair in relation to their individual vanity zones. This gives each user a dedicated reflection while allowing some visual space between the mirrors.
To calculate the size, divide the vanity into two basin zones. A rectangular mirror over each basin can be approximately 70–80% of the width of its zone. If using round mirrors, aim for diameters of roughly 60–70% of each zone. Check that the spacing between them works with any central light or other fitting.
Proportion is particularly important with a broad vanity. A mirror that extends to or beyond the outer edges of the unit can appear oversized. Keeping it within the vanity’s visual boundaries establishes a more deliberate relationship between the mirror, basin and cabinetry.
How High Should a Bathroom Mirror Be Mounted?
There is no single mounting height that suits every household. The most useful approach is to position the centre of the mirror close to the household’s eye level. This keeps the main reflective area where it is needed rather than placing the mirror according to an arbitrary wall height.
Where several people of different heights use the bathroom, consider the group rather than one person. A taller mirror may serve the household more effectively because it provides a broader vertical viewing area. Before drilling or fixing the mirror, test the proposed position with each regular user.
The bottom edge should generally sit around 100–200mm above the basin. This creates separation between the mirror and basin while keeping the reflective area accessible. The exact point within that range will depend on the mirror’s height, the users’ eye levels and other wall features.
Use this sequence to plan the position:
Mark the vanity centre or individual basin centres. This establishes the horizontal alignment for one mirror or a pair.
Identify the household’s useful eye-level range. Position the mirror so its central area serves the people who use the bathroom regularly.
Check the lower edge. Aim for approximately 100–200mm between the basin and the bottom of the mirror.
Check the upper clearance. Keep at least 100mm between the mirror and ceiling fittings.
Review the lighting. Position LED lighting so it illuminates the face effectively rather than simply lighting the wall or the top of the mirror.
Confirm practical requirements. Account for outlets, controls, cabinets and any accessibility features before finalising the fixing points.
Lighting and mirror placement should be designed together. If the mirror is mounted first without considering LED positioning, the available lighting location may not illuminate the face properly. Likewise, a decorative light should not force the mirror too low or outside the household’s useful eye-level range.
Personal requirements must take priority over a visually symmetrical layout. Someone may need a lower reflective area, easier access to a nearby fitting or space for a grab bar. Plan these elements at the same time so that essential features are not omitted or placed awkwardly.
Reducing Fog on a Bathroom Mirror
Bathroom mirrors fog when shower steam meets the mirror surface. The problem is often more noticeable in rooms without adequate ventilation.
Ventilation is the main practical consideration because it helps remove humid air and reduce lingering steam. In addition to limiting mirror fog, managing moisture can help reduce conditions associated with mould. Use the bathroom’s ventilation system appropriately and make sure the mirror position does not distract from the need for effective airflow elsewhere in the room.
An interior anti-fog treatment is another possible workaround. For example, some users apply Rain-X interior anti-fog solution to reduce condensation on the mirror. Such a product may lessen fogging, but it may not remove the problem completely. It also relies on repeat application, so follow the product’s current directions rather than treating it as a permanent solution.
Anti-fog treatment should be viewed as a supplement to ventilation. If steam remains trapped in the room, treating the mirror addresses the visible symptom rather than the wider moisture issue.
Bathroom Mirror Sizing: Practical Examples
The following examples show how the recommended proportions can be applied. Always verify the final choice against wall space, eye level, lighting and required clearances.
| Bathroom setup | Suggested approach | Why it works |
|---|---|---|
| 600mm vanity | 450mm mirror | The mirror is 75% of the vanity width, within the 70–80% guide. |
| Compact cloakroom | 320mm round mirror | The small diameter suits a limited wall area without creating an oversized focal point. |
| Double-basin vanity | Two mirrors, each sized to its basin zone | Separate mirrors give each basin a defined reflection and avoid one excessively large design. |
| 800mm vanity | Arched mirror around 560–640mm wide | This follows the 70–80% width guide while combining useful reflected area with a softer upper profile. |
Example 1: 600mm vanity with a 450mm mirror
Multiply the vanity width by 70% and 80%:
- 600mm × 0.70 = 420mm
- 600mm × 0.80 = 480mm
The recommended range is therefore 420–480mm. A 450mm mirror sits near the middle of that range and equals 75% of the vanity width. Centre it over the basin, then adjust its vertical position so the household’s eye level falls near the mirror centre. Keep its bottom edge approximately 100–200mm above the basin.
Example 2: 320mm round mirror in a cloakroom
A 320mm round mirror can provide a compact focal point where wall width is restricted. Because a circle provides its broadest reflection only through the middle, test the position at face height before mounting it. Check the diameter against the cloakroom vanity using the 60–70% guide, and confirm that the smaller reflective area suits the intended users.
Example 3: Two mirrors over a double-basin vanity
Treat the space above each basin as an individual zone. Measure the width allocated to one basin and choose a rectangular mirror around 70–80% of that measurement. Repeat for the second basin so the mirrors match in scale.
For round mirrors, use approximately 60–70% of each basin zone. Align each mirror with its basin rather than centring the pair only on the full vanity. Finally, check the gap between the mirrors and allow for any lighting or practical feature positioned in the middle.
Example 4: 800mm vanity with an arched mirror
For an 800mm vanity, the 70–80% guide gives the following range:
- 800mm × 0.70 = 560mm
- 800mm × 0.80 = 640mm
An arched mirror between 560mm and 640mm wide should remain proportional to the vanity. Its straight sides provide useful reflected area, while the curved top softens the overall design. Select the final width according to the available wall space and finish, then position the mirror centre close to household eye level. Maintain the recommended basin gap and at least 100mm of clearance from ceiling fittings.