A Beginner's Guide to Tiling a Bathroom
Tiling a bathroom is manageable for a beginner when the project is planned carefully. Successful tiling bathroom walls or floors depends on accurate measurements, a suitable base, the correct materials, and patience at every stage. Before buying tiles, review the entire process so you understand the tools, preparation, cutting, fixing, and grouting involved.
Plan for Safety Before Tiling
Wear protective gloves and eye protection throughout the project, especially when cutting tiles or mixing powdered materials. Broken and freshly cut tile edges can be sharp, while cutting may release fragments.
Before drilling, removing old coverings, or preparing walls and floors, locate hot water pipes and electrical connections. Do not assume that services follow an obvious route. Consider turning off the water and electricity while working near plumbing or wiring. If their locations are uncertain, seek professional help rather than taking a risk.
Keep the working area ventilated, well lit, and free from unnecessary clutter. Follow the safety instructions supplied with adhesives, grout, cutting equipment, and other materials.
Essential Tools for Bathroom Tiling
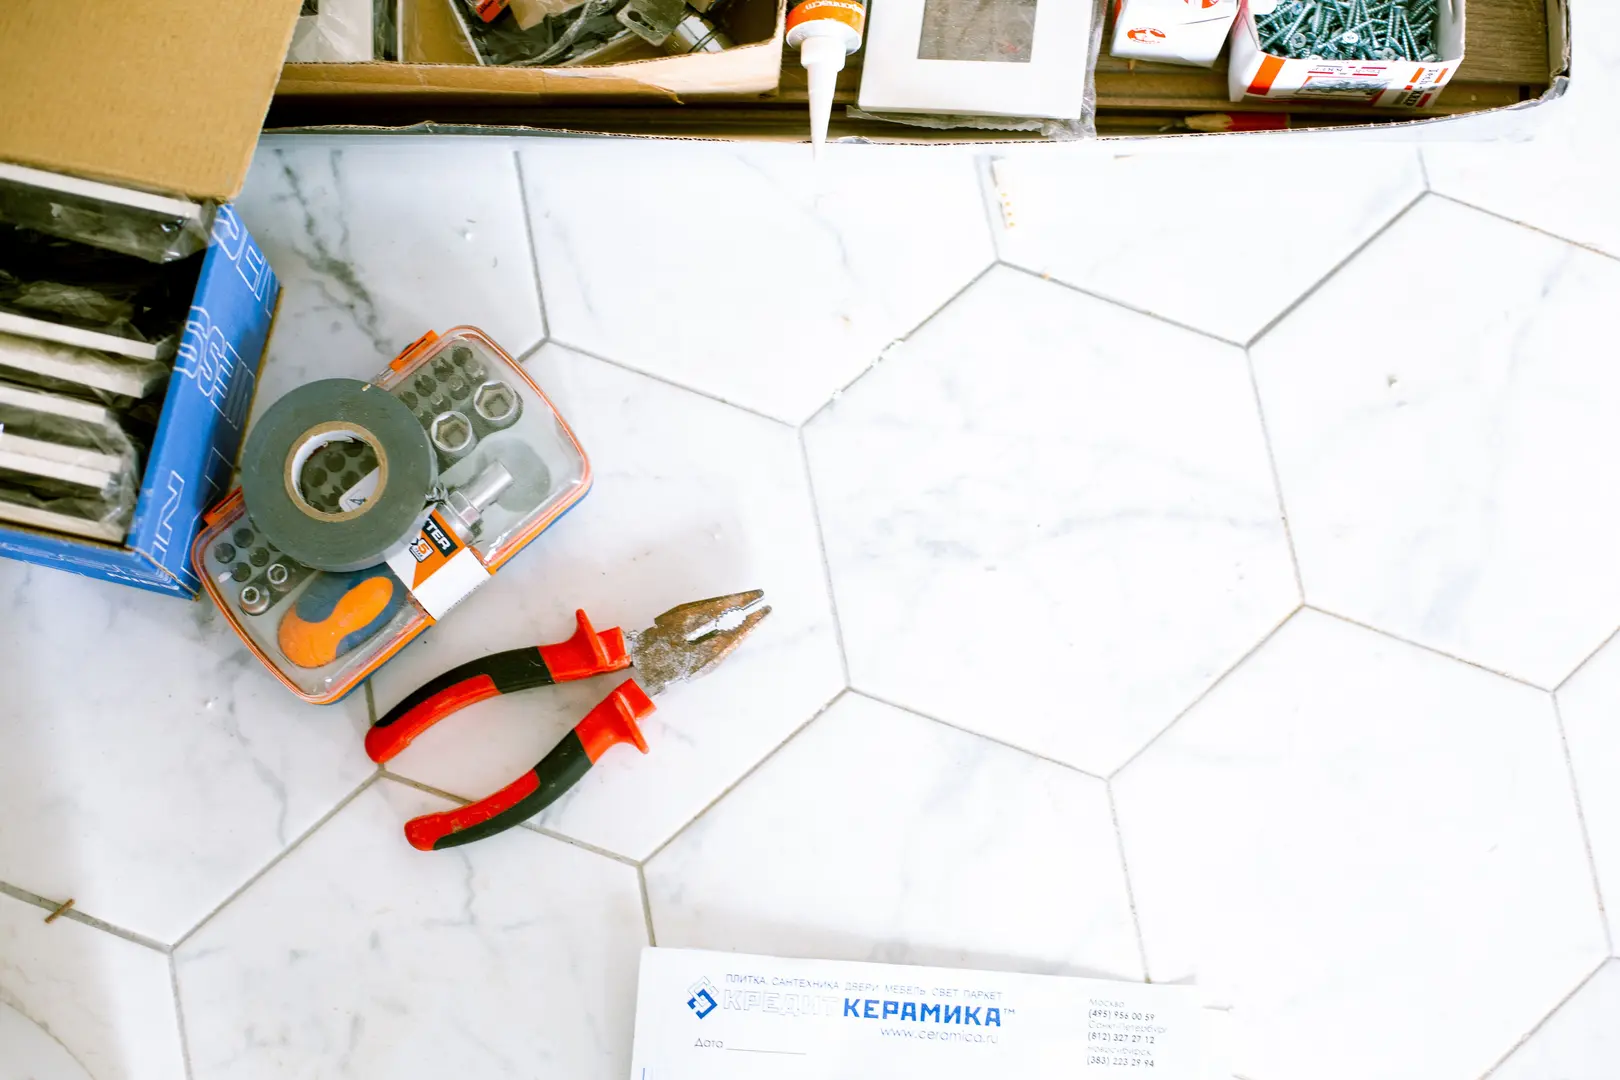
Gather everything before starting. Having suitable tools within reach makes measuring, cutting, fixing, and cleaning easier and reduces interruptions while adhesive or grout is workable.
A typical toolkit includes:
- Tape measure and tile-marking pencil
- Tile cutter and tile nippers
- Spacers
- Mixing bucket and paddle
- Notched trowel
- Grout float
- Spirit level
- Sponge
- Gloves and eye protection
Use a Reliable Tape Measure
Accurate measurements are essential for calculating quantities and producing a balanced layout. Invest in a dependable tape measure with markings that are easy to read. Check each dimension more than once, particularly before cutting tiles.
Mark Tiles with a Suitable Pencil
Mark the face of each tile clearly before cutting it. An ordinary pencil may be difficult to see or may not mark a glazed surface effectively. A chinagraph pencil is a useful choice because it can create visible lines on smooth tiles.
Choose the Right Tile Cutter
A railed tile cutter is suitable for making straight cuts in many common bathroom tiles. It scores the surface and then snaps the tile along the line. Harder tile materials may require a wet-wheel cutter. Confirm that the chosen cutter is appropriate for the tile before beginning.
Keep Tile Nippers for Difficult Cuts
Tile nippers help remove small sections and create awkward shapes that a straight cutter cannot produce. Work gradually rather than trying to remove too much material in one movement. The cut edge may be concealed by a fitting or finished as appropriate for the installation.
Use Spacers for Consistent Gaps
Spacers keep the gaps between tiles even and prepare the layout for tidy grout joints. They are available in different sizes, so choose one that suits the tile format and intended appearance. Use the same size consistently across each continuous surface.
Prepare a Mixing Bucket
A clean bucket is needed for preparing adhesive and grout. Common capacities include 10 and 25 litres. Choose a size that allows convenient mixing without encouraging you to prepare more material than can be used within its stated working time.
Mix Materials with a Paddle
A mixing paddle makes it easier to produce an even grout mixture and can also be useful for products that require on-site preparation. Follow the material manufacturer’s instructions for mixing method and consistency. Clean the paddle before the mixture hardens.
Spread Adhesive with a Notched Trowel
Use a notched trowel to spread and comb adhesive into a consistent bed. Trowels have different notch profiles and sizes for wall and floor applications. Select one that is suitable for the tiles, surface, and adhesive system being used.
Press Grout into Joints with a Float
A grout float pushes grout firmly into the spaces between tiles. Hold it at an angle and work across the joints from several directions. A float with a rubber base helps distribute the grout without damaging the tile surface.
Check Alignment with a Spirit Level
A spirit level is indispensable for keeping rows horizontal, vertical, and flat. Many types and lengths are available. Choose one that fits the working area, and check the layout regularly instead of waiting until several rows have been fixed.
Clean Excess Grout with a Sponge
A damp sponge removes excess grout and helps shape the joints. A dual-purpose tiling sponge is particularly convenient for cleaning and finishing. Rinse it frequently and avoid saturating the joints with water.
Step-by-Step Guide to Tiling a Bathroom
Bathroom tiling should follow a deliberate sequence. Plan the design, calculate quantities, prepare the substrate, set out the tiles, and only then begin fixing. Rushing the early stages often creates avoidable cutting and alignment problems later.
Decide Where and How Much to Tile
Choose which walls and floor areas will be tiled. Bathrooms may be tiled to full height, partially tiled, or limited to wet and splash-prone zones. Full-height tiling creates a continuous finish, while partial tiling leaves room for paint or another suitable wall covering.
Consider tile size in relation to the room, corners, sanitaryware, windows, and other interruptions. The goal is not simply to fit the greatest number of whole tiles. A balanced arrangement with sensible cuts at both ends is usually more visually coherent.
Choose Tiles and Map Out the Design
Select tiles that complement the bathroom’s colour, fittings, and overall design. Confirm that they are suitable for their intended location; a wall tile is not automatically appropriate for a floor or wet environment.
Measure the width and height of each surface and calculate its area. Subtracting every small obstruction can leave too little material, so build an allowance for cutting, breakage, and layout adjustments into the order. More complicated patterns generally create more offcuts.
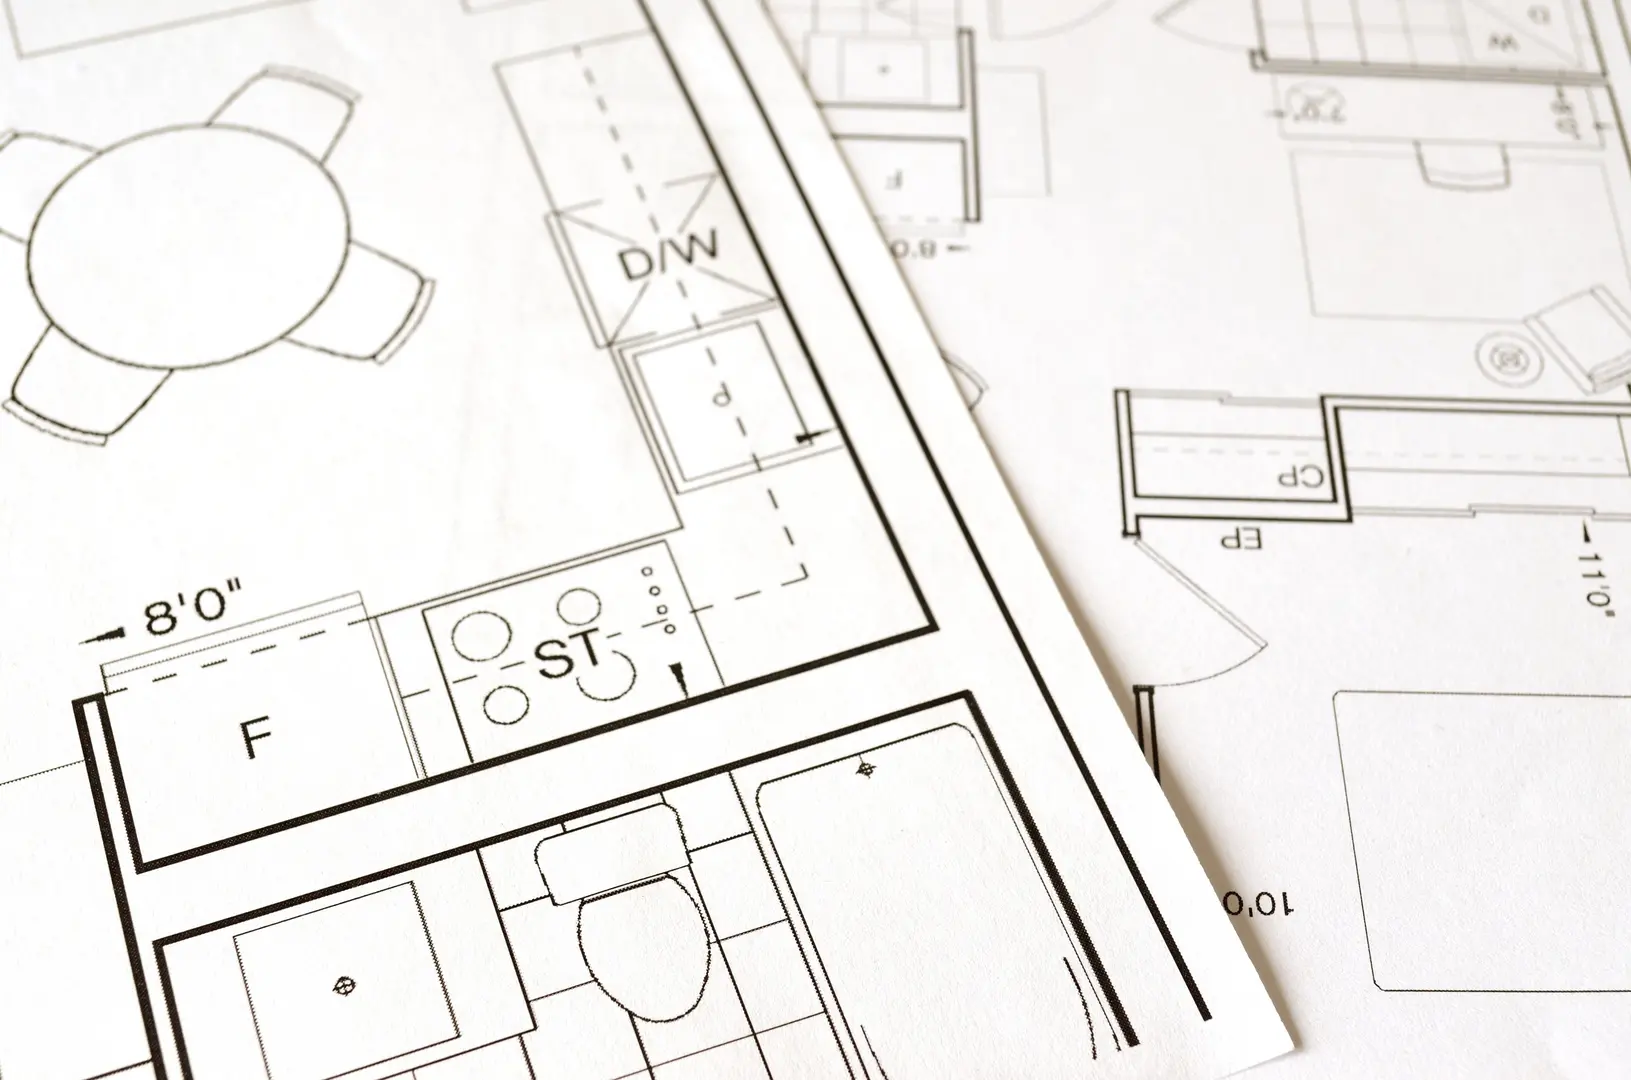
Sketch the design or arrange sample tiles before committing. This is also the time to choose grout colour and joint width.
Estimate the Cost of a Bathroom Tiling Project
The total budget extends beyond the advertised tile price. Break the estimate into separate categories:
| Cost category | Items to include |
|---|---|
| Tiles | Main tiles, feature tiles, trims, and wastage allowance |
| Preparation | Repair products, boards, moisture protection, or levelling materials |
| Installation | Adhesive, grout, spacers, sealant, and consumables |
| Tools | Cutter purchase or hire, trowels, buckets, float, and safety equipment |
| Labour | Removal, preparation, tiling, grouting, and specialist plumbing or electrical work |
| Contingency | Unexpected substrate repairs or additional tiles |
Prices for both materials and labour vary by region. Obtain current local prices rather than relying on a general online estimate. When comparing professional quotations, check whether removal, disposal, preparation, materials, and finishing are included. A low tiling quote may exclude the work needed to make the surface suitable.
Understand the Main Bathroom Tile Types
Tile types differ in their intended use and ability to cope with particular environments. Selection should therefore be based on location rather than appearance alone.
Check whether a product is intended for:
- Walls, floors, or both
- Dry areas or wet bathroom zones
- The expected level of foot traffic
- The chosen adhesive, grout, and substrate
Harder materials may also need specialist cutting equipment. Review the tile supplier’s installation guidance before purchasing, especially for floors, showers, and larger formats.
Compare Tile Layout Patterns
A straight grid is beginner-friendly, but other patterns can add visual interest:
- Diamond: Tiles are turned diagonally, producing frequent perimeter cuts.
- Brick bond: Each row is offset from the row above.
- Herringbone: Rectangular tiles meet in a repeated angled arrangement.
Dry-plan the pattern before installation because complex layouts affect the number and position of cuts. When buying multiple boxes, check their batch numbers. Tiles from different batches may show visible variations in shade or appearance.
Get the Wall Ready for Tiling
The wall must be clean, dry, stable, and flat. Remove loose material, dirt, grease, and other substances that could interfere with adhesion. Fill holes in plaster and correct uneven areas before applying tiles. Allow repairs and preparation products to become ready for covering as directed.
Tiling over existing bathroom tiles may be possible only when the old installation is firmly bonded, sufficiently flat, clean, and compatible with the new system. Loose or hollow-sounding tiles, movement, damaged surfaces, or the extra finished thickness can make removal the better option. Follow the adhesive manufacturer’s requirements or ask a professional to assess the wall.
Plan moisture protection carefully at a bathtub. The wall finish commonly overlaps the bathtub’s raised lip so water is directed toward the tub rather than behind it. Some installations finish above the lip successfully when the full waterproofing and sealing detail is designed correctly. Overlapping the lip can improve protection but may complicate future bathtub removal. Do not rely on grout alone to manage this junction.
Prepare Different Subfloors Before Tiling
A tiled floor needs a stable, flat base. Concrete should be sound and free from contamination or loose sections. Timber-based floors require particular attention because movement can damage the finished installation. Use a preparation system compatible with both the subfloor and tile adhesive.
Old slat-board subfloors can be especially demanding. Check that the boards and supports are secure, address movement, and add suitable plywood or another approved tiling layer where required. Joints and transitions must be handled as part of the complete system.
Large-format tiles place greater emphasis on flatness because they cannot readily follow dips or raised areas. Do not attempt to correct major irregularities solely by varying the adhesive bed. If the floor’s stability or preparation requirements are uncertain, obtain professional advice before tiling.
Choose Bathroom Tile Adhesive and Grout
Adhesive bonds tiles to the prepared wall or floor. Grout fills the joints after the adhesive has set. They perform different jobs, but both are essential to a durable, finished installation. Neither should be treated as a substitute for correct substrate preparation or moisture management.
Select an Appropriate Tile Adhesive
Choose adhesive according to its stated class, location, substrate, and tile type. Wall and floor installations may have different requirements, as may dry and wet areas.
Ready-mixed adhesive is convenient for many domestic wall-tiling applications. However, it is not automatically suitable for every tile, floor, wet zone, or substrate. Check the manufacturer’s instructions for compatibility, application depth, working time, and setting conditions.
Pick the Best Grout for the Area
The principal grout categories include:
- Cementitious grout: A widely used option available for different joint widths and applications.
- Epoxy grout: A common choice for wet areas where its specified performance is beneficial.
- Furan grout: A more specialised type that should be selected and installed according to project requirements.
Choose grout based on the room area, tile, joint size, and manufacturer’s guidance. Remember that grout does not replace a correctly designed waterproofing system.
Set Out the Tiles Before Fixing Them
Find a reliable starting point and mark level and vertical reference lines. Temporarily position a row, including spacers, to see where the cuts will fall. Adjust the starting position if it would otherwise leave narrow, awkward pieces at a visible edge.
Repeat the check around corners, windows, the bathtub, and other fixed features. This dry-setting-out stage allows you to solve layout problems before adhesive is applied.
Measure and Cut Tiles Safely
Measure each required cut carefully and account for the grout joint. Mark the line with a suitable pencil, then check the measurement before operating the cutter.
Wear gloves and eye protection while cutting. Use a railed cutter for appropriate straight cuts, a wet-wheel cutter for harder materials where required, and nippers for small or irregular adjustments. Keep hands clear of cutting parts and follow the equipment instructions.
Fix the Tiles in Place
Spread adhesive over a small, workable section with the notched trowel. Comb it consistently, then position the tiles according to the setting-out lines. Press each tile into place without allowing adhesive to fill the intended grout joints.
Insert spacers and check alignment frequently with the spirit level. Remove misplaced adhesive while it is still manageable. Continue in controlled sections and allow the adhesive to set for the specified period before grouting.
Apply Grout and Remove the Excess
Prepare the grout to the consistency stated by its manufacturer. Using a rubber-based float, press it firmly into the joints from different directions so the gaps are properly filled. Scrape off the main excess with the float.
After the grout has begun to firm as directed, wipe the tile faces with a damp sponge. Rinse the sponge regularly and avoid pulling grout out of the joints. Complete any final cleaning according to the product instructions, then protect the newly tiled area while the grout finishes setting.