Can You Install New Tiles Over Existing Tiles?
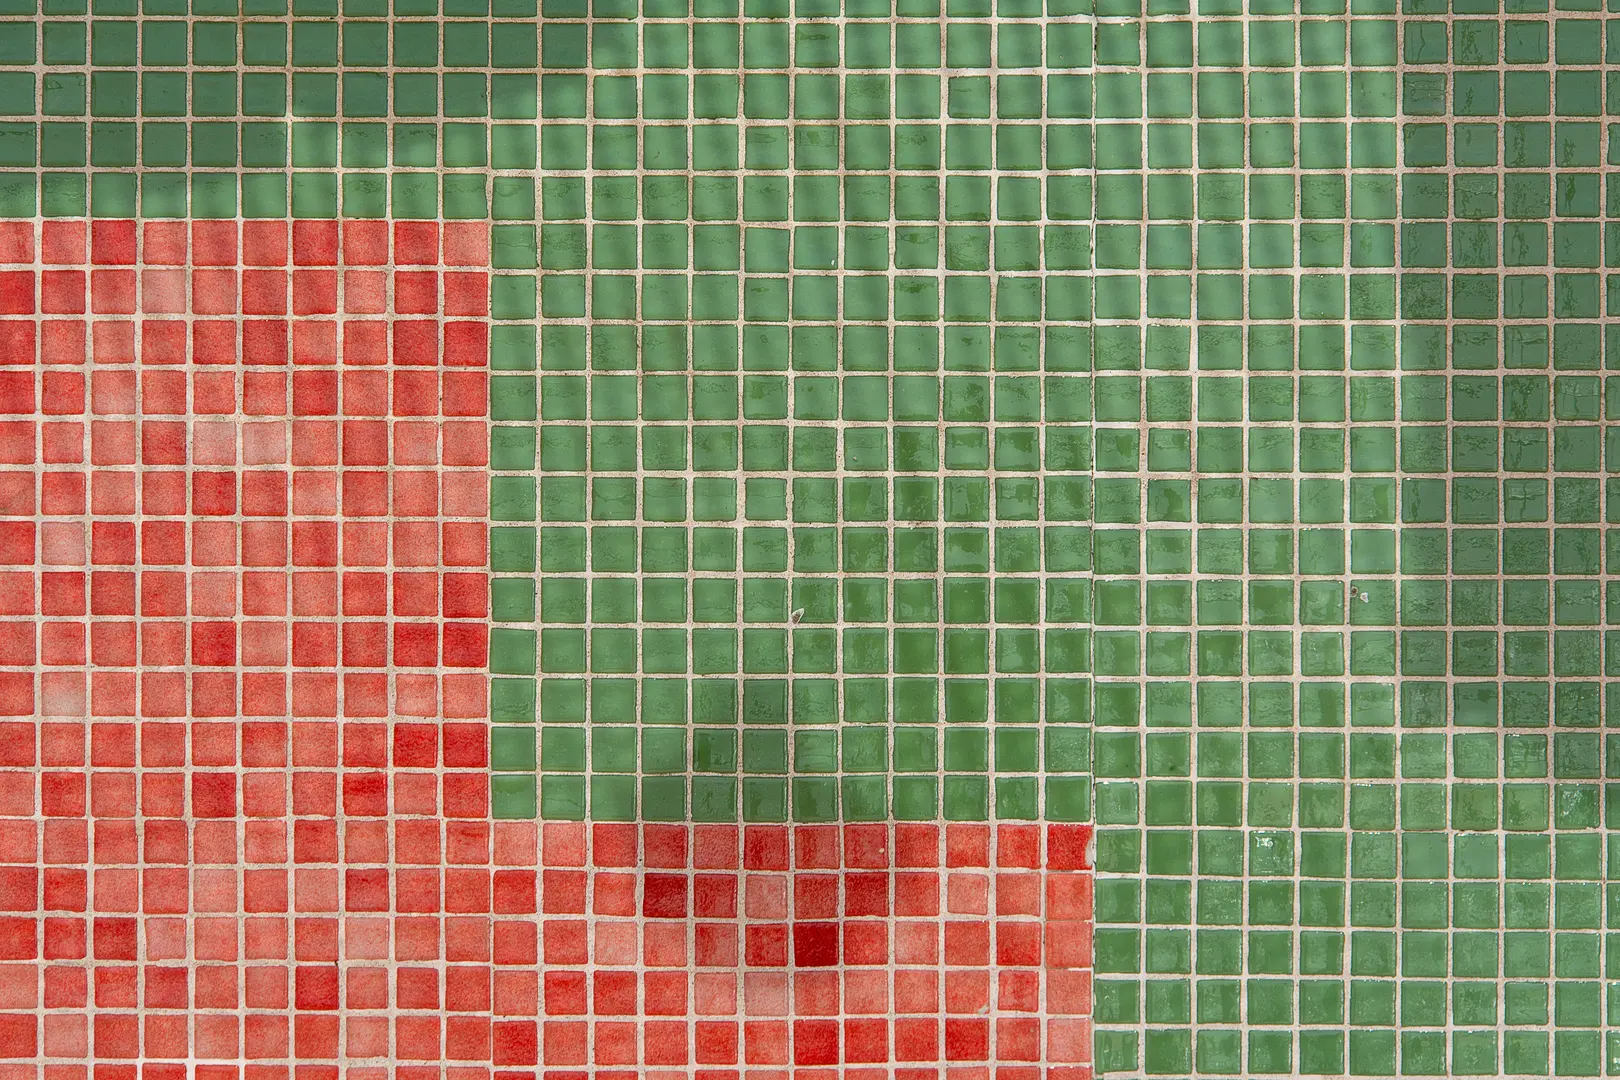
Yes, can you tile over existing tiles? In many cases, you can—provided the original tiles are firmly attached, the wall can support the additional weight, and the surface is prepared with a compatible adhesive system. It can be a quicker, less disruptive way to update a bathroom or shower, but it should not be used to conceal loose tiles, water damage, or an unstable substrate.
Before proceeding, assess the entire wall assembly rather than looking only at the tile surface. The condition of the existing installation will largely determine whether tile-over-tile is a practical shortcut or the start of a future failure.
Advantages of Tiling Over Existing Tiles
The main benefit of tiling over an existing finish is that it avoids demolition. Removing old bathroom tiles can be slow, messy, and labor-intensive. It may also damage the wall behind the tiles, creating additional repair work before the new finish can be installed.
Leaving the old tiles in place may offer several advantages:
- Lower labor costs: There is less time spent removing tiles and cleaning up debris.
- Fewer repair materials: If demolition would damage drywall, backer board, or plaster, tiling over the surface may avoid some replacement costs.
- A faster update: Once the existing surface has been assessed and prepared, installation can begin without a lengthy removal stage.
- Less disruption: The project usually creates less dust, noise, and construction waste.
- Reduced risk of demolition damage: Pulling tiles from a wall can tear away or weaken the substrate beneath them.
These savings are most realistic when the current tile installation is flat, stable, dry, and securely bonded. If large areas need repair or extensive preparation, the benefits can quickly diminish.
It is also important to consider the long-term result. Tiling over tiles preserves everything underneath, including any hidden weaknesses. A successful installation depends on confirming that the original layer is suitable before it becomes inaccessible.
Drawbacks to Consider Before Tiling Over Tiles
Adding another layer changes more than the appearance of the wall. The finished surface will project farther into the room, which can affect tile edges, corners, trims, shower controls, and transitions to nearby finishes.
This increased thickness may create an awkward result around:
- Window and door reveals
- Shower valves and other plumbing fittings
- Built-in shelves or niches
- Baseboards and decorative trim
- The edges of the tiled area
- Transitions between tile and painted walls
The new tiles and adhesive also add weight. A solid masonry wall may respond differently from a lightweight partition or a wall finished with drywall. If the original wall is already near its practical capacity, the second tile layer may contribute to movement, cracking, or loss of adhesion.
Bonding is another concern. Many ceramic and porcelain tiles have smooth, glazed surfaces that do not naturally provide an ideal grip for a new adhesive. Ordinary products or inadequate preparation may result in tiles loosening from the wall. The adhesive must be specifically suitable for bonding tile to tile.
Moisture problems deserve particular attention in showers and other wet areas. Installing new tiles does not repair a failed waterproofing layer behind the existing finish. It may instead hide staining, dampness, damaged drywall, or movement caused by water exposure. Covering an unresolved problem can make it harder to identify and repair later.
The tile-over-tile approach is therefore unsuitable when:
- Existing tiles are loose or moving.
- Cracks suggest instability in the wall or substrate.
- The wall is soft, swollen, or visibly water-damaged.
- The tiled surface is seriously uneven.
- The wall cannot support the combined installation.
- The original waterproofing is damaged or unreliable.
- The required adhesive cannot bond to the existing finish.
A lower initial cost should not take priority over the stability of the full wall assembly.
Assess the Wall and Existing Tile Surface
Begin by identifying the type and location of the wall. Internal and external walls can have different installation requirements, exposure conditions, and weight limitations. Materials suitable for an indoor bathroom partition may not be appropriate for an outside wall exposed to weather.
For an internal wall, establish whether the substrate is drywall, cement board, plaster, masonry, or another material. The visible tiles may appear secure even if the board behind them has weakened. Look for movement, moisture damage, and deterioration around tile edges, plumbing penetrations, and joints.
External tiled walls require additional caution. The existing tile, new tile, adhesive, and any preparation products must all be appropriate for that setting. If the original assembly is already failing due to exposure or movement, adding another finish will not correct the underlying problem.
Next, inspect every part of the existing tiled surface. Pay particular attention to:
- Loose or shifting tiles
- Chipped sections
- Cracked tiles or grout
- Missing grout
- Uneven or projecting tiles
- Signs of moisture or discoloration
- Movement in the wall
- Contamination from soap, grease, sealers, or cleaning products
A small cosmetic chip does not necessarily mean that the entire surface must be removed. However, loose areas cannot simply be covered. They must be properly repaired, and the substrate beneath them must still be sound. Widespread cracking or repeated loose sections may indicate that removal and rebuilding are safer than adding another layer.
The existing tile type matters as well. Glazed ceramic, porcelain, natural stone, and other finishes have different surface characteristics. A dense, smooth tile usually needs a preparation and adhesive system designed for a low-porosity surface.
Flatness should also be considered. New tile tends to follow the profile beneath it, so a noticeably uneven wall may produce an uneven finished surface. Adhesive should not be treated as a general solution for major irregularities. On suitable horizontal projects, a compatible floor-leveling product may sometimes be used to create a more even base, but it needs correct handling and full curing before tile installation. It must also be approved for the specific substrate and setting.
A simple decision guide can help:
| Existing condition | Recommended approach |
|---|---|
| Tiles are secure, flat, clean, and dry | Tile-over-tile may be suitable |
| A few isolated tiles are damaged | Investigate and repair before proceeding |
| Many tiles are loose or cracked | Remove the existing installation and assess the substrate |
| Wall shows moisture damage or movement | Correct the underlying problem first |
| Wall capacity is uncertain | Seek professional assessment before adding weight |
| Surface has old unidentified adhesive | Stop and identify a safe preparation method |
Plan Waterproofing for Wet Areas
Tiling over existing tile on drywall does not, by itself, create reliable waterproofing. Tile and grout form a durable surface, but the waterproofing strategy must account for the structure behind them.
This distinction is especially important in showers. If water has already reached the drywall or the waterproofing layer is missing, damaged, or unknown, another layer of tile will not correct the problem. The old wall may continue to deteriorate behind the new finish.
Where additional protection is needed, the appropriate solution may involve removing the existing installation and rebuilding with a suitable cement backer board and a compatible wet-area waterproofing system. A suitable vinyl membrane may also be part of a properly specified assembly. The exact products and order of installation must be compatible with one another and with the wall.
Cement backer board should not automatically be treated as a complete waterproofing solution on its own. It can provide a suitable tile substrate, but the entire wet-area assembly—including joints, corners, penetrations, and the selected membrane—must be planned as a system.
Before covering shower tiles, determine:
- Whether there is an existing waterproofing layer.
- Whether that layer remains intact.
- Whether the wall behind the tile is stable and dry.
- Whether the proposed adhesive and membrane system is approved for the surface.
- How corners, shower controls, niches, and other penetrations will be protected.
If these points cannot be confirmed, removing the old finish may be the more reliable option.
Choose the Right Adhesive and Prepare the Tiles
Adhesive selection is critical because the new material must bond to a surface that was originally intended to repel water and remain easy to clean. A general-purpose adhesive should not be assumed to work over glazed ceramic or porcelain.
Choose a product that is explicitly suitable for:
- Tile-over-tile installation
- The existing tile type
- The new tile type
- The wall or floor location
- Interior, exterior, dry, or wet-area conditions
- The expected combined weight of the installation
Check both the adhesive requirements and the wall’s weight limits. Even a strong bond cannot compensate for a weak substrate. The calculation must account for the original tile, its bonding material, the new adhesive, and the new tile—not just the weight of the visible finish.
Preparation usually begins with a thorough cleaning. Bathroom tiles may hold soap residue, oils, limescale, sealers, or cleaning-product films that interfere with adhesion. Clean the entire surface, rinse away remaining residue, and allow it to dry.
Depending on the approved system, preparation may also require a compatible bonding primer or another method specified by the adhesive manufacturer. Do not assume that aggressively grinding every tiled surface is necessary or safe, particularly when unidentified old adhesive may be present underneath.
Porcelain tiles can generally be installed over existing ceramic tiles when all the main conditions are met:
- The ceramic tiles are firmly bonded.
- The wall is stable enough for the additional weight.
- The old surface is clean and properly prepared.
- The adhesive is approved for both porcelain and tile-over-tile use.
- Wet-area waterproofing has been addressed separately.
- The extra thickness will not interfere with fittings or trims.
Porcelain is often dense and low in porosity, so adhesive compatibility is particularly important. Installation should follow the instructions for the chosen tile and bonding system rather than relying on the old ceramic surface alone.
Handle Black Mastic Safely
Old black mastic can raise concerns about asbestos. It should not be casually sanded, scraped, or ground, because disturbing unidentified material may create an exposure risk.
Advice about installing over mastic varies. Some approaches use a suitable fortified mortar, while others require the old adhesive to be sealed with a compatible primer or encapsulation product before tiling. Neither option should be selected without identifying the project requirements and confirming product compatibility.
If black mastic is present:
- Do not assume grinding is safe.
- Avoid disturbing it until the material has been appropriately assessed.
- Seek qualified professional guidance where asbestos may be a concern.
- Consider certified encapsulation products when they are approved for the situation.
- Confirm that any primer, encapsulant, mortar, and tile adhesive can be used together.
Encapsulation may avoid unnecessary disturbance, but it requires suitable products and knowledgeable application. If the condition or composition of the mastic is uncertain, professional assessment is preferable to trial-and-error preparation.
Explore Alternatives to Wall Tiles
Tile-over-tile is not the only way to update a bathroom wall. If the old surface is unstable, too uneven, or already affected by moisture, an alternative finish—or a complete rebuild—may provide a better long-term result.
Possible approaches include:
- Removing the old tiles and replacing the damaged substrate
- Rebuilding the wet area with suitable backer boards and waterproofing
- Retiling only after the wall has been repaired
- Using a wet-area wall-covering system approved for the location
- Installing decorative wall panels over a suitable existing surface
- Using a suitable painted or decorative finish outside direct wet areas
The right option depends on wall condition, location, moisture exposure, appearance, and available depth around fixtures. Removing tiles creates more work initially, but it also provides access to hidden damage and allows the waterproofing system to be rebuilt correctly.
For areas outside the shower, other finishes may reduce installation complexity. Inside a shower, however, any alternative must be intended for sustained wet-area use and installed as a complete, compatible system.
Consider Wall Panels Instead
Wall panels can be a practical alternative when homeowners want to cover existing tiles without adding another tiled layer. Some panel systems are designed to fit over a sound, prepared tiled wall, reducing demolition and creating a new visible finish.
Because panels can have fewer exposed joints than a wall made from many individual tiles, a correctly installed system may help reduce places where moisture and residue build up. This can also make routine cleaning simpler. However, joints, corners, edges, and plumbing penetrations still need to be sealed according to the panel system’s instructions.
Before installation, confirm that:
- The existing tiles are firmly attached.
- The wall is stable and reasonably even.
- There is no unresolved water damage.
- The panel adhesive is compatible with the existing tile.
- The system is approved for a shower or other intended wet area.
- The added thickness will work around fixtures and edges.
Wall panels are intended for walls, not as a substitute for floor tiles. They should not be laid over a bathroom or shower floor unless a product is specifically designed and approved for that purpose.
Ultimately, the answer to can you tile over existing tiles depends on what is beneath the visible surface. When the wall and old tiles are sound, the waterproofing remains reliable, and compatible materials are used, tile-over-tile can save time and reduce disruption. When stability, moisture, mastic, or weight is uncertain, repairing or rebuilding the wall is the safer approach.