How to Clean a Bathroom Mirror Without Streaks
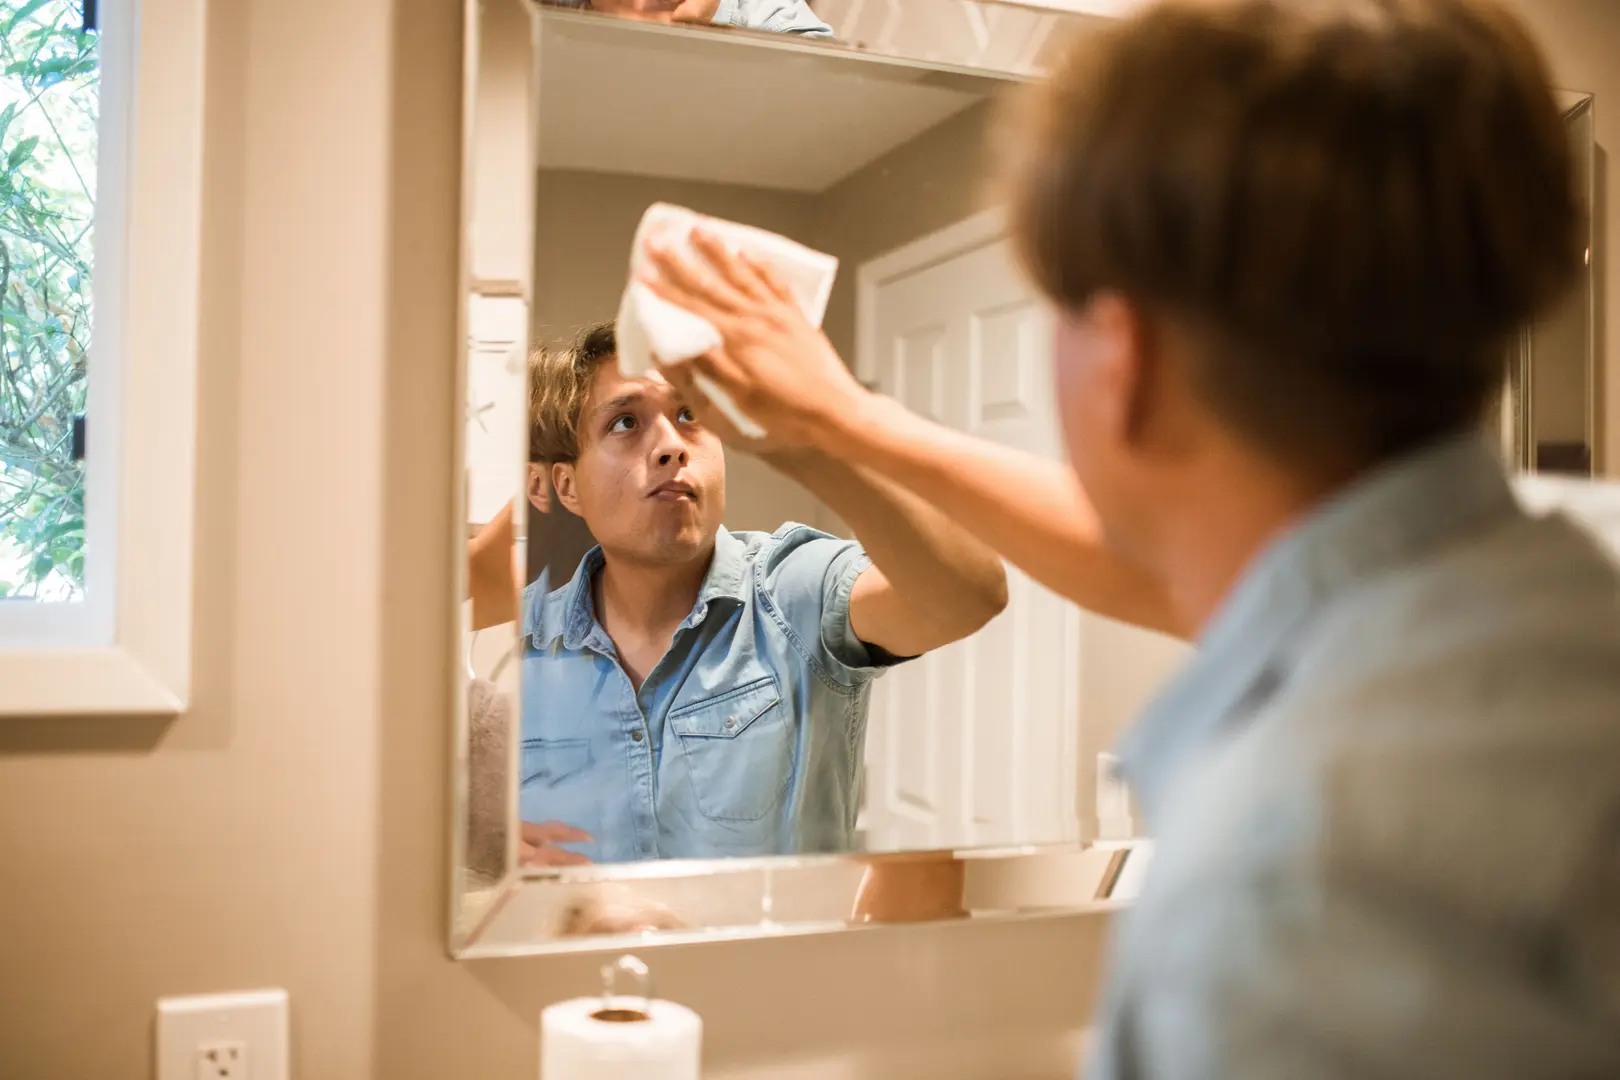
A clean bathroom mirror makes daily routines easier, but fingerprints, toothpaste spots, steam, and leftover cleaner can quickly dull the reflection. Learning how to clean a bathroom mirror without streaks is less about using a powerful product and more about controlling how much cleaner you apply, working methodically, and buffing the surface carefully.
Best Practices for Streak-Free Mirror Cleaning
A vinegar-and-water solution is a practical starting point for routine mirror cleaning. However, vinegar is not automatically streak-free. Applying too much, letting the solution dry unevenly, or leaving residue behind can create the cloudy lines you were trying to remove.
For dependable results, gather:
- A vinegar-and-water cleaning mixture
- A spray bottle
- Two clean, soft cloths
- A squeegee, if desired
Then follow this process:
Inspect the mirror before cleaning. Look for fingerprints, toothpaste splashes, water spots, and sticky marks. Identifying problem areas first prevents you from repeatedly wiping the entire mirror.
Apply the solution sparingly. Lightly spray the vinegar mixture rather than saturating the glass. Heavy application makes it harder to remove all the liquid before it begins to dry.
Start at the top. Clean the mirror from top to bottom so that drips move into areas you have not yet finished. This creates a more orderly process and reduces the need to reclean sections.
Use controlled wiping motions. Move across the mirror systematically, slightly overlapping each pass. Avoid random wiping, which can spread cleaner back over areas that are already dry.
Remove remaining solution. If vinegar tends to leave streaks on your mirror, go over the surface again with a clean cloth lightly dampened with water. Vinegar can work well, but failing to remove leftover cleaner may result in visible residue.
Buff with a second clean, soft cloth. The final buff removes lingering moisture and faint marks. A cloth already damp with cleaning solution is less effective for this step, so switch to a fresh one.
Check the mirror from an angle. Do not rely only on a straight-on view. Stand to one side and look across the glass, preferably from more than one angle. Streaks that disappear when viewed directly can become obvious from the side.
A squeegee can also help produce an even finish. Begin near the top and draw it downward in steady passes. Wipe the squeegee blade between passes so it does not transfer moisture back onto the mirror. Finish by buffing any lines or wet areas with a soft cloth.
If streaks continue to appear, consider the process before adding more cleaner. Common causes include:
- Spraying too much cleaning solution
- Allowing the cleaner to dry on the surface
- Wiping with a cloth that already contains residue
- Skipping the final buff
- Cleaning in an inconsistent pattern
- Using vinegar without removing the remaining solution
It is often better to make a second light pass than to soak the mirror during the first pass. If a vinegar mixture produces a cloudy finish, wipe the mirror with a water-dampened cloth and buff it dry. This careful use of vinegar addresses a common frustration: the cleaner may be effective, but the technique determines whether the result looks clear.
For frequent touch-ups, focus only on visible spots instead of spraying the full mirror every time. Use a small amount of cleaner on the affected section, wipe it away, and buff the area so it blends with the rest of the surface. This limits product buildup and makes routine cleaning faster.
The condition of the cloth matters as well. A clean, soft cloth can lift moisture and polish the surface, while a cloth carrying old cleaner may simply redistribute it. Keep the cloth used for wet cleaning separate from the one used for dry buffing.
When you finish, inspect the top corners, lower edge, and areas around obvious splashes. These are easy to overlook when standing directly in front of the sink. A final angled check is the simplest way to catch missed moisture, dull patches, or narrow streaks before putting away your supplies.
Preventing Mirror Fogging: Effective Techniques
Mirror fogging is caused by the humid conditions created during a hot shower. Even a freshly cleaned mirror may become difficult to use immediately afterward when steam settles on the surface. Reducing the amount of humidity in the room can improve visibility and make the mirror usable sooner.
If your bathroom has a working exhaust fan, turn it on while showering. The fan helps move humid air out of the room instead of allowing it to collect on the mirror and other bathroom surfaces. Leaving the fan off until after the shower gives steam more time to build up, so start it before or when you begin showering.
Ventilation is also helpful beyond mirror visibility. Reducing lingering humidity makes the room feel less damp and addresses the conditions associated with persistent moisture. The effectiveness of this approach depends on having a functioning bathroom fan, so a fan that does not move air properly will offer limited help.
For immediate steam removal, use a squeegee on the mirror. Pull it across the surface in smooth passes, working from the top down. This removes condensed moisture without spreading it around as much as repeated wiping may. Buff any remaining lines or droplets with a clean, soft cloth.
Some people apply car wax to a bathroom mirror as an anti-fog measure. It can help keep the surface clearer for longer, but it is not a permanent treatment. The coating may need to be reapplied over time as its effect diminishes. Follow the directions for the specific product rather than applying a heavy layer, and buff the mirror carefully after use.
A practical fog-reduction routine may look like this:
- Turn on the bathroom fan while showering.
- Keep the fan running as needed to reduce lingering humidity.
- Use a squeegee if the mirror is still covered in condensation.
- Buff away remaining moisture with a clean cloth.
- Reapply any car-wax treatment when it no longer performs as expected.
Cleaning and fog prevention should be treated as separate tasks. Cleaner removes marks and residue, while ventilation limits the steam that obscures the reflection. Spraying additional cleaner onto a fogged mirror does not address the humidity and can make wiping more difficult.
If you regularly need the mirror as soon as you leave the shower, prioritize ventilation first. A squeegee provides a quick backup when condensation still forms, while car wax is an optional treatment that requires occasional maintenance.
How to Get Sticky Residue Off a Bathroom Mirror
Ordinary vinegar-and-water cleaning may not remove stubborn sticky marks. Adhesive residue, cosmetic splashes, or other concentrated spots often need targeted treatment before the whole mirror is cleaned.
Rubbing alcohol is useful for these stubborn areas. Apply it with a cotton pad so you can work directly on the mark without covering the entire mirror.
Use the following method:
- Put a small amount of rubbing alcohol on a cotton pad.
- Press or wipe the pad over the sticky spot.
- Work on the residue gently until it begins to release.
- Use a fresh section of the pad as the residue transfers onto it.
- Wipe the treated area clean.
- Buff the mirror with a clean, soft cloth.
Targeted application is important. Pouring or spraying alcohol widely over the mirror is unnecessary when only one small area needs attention. A cotton pad gives you greater control and helps keep loosened residue from being spread across the glass.
If the mark does not come away immediately, repeat the localized treatment rather than scrubbing aggressively. Several careful passes are preferable to dragging the sticky substance over a larger area. Once the residue has lifted, clean the surrounding section with your regular vinegar-and-water mixture if necessary, remove any remaining cleaning solution, and buff the surface.
Marks that resemble plaque or cloudy deposits should also be approached gradually. First clean the area using the standard vinegar-and-water method. Wipe away the solution rather than leaving it to dry, then inspect the mirror from an angle. If a specific stubborn spot remains and appears sticky, treat that spot with rubbing alcohol on a cotton pad.
Checking from the side is especially useful after treating residue. The mirror may look clean from the front while a faint outline remains around the original mark. A final buff with a fresh cloth helps blend the treated section into the rest of the mirror.
Avoid using the same cotton pad after it becomes dirty. Once the pad collects adhesive or grime, continuing to rub with it can redeposit the material. Replacing it keeps each pass focused on lifting residue instead of moving it around.
How to Remove Tape Residue from a Bathroom Mirror
Tape can leave behind both paper or plastic fragments and a sticky adhesive layer. Pull off any loose tape gently, then use vegetable oil to loosen what remains.
Apply a small amount of vegetable oil to the tape or residue and allow it to work into the sticky material. Wipe gently with a soft cloth or cotton pad, repeating the application if needed. As the adhesive loosens, lift it away without forceful scraping.
A simple process is:
- Gently peel away any tape that releases easily.
- Apply vegetable oil to the remaining tape and adhesive.
- Work the oil over the residue without aggressive rubbing.
- Wipe away the loosened material.
- Repeat if small sticky areas remain.
- Clean off the oily film.
- Buff the mirror with a clean, soft cloth.
Do not use knives, blades, or other sharp objects to scrape the mirror. Even if an edge seems like a quick way to lift stubborn tape, it can scrape the surface. Vegetable oil offers a gentler way to soften the adhesive so it can be wiped away.
After the tape residue is gone, the oil itself may leave a visible film. Use the regular vinegar-and-water cleaning process to remove that film, working from the top of the treated section downward. If needed, follow with a water-dampened cloth so no cleaning solution remains. Finish by buffing with a separate clean cloth.
Inspect the area from an angle after it dries. This reveals traces of oil or adhesive that may not be obvious when viewed straight on. If you see a dull patch, repeat the cleaning and buffing step rather than reaching for a scraping tool.
Patience is particularly important with older or thicker tape residue. Apply vegetable oil again and continue wiping gently. Once the adhesive, oil, and cleaner have all been removed, the final dry buff should restore a clear, even reflection.