How to Clean a Faucet Aerator: A Step-by-Step Guide
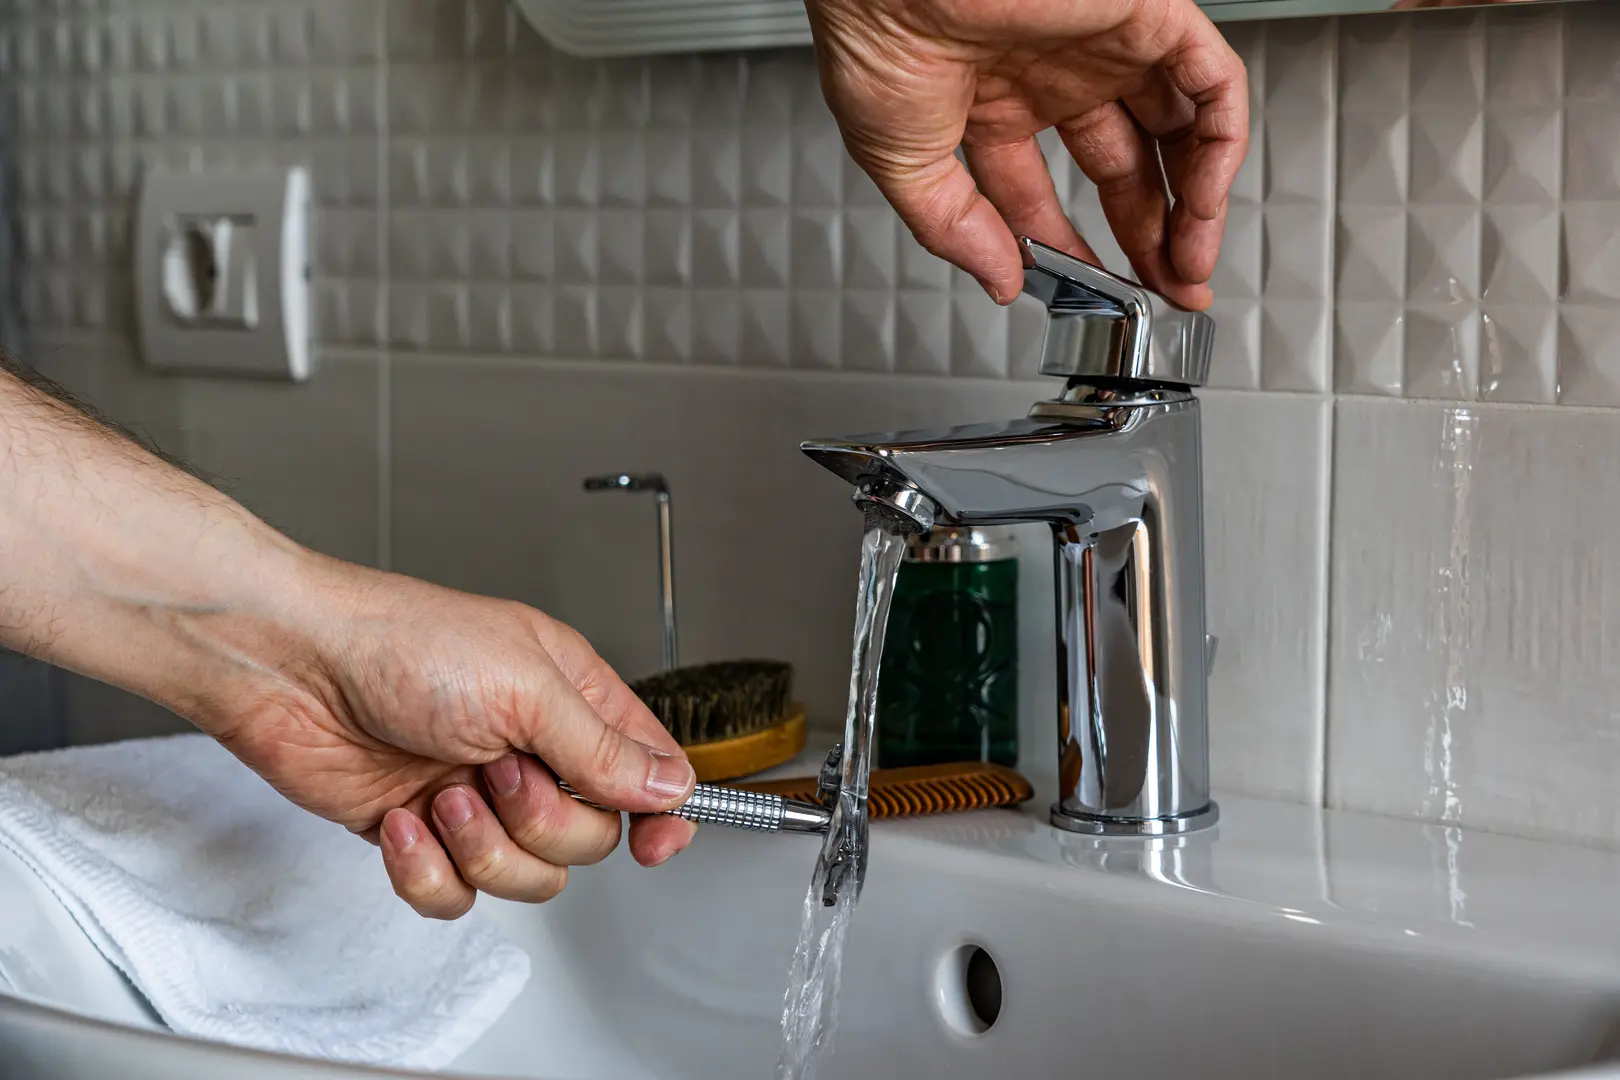
A faucet aerator is the small fitting at the end of a faucet spout. It mixes air into the water stream, helping produce an even, controlled flow. Over time, mineral deposits and other debris can clog its small openings, resulting in weak, uneven, or misdirected water.
Fortunately, learning how to clean faucet aerator components is straightforward. With a few common tools and a vinegar soak, you can clear the openings and restore normal water flow.
Tools and Supplies for Cleaning a Faucet Aerator
Gather the following items before starting:
- Pliers: Useful for loosening an aerator that cannot be removed by hand.
- Protective tape: Placed around the aerator or plier jaws to reduce the chance of scratching the finish.
- Small screwdriver: Helps loosen mineral buildup inside the exposed faucet spout.
- Needle: Clears individual openings and helps lift or handle the perforated disk.
- White vinegar: Dissolves mineral deposits on the aerator components.
- Old toothbrush: Scrubs away softened deposits after soaking.
- Small container: Holds the vinegar and disassembled parts.
- Aerator key or strap wrench: A safer option for removing certain stuck aerators without gripping the cap directly with pliers.
The vinegar does most of the work by softening and dissolving hard mineral buildup. The toothbrush, screwdriver, and needle help remove debris that remains in small spaces.
Because an aerator contains several small components, work over a clear surface and place the pieces where they will not be lost. It can also help to arrange them in order as they come out.
A Detailed Faucet Aerator Cleaning Method
A complete cleaning involves more than soaking the visible end of the faucet. For the best results, remove the aerator, clean the exposed spout, separate the aerator parts, soak and scrub them, and then reinstall everything in the correct order.
Step 1: Loosen and Remove the Aerator
Start by trying to unscrew the aerator by hand. Grip the outer housing at the tip of the faucet and turn it until it loosens. If mineral deposits have accumulated around the threads, the housing may be difficult to move.
When hand pressure is not enough, use pliers carefully:
- Wrap protective tape around the aerator housing or the jaws of the pliers.
- Grip the housing without crushing or deforming it.
- Turn the aerator slowly to loosen it.
- Once it begins moving, finish unscrewing it by hand.
Avoid applying more force than necessary. The aerator cap is visible after reinstallation, so scratches and dents can affect the faucet’s appearance. Excessive pressure can also make reassembly more difficult.
As you remove the housing, be ready to catch the internal parts. Depending on the design, components may remain inside the cap or rest near the opening of the faucet.
How to Prevent Damage When Removing Aerators
A stuck aerator is one of the most common difficulties in this project. Although standard pliers provide a strong grip, using them directly on the cap can leave tooth marks, scratches, or other visible damage.
For a stubborn aerator, consider using:
- An aerator key: Designed to fit compatible aerators, including models that sit partly or completely inside the faucet tip.
- A strap wrench: Grips the housing with a strap rather than metal jaws, reducing direct contact with the finish.
- Tape-covered pliers: A practical alternative when a key or strap wrench is unavailable.
Use an aerator key that fits the installed component. If using a strap wrench, position the strap securely around the housing and apply steady pressure rather than sudden force.
These tools can make removal easier while protecting the finish, but they may not work if the aerator is excessively corroded. In that situation, avoid repeatedly crushing or twisting the cap with bare pliers. A badly deteriorated component may not come apart cleanly.
Step 2: Clear the Faucet Spout
After removing the aerator, inspect the exposed end of the faucet. Mineral flakes and loose debris may remain in the spout or around its threads. If this material is ignored, it can enter the freshly cleaned aerator after reinstallation.
Use a small screwdriver to loosen visible buildup carefully. Work around the opening without forcing the screwdriver deeply into the faucet. The goal is to dislodge accessible deposits, not scrape the finish aggressively.
Next, run water briefly to flush loose material from the spout. Watch for mineral particles or other debris coming out. Continue until the visible loose material has been cleared.
This step is important because cleaning only the aerator does not address debris sitting immediately behind it. Flushing the spout helps prevent the openings from becoming clogged again as soon as the faucet is used.
Step 3: Take the Aerator Apart Carefully
Place the removed aerator on a clean, flat surface. Separate the housing and internal components one at a time. An aerator may contain a screen, perforated disk, insert, and washer or gasket.
The exact arrangement can vary, so pay close attention to:
- The order of the components
- Which side of each part faces the faucet
- Which side faces the sink
- Where the washer or gasket sits
Arrange the pieces in a row as you remove them. You can also take a quick reference photo before separating them. Correct positioning matters because reversing a screen, disk, or washer can interfere with the water stream or cause leaking.
Use a needle to lift or handle the perforated disk if it is difficult to reach. Work gently so that the small openings and edges are not bent. Do not force pieces apart if deposits are holding them together; the vinegar soak will help loosen the buildup.
Step 4: Soak the Components in Vinegar
Put the disassembled parts in a small container and add enough white vinegar to submerge them fully. Separating the components allows the vinegar to reach deposits between layers and inside the small openings.
Soak the parts for 2 to 24 hours, depending on the amount of buildup. Light deposits may loosen after a shorter soak, while heavier mineral accumulation may require more time.
Vinegar is particularly useful for aerator cleaning because it dissolves mineral deposits that are difficult to remove by rinsing alone. During the soak, you may notice the buildup beginning to soften or separate from the components.
Make sure all affected surfaces remain in contact with the vinegar. If pieces overlap tightly in the container, rearrange them so the liquid can reach both sides.
Step 5: Scrub Away Remaining Deposits
Remove the components from the vinegar and scrub each one with an old toothbrush. Pay particular attention to the screen, perforated disk, edges, and any recesses where residue remains.
Follow these steps:
- Brush both sides of every component.
- Inspect the openings under good light.
- Use a needle to clear stubborn residue from individual holes.
- Rinse the parts with clean water.
- Inspect them again and repeat the brushing if necessary.
The small perforations need to be open for the aerator to create an even stream. A component may look clean at first glance while still having several blocked holes, so examine it closely.
Use the needle carefully rather than forcing it through an opening. The purpose is to dislodge softened residue without enlarging, bending, or damaging the perforations.
Before reassembly, rinse away both the loosened deposits and the remaining vinegar. The parts should be visibly clear of mineral flakes and other debris.
Step 6: Reassemble and Reinstall the Aerator
Reassemble the aerator in the reverse order used during disassembly. Use your arranged parts or reference photo to confirm that every screen, disk, insert, and washer is in its original position.
Once the internal components are seated properly:
- Place the aerator housing against the faucet tip.
- Align the threads carefully.
- Turn the housing by hand.
- Tighten it until secure, but do not overtighten.
- Run the faucet and observe the water stream.
- Check around the connection for leaks.
Hand-tightening is generally the best approach during reinstallation. Starting the threads at an angle can prevent the housing from seating correctly, so stop and realign it if it does not turn smoothly.
If water leaks around the aerator, turn off the faucet and check the component order. Make sure the washer is seated properly, then reinstall the housing and test it again.
A successful cleaning should leave the water flowing evenly through the openings without spraying sideways or leaking around the aerator housing.
How to Clean a Faucet Aerator Without Removing It
If the aerator cannot be removed, you can clean the exposed portion while it remains attached. This method uses a vinegar-filled bag to keep the faucet tip submerged.
To clean an installed aerator:
- Pour enough white vinegar into a small plastic bag to cover the faucet tip.
- Position the bag so the aerator is submerged.
- Secure the bag around the spout.
- Allow the aerator to soak.
- Remove the bag and scrub the visible openings with a toothbrush.
- Use a needle carefully to clear accessible holes.
- Run the water to flush away loosened material.
This approach can soften deposits around the outside and inside the visible openings. It is useful when immediate removal is not practical.
However, it is less effective than taking the aerator apart. The vinegar may not reach mineral deposits trapped between internal screens or components, and you cannot inspect every opening. The method also leaves debris in the faucet spout unaddressed.
If water flow remains uneven after an external soak, remove and disassemble the aerator when possible for a more complete cleaning.
Common Faucet Aerator Cleaning Mistakes to Avoid
Small errors can result in a scratched finish, incomplete cleaning, or leaks after reinstallation. Avoid these common mistakes:
- Using unprotected pliers: Metal jaws can leave marks on the aerator cap. Use an aerator key, strap wrench, or tape-covered pliers.
- Applying too much pressure: Crushing or deforming the housing can make it difficult to reinstall.
- Soaking only the assembled aerator: Mineral deposits can remain trapped between screens and disks. Disassemble the unit so vinegar can contact each component.
- Forgetting the component order: Reversed or misplaced parts may affect the water stream. Arrange the pieces in order or take a reference photo.
- Ignoring the faucet spout: Debris left in the spout can move directly into the cleaned aerator. Loosen accessible buildup and flush the spout before reattachment.
- Leaving some openings blocked: Inspect the perforated pieces closely and use a needle for stubborn residue.
- Reattaching without rinsing: Rinse away loosened deposits before putting the parts back together.
- Overtightening the housing: Reinstall the aerator by hand and check that it is threaded correctly.
- Skipping the leak check: Run the water after installation and inspect the connection.
For ongoing maintenance, consider cleaning the aerator every three to six months. Faucets that show recurring buildup or uneven flow may need attention sooner.
FAQs
Can I clean a faucet aerator without removing it?
Yes. Fill a small bag with vinegar, secure it around the faucet tip, and keep the aerator submerged. After soaking, remove the bag, scrub the visible openings with a toothbrush, and flush the faucet with water.
This is a convenient alternative, but it is not as thorough as removing and disassembling the aerator. Internal components may still hold mineral deposits or debris.
How do I remove hard water deposits from a faucet aerator?
Remove and disassemble the aerator, then soak its components in white vinegar for 2 to 24 hours. Scrub the softened buildup with a toothbrush and use a needle to clear residue from individual openings. Rinse every part before reassembly.
For heavy buildup, make sure the components are fully submerged and separated so the vinegar can reach all surfaces.
How can I tell whether a faucet aerator is clogged?
Common signs include:
- Reduced water flow
- An uneven stream
- Water spraying in different directions
- Visible mineral buildup around the faucet tip
- Some aerator openings producing little or no water
These symptoms can occur when mineral deposits or debris block the screen and perforated disk. Removing, soaking, and scrubbing the components can restore the openings.
How do I remove a stuck faucet aerator?
First, try loosening it by hand. If it does not move, use a compatible aerator key or a strap wrench. These tools can provide grip without placing metal jaws directly against the cap.
If pliers are necessary, protect the finish with tape and apply slow, controlled pressure. Removal tools may be ineffective when an aerator is excessively corroded, so avoid repeatedly gripping the cap hard enough to crush or deform it.
How often should a faucet aerator be cleaned?
Cleaning every three to six months is a practical maintenance schedule. You can also clean it whenever the water stream becomes weak, uneven, or misdirected. Regular cleaning helps prevent mineral deposits and debris from significantly obstructing water flow.