How to Clean a Shower Head with Vinegar
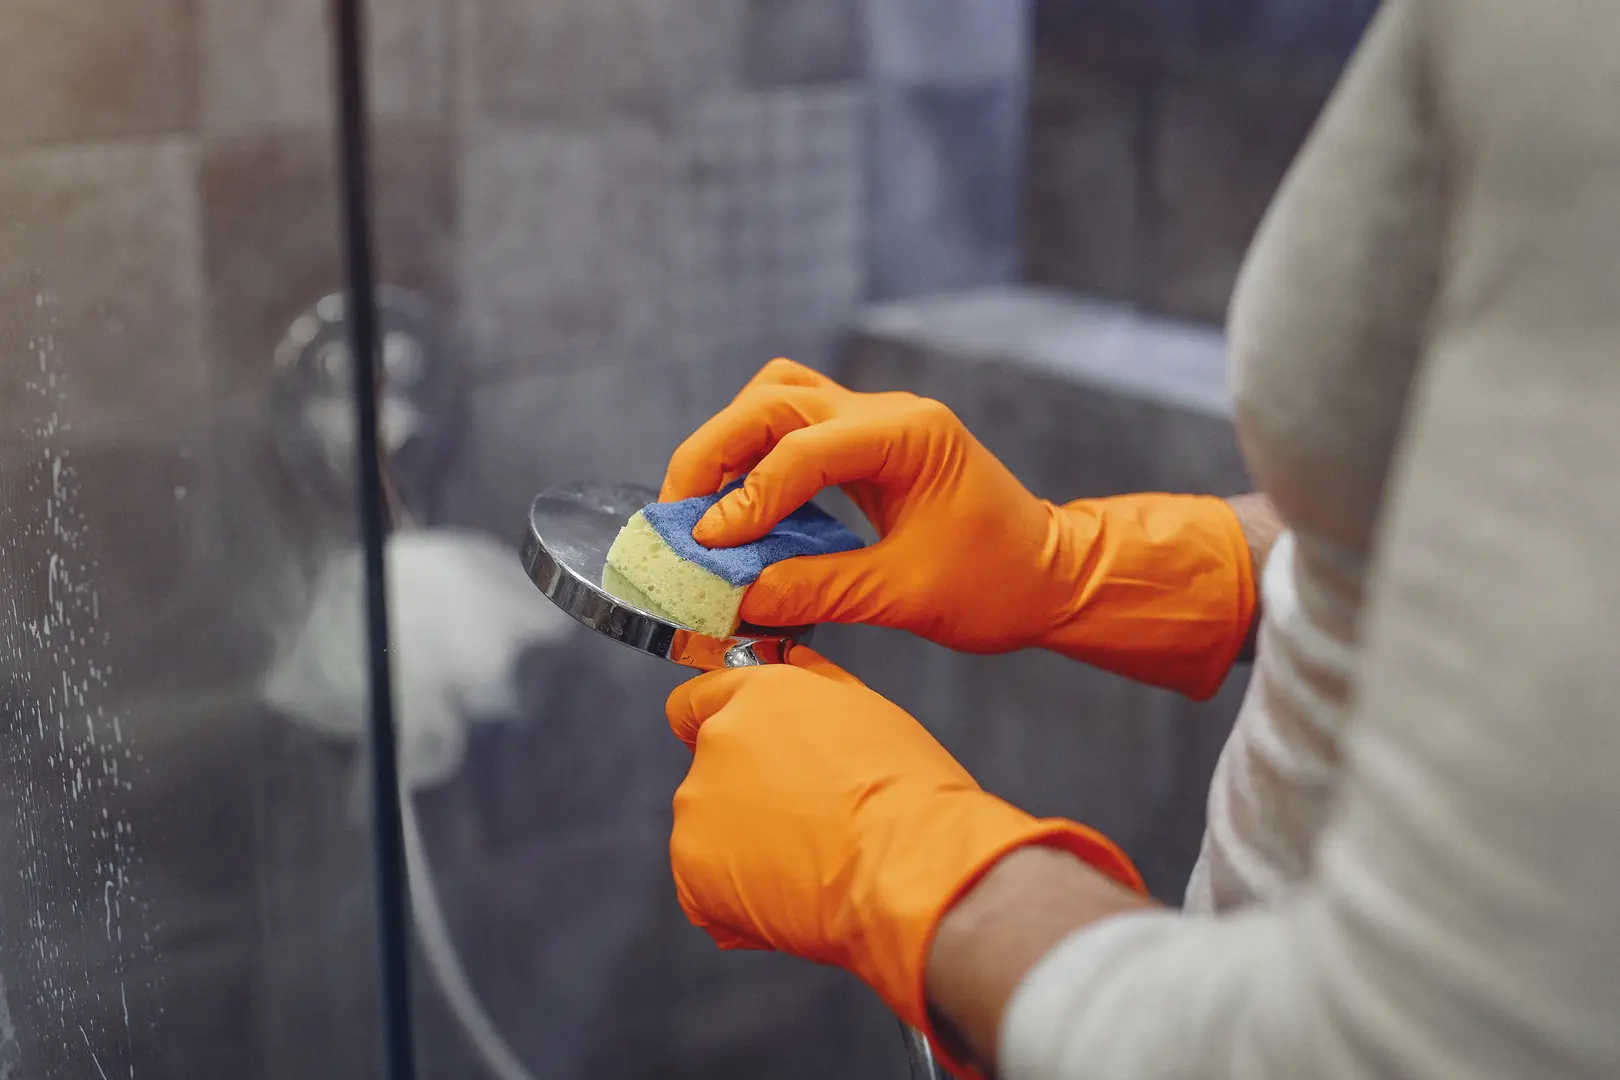
A shower head can look clean while mineral deposits, soap residue, and microbial growth collect around its nozzles. Over time, this buildup may reduce water flow and leave the fitting looking dull. If you are researching how to clean shower head vinegar, the key is to soak the affected parts long enough to loosen the deposits, then scrub and rinse them thoroughly.
Before cleaning, check the manufacturer’s care instructions. Vinegar is suitable for many shower heads, but prolonged contact may damage certain delicate, plated, or specialty finishes.
Why Shower Heads Become Dirty
A shower head is repeatedly exposed to water, bathing products, and warm, humid air. Several kinds of residue can therefore develop at the same time:
- Hard-water limescale collects as water evaporates.
- Mineral deposits gradually form in and around the spray holes.
- Soap scum reaches the fitting through splashes and product residue.
- Mould and other microbial growth may develop in persistently damp areas.
These deposits can make the nozzles look discoloured or crusty. They may also interfere with the spray pattern, causing water to come out unevenly or in unexpected directions.
Cleaning the visible surface alone may not solve the problem. Soaking gives vinegar time to reach the small openings and recessed areas where ordinary wiping is less effective.
Understanding Limescale Buildup
Limescale consists of naturally occurring mineral deposits left behind by water. It is especially noticeable in hard-water areas, although mineral buildup can occur wherever a shower head is used regularly.
Deposits become more apparent when water is not flowing and the remaining droplets dry on the surface. Repeated wetting and drying gradually produce a hard layer around the nozzles and faceplate.
Limescale usually appears:
- White or pale in colour
- Dry and crusty
- Concentrated around spray holes
- Difficult to remove with wiping alone
Vinegar helps loosen mineral deposits so that they are easier to scrub away. However, soaking does not always remove every crusty patch by itself. Gentle scrubbing after the soak is often needed, particularly where the buildup is thick.
Avoid aggressively scraping the shower head with a sharp object. This could scratch the finish or damage flexible nozzles.
How Soap Scum Forms
Soap scum comes from the soaps, shampoos, conditioners, and other products used during bathing. Splashes carry small amounts of these products onto the shower head, where they can combine with moisture and mineral residue.
Unlike dry limescale, soap scum may look slimy, greasy, or coloured. It can form on any shower fitting exposed to bathing products, regardless of the type of soap used.
Soap residue may also trap other dirt, making the shower head look dull even when mineral buildup is limited. Regular wiping helps prevent this layer from becoming thick. For more persistent scum, bicarbonate of soda provides mild abrasive action when made into a paste.
Black Mould in Damp Shower Areas
Dark patches around a shower head, pipe connection, grout, or nearby sealant may indicate black mould or another form of microbial buildup. Warm, damp environments provide favourable conditions for this type of growth.
Legionella bacteria are also associated with warm water systems and can present health concerns when contaminated water droplets are inhaled. Legionella is a bacterium rather than a type of black mould, so the two should not be treated as the same organism. Their presence is linked by the fact that neglected, damp water environments can support unwanted microbial growth.
Routine vinegar cleaning can help remove visible surface mould and residue, but it should not be considered a guaranteed treatment for Legionella contamination. If there is extensive recurring growth, a serious water-system concern, or a health warning related to the building’s water supply, seek appropriate professional advice.
When cleaning visible mould, keep the room ventilated and avoid disturbing the deposit more than necessary.
Pink Mould and Where It Grows
The pink or reddish film sometimes found in showers is commonly associated with Serratia marcescens. Despite its usual name of “pink mould,” it is a bacterium rather than a true mould.
It thrives in moist, warm areas and may appear around shower nozzles, drains, tile joints, curtains, and other surfaces that remain wet. Although it is generally not harmful to most healthy people, it may cause infections in some circumstances. It should therefore be removed rather than ignored.
Cleaning the shower head regularly and allowing the surrounding area to dry can limit the accumulation of the damp residue on which this growth thrives.
How Frequently to Clean a Shower Head
A useful routine is to clean the shower head with vinegar once a month and give its exterior a quick scrub every week. Weekly attention removes fresh surface residue before it develops into a stubborn layer, while the monthly soak targets buildup in and around the nozzles.
You may need to clean sooner if you notice:
- A weaker or uneven spray
- White crust around the water outlets
- Slimy or coloured residue
- Dark or pink patches
- A dull surface that does not improve with wiping
The ideal schedule will depend on the water supply, how frequently the shower is used, and how quickly the fitting dries. A shower head in a hard-water area may develop visible deposits more quickly.
After showering, keeping the room ventilated and wiping accessible surfaces can help reduce lingering moisture. These habits do not replace cleaning, but they make the weekly and monthly routine easier.
Choosing Between Vinegar and Bicarbonate of Soda
Vinegar and bicarbonate of soda are both accessible cleaning options, but they work best in different situations.
| Cleaning option | Best suited to | How it is used |
|---|---|---|
| Vinegar | Mineral deposits, visible mould, and general soaking | Submerge the shower head or secure a vinegar-filled bag around it |
| Bicarbonate of soda | Limescale and soap scum that need scrubbing | Mix with water to make a paste, apply, scrub, and rinse |
Vinegar is useful when the shower head needs to soak. It helps loosen mineral residue and can assist with removing visible mould. Bicarbonate of soda is better suited to a hands-on scrubbing method because its paste can be worked over crusty or greasy areas.
Both options are natural and widely available, but “natural” does not mean suitable for every material. Some manufacturers advise against vinegar because its acidity may affect particular finishes or components. Check the shower head’s cleaning instructions before leaving it in vinegar overnight.
Also protect nearby delicate surfaces, including specialty tile, natural stone, porcelain, or plated fittings, from unnecessary exposure. Wipe up drips promptly and use only a cleaning method approved for the surrounding materials.
Vinegar Cleaning Methods for a Shower Head
There are two main approaches: remove the shower head and soak it in a container, or leave it attached and secure a bag of vinegar around it.
Direct removal generally allows for more complete cleaning because the entire head can be submerged and inspected. The bag method is more convenient when the fitting is difficult to detach, but the contact may be less even.
Whichever method you choose, the basic process is the same:
- Expose the affected areas to vinegar.
- Leave the shower head to soak overnight.
- Rinse away the vinegar thoroughly.
- Gently scrub any remaining deposits.
- Run water through the shower head before normal use.
Do not proceed if the manufacturer warns against vinegar. Use an approved alternative instead.
Non-Invasive Cleaning Methods
Some shower heads cannot be removed easily. Others may have tight connections, integrated pipes, or fittings that the user does not want to disturb. Forcing the connection could damage the fixture or create a leak.
A plastic bag makes it possible to soak the nozzles without detaching the head. The bag is filled with enough vinegar to cover the affected face, then secured around the neck or pipe.
This option has several advantages:
- No plumbing connection needs to be opened.
- It requires less handling of the fitting.
- The nozzles can remain in contact with vinegar overnight.
- It is practical for fixed shower heads.
Its main limitation is that the shower head may not be completely submerged. The vinegar can also sit unevenly if the bag shifts. For this reason, direct soaking may deliver a more thorough result when safe removal is possible.
Make sure the bag is supported and securely fastened. It should not pull heavily on the shower head or place strain on the connection.
Method One: Detach and Soak the Shower Head
Removing the shower head gives you access to its face, edges, connection, and other areas that are difficult to reach while it is mounted.
- Check the care instructions. Confirm that the material and finish can tolerate vinegar and that the shower head is designed to be removed.
- Detach the shower head carefully. Loosen it without forcing the pipe or scratching the finish. If it does not move easily, consider using the non-removal method instead.
- Place it in a suitable container. Choose one that allows the affected parts to remain submerged.
- Add vinegar. Use enough to cover the shower head, particularly the face and blocked nozzles.
- Leave it overnight. The soak gives the vinegar time to loosen mineral buildup and surface residue.
- Remove and rinse it thoroughly. Wash away both the vinegar and the loosened debris.
- Scrub remaining deposits. Use a soft cleaning brush or cloth on the nozzles and crevices. Avoid harsh scraping that might damage the surface.
- Rinse again. Continue until no loosened residue remains.
- Reattach the shower head carefully. Make sure the connection sits correctly to reduce the risk of leaks.
- Run the shower. Flush clean water through the head and check the connection for dripping.
The main benefit of removal is thorough access. You can rotate the shower head during soaking and inspect it before putting it back. The disadvantages are the extra effort and the possibility of disturbing the connection. If you are uncertain about removing the fitting, the bag method is the safer practical choice.
Method Two: Clean It Without Removal
To clean a fixed shower head, use a strong plastic bag that can hold the vinegar without leaking.
- Check the shower head’s care guidance. Do not use vinegar if the manufacturer advises against it.
- Pour vinegar into the bag. Add enough to submerge the nozzle area once the bag is raised into position.
- Place the bag over the shower head. Adjust it so the dirty face and spray holes are covered.
- Secure the bag. Fasten it around the shower arm or neck without putting excessive weight on the fitting.
- Leave it overnight. Check that the bag remains stable and that vinegar is not dripping onto sensitive surfaces.
- Remove the bag carefully. Lower it slowly to avoid spilling the used vinegar.
- Rinse the shower head. Run water through it to flush away vinegar and loosened deposits.
- Scrub if needed. Gently work over stubborn areas with a soft brush or cloth, then rinse again.
- Dry and polish the exterior. Wiping the shower head reduces watermarks and restores its appearance.
If some nozzles remain blocked, repeat the process if the manufacturer permits it. Persistent deposits may require direct removal or a bicarbonate paste applied to accessible areas.
Cleaning a Shower Head with Bicarbonate of Soda
Bicarbonate of soda is a useful alternative when limescale or soap scum needs gentle scrubbing rather than an extended vinegar soak. It can also be used when vinegar is unsuitable, provided the manufacturer approves bicarbonate for the finish.
To clean with bicarbonate of soda:
- Make a paste. Combine bicarbonate of soda with a small amount of water. The mixture should be thick enough to stay on the shower head.
- Apply it to the buildup. Spread the paste over crusty nozzles, soap scum, and other accessible deposits.
- Leave it in place briefly while you prepare to scrub. Do not allow the paste to spread onto surfaces that require different care.
- Scrub gently. Use a soft brush or cloth to work the paste into the affected areas.
- Rinse thoroughly. Remove all traces of the paste from the surface and spray holes.
- Run clean water through the shower head. This helps clear any loosened material.
- Inspect and repeat if necessary. Stubborn buildup may require another application.
Use the vinegar and bicarbonate methods separately so that each cleaner can perform its intended role. Vinegar is the better choice for soaking and visible mould removal, while bicarbonate paste provides scrubbing action for limescale and soap scum.
Once the shower head is clean, maintain it with weekly surface scrubbing and a monthly deep clean. This simple schedule helps keep the nozzles clear, the spray even, and mineral or microbial buildup under control.