How to Clean a Shower with Vinegar: Surfaces, Mixes, and Methods
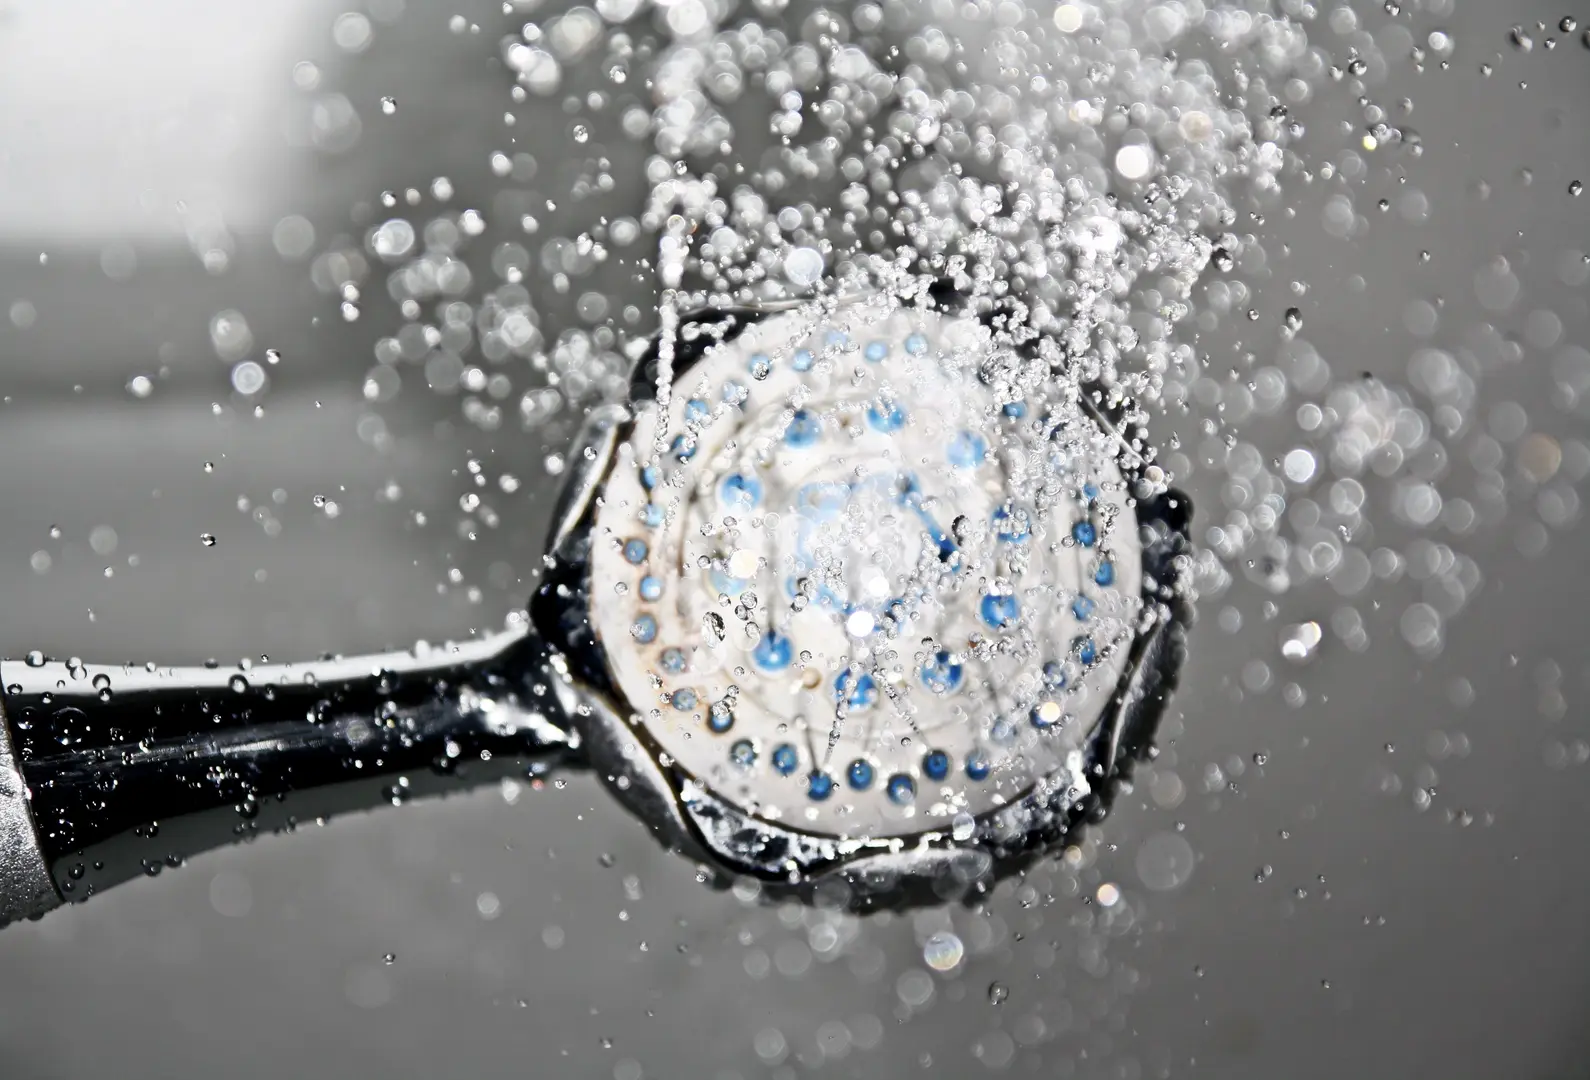
Showers collect grime faster than almost any other room in the house. Steam, soap, shampoo, and hard water leave behind a film that settles on tile, glass, faucets, and shower heads. If that film stays too long, it turns into chalky spots and slippery stains that take real effort to remove.
Vinegar offers a simple way out. It is a cheap staple found in most kitchens, it works on a wide range of bathroom surfaces, and it does not flood the room with strong chemical fumes. This guide explains how to clean a shower with vinegar, from basic daily wipe-downs to deeper treatments for glass, grout, metal, and porcelain.
The following sections cover the right vinegar to choose, the best mixes for each task, and the surfaces that are better off with a different cleaner.
What Makes Vinegar a Useful Bathroom Cleaner
The active ingredient in vinegar is acetic acid. It is a mild acid, but it is strong enough in household vinegar to break up the alkaline minerals in hard water spots and soap scum. When you wipe a shower wall with vinegar, the acid loosens the bond between the residue and the surface, so the dirt lifts away instead of simply smearing across the tile.
Vinegar also has a place in the disinfecting side of a bathroom routine. It can help reduce the level of bacteria and mold spores on hard surfaces, although it should not be treated as a replacement for a disinfectant in cases where illness or heavy contamination is a concern. For everyday cleaning of a family shower, it provides a useful level of support.
Cost and environmental impact make vinegar attractive as well. A bottle of white vinegar costs a fraction of what you might pay for a single commercial cleaner, and one bottle can handle several jobs. Because it breaks down naturally and does not release the kind of fumes found in some chemical sprays, it suits households that want a lighter cleaning footprint.
Selecting the Best Vinegar for Shower Cleaning
White distilled vinegar is the best option for shower cleaning. It is clear, widely available, and inexpensive. The lack of color matters because amber vinegar can leave light stains on pale grout or porous bathroom surfaces. White vinegar removes buildup without adding a stain of its own.
The level of acidity in normal white vinegar is around 5 percent. That level gives it enough strength to handle soap film and limescale, which puts it in the same range as many commercial bathroom sprays. Stronger cleaning vinegars exist, but they are not necessary for routine shower cleaning in most homes.
When white vinegar is not on hand, apple cider vinegar and white wine vinegar are reasonable substitutes as long as they are diluted. Their acetic acid content works the same way, though they have their own color and a stronger odor. If the smell is a concern, you can add a few drops of essential oil, such as lemon or tea tree oil, to a vinegar spray bottle. The oil masks the vinegar smell and brings a fresher scent to the bathroom.
What to Mix with Vinegar for Shower Cleaning Tasks
A 50/50 mixture of vinegar and water is the default cleaner for most shower surfaces. You can mix it directly in a spray bottle and keep it near the shower for quick cleanups. The mixture is strong enough to cut soap scum but gentle enough for frequent use.
Depending on the task, a few other ingredients make valuable partners:
- Baking soda — Adds a soft abrasive action that is ideal for scrubbing tubs and toilets.
- Lemon juice — Boosts the acid level, making the solution more effective on faucets with hard water buildup.
- Rubbing alcohol — Evaporates quickly and helps create a streak-free finish on glass shower panels.
- Undiluted vinegar — The right choice for shower heads and fixtures covered in heavy mineral deposits.
Each of these pairings appears again in more detail below. It may help to think of vinegar as the base for a small, versatile cleaning kit rather than as a single product.
Removing Bathroom Mold with Vinegar
Mold finds its way into the corners of almost every shower. A spray bottle filled with white vinegar gives you a simple first treatment. Spray the vinegar directly onto the moldy spots and wait for 10 to 15 minutes before touching the area. This short pause gives the acid time to soak into the surface and soften the mold so it can be wiped away.
For older stains that do not lift on the first pass, combine baking soda with a little water to form a thick paste. Apply the paste to the moldy area and leave it in place before scrubbing. A paste works better than a thin spray because it stays on vertical walls and continues to work. Use an old toothbrush for the final scrub, especially where mold tends to gather in narrow gaps, such as the edge of the silicone seal beside the bathtub or the seam behind a shower attachment. Once the area looks clean, rinse it well with water.
Using Vinegar on Bathroom Tiles
Tile walls face a constant mix of water, soap, and humidity. A vinegar tune-up keeps them looking fresh. Mix about 125 ml of white vinegar into one litre of warm water. Dip a soft cloth into the solution and wipe the tiles from top to bottom. The cloth should be damp rather than soaked, so the excess liquid does not run down into the grout.
As you clean, the water will begin to look cloudy and gray. Change it as soon as it turns dirty. Reusing the same cloudy water puts the residue back onto the tile and makes the job longer than it needs to be. The same solution works on wall and floor tiles, which is convenient if you want to clean the whole bathroom without preparing two different buckets. For floor tiles, use the solution with a mop or a cloth after sweeping.
Freshening Grout with Vinegar and Baking Soda
Grout is the most porous surface in the shower, which means it holds onto stains that tile does not. Start by spraying vinegar directly along the grout lines until they are thoroughly damp. Then sprinkle baking soda over the vinegar. The two react and foam, lifting dirt out of the pores as they fizz.
Let the foam sit for at least 10 minutes. Do not scrub while the mixture is still bubbling; the reaction needs time to loosen the grime. When the time has passed, take an old toothbrush and scrub along the line of the grout. Work the brush in small circles and rinse it often. Finish by rinsing the tile with clean water so no white baking soda residue remains.
For very dark or stained grout, repeat the treatment. It is not an instant fix for decades of buildup, but regular use keeps grout from reaching that point.
Vinegar Solution for Bathroom Floor Cleaning
A clean bathroom floor changes how the whole room feels. The first step is to remove loose dirt. Sweep or vacuum the floor before you bring any liquid into the picture. Moisture turns loose hair and dust into clumps that a mop just pushes around.
Mix 125 ml of white vinegar into one litre of warm water for the mopping pass. Use the solution on tile, vinyl, or sealed linoleum floors, but not on natural stone. Mop from the far side of the bathroom toward the door so you do not walk over the clean surface. After mopping with the vinegar solution, go over the floor again with a mop dipped in plain water. This removes any vinegar residue that could dull the floor’s shine. Let the floor air-dry, or wipe it with a dry cloth if you need to walk on it immediately.
A soft cloth is a good substitute for a mop in a small bathroom. Wipe the floor by hand, rinsing the cloth often in the same vinegar solution.
Removing Buildup from Bathroom Faucets with Vinegar
Faucets develop a crusty film wherever hard water splashes and dries. The buildup appears around the spout, the handle base, and the small ridges where water sits. To soften it, mix equal parts lemon juice and white vinegar in a small bowl. Soak a cloth in the mixture, wring it out, and wrap it around the faucet. Leave the cloth in place overnight so the acid can work through the mineral layer.
The next morning, remove the cloth and wipe the faucet with a fresh damp cloth. Most of the buildup should come off with light pressure. If a few spots remain, repeat the wrapping process for another night.
Avoid this method on chrome- or gold-plated faucets. The acid can damage the plating and make the metal look dull or patchy. For plated fixtures, use a gentler method or follow the care advice that came with the faucet.
Clearing a Bathroom Drain with Vinegar and Baking Soda
A slow-draining shower is annoying, but the baking soda and vinegar method can clear away mild blockages. Follow these steps:
- Pour a kettle of boiling water down the drain to soften grease and soap residue.
- Pour a mixture of half a cup of baking soda and half a cup of white vinegar into the drain.
- Cover the drain with a plug or cloth, so the foam is directed down the pipe. Wait 15 minutes.
- Pour another kettle of boiling water down the drain to flush out the loosened material.
This routine works well for slow drains caused by soap film and everyday debris. It will not break through a solid hair clog. If the water still drains slowly after this process, use a drain snake or call a plumber.
To keep the drain moving freely, pour a cup of the vinegar solution down the drain once a month.
A Vinegar Approach to Bathroom Ants
Ants in the bathroom are usually looking for moisture. Vinegar can help disrupt the chemical trails they leave behind. Start by wetting a cloth with plain vinegar and wiping up the ants that you can see. Dispose of them, then wipe the same area again so the vinegar smell remains.
Next, wipe the bathroom floor and the lower walls with a vinegar solution. Focus on baseboards, corners near the shower, and the edges of the vanity. Let the floor dry naturally rather than rinsing it right away. The lingering vinegar scent makes it harder for ants to follow their original path and may discourage them from returning.
This approach works best for small, occasional ant sightings. If an entire colony has moved in, vinegar alone will not solve the problem, and you will need to find where the ants are entering.
Bathroom Surfaces You Should Not Clean with Vinegar
Vinegar is versatile, but acid is not right for every material. Keep it away from these surfaces:
- Mirrors: The acid can streak the glass and may damage the backing along the edges over time.
- Wood and stone flooring: Vinegar can dull wood finishes and etch natural stone such as marble, limestone, and travertine.
- Stone or granite countertops: Acid can soak into unsealed stone and leave cloudy marks. Use a pH-neutral cleaner instead.
- Electronic screens: Tablets, phones, and bathroom displays need screen-safe products; vinegar can strip the protective coating.
Check the shower area for these materials before you start. When you are unsure about a surface, test the vinegar solution on a small hidden area and wait a few minutes to see how the material responds.
Overnight Vinegar Soak for a Cleaner Shower Head
A mineral-clogged shower head sprays water in uneven streams. An overnight vinegar soak clears the nozzles without taking the fixture apart. Follow these steps:
- Fill a strong plastic bag with white vinegar.
- Place the bag over the shower head so the head is submerged in the vinegar, then secure it with a rubber band or twist tie.
- Leave it overnight so the acid can soften scale inside the nozzles.
- In the morning, remove the bag and run the shower for a minute to rinse the head thoroughly.
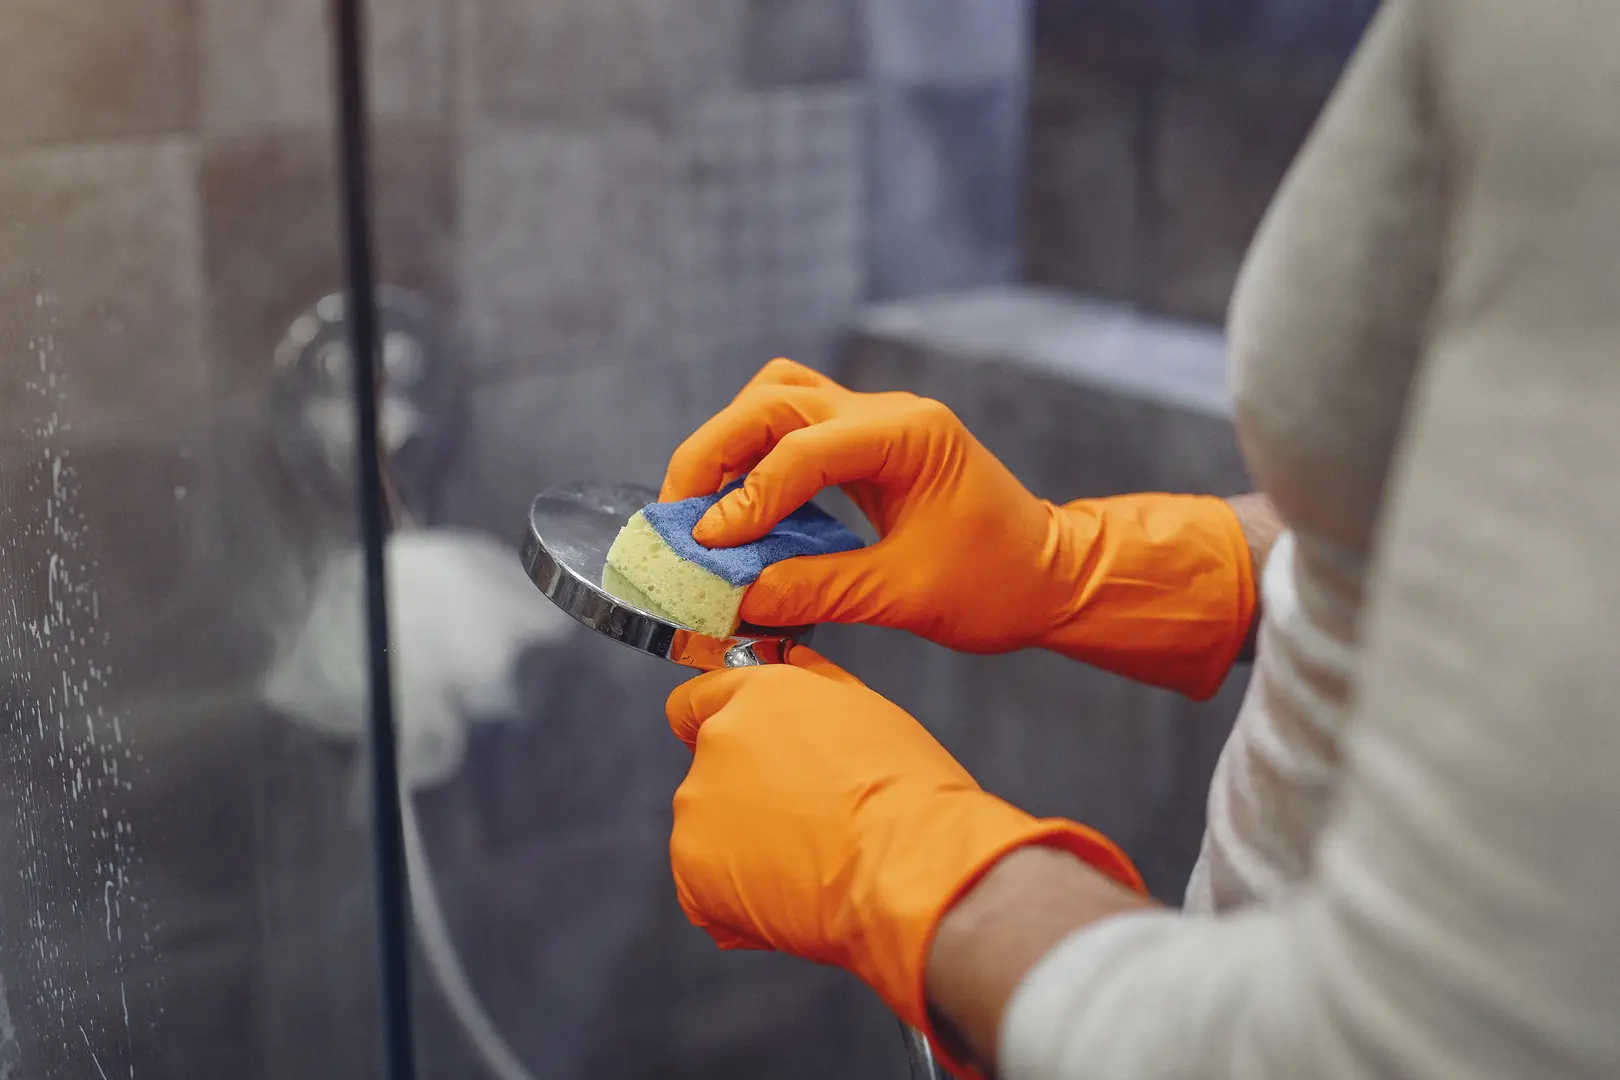
If the spray pattern is still uneven, repeat the soak for another night. Do not use this method on chrome- or gold-plated shower heads, because the acid can dull or damage the plating.
A Vinegar-Based Toilet Cleaning Method
The toilet in a bathroom deserves attention, even if it is not inside the shower area. White vinegar can remove the ring and mineral buildup that gathers below the waterline. In the evening, pour about 250 ml of white vinegar into the toilet bowl. Try to direct the vinegar along the sides of the bowl so it coats the stained surfaces, and leave it overnight.
In the morning, sprinkle baking soda around the inside of the bowl. Dip the toilet brush in a little extra vinegar before scrubbing. The combination of baking soda and vinegar produces a useful foam while the brush does the mechanical work. Scrub the sides of the bowl, the rim, and the waterline. If the bowl still looks stained, sprinkle on more baking soda and scrub again. Flush once the bowl is clean to wash away the residual foam.
Getting Shower Glass Spotless with Vinegar
Glass shower doors look best when they are clear and free of white spotting. A vinegar and water spray handles both concerns. Mix equal parts of white vinegar and water in a spray bottle and shake gently to combine the liquids. Spray the glass generously, covering every part of the door from the top edge to the bottom corner.
Wipe the glass with a damp cloth, moving in circles over the foggy areas. Then rinse by wiping the glass again with a clean cloth dipped in plain water. For heavy spots, let the vinegar solution sit on the glass for a few minutes before wiping. Repeat the process if some marks are still visible after the glass dries.
For maintenance, give the glass a quick spray with the same mixture after each shower and follow with a squeegee. This short routine keeps spotting from coming back.
Removing Grime from a Bathtub with Vinegar
Bathtubs collect soap film and body oils just like shower walls, but they get less routine attention. Start by spraying white vinegar over the inside of the tub until the surface is damp. Sprinkle baking soda over the vinegar to create a foaming scrub. The two ingredients give you enough cleaning power for the film that ordinary rinsing leaves behind.
Scrub the tub with a brush or sponge, paying extra attention to the waterline and the corner seams. The baking soda acts as a gentle abrasive, so you do not need to press hard. When the whole tub looks clean, rinse it thoroughly with water and wipe it dry with a cloth. A final drying step prevents new water spots from forming.