How to Clean a Stone Resin Shower Tray Safely
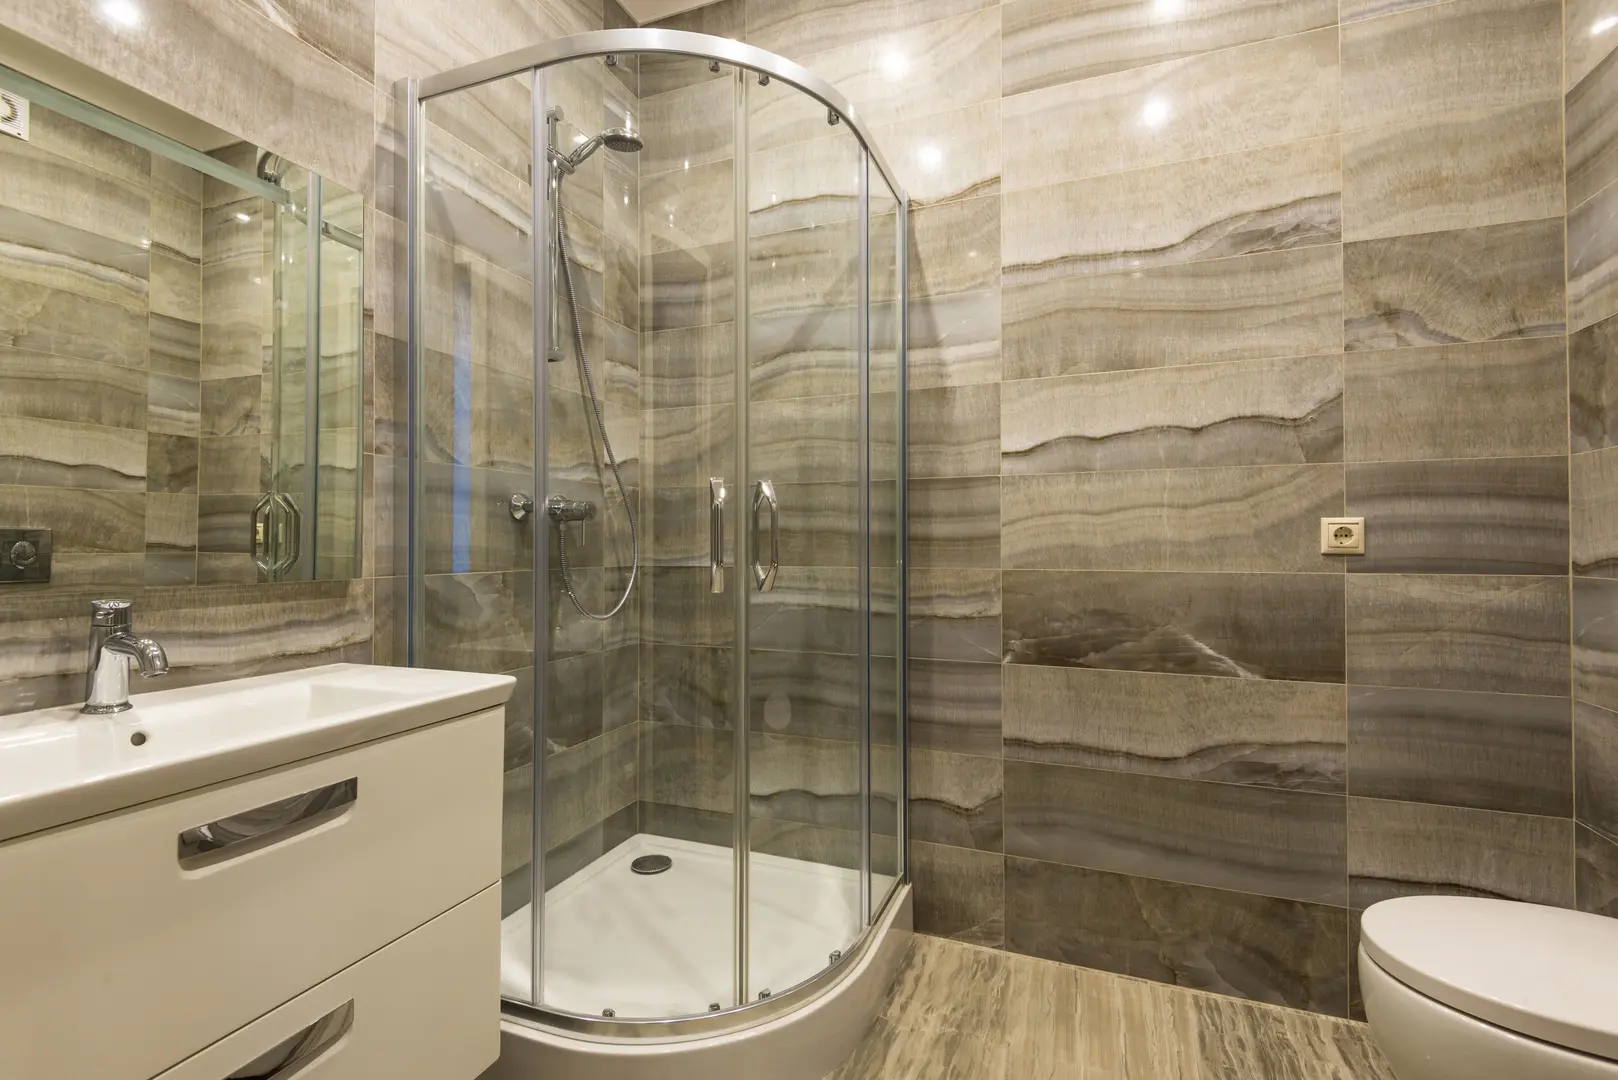
Stone resin shower trays are durable, stylish, and relatively easy to maintain, but they still require gentle, consistent care. Using the wrong cleaner or scrubbing tool can damage the finish, while leaving water and soap residue in place may lead to visible marks.
If you are wondering how to clean a stone resin shower tray, the safest approach is simple: use warm water, a mild pH-balanced cleaner, and non-abrasive materials. The following routine helps remove everyday grime without unnecessarily stressing the surface.
Understanding Stone Resin Shower Trays
A stone resin shower tray is made by combining stone material with resin. The resulting surface is durable, non-porous, and suitable for frequent use in a wet bathroom environment. These trays are available in various sizes, making them an option for both compact shower enclosures and larger bathroom layouts.
Because the surface is non-porous, it resists the absorption of water and everyday stains. Stone resin is also resistant to scratches, although that does not make it scratch-proof. Abrasive cleaning powders, rough sponges, and hard objects can still leave marks or affect the finish.
The material’s durability can sometimes create the impression that any household cleaner is safe to use. In practice, gentle products are the better choice. Routine cleaning should focus on lifting soap residue, grime, and limescale without wearing down or scratching the surface.
The Importance of Cleaning the Tray Properly
A shower tray is repeatedly exposed to water, soap, personal care products, and debris. If these materials are not removed regularly, they can form a layer of grime that becomes harder to clean over time.
Proper cleaning helps to:
- Prevent soap residue and general dirt from accumulating
- Limit the development of limescale and water marks
- Preserve the tray’s color and overall appearance
- Maintain a hygienic showering surface
- Support the tray’s long-term durability
Cleaning technique matters as much as frequency. Aggressive scrubbing may appear to remove marks quickly, but it can also scratch or dull the finish. On the other hand, using a mild cleaner regularly reduces the need for heavy cleaning later.
Drying is also important. Even when the tray has been rinsed, water left on the surface can evaporate and leave visible deposits behind. Removing that moisture with a towel helps the tray look cleaner between uses.
Cleaning Supplies to Gather
You do not need an extensive collection of specialist equipment. Gather the following basic supplies before starting:
- A mild, pH-balanced cleaner: Choose a gentle product rather than a harsh chemical or abrasive cleaning powder.
- A soft cloth or non-abrasive sponge: This allows you to work over the surface without scratching it.
- Warm water: Use it to rinse the tray and help loosen ordinary soap residue.
- Soft, clean towels: Keep one or more available for drying the entire tray after rinsing.
Check that the sponge is clean and free from grit. Even a normally soft cleaning tool can scratch a surface if hard debris is trapped in it.
If the tray manufacturer provides specific care instructions, follow those directions when choosing a cleaner. Surface finishes may vary, so a product described as suitable for one bathroom material is not automatically appropriate for every stone resin tray.
A Careful Cleaning Routine for Stone Resin Shower Trays
The safest method for how to clean a stone resin shower tray is to work gradually. Begin by removing loose material, apply a gentle cleaner, and finish by rinsing and drying thoroughly.
Step 1: Wash Away Loose Debris
Rinse the shower tray with warm water before applying any cleaning product. Direct the water across the entire surface, including the corners, edges, and area around the drain.
This first rinse removes loose hair, dust, soap residue, and other debris. It also reduces the chance of dragging small particles across the tray while scrubbing.
If necessary, use a soft cloth to guide loose material toward the drain. Do not begin with forceful scrubbing. Allow the warm water to soften ordinary residue so that less pressure is required during the next steps.
Step 2: Spread a Gentle, pH-Balanced Cleaner
Apply a mild, pH-balanced cleaner across the damp tray. Use only enough to cover the surface and follow any directions supplied with the cleaning product.
Spread the cleaner with a soft cloth or non-abrasive sponge. Make sure it reaches the areas where soap residue and discoloration are most visible, but do not combine it with other cleaning chemicals.
Avoid harsh products in an attempt to accelerate the process. Strong chemicals may affect the tray’s surface or finish. A gentle cleaner paired with routine maintenance is safer than allowing dirt to build up and then relying on aggressive treatment.
Step 3: Work Over Marks with a Non-Abrasive Sponge
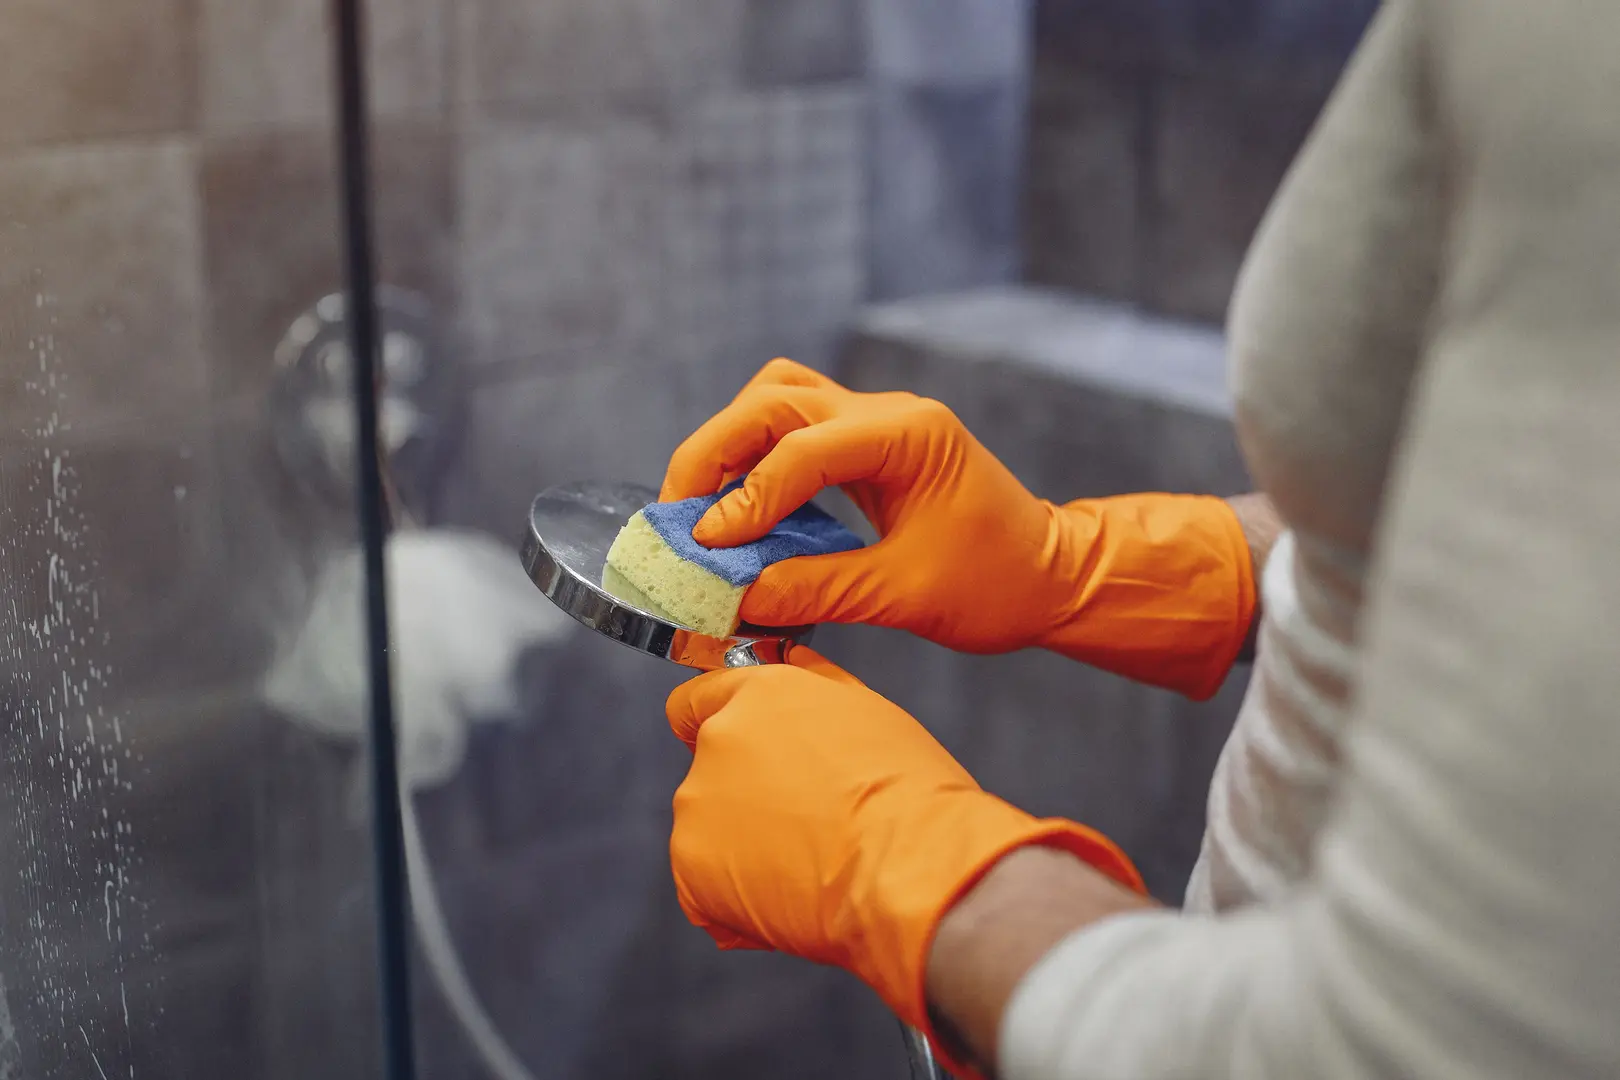
Using the soft side of a non-abrasive sponge, gently work over the shower tray. Use controlled movements rather than heavy pressure.
Give extra attention to:
- Corners and edges
- The area around the drain
- Sections where water tends to remain
- Visible soap residue
- Early signs of discoloration
For a stubborn mark, apply the mild cleaner again and continue working gently. Do not switch to a scouring pad, rough brush, or abrasive powder simply because the stain does not disappear immediately. Persistent discoloration may not be ordinary surface dirt and can require care beyond repeated scrubbing.
Step 4: Rinse Off All Cleaner Residue
Rinse the tray thoroughly with clean, warm water. Continue until no cleaner, foam, or loosened grime remains.
Pay close attention to textured areas, corners, and edges where residue may collect. Cleaning product left on the tray can dry onto the surface and create its own film, undermining the work you have just completed.
A complete rinse also lets you assess the result more accurately. Remaining cleaner can temporarily conceal marks that become visible after the tray dries.
Step 5: Towel-Dry the Shower Tray
Use a soft, clean towel to dry the full surface. Work around the drain and along the perimeter, where small amounts of water can remain after the main area looks dry.
Towel-drying helps prevent water spots and reduces the time that moisture sits in low or slow-draining sections. It also gives the tray a cleaner, more even appearance.
Avoid allowing a wet cleaning cloth or saturated mat to remain on the tray after cleaning. Remove the cleaning materials so the whole surface can dry.
Ways to Maintain a Stone Resin Shower Tray
Maintenance is easier when it is built into the normal bathroom routine. Gentle weekly cleaning, prompt attention to marks, and careful product selection can reduce the need for more intensive work.
How Water Pooling Can Encourage Staining
A shower tray is shaped to direct water toward the drain, but small amounts of water may remain in certain areas because of the tray’s contours. These repeatedly damp sections can collect soap residue and other material carried by the water.
As moisture evaporates, residue may become concentrated in the areas where water sits most often. That is why discoloration can appear in particular patches rather than evenly across the tray.
Observe the surface after showering to identify where water commonly remains. During cleaning, give those sections extra attention and dry them carefully. This does not require aggressive scrubbing; the aim is to prevent repeated moisture and residue from being left undisturbed.
Make Weekly Cleaning Part of the Routine
Clean the tray approximately once a week to keep everyday grime under control. Regular cleaning prevents residue from developing into a more stubborn layer and makes each session quicker and gentler.
A basic weekly routine can be straightforward:
- Rinse with warm water.
- Apply a mild pH-balanced cleaner.
- Wipe with a soft cloth or sponge.
- Rinse thoroughly.
- Dry with a clean towel.
The tray may need attention sooner if visible residue develops between scheduled cleanings. Dealing with a small mark promptly is generally easier than waiting until the entire surface requires intensive treatment.
Choose Mild Products Instead of Harsh Chemicals
Use mild cleaning products as the default. A pH-balanced cleaner is suitable for routine care because it cleans without relying on aggressive or abrasive action.
Do not assume that a strong product is necessary simply because the tray is made partly from stone. Stone resin is a composite material, and its finished surface should be treated carefully. Harsh chemicals may damage or alter that finish.
When using a new product, confirm that its instructions identify it as appropriate for the surface. Do not mix different cleaners, and rinse one product away completely before using anything else.
Treat Discoloration as Soon as It Appears
Address new marks as soon as you notice them. Rinse the area, apply a mild cleaner, and work over it carefully with a non-abrasive sponge before rinsing and drying.
Not every case of discoloration responds to basic soapy water or a vinegar solution. Homeowners sometimes report that these approaches make little or no difference to persistent staining. If a mark remains, avoid escalating to harsher scrubbing without first determining whether the treatment is appropriate for the tray.
Some users consider impregnating or enhancing sealers when dealing with stone surfaces. However, reported results may be limited in shower areas exposed to prolonged water contact. Some enhancing sealers may also require periodic reapplication. A sealer that performs well on stone with less water exposure should not be assumed to solve discoloration on a shower tray. Consult the tray manufacturer before applying one, particularly if the surface or warranty could be affected.
Protect the Surface from Scratches
Keep abrasive sponges, scouring pads, and gritty powders away from the tray. Although stone resin resists scratches, repeated contact with rough cleaning tools can still mark the finish.
A suitable protective mat may help reduce scratching from items placed on the tray. If you use one, keep both the mat and the surface beneath it clean. Trapped debris can rub against the tray, while moisture left underneath may make regular drying more difficult.
Also avoid dragging hard objects across the surface. Lift bottles, accessories, or removable shower items instead.
Cleaning Errors to Keep Away From
Most cleaning problems come from either using too much force or allowing routine care to lapse. Avoiding a few common mistakes will help preserve the tray’s appearance.
Do Not Use Abrasive Cleaners
Abrasive cleaners remove material through friction. On a stone resin shower tray, that action can scratch or dull the surface.
Avoid cleaning powders, harsh scouring tools, and the rough side of abrasive sponges. If a stain does not respond to a mild cleaner, applying greater pressure with a rough tool is not a safe solution. Continue with gentle care and seek product-specific guidance for persistent discoloration.
Do Not Let Routine Care Lapse
Waiting until grime is obvious can make cleaning more difficult. Soap residue, limescale, and dirt accumulate gradually, particularly around the drain and in areas where water pools.
Weekly care limits this buildup and helps protect the surface. It also makes it easier to spot changes in color before they become a larger concern. A brief, regular clean is preferable to occasional aggressive scrubbing.
Always Finish by Drying the Surface
Rinsing alone does not complete the cleaning process. Water remaining on the tray may dry into visible spots, especially in sections where moisture naturally collects.
After every full clean, use a soft towel to remove water from the center, edges, corners, and drain area. Consistent drying is one of the simplest ways to keep a stone resin shower tray looking clean while limiting the residue that can contribute to future staining.