How to Clean Your Shower Head and Remove Limescale
A shower head coated with chalky white deposits can spray unevenly, lose water flow, and make an otherwise clean shower look neglected. Fortunately, learning how to clean your shower head is straightforward. In most cases, vinegar, warm water, and a little patience can loosen limescale without aggressive scrubbing.
Before cleaning, check the shower head manufacturer’s care instructions. Some models have wipe-clean nozzles or delicate finishes that require specific products and methods.
What Causes Limescale to Form on a Shower Head?
Limescale forms when hard water passes through and dries on the shower head. Hard water contains dissolved minerals that remain behind as the water evaporates. Over time, these deposits collect around the spray holes, inside the fittings, and on the face of the shower head.
The resulting crust can:
- Block individual spray nozzles
- Reduce or redirect water flow
- Make spray patterns uneven
- Leave the shower head looking dull or dirty
- Accumulate inside the hose and connections
Limescale is not generally harmful to your health. However, it can interfere with the performance of the shower and become increasingly difficult to remove if it is allowed to build up.
If hard water is a persistent problem throughout your home, a water softener may help prevent mineral deposits. This is a broader solution than repeatedly cleaning individual fixtures, although it may require professional advice and installation.
Cleaning provides relief from clogged nozzles, but it does not make a shower head last forever. Shower heads still need periodic replacement, especially if fittings are damaged, parts are heavily corroded, or normal water flow does not return after cleaning. Follow the manufacturer’s recommendations and replace any fixture that can no longer be cleaned or secured properly.
Use Vinegar to Clean a Shower Head
White vinegar is a popular non-chemical-style household cleaning option for breaking down mineral deposits. Its acidity helps loosen the hard, chalky build-up that can clog the openings in a shower head.
For the most thorough clean, remove the shower head if possible:
- Turn off the shower. Make sure the fixture is cool and the controls are fully closed.
- Unscrew the shower head. Many handheld or adjustable heads can be disconnected from the hose or shower arm by turning the connector.
- Check for removable components. If the manufacturer permits it, separate the faceplate, filter, washer, or other accessible parts. Disassembling the head allows the vinegar to reach deposits hidden inside.
- Place the parts in a suitable container. Use a bowl or other vessel large enough for the shower head to sit fully under the vinegar.
- Cover the affected areas with vinegar. Make sure the nozzles and mineral-coated sections are immersed.
- Leave the shower head to soak.
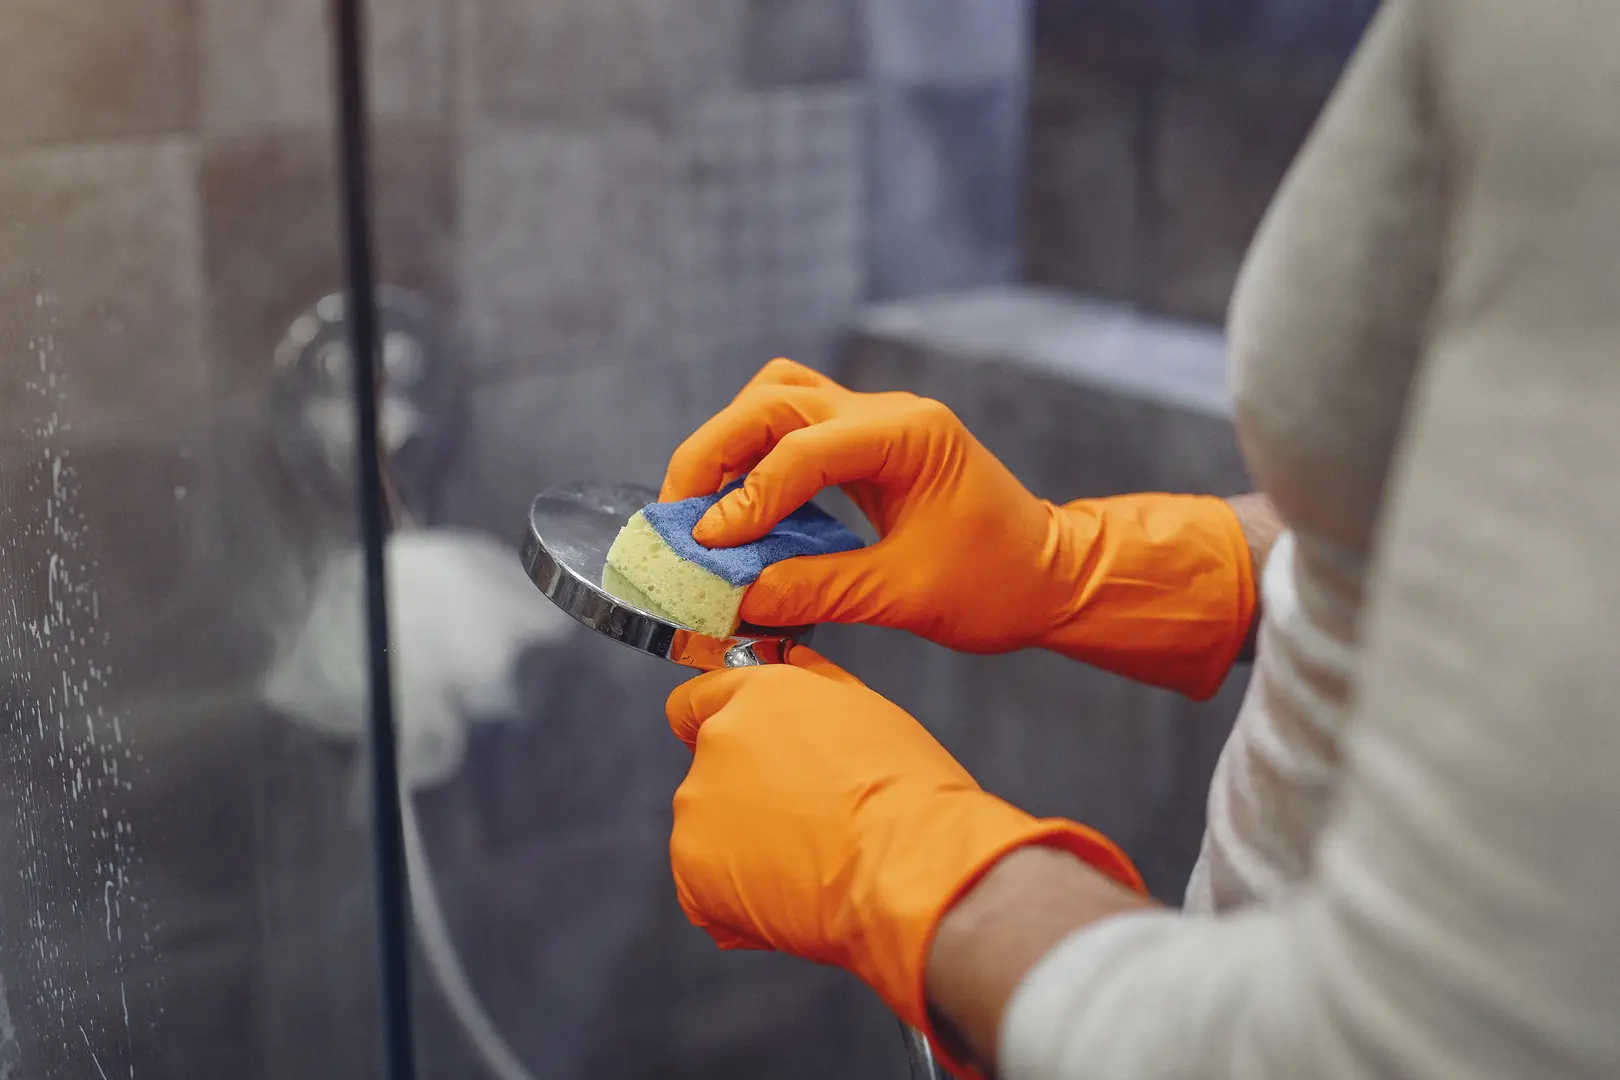
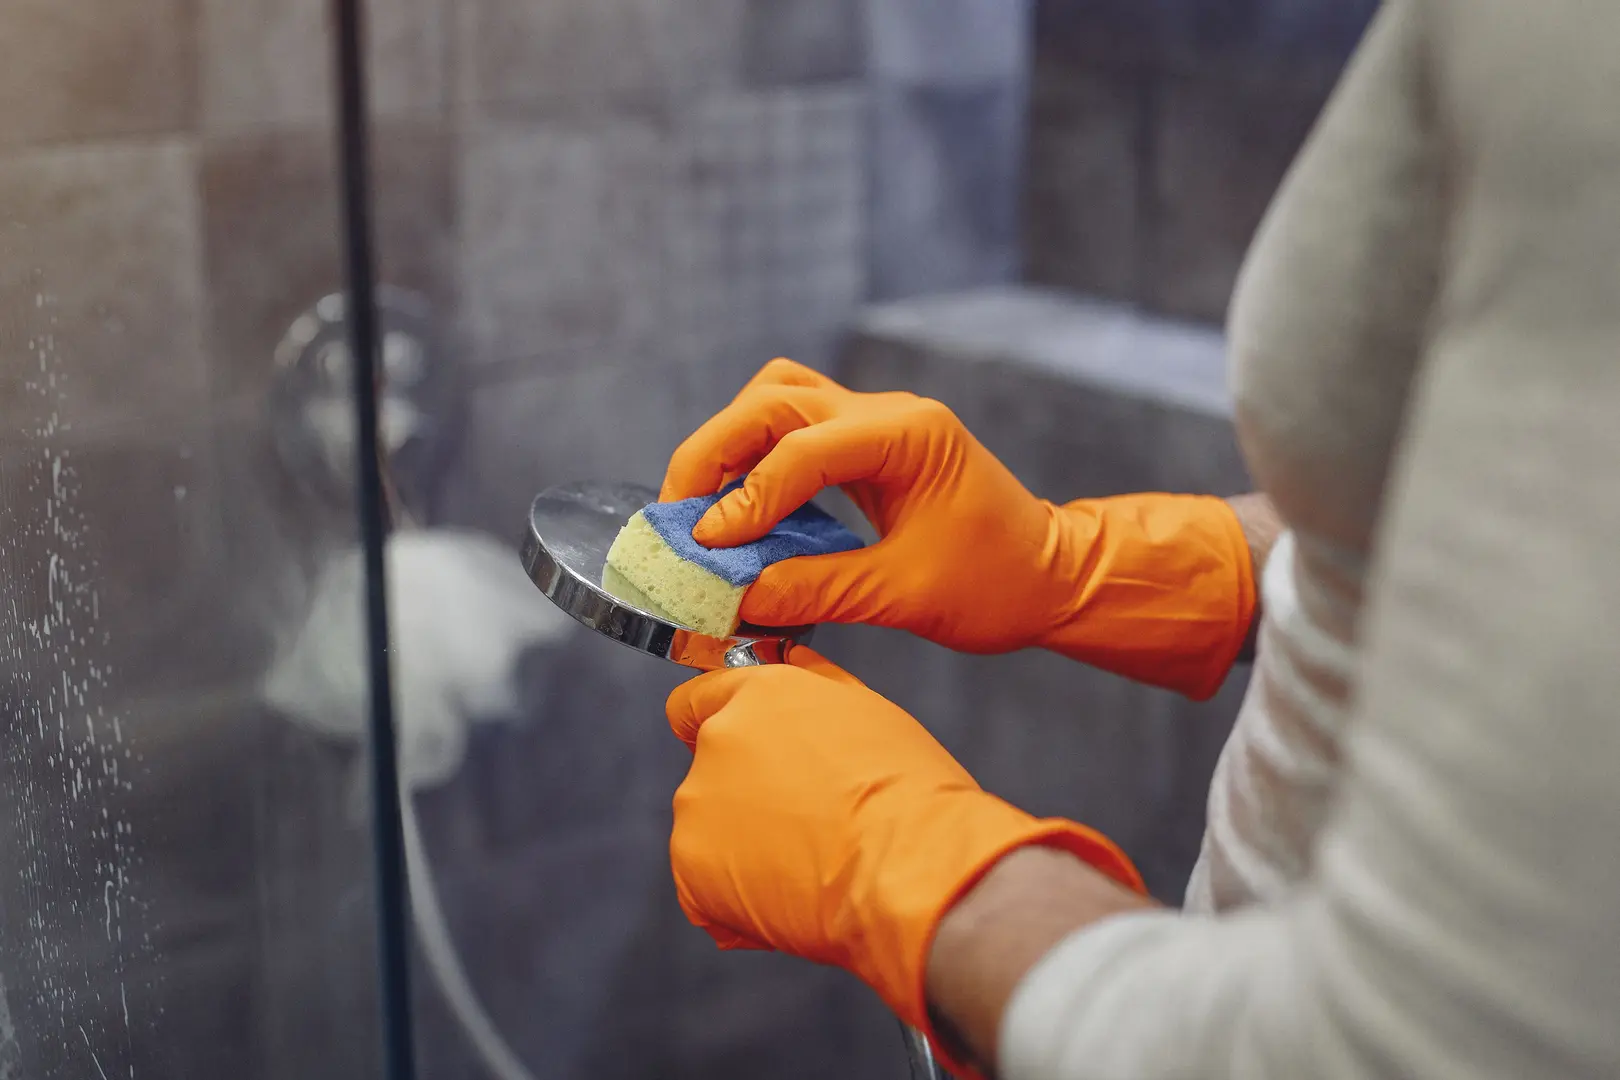
- Wipe away loosened deposits. After soaking, gently rub wipe-clean nozzles or use a soft cloth. Avoid tools that could scratch the finish or damage the spray holes.
- Rinse thoroughly and reassemble. Flush every component with clean water before reconnecting it.
- Run the shower. Allow water to pass through the head to clear out remaining vinegar and loose debris.
Removing the shower head is not essential in every case, but it usually produces a more complete result. It lets you inspect the fittings and clean internal surfaces that a bag fitted around an installed head may not reach.
If the connector is difficult to turn, do not force it. Excessive pressure could damage the fitting, hose, or shower arm. Use the fixed-head soaking method below or ask a plumber for help.
Cleaning a Shower Head without Vinegar
Vinegar is not suitable for everyone. Some people dislike its smell, while certain shower head finishes may require a different cleaning product. Always begin by checking the care instructions for your fixture.
Possible alternatives include:
- A manufacturer-approved limescale remover: Choose a product specifically permitted for the shower head’s material and finish. Follow the label directions, including the recommended contact time.
- A citric-acid-based descaler: This can provide an alternative to vinegar, but it should still be used according to its instructions and the shower head manufacturer’s guidance.
- Warm water and mild dish soap: This is useful for surface dirt and residue, although it may not remove substantial mineral deposits. Soak removable parts, wipe them with a soft cloth, and rinse well.
- Manual cleaning of flexible nozzles: If the shower head has wipe-clean rubber nozzles, gently rub them to dislodge deposits. Do not insert sharp metal objects into the holes.
For heavy limescale, ordinary soap is unlikely to be enough because it cleans grime rather than dissolving mineral build-up. A compatible descaling product may be necessary.
Never combine different cleaning products. Use one method at a time, rinse the shower head fully, and follow all product warnings.
How Long Should a Shower Head Soak in Vinegar?
For an initial deep clean, leave the shower head immersed in vinegar overnight. A long soak gives the vinegar time to loosen deposits around and inside the nozzles without the need for forceful scraping.
The next day:
- Remove the shower head from the vinegar.
- Wipe or gently rub away loosened limescale.
- Rinse the outside and internal parts thoroughly with clean water.
- Reassemble the fixture.
- Reconnect it and run the shower to flush the spray channels.
Thorough rinsing is important. It removes residual vinegar and carries away mineral particles that may otherwise settle back into the openings.
If you need a quicker method, vinegar can be warmed in a suitable saucepan and kept at a gentle simmer with a compatible removable shower head. Warm vinegar can act more quickly than a cold overnight soak. However, check the manufacturer’s instructions before using heat.
Do not overheat a plastic shower head or any component containing plastic, rubber, seals, adhesives, or a delicate decorative coating. Heat may distort or damage these materials. When you are unsure what the fixture can tolerate, use the unheated overnight method instead.
Even with metal fixtures, avoid vigorous boiling and sudden temperature changes. The aim is to warm the cleaning solution, not expose the shower head to extreme heat.
How to Clean a Fixed Shower Head Without Removing It
A fixed shower head can usually be soaked while it remains attached. The common workaround is to secure a vinegar-filled plastic or Ziploc-style bag around it.
To clean a fixed head:
- Select a strong bag large enough to fit over the entire shower head.
- Add enough vinegar to cover the face and all affected spray nozzles.
- Lift the bag over the shower head.
- Adjust the vinegar level so that the limescale-coated section is fully immersed.
- Secure the bag around the shower arm with a tie or other suitable fastener.
- Check that the bag is stable and not pulling excessively on the fixture.
- Leave the shower head to soak overnight.
- Carefully remove the bag and discard the used vinegar.
- Wipe the nozzles with a soft cloth, then run the shower to rinse and flush the head.
Full immersion matters. If only the lowest edge touches the vinegar, deposits elsewhere on the spray face may remain unchanged.
The bag method is useful when you cannot or do not want to disassemble the fixture, but it has limitations. Large rainfall heads, unusual shapes, and some non-removable installations may be too wide or awkward for a Ziploc bag. A heavy bag can also put strain on certain fittings.
In those cases, repeatedly apply vinegar with a soft cloth or use a manufacturer-approved descaler. You can also spray the surface and keep it wet for the permitted contact time. This may clean exterior deposits, but it is less likely to reach internal limescale than full immersion.
If the head appears loose, damaged, or unable to support a filled bag, do not use this method.
How to Remove Limescale from a Shower Hose
The shower head is not the only component exposed to hard water. A shower hose can also collect mineral deposits around its connectors and inside the hose itself.
This build-up may affect performance by narrowing the path through which water flows. Deposits at the connections can also make the hose harder to detach during future cleaning.
Inspect the hose whenever you deep-clean the shower head. Look for visible scale around the threaded ends and check whether water flows normally when the hose is attached. Cleaning both components at the same time can help prevent loosened material from one part moving into and clogging the other.
Before starting, examine the hose for splits, kinks, damaged connectors, or other signs of deterioration. Cleaning can remove deposits, but it cannot repair physical damage. Replace a worn hose rather than relying on descaling alone.
How to Clean a Shower Hose with Vinegar
If the hose can be removed safely, soaking is the most direct way to expose its ends and interior to the cleaning solution.
Follow these steps:
- Disconnect the hose. Unscrew it from the shower head and wall outlet or mixer connection. Keep track of any washers so they can be replaced correctly.
- Rinse it with hot water. Run hot—not dangerously boiling—water through the hose to flush out loose material.
- Prepare a vinegar soak. Place the hose in a basin or container and add vinegar, along with hot water if appropriate for the hose material.
- Immerse the connectors. Ensure that areas with visible deposits are covered.
- Allow it to soak. Give the solution time to loosen the limescale.
- Flush the hose. Run clean water through it in both directions if practical.
- Rinse the outside and connectors. Remove all vinegar and loosened residue.
- Reattach the hose. Return washers to their correct positions and tighten the connections securely without forcing them.
- Test the shower. Run the water and check the connections as well as the flow.
For substantial build-up, repeat the soaking and flushing process rather than trying to chip deposits away with a sharp object. Repeated treatment is less likely to damage the connectors or internal lining.
If the hose remains blocked, will not disconnect, leaks after reassembly, or appears seriously damaged, seek help from a plumber. A severe flow problem may involve more than surface limescale and should not be addressed by forcing fittings apart.
How Often Should You Soak Your Shower Head to Prevent Limescale?
After the initial overnight deep clean, soak the shower head in vinegar about once a week if limescale returns quickly. These maintenance soaks do not need to last overnight. A brief soak is generally enough when deposits have not had time to harden and accumulate.
A practical routine is to:
- Wipe the shower head after regular bathroom cleaning
- Rub flexible wipe-clean nozzles gently
- Use a vinegar spray between deeper cleans, if compatible with the finish
- Give the head a short weekly soak
- Inspect the hose and connectors at the same time
- Perform a longer soak when visible build-up or reduced flow returns
When using a vinegar spray, apply it only as permitted by the manufacturer and rinse the surface afterward. Avoid leaving it on sensitive finishes longer than recommended.
Regular cleaning is much easier than dealing with thick, calcified deposits. It also helps keep the spray pattern clear and reduces the chance of restricted water flow. If weekly maintenance does not prevent rapid limescale formation, consider whether a water softener or professional assessment would offer a more lasting solution.