Effective Ways to Get Rid of Soap Scum in Your Bathroom
Soap scum can make an otherwise clean bathroom look cloudy, dull and neglected. Fortunately, most deposits can be removed with simple household products, provided you use a method suited to the surface. The right routine also makes it much easier to prevent the residue from building up again.
What Soap Scum Is and What Causes It to Accumulate
Soap scum is the chalky or cloudy residue left when soap combines with minerals in water. It commonly appears on:
- Shower doors and screens
- Wall and floor tiles
- Grout lines
- Bathtubs and bathroom sinks
- Taps and other fixtures
The residue may begin as a light film, but repeated exposure to soap, water and minerals causes it to accumulate. If it is not cleaned regularly, it can harden into a thick, calcified layer that is far more difficult to remove.
Hard water can make the problem more noticeable because it contains more of the minerals that contribute to the residue. Products such as bar soap may also leave more film behind than lower-residue alternatives.
Moisture is another factor. Poor bathroom ventilation allows surfaces to stay wet for longer, giving residue more opportunity to settle and harden. Improving airflow and drying wet areas after use can therefore make a meaningful difference.
The Quickest Reliable Method for Removing Soap Scum
For many bathroom surfaces, one of the quickest practical methods is a homemade solution of white vinegar and washing-up liquid. The washing-up liquid helps loosen greasy soap residue, while the vinegar tackles the mineral component.
This combination is frequently reported as effective for deeper cleaning without the need for aggressive scrubbing. However, vinegar has a noticeable smell, so ventilate the room while working and rinse the cleaned area thoroughly.
Before treating a large area, check the surface manufacturer’s care instructions and test the solution on a small, inconspicuous spot. Bathroom materials and finishes vary, and a method suitable for glass may not be appropriate for every tile, fixture or decorative coating.
Supplies for the Cleaning Solution
Gather the following items:
- White vinegar
- Washing-up liquid or dish soap
- A clean spray bottle
- A soft cloth or non-abrasive sponge
- A microfibre cloth for drying
- Clean water for rinsing
A soft cleaning tool is important. Soap scum may look as though it needs to be scraped away, but rough pads and aggressive scrubbing can leave marks on vulnerable surfaces.
How to Apply and Remove the Solution
Follow these steps:
- Prepare the surface. Remove bottles, toiletries and loose dirt from the area you want to clean.
- Mix the cleaner. Combine white vinegar with washing-up liquid in a spray bottle and mix gently.
- Apply it evenly. Spray the soap scum until the affected area is thoroughly covered.
- Allow it to work. Leave the mixture in place for approximately 20–30 minutes. This gives it time to loosen the film and hardened residue.
- Wipe the surface. Use a soft cloth or non-abrasive sponge. Work methodically rather than applying excessive pressure.
- Rinse well. Remove all traces of the cleaning mixture and loosened soap scum with clean water.
- Dry the area. Finish with a clean microfibre cloth to prevent fresh water marks and reveal any patches that need another treatment.
For heavy build-up, repeat the process instead of immediately turning to an abrasive tool. Several controlled treatments are safer for many surfaces than one forceful scrubbing session.
Homemade Soap Scum Cleaning Solutions
The vinegar-and-dish-soap mixture is a convenient homemade option because it uses products found in many kitchens. It is particularly useful when a mild wipe-down is no longer enough but you do not yet need a specialist cleaner.
Apply it with a spray bottle for broad surfaces or place a small amount on a soft cloth when working around taps and narrow edges. Give it the full 20–30-minute contact time before wiping and rinsing. If the vinegar smell is unpleasant, open a window or run the extractor fan during and after cleaning.
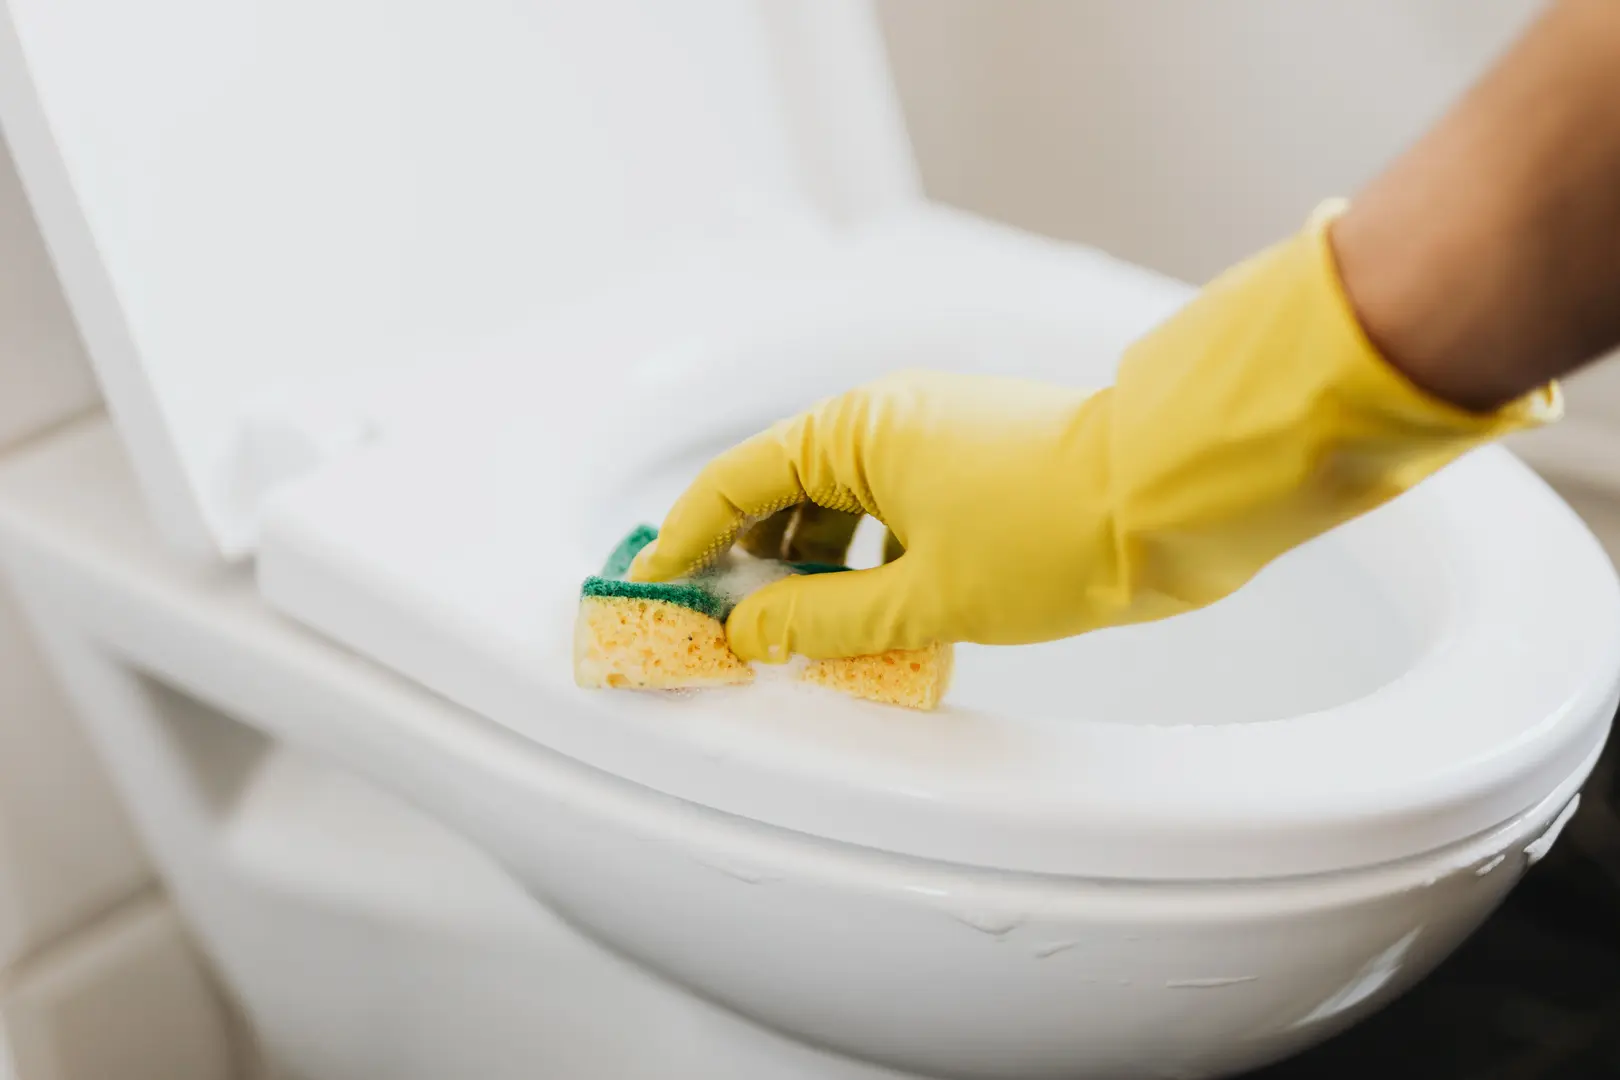
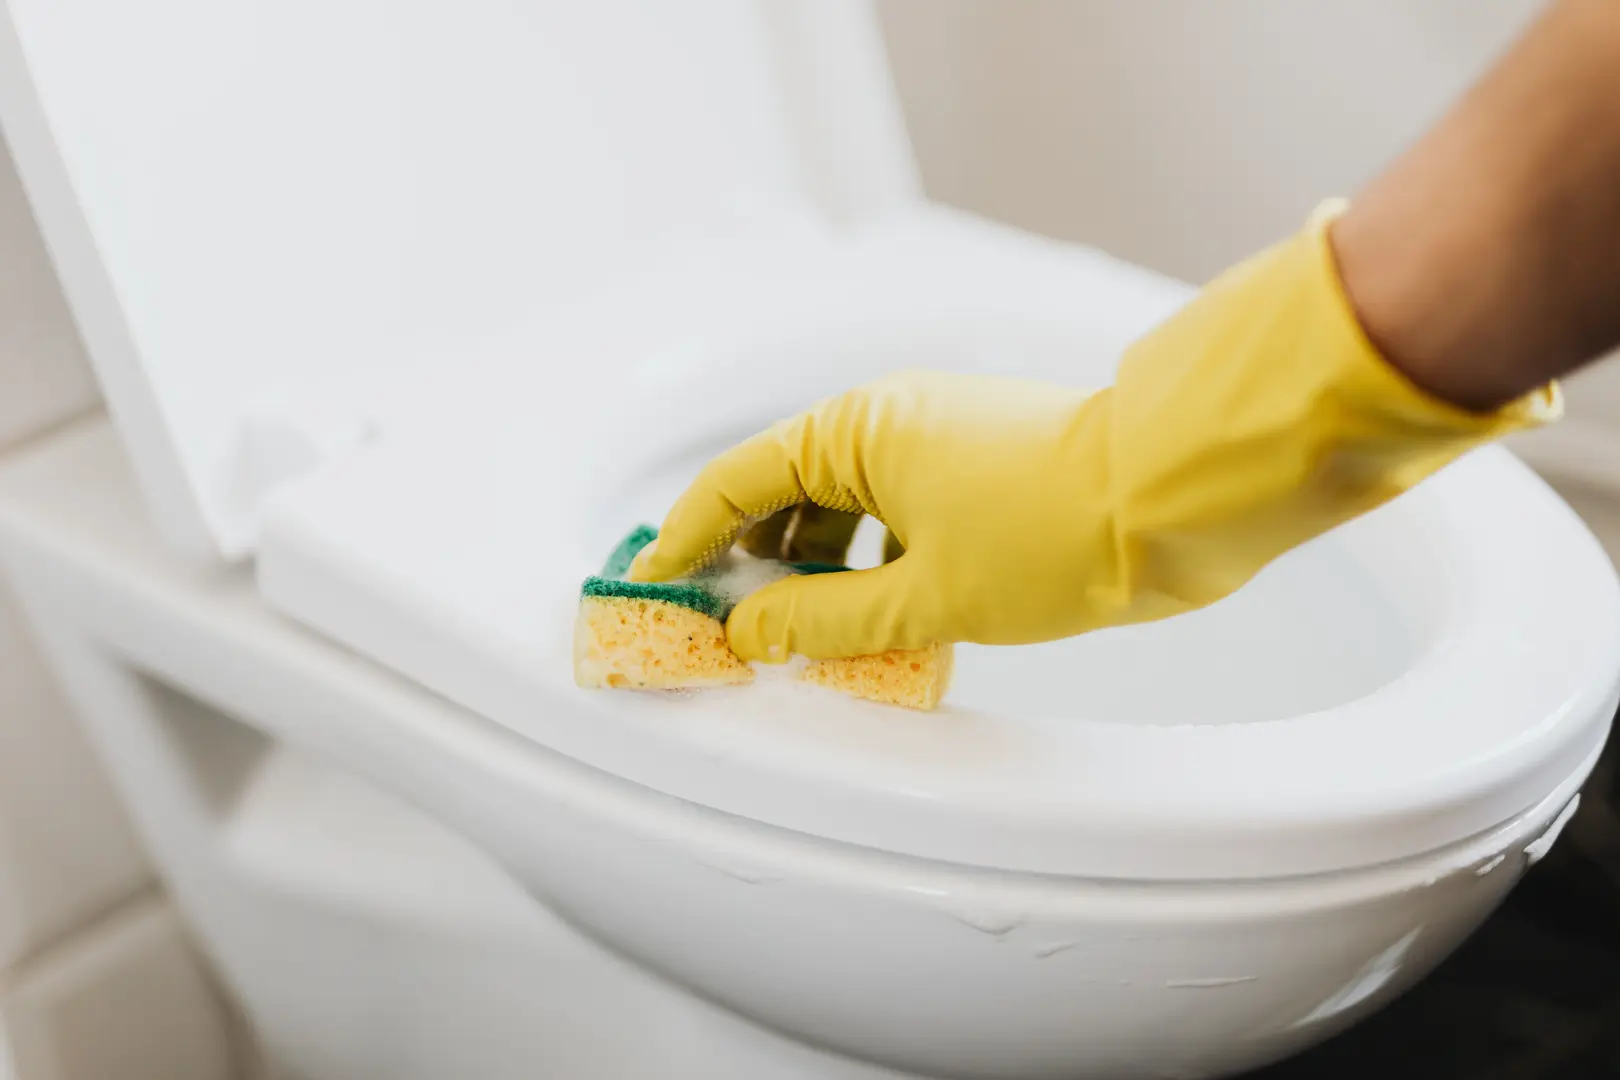
Some users also report good results with Scrub Free Bathroom Cleaner with OxiClean on thick soap scum, particularly when it is worked over the area with a microfibre cloth. Stubborn sections may still require extra effort or a second application. Always follow the product instructions and confirm that it is suitable for the material being cleaned.
How to Clean Soap Scum from Different Bathroom Surfaces
There is no single cleaning technique that is ideal for every part of a bathroom. Glass, grout, acrylic and plated fixtures respond differently to cleaning products and tools.
Start with a gentle method, allow the cleaner time to soften the residue and increase the treatment only if necessary. Adapting the process helps remove soap scum while reducing the likelihood of scratching or dulling the surface.
Cleaning Soap Scum from Shower Glass
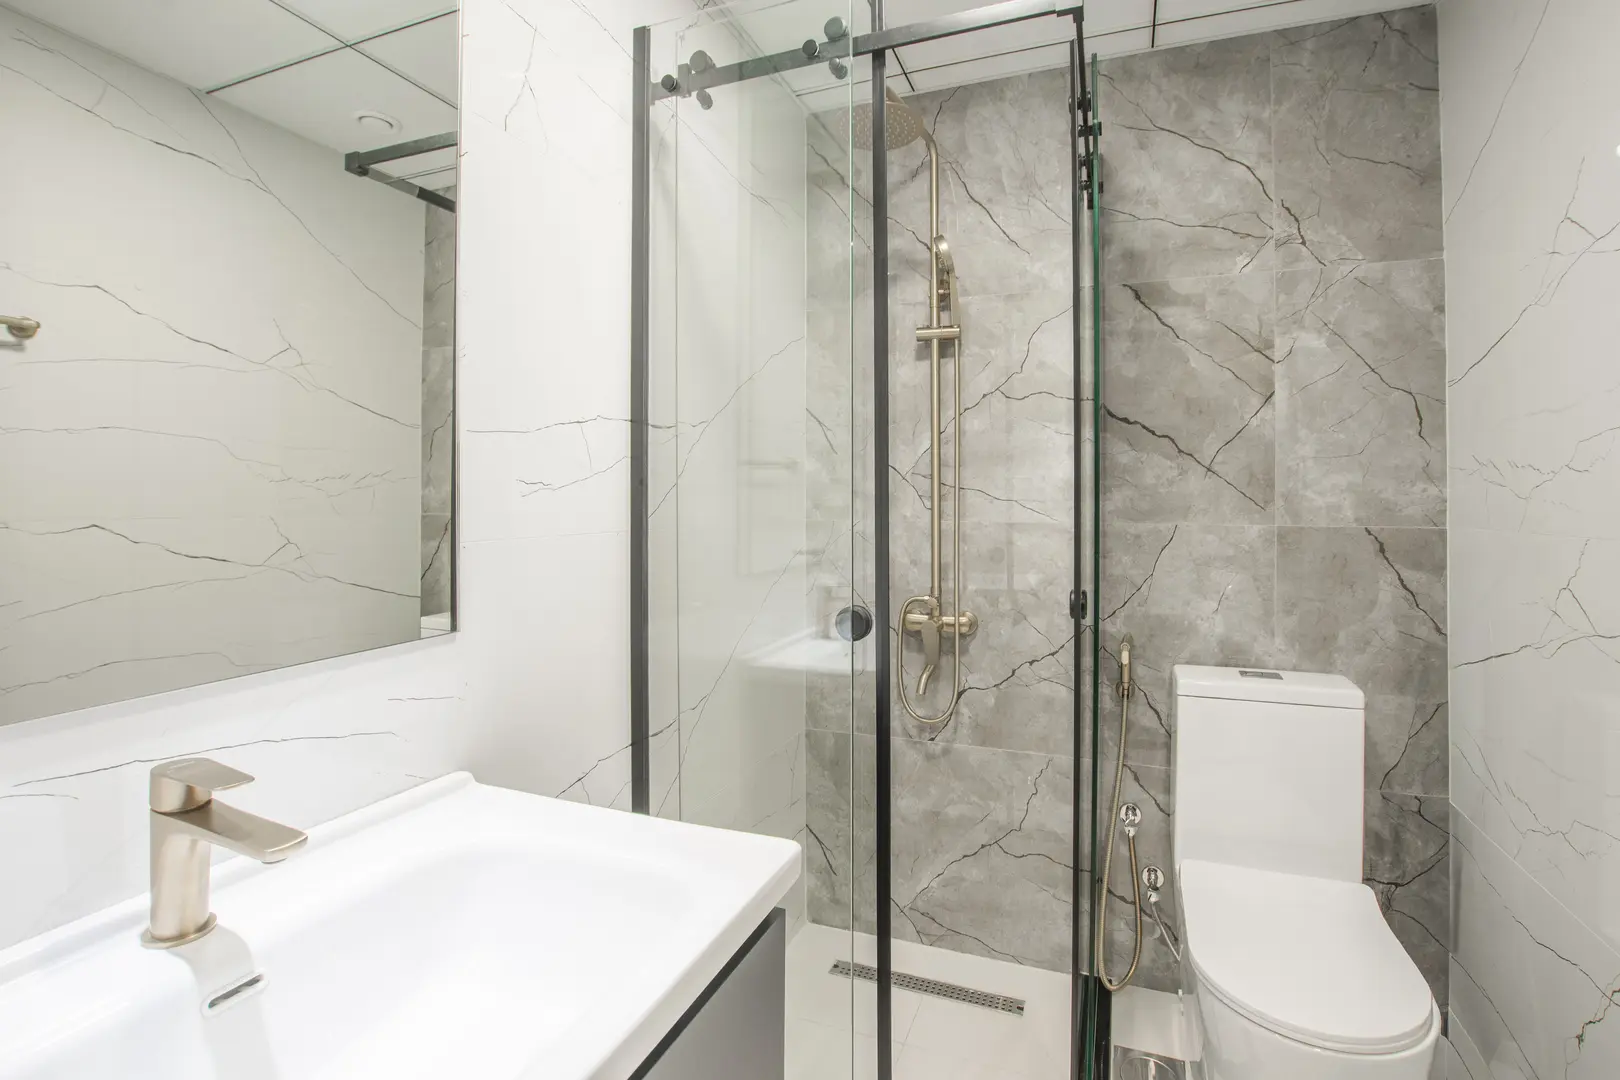
Heavy soap scum on a glass shower door often appears as a cloudy film that ordinary glass cleaning does not remove. Begin by covering the affected glass with the vinegar-and-washing-up-liquid solution.
Leave it for 20–30 minutes, then wipe with a soft sponge or cloth. Concentrate on edges and lower areas where water frequently collects. Rinse the glass thoroughly and inspect it from different angles. If cloudy sections remain, apply the solution again rather than using a harsh scraper.
Dry the door with a clean microfibre cloth, buffing gently to restore shine. Once the glass is clean, use a squeegee after showering to remove water and soap before they dry on the screen.
Views on steam cleaners are mixed. Some users say steam works well on glass doors, while others have not found it to be a proven part of their routine. If you choose to try one, follow the appliance and shower-screen manufacturers’ directions. A steam cleaner should not replace checking whether a treatment is appropriate for the surrounding seals and finishes.
Removing Residue from Tiles and Grout
For general tile cleaning, begin with the standard vinegar-and-washing-up-liquid method if it is compatible with the tile finish. Wipe with a soft sponge, rinse and dry.
A baking soda paste can help with stubborn areas. Mix baking soda with enough water to create a spreadable paste, apply it to the residue and work it gently with a soft cloth or sponge. Avoid assuming that greater pressure will produce a better result; give the paste time and repeat the treatment if necessary.
Grout lines may need more targeted cleaning because residue settles into their textured surface. Use a soft brush to work the cleaner along the lines without aggressively scouring the surrounding tiles. Rinse carefully so that loosened residue and cleaner do not remain in the grout.
Tile materials and finishes differ, so check their care guidance before using acidic or abrasive products.
Cleaning Bathtubs and Bathroom Sinks Safely
Bathtubs and sinks collect soap, body-care products and mineral residue, often around the drain, waterline and tap bases. Spray or apply a suitable cleaner, allow it to loosen the film and wipe with a non-abrasive sponge.
Be particularly careful with acrylic baths and sinks. Harsh scrubbing can affect the finish, so avoid rough pads and scraping tools. For stubborn soap scum on a bathtub:
- Apply the vinegar-and-dish-soap cleaner to the affected area.
- Leave it for 20–30 minutes.
- Wipe gently with a non-abrasive sponge.
- Rinse and inspect the surface.
- Repeat the process on remaining deposits.
This repeated-treatment approach is preferable to relying on abrasive force. If a standard homemade solution produces little improvement, check the manufacturer’s instructions before moving to a stronger bathroom or limescale cleaner.
Getting Soap Scum off Taps and Fixtures
Lemon juice or white vinegar can help loosen residue around taps and fixtures. Apply a small amount with a soft cloth, paying attention to the base of the tap and other places where water dries.
After cleaning, rinse the fixture and dry it completely. Buffing with a microfibre cloth helps restore shine and removes lingering water marks.
Avoid abrasive powders, rough sponges and forceful scraping on delicate, plated or decorative finishes. These surfaces may require a product specifically approved by the manufacturer. When in doubt, test a hidden area first and keep contact with the cleaner brief.
When Home Cleaning Methods Fall Short
Some deposits become so thick and calcified that homemade cleaners and general bathroom sprays make little visible difference. This does not necessarily mean that more scrubbing is the answer. The cleaner may not be appropriate for the mineral-heavy layer, or one application may not provide enough time to break it down.
A specialist limescale cleaner may be needed for severe build-up. Select one that is approved for the particular surface, follow its directions and avoid mixing it with other cleaning products. Store-bought cleaners vary, and users sometimes find that general-purpose formulas fail on deeply hardened soap scum.
Heavy deposits may require several treatments. Apply the suitable cleaner, allow the specified contact time, wipe with a non-abrasive tool, rinse and reassess. Repetition can gradually remove layers without the damage that may result from scraping.
If the surface remains cloudy after careful cleaning, the problem may not be removable residue. Seek advice from the surface or fixture manufacturer before trying increasingly aggressive products.
Ways to Stop Soap Scum from Returning
Preventing soap scum is easier than removing a thick layer. The goal is to reduce the amount of soap, minerals and standing water left on bathroom surfaces.
A few seconds of attention after each shower, combined with a short weekly clean, can keep residue from reaching the hardened stage.
Small Daily Habits That Make a Difference
Keep a squeegee inside or near the shower and use it on the glass after each use. Removing water before it dries limits the soap and mineral film left behind.
Ventilation is equally important. Run the bathroom extractor fan or open a window where appropriate so that wet surfaces dry more quickly. Leave the shower area able to air out rather than trapping moisture behind a closed screen.
You can also wipe obviously wet fixtures and ledges with a microfibre cloth. Concentrate on areas where water regularly pools.
Choose Products That Leave Less Residue
Switching from bar soap to liquid soap may reduce the amount of residue left on baths, sinks and shower screens. Low-residue bathroom and personal-care products can also make regular cleaning easier.
Changing products will not remove minerals from hard water, so it may not eliminate soap scum completely. However, reducing the film left after washing gives those minerals less material with which to combine.
Reduce Mineral Build-Up from Hard Water
If hard water is a persistent household problem, a water softener can reduce its mineral content. This can limit the mineral deposits that contribute to cloudy shower glass, marked fixtures and hardened soap scum.
A water softener is a larger intervention than changing soap or using a squeegee, but it addresses one of the main sources of recurring residue. Consider whether it is appropriate for your home and water supply before installation.
Keep Up with Short, Regular Cleans
A quick weekly clean is much easier than removing months of accumulated residue. Spray compatible surfaces, allow the cleaner a little time to work, wipe them down and rinse.
Regular cleaning also lets you notice problem areas early. Pay attention to shower-door edges, grout lines, tap bases and the bathtub waterline. Treating a faint film promptly prevents it from turning into a hard, frustrating layer.
Bathroom Improvements That Help Resist Soap Scum
Bathroom design choices can reduce how much residue collects and how difficult it is to remove. If you are renovating or replacing fittings, consider:
- Easy-clean shower screens: Smoother, easy-care glass is simpler to wipe and squeegee after use.
- High-quality, smooth-finished tiles: Even surfaces provide fewer textured areas in which residue can settle.
- Effective ventilation: A suitable extractor system helps moisture leave the room and allows surfaces to dry faster.
- Accessible layouts: Screens, taps and corners that are easy to reach are more likely to receive regular cleaning.
No bathroom surface is entirely maintenance-free, but combining practical material choices with ventilation and frequent light cleaning can greatly reduce the effort required. Remove water after use, clean residue before it hardens and always match the method to the surface.