How to Fit Bathroom Wall Panels: A Practical Guide
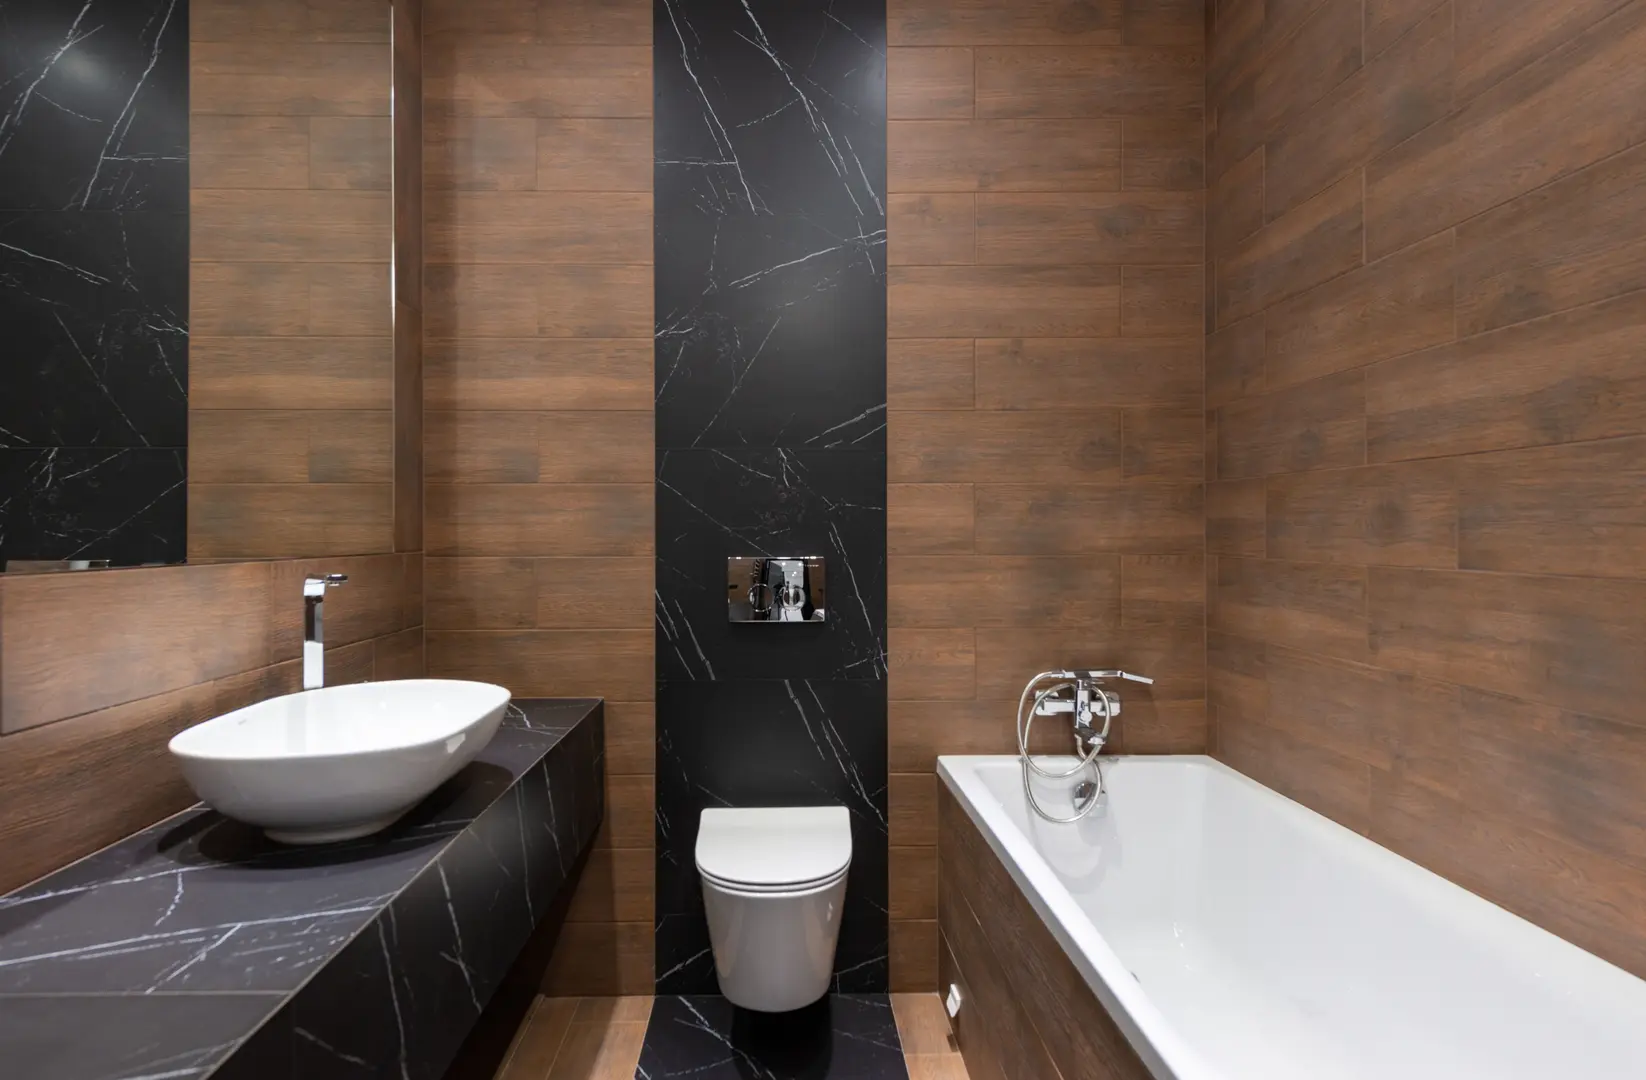
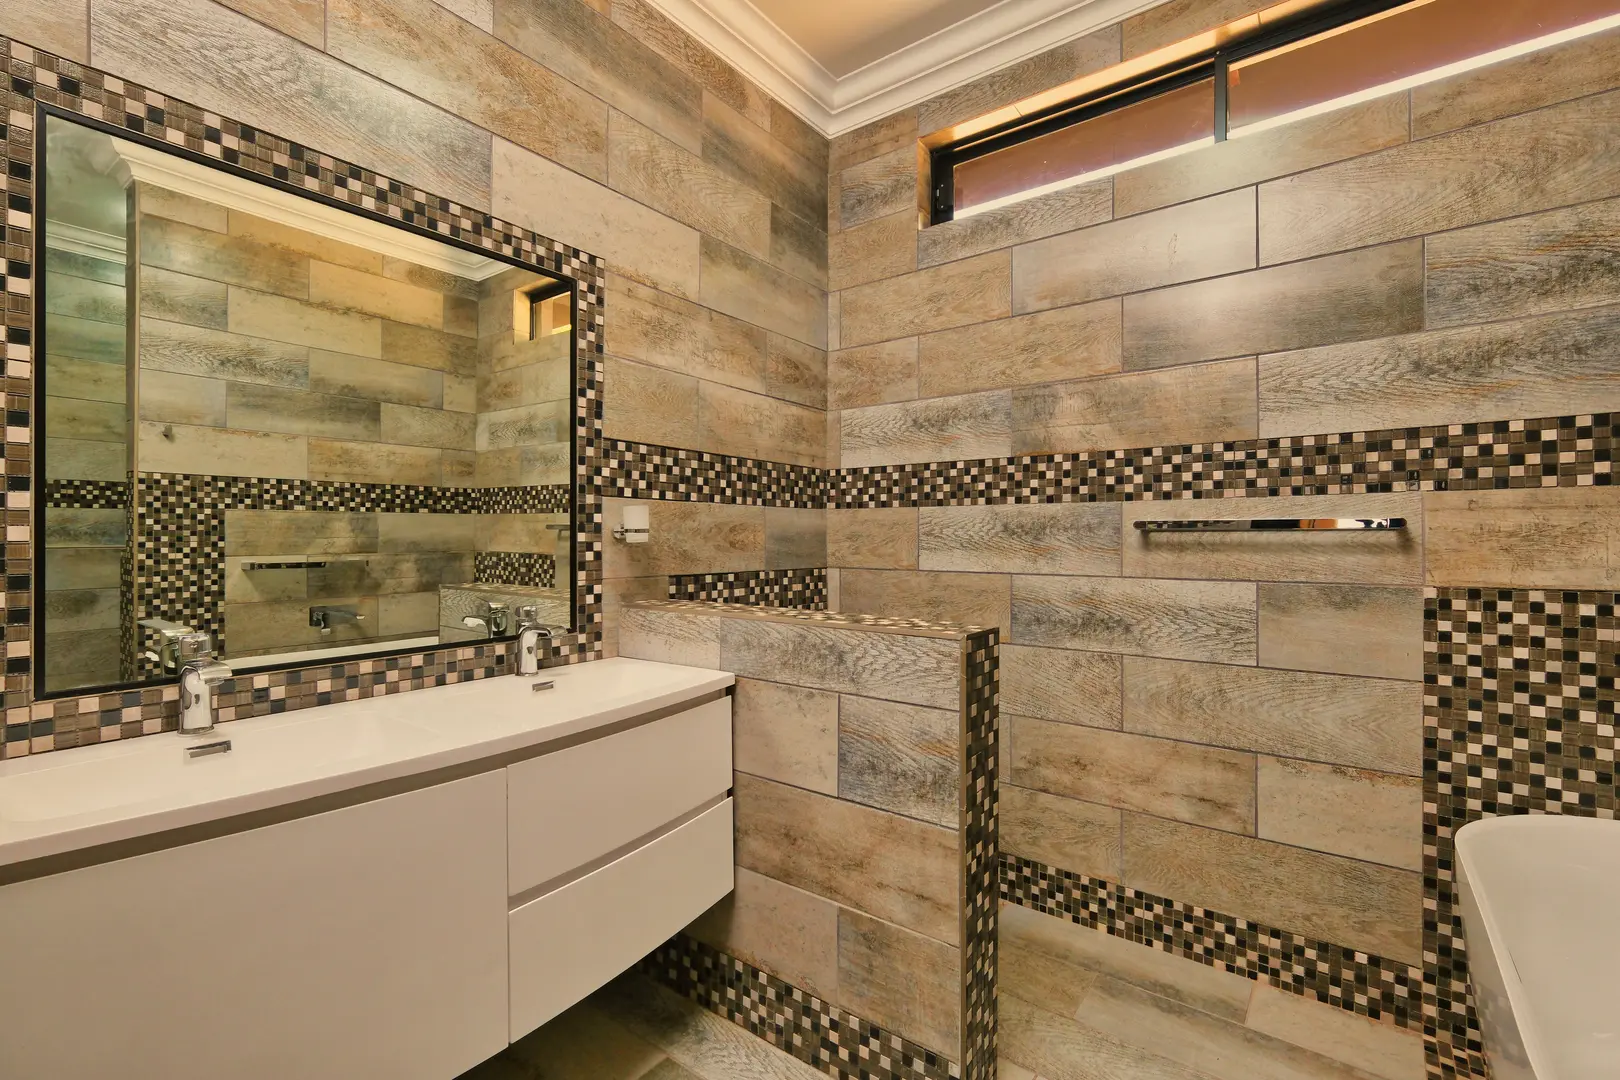
Bathroom wall panels offer a quick, practical way to refresh a shower enclosure or an entire bathroom. Available in a wide choice of designs and sizes, they provide a durable, waterproof alternative to tiles and generally last longer than painted surfaces in wet areas.
Learning how to fit bathroom wall panels is relatively straightforward, even for a capable DIY installer. The key is to prepare the walls properly, plan each panel position and use trims, adhesive and sealant that are compatible with the chosen panel system.
Understanding Bathroom Wall Panels
Bathroom wall panels are large, waterproof sheets designed to cover walls in showers, around baths and elsewhere in the bathroom. Depending on the product, they may be made from acrylic, stone resin, PVC or moisture-resistant MDF with a protective laminate surface.
Unlike individual tiles, panels cover a substantial section of wall at once. This large-sheet format speeds up installation and reduces the number of joins across the finished surface. Many systems use discreet joints or matching trims to create a clean, almost seamless appearance.
A non-porous laminate or acrylic surface does not absorb water and is easy to wipe clean. Because there are fewer joints and no large network of grout lines, there are also fewer places for soap residue, dirt and bacteria to collect.
Before starting, read the fitting instructions supplied with your particular panels. Installation requirements can vary according to the panel core, surface finish, edge profile and joining system.
Typical tools and materials include:
- Bathroom wall panels
- Matching corner, edge and joining trims
- Panel-compatible adhesive
- Bathroom-grade sealant approved for the panel system
- Tape measure and pencil
- Spirit level or suitable levelling tool
- Straight edge
- A cutting tool suitable for the panel material
- Protective equipment recommended for cutting
- Cleaning cloths and surface-preparation materials
The basic installation process is as follows.
Check the panels and trims
Unpack the materials carefully and make sure the panels are the correct design, size and finish. Check that all required corner trims, end trims and joining pieces are present before removing the existing wall finish or applying adhesive.
Inspect each sheet for visible damage. It is much easier to resolve a supply problem before installation begins.
Prepare the wall
The underlying surface should be clean, sound and suitable for bonding. Remove loose material, dirt and residues that could prevent the adhesive from making proper contact.
Panels can sometimes be installed over existing tiles, but the tiled surface must still be secure and reasonably even. Loose tiles or an unstable wall should not simply be covered.
Remove fittings where necessary so that the panels can sit neatly against the wall. Depending on the bathroom layout, this may include shelves, shower accessories or decorative covers. Plumbing alterations should be handled by an appropriately skilled person.
Plan the layout
Decide where full panels, cut panels and joints will sit. Take account of internal corners, external corners, shower controls, pipework and other openings.
Planning is particularly important when the panels have a stone, wood or patterned design. Arrange adjoining sheets so that the visual flow looks intentional. Mark the order of the panels discreetly if needed.
Measure carefully
Measure the wall in more than one place rather than assuming that the floor, ceiling and corners are perfectly square. Transfer the required dimensions to the panel, following the manufacturer’s guidance on orientation and cutting.
Check every measurement before making a cut. Remember to account for any trims or joint profiles used by the system.
Cut openings and panel edges
Use a tool appropriate for acrylic, PVC, stone-resin or laminated MDF panels. Support the sheet while cutting and follow the supplier’s instructions to avoid damaging its face or edges.
Openings for shower controls and pipes should be positioned carefully. Do not rely on sealant to disguise an inaccurately placed or excessively large hole.
Dry-fit the first panel
Place the panel against the wall without adhesive to check its size, orientation and relationship with the corner or edge trim. The first sheet establishes the alignment for those that follow, so use a level to confirm its position.
Make any necessary adjustments before bonding it to the wall.
Fit the trims and apply adhesive
Install the relevant starting, corner or edge trim as directed by the panel manufacturer. Some trims are fitted before the panel, while others form part of the joining process.
Apply a compatible panel adhesive in the pattern recommended by the supplier. Products intended for general building work are not automatically suitable for every panel material, so use an approved option.
Position and secure the panel
Bring the sheet into position carefully, engaging it with the trim or joining profile where required. Press it evenly against the prepared wall so that the adhesive makes consistent contact.
Recheck the alignment before the adhesive begins to set. Remove stray adhesive from the decorative face in accordance with the product instructions.
Continue across the wall
Dry-fit each subsequent panel before applying adhesive. Connect adjoining sheets using the supplied joint system or matching trim.
Keep checking the overall alignment as work progresses. A small error at the first joint can become more visible across a complete wall.
Seal the required edges
Apply compatible bathroom sealant at the locations specified by the manufacturer, such as around the shower tray, bath edge, pipe openings or trim junctions. The seal should be continuous and neat.
Allow the adhesive and sealant to cure for the period stated by their manufacturers before exposing the installation to water. Refit accessories only when the panels are secure.
Once fitted, panels require minimal routine cleaning. Wiping them with an appropriate non-abrasive cleaner will generally be simpler than scrubbing multiple tile grout lines.
Bathroom Tiles or Panels: Key Differences
Tiles remain a traditional bathroom wall covering, but their installation involves placing many individual pieces. They often need repeated measuring and cutting, followed by grouting once the tile adhesive has set. This makes tiling a time-consuming process, particularly around corners, pipework and shower fittings.
Bathroom wall panels take a different approach. A large sheet covers an area that would otherwise require numerous tiles, allowing the installation to progress more quickly. There is no need to create and fill a grid of grout joints.
| Feature | Bathroom tiles | Bathroom wall panels |
|---|---|---|
| Format | Individual pieces | Large sheets |
| Installation | Requires repeated positioning, cutting and grouting | Covers a larger area in one stage |
| Finished appearance | Visible grout grid | Few joints and a more seamless look |
| Routine cleaning | Grout lines need attention | Smooth surfaces are easy to wipe |
| DIY process | Can be detailed and time-consuming | Generally simpler for a capable DIYer |
Panels are especially useful when a clean, uninterrupted finish is preferred. Some systems have joining profiles, so “seamless” does not always mean completely joint-free. It refers to the reduced number of visible breaks compared with a conventionally tiled wall.
Tiles still offer a familiar appearance and can be arranged in many patterns. The right choice therefore depends on the desired finish, the condition of the existing walls, the available budget and whether the work will be completed professionally or as a DIY project.
The Advantages of Choosing Bathroom Wall Panels
Cost and installation time are two of the main reasons to choose panels. They are generally cheaper and easier to fit than a complete tiled wall, particularly when the labour involved in cutting, positioning and grouting individual tiles is considered.
PVC and MDF-based panels are relatively lightweight, which makes them easier to move, measure and position. Acrylic and stone-resin options provide additional design choices while retaining the basic benefits of a waterproof panel system.
Other practical advantages include:
- Simple DIY installation: Large sheets allow a competent DIY installer to cover a wall without learning how to lay and grout individual tiles.
- Durable construction: Panels are designed for bathroom conditions and provide a longer-lasting alternative to ordinary paint in wet areas.
- No grout: The absence of grout lines reduces both the installation work and ongoing cleaning.
- Easy maintenance: Smooth, non-porous surfaces can be wiped down with minimal effort.
- Fewer joints: Large sheets help create a streamlined, contemporary finish.
- Wide design choice: Panels are available in different colours, patterns and sizes to suit a range of budgets and bathroom styles.
- Practical handling: Lightweight PVC or MDF-based products can be easier to position than many separate wall coverings.
The lack of grout is particularly valuable in shower areas. Grout lines can collect residue and need periodic attention, whereas panel surfaces have fewer places for dirt and bacteria to build up. Panels still need regular cleaning, and seals should be inspected as part of normal bathroom maintenance.
Can Bathroom Wall Panels Be Fitted Over Existing Tiles?
In many cases, yes. Bathroom wall panels can be installed directly over existing tiles, avoiding the time and disruption involved in removing the complete tiled surface.
However, the existing tiles must provide a suitable base. Check that they are firmly attached and that the wall is sufficiently even for the panels to sit correctly. Covering loose tiles does not solve the underlying problem. The surface should also be cleaned and prepared according to the adhesive and panel manufacturer’s instructions.
The usual process is to:
- Examine the tiled wall for loose or damaged areas.
- Clean away soap, grease and other residues.
- Check that the surface is sufficiently flat.
- Measure the room and plan the panel joints.
- Dry-fit the sheets and trims.
- Bond and seal the panels using compatible products.
Fitting over tiles can transform a bathroom without exposing the old grout lines. The new surface is easier to maintain because it replaces many small joints with broad, wipe-clean sheets.
Panels can also help reduce the conditions in which surface mould builds up. A PVC finish is non-porous and provides protection from condensation on the wall surface, while the absence of exposed grout removes a common area where moisture and residue can linger. Good bathroom ventilation and regular cleaning remain important.
Pay particular attention to taps, shower controls, tray edges and pipe openings when covering tiles. These junctions must be finished neatly with the appropriate trims or sealant specified for the system.
How to Source and Purchase Bathroom Wall Panels and Trims
Sourcing the panels is only part of the purchase. A complete installation may also require internal corner profiles, external corner trims, end caps and jointing pieces. Finding a particular panel but not its matching trims can delay the project or leave key edges unfinished.
Look for a bathroom panel supplier that offers complete systems rather than individual sheets alone. Before ordering, confirm:
- Whether the panels and trims are available at the same time
- Which trims are required for the planned room layout
- Whether the trim colour and finish match the panels
- Which adhesive and sealant are approved for the system
- Whether the panels are suitable for a shower or other intended wet area
- How sheets should be stored, cut and installed
- Whether extra panels from the same design or finish can be obtained if needed
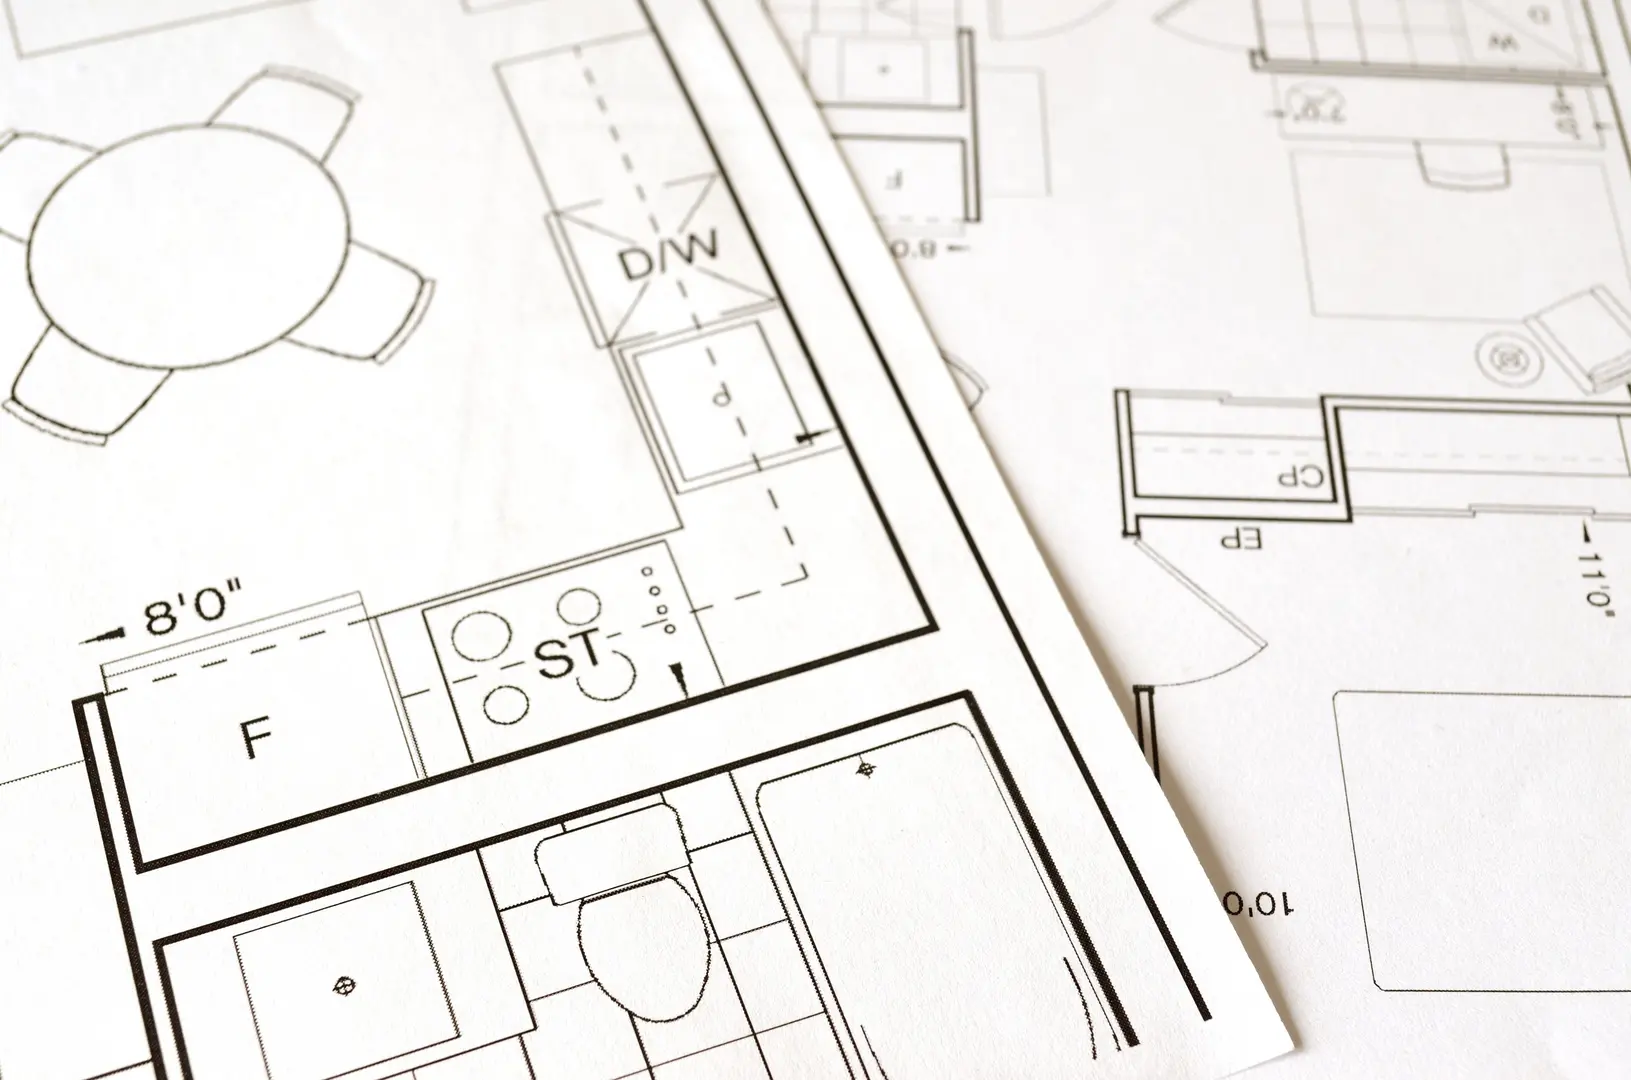
When estimating the order, plan every internal corner, exposed edge and panel-to-panel joint. Draw a simple room layout and mark where each trim will be used. This makes it easier for the supplier to check that the order forms a complete installation kit.
If a preferred brand, panel design or matching trim is unavailable, ask the supplier about compatible alternatives. Do not assume that a trim from another range will fit simply because it looks similar. Panel thicknesses, joint profiles and fitting methods can differ.
Where an exact decorative match cannot be found, a compatible contrasting trim may provide a deliberate finish. The essential point is that it must fit the panel system and be suitable for bathroom use.
Ordering panels, trims, adhesive and sealant together reduces the chance of reaching the installation stage with missing or incompatible components. Once everything has arrived, lay out the complete order and compare it with the planned wall arrangement before cutting or bonding any panel.