Fix Boring Bathroom Remodel: Budget-Friendly Ideas to Add Warmth
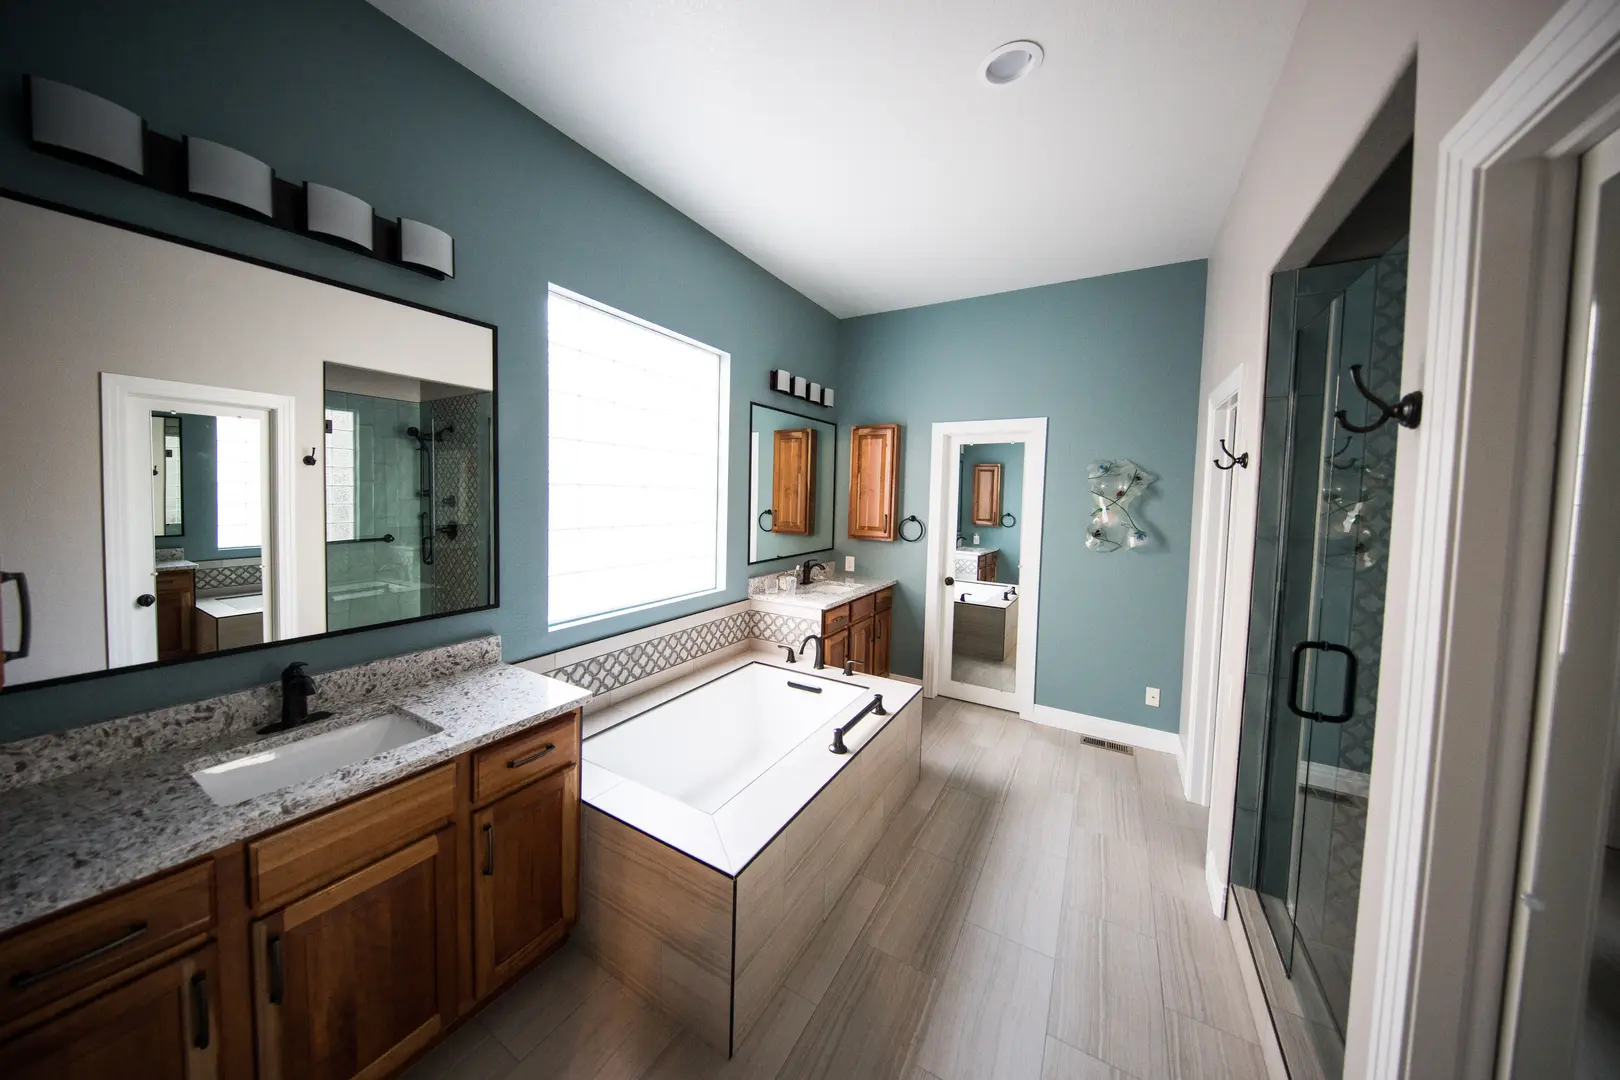
You finally finished your bathroom remodel, but instead of feeling that surge of satisfaction, you’re left with a quiet, nagging thought: It feels… boring. Or cold. You’re not alone. Many homeowners pour time and money into a renovation only to realize the finished space lacks personality and warmth. The good news is that you don’t need another gut job to fix it. With a few simple, budget-friendly updates, you can breathe life back into your bathroom and finally love the room you worked so hard on. The key is to focus on small details that build character—soft textiles, warm finishes, and personal touches—without tearing out tile or counters. Here’s how to fix boring bathroom remodel regrets without starting over.
Simple Budget Friendly Bathroom Upgrade Ideas
If your freshly remodeled bathroom feels flat, small refreshes can make a huge difference. The ideas that follow are all low-cost, most can be completed in a day or a weekend, and none require major demolition. Starting with a small refresh lets you test a new style before committing to anything permanent, which is exactly what some users have found helpful. One user reported that painting walls and cabinets was far less intimidating than a full gut remodel, allowing them to improve the look without a major commitment. Another user noted that using small refreshes to experiment with style helped avoid the regret of a costly, boring renovation. So before you call a contractor, try one or two of these quick fixes first—each one moves you a step closer to a bathroom that feels intentional and warm.
1. Paint the Bathroom
Paint is the quickest way to transform a space. Whether it’s the walls, the vanity, or even the tile, a fresh coat can change the entire mood. For example, one bathroom went from boring white to beautiful aqua with just half a day of painting using Sherwin Williams Rainwashed (color matched in Behr Marquee paint). Vanity updates are also effective: in one house, a powder room and primary bathroom vanity were both painted, making a big difference. Colors like Behr Iron Mountain (a deep charcoal) and Behr Clear Pond (a bright teal) have been used successfully. When painting a vanity, proper prep is essential—clean the surface, sand lightly, and use a high-adhesion primer to ensure the finish lasts. If you’re feeling brave, you can even paint shower tile and a bathtub. One DIYer, Anna from Ask Anna Moseley, painted her shower tile and tub, and reported that it held up well even after a year. For more impact, consider replacing a small vanity with a new one (often a couple of hundred dollars) or swapping out faucets—as long as the new fixture has the same measurements as the old one, the change is straightforward and brings a fresh look that complements your new paint color.
2. Upgrade the Bathroom Mirror
Large, plain builder-grade mirrors are common but can feel dull. You have several options. You can frame the existing mirror with a simple DIY project using wood trim or molding—just measure, cut, and glue the frame directly onto the mirror for a custom look. Alternatively, you can remove the old mirror entirely and install new ones. Removing a builder-grade mirror is simple: just pull off the clips, and the mirror comes right down. In one case, the old mirror was given away to a friend for use in a workout room. New mirrors can be surprisingly affordable: a pair of mirrors from Hobby Lobby cost $45 each (with a 50% off sale), making the total under $100. Another approach is to paint the mirror frame itself. One powder room featured a chintzy gold mirror that was simply painted white, resulting in a charming look—and it hid a functional medicine cabinet behind it. Upgrading the mirror changes the focal point of the room and adds visual weight, making the space feel more finished.
3. Tweak the Light Fixtures
If replacing light fixtures isn’t in the budget, you can still update them without rewiring. A quick fix is swapping out the globes for new ones, which gives an updated look at minimal cost. Choose globes in a different shape—such as ribbed, frosted, or clear glass—to change the light quality and style. You can also change the finish of the fixture using spray paint or Rub ‘n Buff—both are inexpensive and fairly simple. For a metallic finish, use a spray paint designed for metal; apply light coats and allow drying between them. If your fixture has intricate details, Rub ‘n Buff wax can be rubbed on to create an antique brass or brushed nickel look. Just tape off the electrical parts and work in a well-ventilated area. These tweaks let you refresh the lighting without hiring an electrician.
4. Change Out Hardware
New knobs and pulls can completely change the feel of a vanity. This is a fast, inexpensive fix. In one master bathroom vanity, several hardware options were tried before settling on a winner from Hobby Lobby. Hobby Lobby carries a wide selection of knobs and pulls, so you can find a style that fits your new vision. When selecting hardware, consider the finish—matte black adds a modern edge, brushed nickel is timeless, and brass brings warmth. Also think about the shape: long bar pulls make a statement, while round knobs are classic and subtle. To avoid misalignment, measure the existing hole spacing (center-to-center) before purchasing new pulls. The whole swap takes less than an hour and instantly elevates a builder-grade vanity.
5. Add Pretty Shelves
Shelves are a fantastic way to decorate vertical space, especially above the toilet. Floating shelves from Target are an easy, affordable option. You can also DIY a simple shelf using items you already have on hand—a wooden plank, brackets, and paint. For a combination of display and storage, a small cabinet with a shelf can hold toilet paper and decorative items. When installing floating shelves, use a level and locate studs for a secure hold. The shelf itself can be painted to match your trim or stained for a warm wood tone. Display a few rolled towels, a small plant, or a candle to add texture and personality. Even one shelf above the toilet can break up a blank wall and make the bathroom feel curated.
6. DIY Budget Wall Prints
You don’t need expensive art to add warmth. Create your own design using a free program like Canva, then pop it into a thrifted frame. Search Pinterest for free printable art to frame—botanical prints, line drawings, or inspirational quotes work well. Or make a handmade wood sign or canvas art for a personal touch. For a cohesive look, choose frames in the same finish (black, white, or natural wood) and arrange them in a small gallery wall. This allows you to change the art seasonally without spending money. Wall art is one of the easiest ways to inject color and personality into a sterile bathroom.
7. Organize the Bathroom
Clearing clutter and creating organized systems instantly makes a space feel fresher. Use stackable drawers and bins to maximize vertical space. Cube bins help keep items like cleaning rags tidy. In a large, open vanity, stacking drawers are perfect for storing essentials. Even a thorough cleaning, especially of grout, can make a difference. Mix a bleach solution or use an industrial tile cleaner with a toothbrush to brighten grout lines. Consider adding a small caddy or tray to corral countertop items like soap and lotion. When everything has a home, the bathroom looks cleaner and feels more relaxing. Organization also reduces visual noise, allowing your design choices—like a bold paint color or new mirror—to stand out.
8. Swap the Rugs
Bath mats can look dingy quickly due to water and humidity. A fresh set of rugs breathes new life into the room. Inexpensive rugs can also help cover up floor tile you don’t love. Choose a rug with a non-slip backing for safety, and consider natural fibers like cotton or bamboo for a spa-like texture. A large rug in front of the vanity can anchor the space, while smaller mats near the tub or shower add layers. Look for patterns or colors that tie into your wall paint or accessories. Swapping rugs is a low-commitment way to test a new color scheme before painting.
9. Install Wallpaper
Wallpaper adds color and pattern without a full tile project. In one half bath, wallpaper was used on only the top third of the wall, requiring just a small amount and creating a statement. If wallpaper isn’t your style, a stenciled wall can give a similar effect. Peel-and-stick wallpaper is particularly beginner-friendly—it’s removable and forgiving, making it ideal for renters or first-timers. Use it on an accent wall behind the vanity or inside a recessed niche. For a subtle look, choose a grasscloth texture; for drama, go with a bold floral or geometric pattern. Wallpaper can transform a small powder room into a showpiece without the cost of tile.
10. Add Board and Batten or Beadboard
For a slightly bigger project, consider board and batten or wainscoting. It’s a fairly inexpensive way to elevate the space. In a guest bathroom, a simple board with a ledge and hooks provided a place for towels and improved the look. In a powder room, beadboard paneling created a similar refined feel. To install, you’ll need a saw, nails, and paint—cut the boards to height, nail them to the wall, and fill nail holes before painting. This addition adds architectural interest and can make a builder-grade bathroom look custom. If you’re not ready for a full wall treatment, try a single board and ledge as a towel bar area.
Start Small: Use a Refresh to Test New Styles
If you’re afraid of making a permanent mistake, starting with a small refresh can help. One user explained that painting walls and cabinets was less intimidating than a gut remodel, allowing them to test changes and improve the look without major commitment. Another user highlighted that using small refreshes to experiment with style helps avoid the regret of a costly, boring renovation. The fear of making mistakes often leads to playing it safe with neutral finishes, resulting in a cold look. By trying low-risk updates first—like paint, new accessories, or swapping rugs—you build confidence and discover what you truly like before committing to a full remodel. For example, test a bold paint color on a single wall behind the toilet, or install a temporary peel-and-stick wallpaper on an accent wall. Live with it for a week. If you love it, you’ve found your direction; if not, you can easily change it without remorse.
Get the Order Right: How Sequencing Can Prevent a Bland Bathroom
One common pain point is uncertainty about the proper order of remodeling tasks. Users explicitly ask for a recommended sequence to avoid mistakes. Hidden structural problems after demolition (like mold or missing joists) are another frequent issue. One user advised implementing a “getting back to zero” step after demo: inspect and fix unknown unknowns before proceeding, which prevents future problems. Another user recommended purchasing the vanity and all fixed pieces before rough-in, ensuring correct heights for plumbing and electrical and avoiding rework. Planning the order of tasks allows you to make intentional design choices—like built-in shelves or accent tiles—rather than settling for a bland, builder-grade result. A recommended sequence: demo, inspect/fix hidden issues, rough-in plumbing and electrical, install wall finishes, flooring, then vanity, fixtures, and finally trim and accessories. Sticking to this order prevents costly re-dos and keeps the final result cohesive.
Don’t Let Fear Drive Your Design: Confidently Choose Finishes
The fear of making a mistake often leads to conservative, boring selections. One user reported being scared to mess up, which can cause hesitation and stress. This anxiety pushes many to choose neutral finishes that feel safe but end up feeling cold. To avoid post-reno regret, research materials and try small tests—like painting a swatch or buying a small sample—to build confidence. Making intentional, warm selections instead of defaulting to builder-grade blandness is the key to a bathroom you’ll love. Start a mood board on Pinterest or bring home tile samples to see them in your lighting. Remember that you can always change accessories later. The goal is to create a space that reflects your personality, not one that simply checks off a box.
Builder Grade Bathroom Update Ideas: Final Thoughts
Bathrooms can seem like massive, pricey projects, but a few quick and inexpensive fixes can really spruce up the space. Whether you paint a vanity, swap a mirror, or add shelving, each small step moves you away from boring and toward a bathroom that feels personal and welcoming. You don’t have to live with post-reno regret. Even one change—like replacing a builder-grade mirror with a framed one or installing a warm-toned rug—can shift the entire energy of the room. The best part is that these updates are reversible, so you can continue to evolve your style over time.
Builder Grade Bathroom Updates: Frequently Asked Questions
What does builder grade mean? In the simplest terms, builder grade refers to bare bones. Most of the time the materials are inexpensive and are not meant to last forever. The grading scale is builder grade (lowest), quality, custom, and ultra custom (highest quality). Builder grade items are often chosen by home builders to keep costs low, and they typically lack style and durability.
What are builder grade cabinets made of? They can be fabricated from a variety of materials, but the most common are MDF, particle board, plywood, composite, or plastic veneer. While functional, these materials may not hold up as well as solid wood and are more prone to wear over time.
Have you done any projects to update a builder grade bathroom? We’d love to hear about them in the comments!