12 Practical Ways to Fix a Dripping Bathroom Faucet
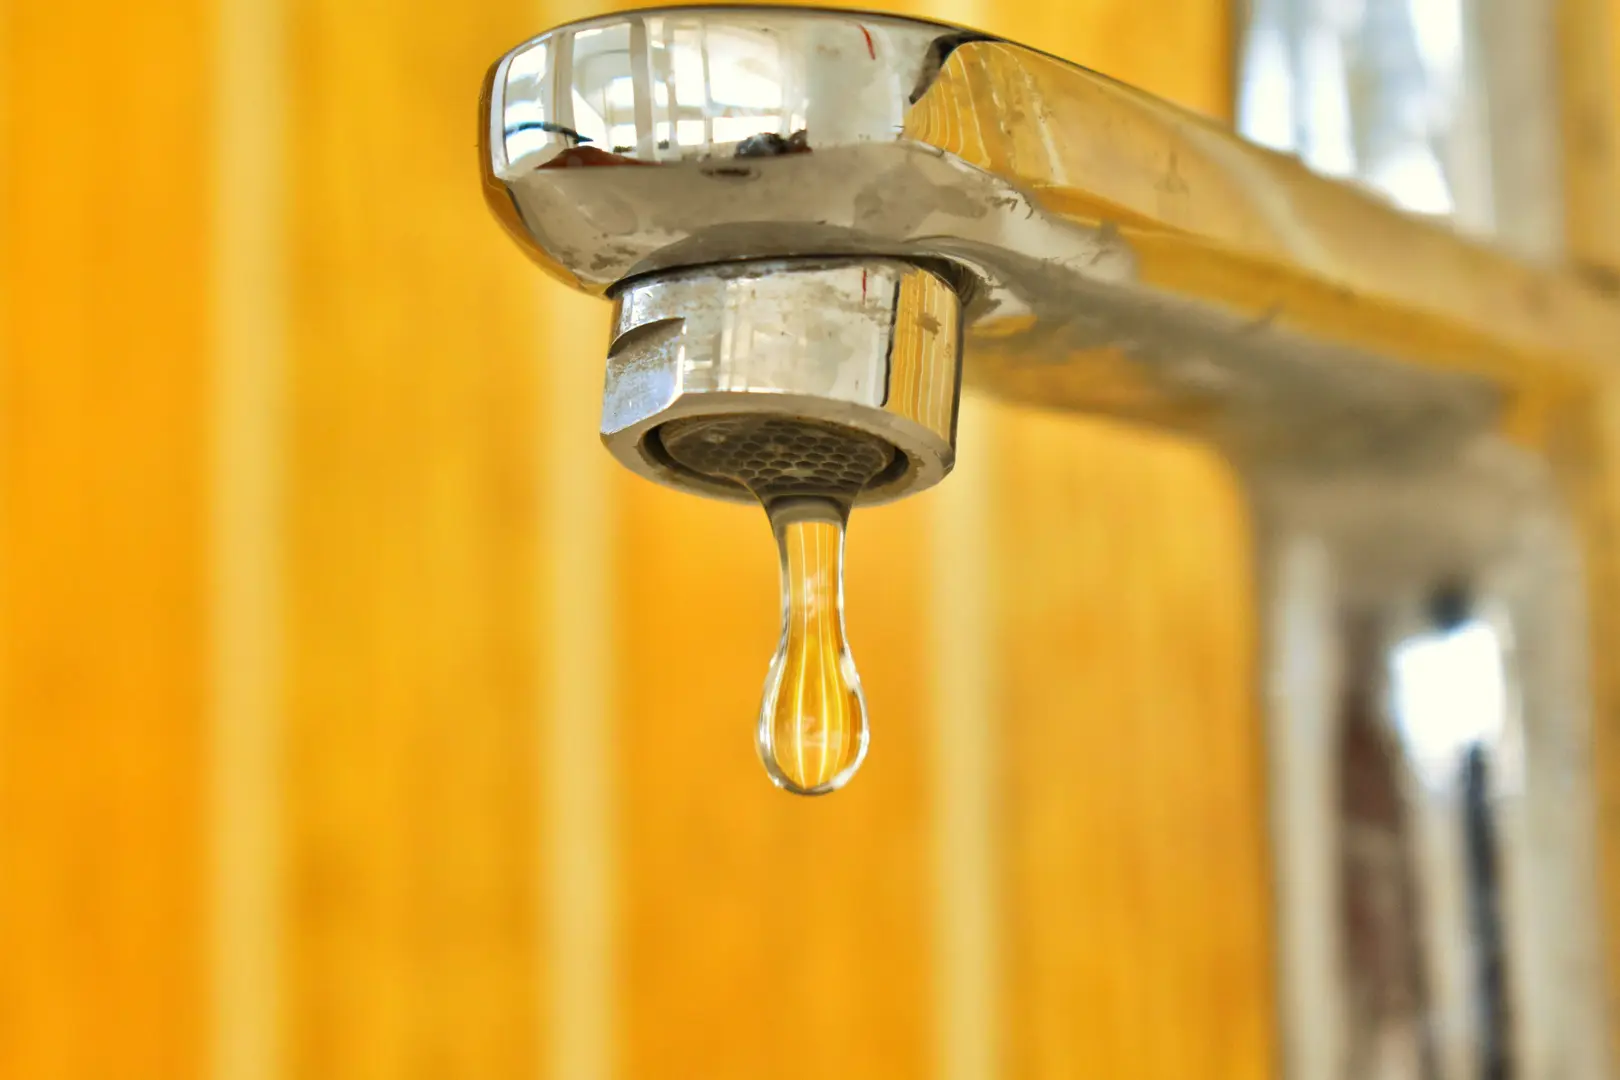
A dripping faucet is more than an irritating bathroom sound—it also wastes water and may indicate a worn, loose, blocked, or damaged component. Fortunately, many common causes are easy to inspect and address with basic tools and inexpensive replacement parts.
Before starting, close the faucet’s shut-off valves and open the tap to release remaining water. Cover the drain so that small screws and components do not fall into it. As you disassemble the faucet, keep the parts in order to make reassembly easier.
Ways to Stop a Bathroom Faucet from Dripping
Learning how to fix a dripping bathroom faucet begins with identifying where the water is coming from. A drip from the spout often points to an internal washer, gasket, alignment, or debris problem. Moisture around the handle, supply lines, or cabinet may have a different source. Work through the following checks until you find the likely cause.
1. Inspect and Replace the Faucet Washers
Washers help form a seal inside many faucets. Each time the faucet is used, a washer may press against another component to control water flow. Over time, it can become cracked, brittle, misshapen, or worn.
To inspect a washer:
- Turn off the water supply.
- Remove the handle and any cover or retaining components.
- Take out the stem assembly carefully.
- Locate the washer and inspect its surface and edges.
- Replace it if it is damaged or no longer flexible.
- Reassemble the faucet and slowly restore the water.
The replacement must match the original washer’s size and style. A washer that is slightly too large, too small, or shaped differently may not create a proper seal. If possible, take the old part with you when purchasing a replacement.
Inspecting washers periodically can help you catch deterioration before the faucet develops a persistent leak. If a new washer does not stop the drip, continue checking the surrounding parts rather than repeatedly tightening the handle.
2. Tighten or Replace Loose Faucet Screws
Loose screws can prevent faucet components from sitting firmly in place. Depending on the design, you may find screws under a decorative cap, on the side of the handle, or within the faucet assembly.
Check each accessible screw and tighten it gently with the appropriate screwdriver or tool. The goal is to secure the component, not force it beyond its normal position. After tightening, restore the water and test the faucet.
If the screw turns without becoming secure, its head or threads may be stripped. A screw with a damaged head can also be difficult to remove during future maintenance. Replace it with a matching screw rather than trying to compensate by overtightening other parts.
Keep in mind that a loose handle screw does not always cause a spout drip. However, checking the fasteners is a quick step that can correct poor component placement and rule out an obvious issue.
3. Correct the Faucet’s Alignment
Internal parts must sit in the correct position to create a complete seal. If the faucet or its neoprene washer is misaligned, a small opening may remain even when the handle appears to be fully closed. This can result in a slow, continuous drip.
Disassemble the faucet far enough to inspect the washer and nearby components. Check whether the neoprene washer is centered, flat, and properly seated. Reposition it if it has shifted or is sitting at an angle.
When putting the faucet back together, align each component before tightening the retaining hardware. Tightening a misaligned part may hold it in the wrong position instead of correcting the problem.
Once reassembled, turn the water supply back on gradually. Run the faucet, close it normally, and watch the spout for additional drips. If the leak continues, the washer may be worn as well as misaligned.
4. Look for Cracks and Other Faucet Damage
Examine the faucet body, handles, spout, and visible internal components for wear and tear. Cracks may develop around joints, threaded areas, or points that experience repeated movement.
Dry the faucet first so that moisture does not hide the source. Then look closely for:
- Fine cracks in the faucet body
- Chipped or distorted internal parts
- Damage around threaded connections
- Moisture returning along a seam
- Components that no longer fit together correctly
Address cracks as soon as possible. Small damaged areas can expand or allow water to reach nearby surfaces. Whether an individual component can be replaced depends on where the crack is located and how the faucet is constructed.
If the main faucet body is damaged, replacing the faucet may be more practical than trying to repair the crack. Avoid relying on excessive tightening to close a cracked fitting, as added force may worsen the damage.
5. Check Whether the Water Pressure Is Appropriate
Appropriate water pressure helps faucets, valves, and connections operate as intended. Excessively high pressure places additional stress on fittings and may contribute to recurring leaks. Unstable pressure can also make a minor sealing problem more noticeable.
Pay attention to whether the water comes out with unusual force or whether several fixtures in the home have developed leakage problems. Because pressure affects the plumbing system as a whole, a drip may not be isolated to the bathroom faucet.
A pressure-regulating valve can help manage incoming water pressure. If your home has one, check whether it is operating correctly. Pressure evaluation or adjustment may require a plumber, particularly if the problem affects several fixtures or the regulating valve appears damaged.
Replacing faucet parts without addressing an underlying pressure issue may provide only a temporary improvement. Once the pressure is appropriate, test the repaired faucet again.
6. Remove Debris from the Faucet
Mineral deposits and other debris can collect inside a faucet, particularly where hard-water buildup is present. This material may block movement or prevent washers, gaskets, and other components from sealing properly.
After shutting off the water and disassembling the affected section, inspect the parts for visible residue. Use a soft brush to loosen buildup without scratching the surfaces. Pay particular attention to narrow openings, edges, and places where sealing parts make contact.
Rinse every cleaned component thoroughly so that loosened material does not remain inside the faucet. Avoid reassembling the parts while debris is still present, as it may settle into the sealing surface again.
Reinstall the components in their original positions and test the faucet. If cleaning improves operation but the drip remains, examine the washer and gasket for damage that may have been hidden by the buildup.
7. Test the Faucet’s Shut-Off Valve
The small shut-off valves under the bathroom sink control water flowing to the faucet. A valve that is corroded, damaged, or unable to close fully can complicate repairs and may leak on its own.
Inspect the valve body, handle, and connections for corrosion or moisture. Turn the valve carefully to confirm that it moves and controls the water supply. Do not assume it works simply because the handle changes position.
A damaged or heavily corroded shut-off valve should be replaced. If it cannot stop the water, use the home’s main shut-off valve before beginning faucet work. Make sure you know where that main valve is located before an urgent plumbing problem occurs.
After operating a shut-off valve, check it and the connected supply line for moisture. A wet valve indicates a separate leak that should not be mistaken for water dripping from the faucet’s spout.
8. Adjust the Stem’s Packing Nut
The packing nut sits around the faucet stem and helps control leakage around that moving component. If it becomes loose, water may escape near the handle or stem rather than only from the spout.
Remove any handle or cover that blocks access to the nut. Using a suitable tool, tighten the packing nut carefully and only enough to make it secure. Then operate the handle to confirm that it still moves correctly.
Balance is important. A loose nut may permit leakage, but applying too much force can damage the nut, stem, or surrounding components. If careful adjustment does not stop the leak, inspect the packing and nearby parts for wear instead of continuing to tighten.
Restore the water and watch both the stem area and the faucet spout. This helps confirm whether the adjustment corrected the original leak or revealed another source.
9. Install a New Gasket if the Old One Is Worn
A gasket creates a seal between faucet components. Age, repeated use, and deterioration can leave it flattened, cracked, or unable to fill the space it was designed to seal.
To replace a worn gasket:
- Shut off the water and open the faucet to release remaining water.
- Disassemble the relevant part of the faucet.
- Remove the old gasket without damaging the surface beneath it.
- Clean away residue or debris.
- Fit a new gasket of the same size and shape.
- Reassemble the faucet and test it.
Gaskets are generally inexpensive, and the replacement process is straightforward when the affected part is accessible. Bring the old gasket with you when selecting a new one to help ensure a proper match.
Make sure the replacement lies flat before reassembly. A new gasket that is folded, pinched, or off-center may leak even though the material itself is in good condition.
10. Inspect the Pipes Connected to the Faucet
Not every apparent faucet leak originates inside the faucet. Water may escape from a supply pipe, joint, or connection and travel along the fixture before dripping into the sink or cabinet.
Dry the area under and around the sink, then inspect the pipe joints while the faucet is both running and turned off. Look for new wet spots and listen for sounds that could indicate water escaping from a connection.
Check:
- Connections at the shut-off valves
- Supply lines leading to the faucet
- Joints directly beneath the sink
- Damp areas inside the vanity
- Outdoor faucet connections associated with nearby plumbing
Outdoor connections also deserve attention because visible leakage there may point to a loose or deteriorated joint. If you find moisture, trace it back to the highest wet point rather than assuming the lowest drip marks the source.
Pipe leaks and faucet leaks may require different repairs. Confirming the source helps prevent unnecessary replacement of otherwise functional faucet parts.
11. Protect the Plumbing from Freezing
Freezing conditions can increase pressure within pipes and connections. Plumbing in unheated areas is especially vulnerable, including pipes near exterior walls, basements, crawl spaces, garages, or other cold locations.
Keep the thermostat at an appropriate setting during cold weather, including when the home is temporarily unoccupied. Insulate pipes that pass through unheated areas to reduce their exposure to low temperatures.
Also inspect plumbing after a period of freezing weather. A faucet drip, damp joint, or new wet area may be connected to pressure placed on the plumbing during the freeze.
If you suspect a frozen or damaged pipe, avoid treating the faucet as the only problem. Check the connected plumbing and shut-off valves as well. Addressing cold exposure helps protect the repair and reduces the chance that the same conditions will affect another fitting.
12. Remove or Address Faucet Corrosion
Corrosion can create rough areas and small crevices on faucet parts. These irregular surfaces may prevent components from sealing tightly, allowing water to pass through.
For minor surface corrosion, apply a gentle cleanser that is appropriate for the faucet’s material. Use a soft cloth or brush and work carefully to avoid damaging the finish. Rinse the area thoroughly and dry it before checking whether corrosion remains.
More extensive corrosion may require a specialty cleaning product intended for the affected material. Follow the product directions and avoid combining cleaners. If corrosion has deeply damaged a sealing surface, connection, shut-off valve, or faucet body, cleaning alone may not restore a reliable fit.
After cleaning, inspect the component again. Replace parts that are severely pitted, weakened, or unable to form a proper seal. Once everything is reassembled, turn on the water slowly and check the spout, handles, valves, and supply connections for leaks.