How to Give Your Bathroom Tiles a Makeover
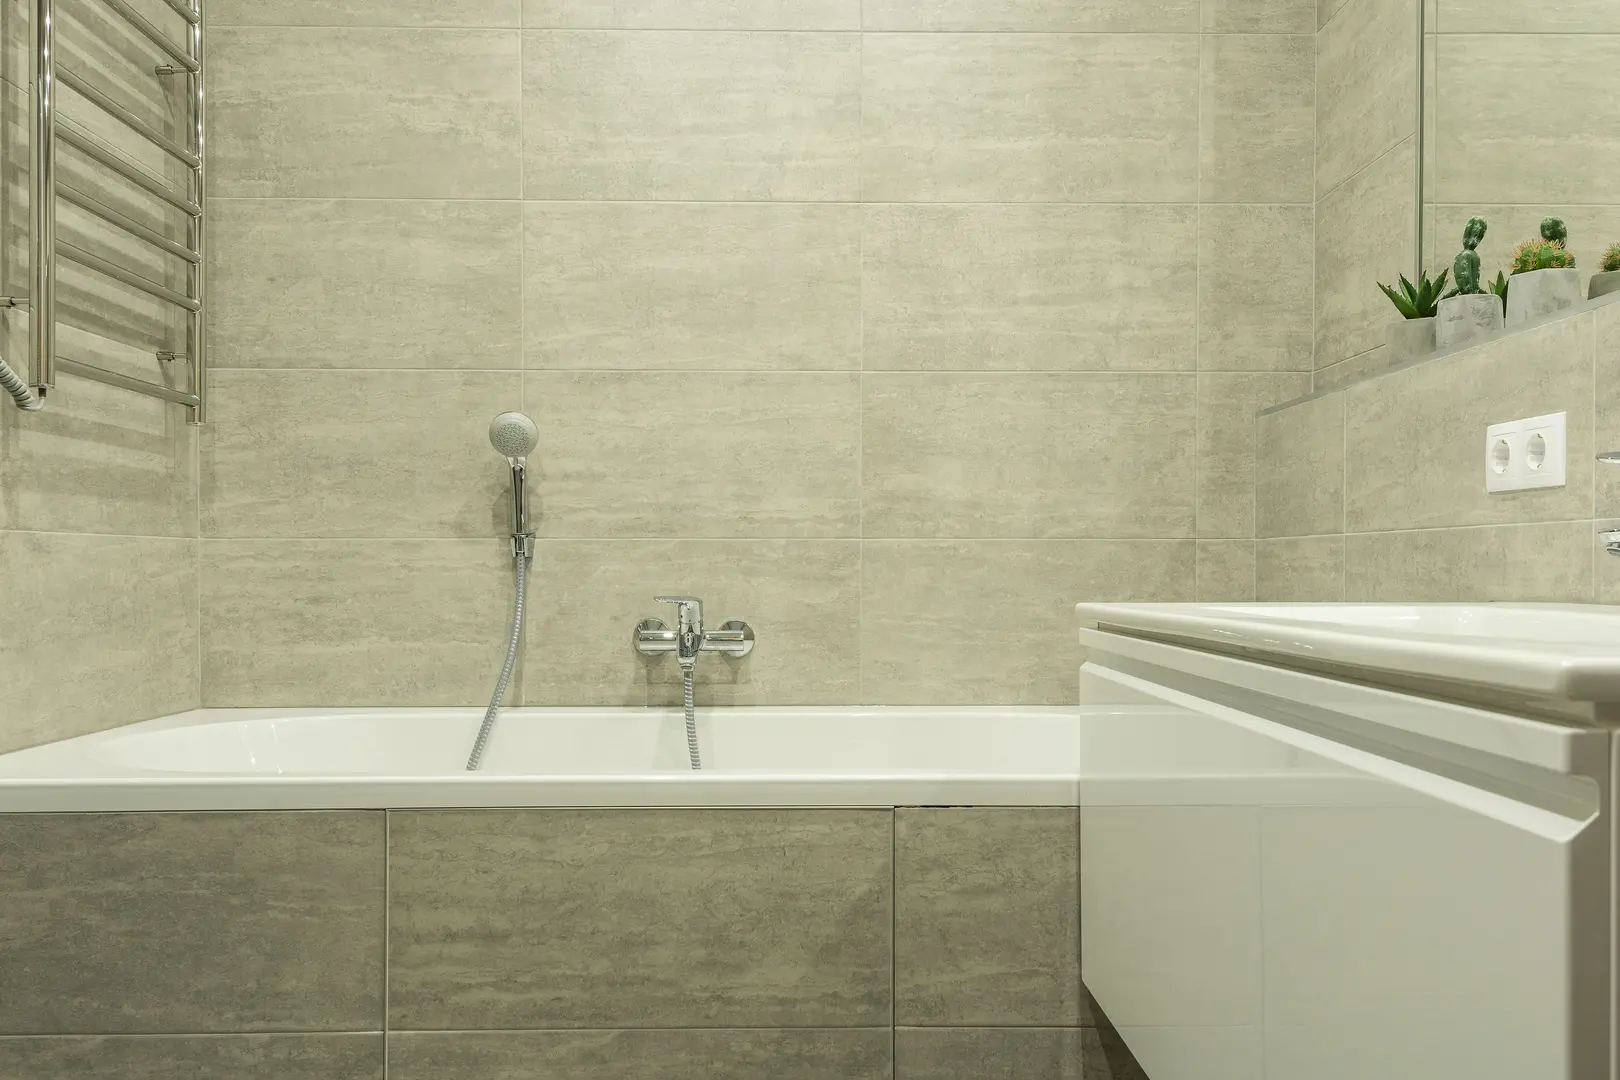
Bathroom tiles have a major influence on how fresh, bright and inviting the room feels. Once colours, grout lines or patterns begin to look dated, however, a complete renovation is not always necessary. You can give bathroom tiles a makeover with paint, stickers, panels, new flooring or a carefully planned retiling project. The right approach depends on the condition of the existing surface, your budget and how much disruption you can accommodate.
Refresh Bathroom Tiles with Paint
Painting is one of the most cost-effective ways to update bathroom tiles without removing and replacing the entire installation. It can transform an outdated colour, create a cleaner backdrop and help the tiles coordinate with newer bathroom décor.
The existing tiles must be in suitable condition. Paint will change their appearance, but it will not repair loose tiles, serious cracks, failed waterproofing or an unstable surface. Where the tiled surface is sound, you may be able to paint it or, depending on the planned finish, install new tiles over it. Both options can reduce the demolition involved in a conventional renovation.
Before deciding, consider where the tiles are located. Wall tiles are generally easier to refresh than floors because they are not exposed to foot traffic. Areas that experience frequent water and moisture also require particularly careful preparation, suitable products and good ventilation.
Are Bathroom Tiles Suitable for Painting?
Ceramic bathroom tiles can be painted with specialist products designed to adhere to smooth tiled surfaces. This makes painting a practical choice when the tiles remain firmly fixed but their colour or style no longer suits the room.
Start by examining the whole area rather than focusing only on its appearance. Look for:
- Loose or moving tiles
- Cracks or damaged edges
- Deteriorated grout
- Sealant that needs replacing
- Signs of an underlying moisture problem
- Grease, soap deposits or other surface contamination
Any underlying issue should be addressed before painting. Covering a problem with a new colour may briefly improve the appearance, but it will not provide a reliable long-term finish.
When the tiles are sound, painting may save a considerable amount compared with replacing tiles or purchasing a completely new bathroom suite. It is especially useful when fittings, sanitaryware and the overall layout still work well and only the tiled surfaces look outdated.
Does Painting Tiles Make Sense?
Whether painting makes sense depends on your expectations. It offers a fast visual change at a lower cost than full replacement tiling, but a painted tile surface will not look exactly like newly fired ceramic or porcelain tiles. Brush, roller and application marks may be visible if the work is rushed, while the grout lines require deliberate treatment to create a neat result.
Grout also affects the final appearance. Old, discoloured or damaged grout should not simply be hidden without preparation. Where the project requires it, remove deteriorated grout before painting and renew it as part of the makeover. Take care not to damage tile edges or the surface behind them.
Compared with replacement tiling, painting usually involves:
- Less demolition and waste
- Fewer new materials
- Lower overall project costs
- Less disruption to the bathroom
- A shorter route to a different colour or finish
Retaining serviceable tiles also has an environmental advantage because it avoids discarding materials that still perform their basic function. Nevertheless, replacement may be the better option if the tiles are damaged, the background is unstable or you want a completely different size, texture or laying pattern.
Which Paint Works Best on Bathroom Tiles?
Use specialist tile paint rather than ordinary interior wall paint. Tile coatings are formulated for adhesion and for the conditions associated with bathrooms. Always check that the chosen paint is intended for the specific surface and location you plan to cover.
The finish will influence the character of the room:
| Finish | Visual effect | Points to consider |
|---|---|---|
| Matte | Soft, understated and contemporary | Creates a low-sheen appearance |
| Satin | Balanced, with a gentle sheen | A versatile option for many bathroom styles |
| Gloss | Bright and reflective | Can make the painted surface more prominent |
Colour matters as much as sheen. Pale neutrals can create a calmer background, while deeper or more distinctive colours can turn the tiled area into a feature. Test how the colour works with the shower enclosure, bath, basin, flooring and lighting before committing to the full surface.
Painted floor tiles require additional protection because of regular foot traffic. Several coats of suitable varnish are needed over the painted finish. Follow the paint and varnish manufacturers’ instructions regarding compatibility, application and drying before putting the floor back into use.
Steps for Painting Bathroom Tiles
A successful painted finish depends more on preparation than speed. Skipping cleaning, repairs or priming can undermine the result, particularly in a humid room.
Inspect the installation. Confirm that the tiles are secure and the background is sound. Deal with loose sections, cracks and moisture-related problems before carrying out decorative work.
Remove grout where necessary. Deteriorated grout should be carefully removed so it can be renewed. Work patiently around tile edges and avoid using excessive force, which could chip tiles or damage the substrate.
Clean the tiles thoroughly. Remove soap residue, dirt, grease and other deposits. Paint needs a properly cleaned surface to adhere. Pay attention to corners, grout lines and areas close to the shower, bath or basin.
Complete any required surface preparation. Allow cleaned tiles to dry and follow the tile-paint manufacturer’s directions. Do not assume that paint will conceal poor repairs or uneven preparation.
Apply an appropriate primer. Use a primer recommended for the tiles and selected paint system. Apply it evenly and respect the stated drying requirements.
Apply specialist tile paint. Work methodically to prevent heavy edges, missed grout lines or an inconsistent finish. More than one coat may be required, depending on the product and colour change.
Protect painted flooring. If painting floor tiles, finish with several coats of compatible varnish as directed. Do not expose the surface to traffic before the full coating system is ready.
Renew grout and sealant as required. Complete the details neatly so that water-prone edges and joints are not neglected.
Keep the bathroom adequately ventilated during the project and afterwards. Ventilation helps coatings dry under appropriate conditions and reduces persistent moisture that can contribute to mould and other bathroom problems. Use safe working practices and follow all product instructions, particularly those concerning airflow, protective equipment and curing time.
Create a New Tile-Laying Pattern
A different laying pattern can transform familiar tiles into a striking design feature. Straight layouts, offset arrangements and more decorative patterns each create a different sense of movement. However, you cannot change the laying pattern without removing the existing tiles and reinstalling them or fitting new ones.
Tile removal is more demanding than repainting. Professional help may be worthwhile if the tiles cover a large area, surround plumbing fixtures or sit on a background that could be damaged during removal.
Common first-time mistakes include:
- Beginning demolition without checking the condition of the wall or floor
- Applying excessive force and damaging the substrate
- Failing to protect nearby sanitaryware and fittings
- Removing tiles without a plan for waste and debris
- Assuming the background will be immediately ready for new tiles
- Rushing surface preparation before retiling
Once the old tiles are removed, the substrate must be assessed and properly prepared. A flat, stable background is essential to the new layout.
If changing the pattern is beyond your budget, consider changing the visual rhythm through grout colour instead. Contrasting grout emphasises the shape and arrangement of each tile, while a closer colour match creates a more unified surface. Test the combination first, as grout colour can substantially alter the overall effect.
Use Bathroom Tile Stickers and Transfers
Tile stickers and transfers provide a quick, accessible way to introduce pattern without painting or demolition. They are useful for adding decorative motifs, creating a small feature area or breaking up a large wall of plain tiles.
Choose products designed to resist bathroom humidity. Standard decorative stickers may not be appropriate for a moisture-prone setting. The tile surface should also be clean and prepared according to the supplier’s instructions so that the design sits smoothly.
Stickers are particularly effective when used selectively. A repeating geometric design can give plain tiles more character, while botanical, abstract or traditional motifs can connect the tiled area with towels, storage and shower accessories. Careful alignment is important where several transfers form one continuous pattern.
This approach is best viewed as a decorative update rather than a repair. It should not be used to disguise loose tiles, failed grout or moisture damage.
Consider Bathroom Wall Panels
Bathroom wall panels offer an alternative when painting does not provide enough of a change but removing the existing tiles feels too disruptive. Panels create a new continuous surface and can quickly alter the bathroom’s style.
They may work especially well around a shower or bath, where a streamlined finish can simplify the room visually. As with any covering installed over existing tiles, the surface underneath should be secure and free from unresolved problems.
Understanding Bathroom Wall Panels
Bathroom wall panels are waterproof surfaces available in a variety of styles. Depending on the chosen system and the condition of the wall, they can be installed over existing tiles. This can reduce removal work and provide a practical route to a noticeably different finish.
Panel designs can imitate stone, marble or other decorative surfaces, while plain options support minimalist interiors. The joints, edges and areas around fittings must be completed using the specified installation system. Although panels may be straightforward to fit, accurate cutting and careful sealing remain important.
Before installation, confirm that the existing tiles are firmly attached. Covering loose tiles or a damp substrate simply conceals an issue that may continue behind the panels.
Choose Coloured or Patterned Tiles
New coloured or patterned tiles offer one of the most complete transformations. They can create a shower feature wall, introduce a period-inspired motif or connect the bathroom with the colour palette used throughout the home.
Coordinate new tiles with permanent elements such as the bath, basin, shower frame and cabinetry. Samples are helpful because lighting and surrounding colours can change how a tile appears in the room. A bold pattern may work best on one surface, while a restrained colour can be used across a larger area.
This option may not suit a tight budget. In addition to the tiles, costs can include removal, substrate preparation, adhesives, grout and professional installation. Set a realistic allowance before starting so that the project does not stall midway.
Lay New Flooring Over Existing Floor Tiles
Installing a new floor over existing tiles can update the bathroom without full tile removal. The existing floor must be secure, stable and suitable for covering. Loose tiles, major unevenness or underlying moisture concerns need attention first.
Subfloor preparation should never be treated as an optional step. Depending on the flooring or tile system, preparation may involve installing a suitable backer board or using an uncoupling membrane. Both approaches can form part of a properly prepared base, but the right choice depends on the existing floor and the new finish. Follow the selected system’s requirements or seek professional advice rather than combining materials without a clear plan.
Also consider how an added layer will affect the room. Door movement, thresholds, sanitaryware and transitions to adjacent floors should be reviewed before installation begins.
Coordinate Wall and Floor Tiles
Matching wall and floor tiles can create a confident statement and make the bathroom feel intentionally designed. The tiles do not have to be identical: repeating a colour, pattern or finish may be enough to connect the two surfaces.
For a more budget-conscious makeover, replace or cover only the floor while retaining sound wall tiles. A new floor can shift the entire room’s appearance, particularly when its colour is echoed through towels, shower décor or storage accessories.
If both surfaces feature strong patterns, make sure they complement rather than compete with one another. A patterned floor paired with quieter walls—or a feature wall balanced by a restrained floor—often produces a clearer visual focus.
Plan for Living Through a Bathroom Remodel
Even a well-planned tile makeover can temporarily disrupt daily routines. Before work starts, decide when the bathroom will be unavailable, which facilities can still be used and whether alternative arrangements are needed. This is especially important if it is the home’s only bathroom.
Build flexibility into the project timeline. Removing tiles may reveal an uneven substrate, damaged grout or another issue that must be corrected before decorating continues. A small contingency in both time and budget helps prevent unexpected work from leaving the renovation unfinished.
Plan the practical details as carefully as the design:
- Order essential materials before starting demolition.
- Confirm delivery dates and inspect items when they arrive.
- Keep access routes clear for tools, materials and waste.
- Protect nearby rooms from debris.
- Schedule specialist trades in the correct sequence.
- Allow adequate preparation and drying time.
- Avoid booking the project around an inflexible deadline.
Trade specialists can sometimes help you source appropriate materials efficiently and economically, particularly when several compatible components are required. However, trade-focused suppliers may offer a narrower selection of consumer brands or decorative styles. Decide whether convenience, technical compatibility or access to a particular design is your priority.
Ultimately, the best makeover is one that suits both the bathroom and the household. Whether you choose paint, transfers, wall panels or new tiles, careful preparation and realistic planning will produce a more convincing update than rushing directly to the decorative stage.