Half Tiled Bathroom Ideas for Stylish, Practical Spaces
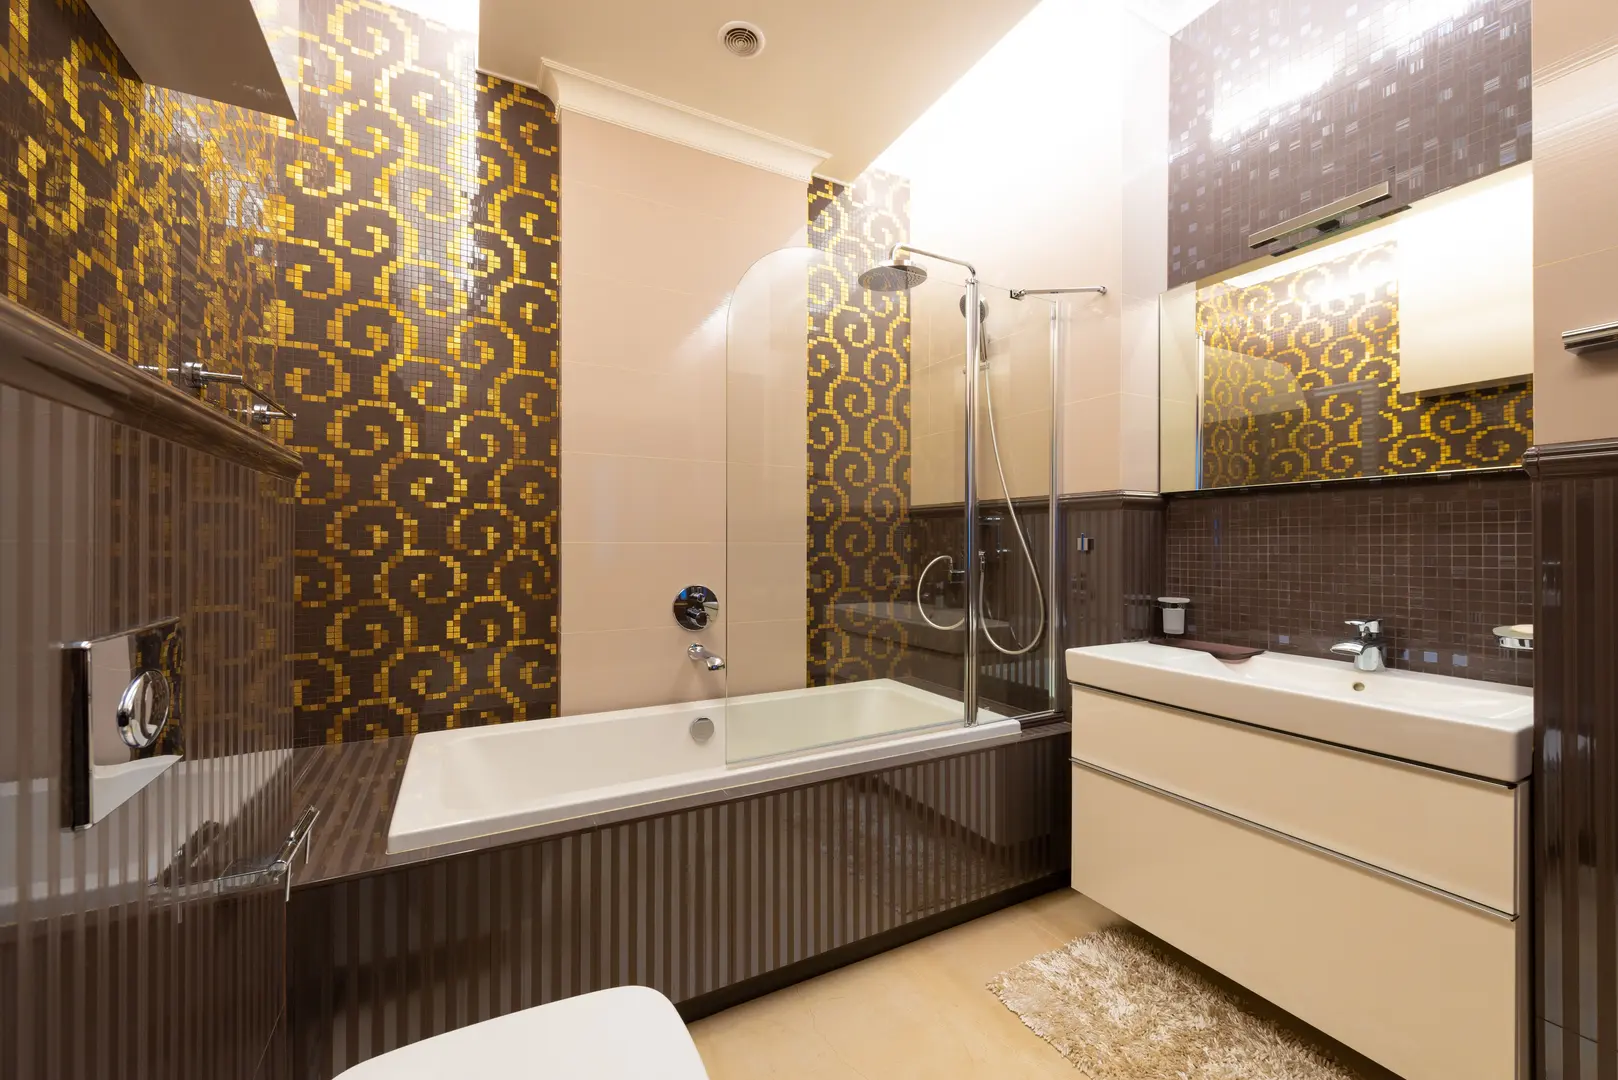
Half tiled bathrooms balance decorative character with everyday practicality. By covering selected walls—or the lower portion of a wall—with tile, you can introduce color, texture, and a clear visual structure without giving every surface the same finish. The best half tiled bathroom ideas consider both appearance and function: where water is most likely to reach, how the tile line relates to fixtures, and whether the materials complement the room’s size and style.
Classic Style With Modern Comfort
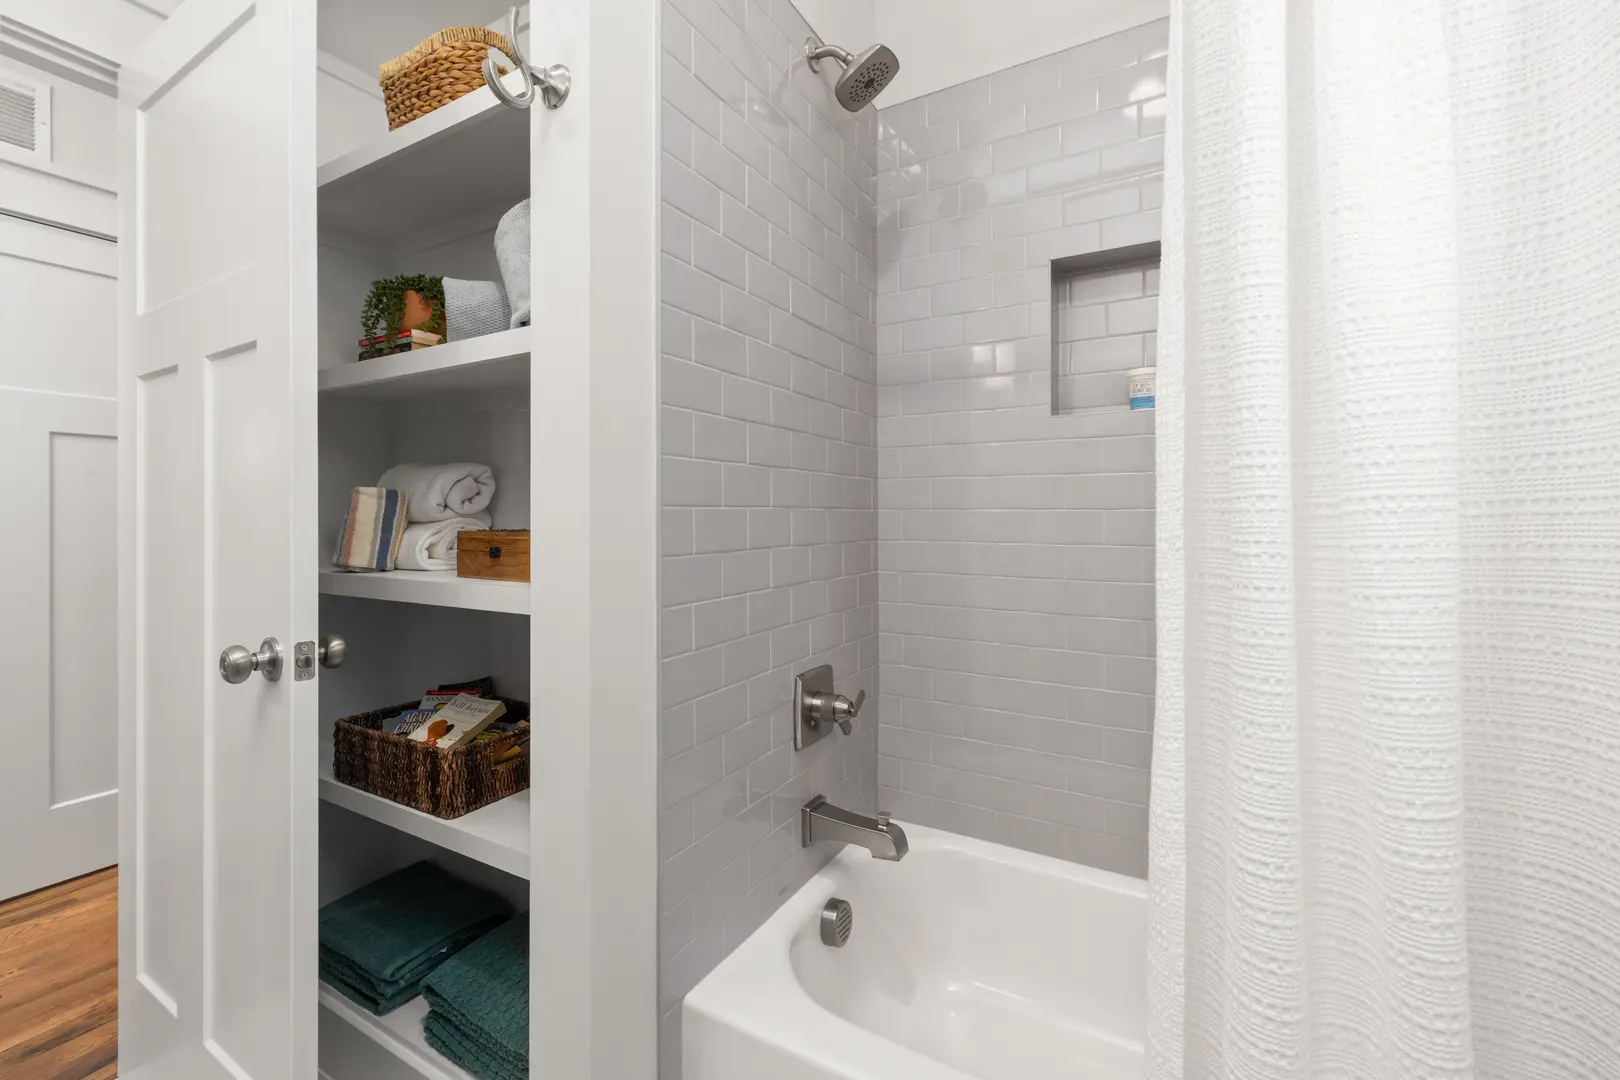
A classic bathroom does not need to feel formal or dated. Combining traditional materials with contemporary fixtures creates a room that feels familiar, comfortable, and suited to modern routines. Half-height tile is especially useful for this approach because it can suggest traditional wall paneling while keeping the upper walls visually light.
Start with a restrained neutral palette. Soft white, cream, pale gray, and warm beige can make the room feel brighter while allowing fixtures and decorative details to stand out. Using a similar color on the tile and painted wall creates a quiet, continuous look. For more contrast, place a darker tile below a lighter painted section to define the room’s architecture.
Ceramic tile is a natural choice for a classic scheme. Its versatility makes it suitable for simple layouts as well as more decorative patterns. Marble or a marble-look finish can add a more refined note, whether it appears across the lower walls, around a vanity, or as a small accent within a ceramic installation.
Consider these approaches when planning a traditional-meets-modern room:
- Pair light ceramic wall tile with a streamlined vanity and simple metal fixtures.
- Use a marble finish as a border or focal area rather than covering every wall.
- Choose neutral tile and introduce personality through mirrors, lighting, towels, and accessories.
- Continue the same tile around the room for a coordinated effect, but use full-height tile where greater wall coverage is needed.
- Select a clean tile layout, then bring in classic character through the shape of the sink, bath, or cabinetry.
The line where tile meets paint has a strong influence on the finished design. Rather than choosing its position in isolation, look at the vanity, mirror, window, bath edge, and other fixed features. A tile line that relates clearly to these elements usually feels more intentional than one that repeatedly stops at awkward points.
A narrow finishing row or contrasting trim can make the transition into a decorative feature. Alternatively, using the same tile without a contrasting border keeps the wall simpler and more contemporary. Both options work; the right choice depends on whether you want the tiled section to resemble traditional paneling or appear as a minimal, practical surface.
Half tiling also creates opportunities to vary the layout without making the bathroom overly busy. A straightforward stacked arrangement can feel modern, while a more traditional arrangement may bring subtle movement to a neutral wall. If the tile itself has strong veining or color variation, a simple layout lets the finish take the lead.
The decision between half and full tiling should be made by area rather than by applying one rule to the entire bathroom. A shower surround may call for full tile coverage, while walls farther away can use tile only on the lower section. The bath area, sink wall, and toilet wall can each be considered according to water exposure, cleaning needs, and visual balance.
Some effective half tiled bathroom ideas include:
- Continuous lower-wall tile: Carry one tile around the room to create a cohesive base, with paint above it.
- Feature vanity wall: Use a distinctive ceramic or marble finish behind the vanity while keeping surrounding walls quieter.
- Full-height shower with half-height room tile: Give the shower greater coverage, then align the remaining tile at a lower level elsewhere.
- Tone-on-tone surfaces: Combine pale tile with a closely matched wall color for a calm, spacious appearance.
- Contrasting upper wall: Pair neutral tile with a deeper painted color above for more personality.
- Subtle decorative border: Add a narrow row that marks the transition between tile and paint without dominating the design.
Practicality should guide these choices. Tile can be concentrated where durable, easy-care wall coverage matters most, while painted areas prevent the room from feeling completely enclosed by one hard finish. However, the transition between surfaces needs to look deliberate. Before installation, review how the tile ends beside doors, inside corners, windows, cabinets, and shower screens.
Samples are particularly helpful with light neutral schemes. Two finishes that look almost identical separately can reveal different undertones when placed together. View the proposed ceramic or marble finish beside the wall color, vanity, floor, and fixture finishes before confirming the complete palette.
Plan Fixture and Door Changes Before Tiling
A successful tile design depends on a settled bathroom layout. Before selecting the final tile pattern or fixing the position of the half-height line, decide whether the toilet, bath, shower, vanity, or door will remain where it is.
Relocating a toilet or tub can become one of the more difficult parts of a remodel, especially in a bathroom built on a concrete foundation. A design that appears simple on paper may require much more work once existing fixture connections and the structure of the room are considered. For this reason, treat fixture movement as an early layout decision rather than an adjustment to make after tiling begins.
Use the following planning order:
- Confirm which fixtures will stay and which will be replaced.
- Decide whether any toilet, bath, or shower must move.
- Check how the existing door position affects the proposed layout.
- Review whether replacement fixtures can pass through the doorway.
- Finalize the location of the vanity, shower screen, and storage.
- Set tile boundaries and layouts only after these decisions are resolved.
Old cast iron tubs deserve particular attention. Their weight can make removal challenging, so do not assume that taking out the bath will be a quick first step. Consider the removal route, door width, surrounding surfaces, and available working space as part of the remodel plan.
Changing a door location also requires advance thought. Moving an opening can introduce unexpected structural work and may affect the bathroom layout in ways that are not obvious in an initial sketch. It can also change where a half-tiled wall starts or stops. A previously balanced tile arrangement may need extra cuts or an abrupt endpoint once the door is repositioned.
If the existing doorway is narrow, a three-piece fiberglass shower kit may simplify bringing a replacement shower into the room. Because the unit arrives in separate sections, it can be more practical than trying to move a larger one-piece stall through a restricted opening. However, this solution does not suit every design. Fiberglass may not provide the material character desired in a classic ceramic or marble bathroom, and some homeowners may prefer a fully tiled shower.
Compare the practical and visual implications before choosing:
| Option | Potential advantage | Point to consider |
|---|---|---|
| Three-piece fiberglass shower kit | Separate pieces may fit through a narrow bathroom door more easily | Its appearance may not suit every bathroom style |
| Tiled shower area | Can coordinate with half-tiled walls and the overall tile scheme | Layout and installation need to be planned with the rest of the room |
| Keeping fixtures in place | Avoids introducing relocation issues into the design | The existing arrangement may limit new layout ideas |
| Moving fixtures | May support a different room arrangement | Toilets and tubs can be difficult to relocate, particularly with concrete foundations |
If fixture movement is essential, resolve it before purchasing tile in final quantities or committing to decorative focal points. A moved vanity can change the center of a feature wall. A larger shower can alter the endpoint of the half-height tile. A relocated door can remove wall space that was intended for a border or symmetrical layout.
A practical design does not necessarily avoid every change. It simply accounts for difficult work early enough that the tile plan can respond to the final room rather than an outdated layout.
Choosing the Right Grout for Your Bathroom
Grout affects the appearance of every tiled surface, whether tile covers half a wall, a complete shower enclosure, or the bathroom floor. Its color and type should be considered alongside the tile rather than treated as a last-minute installation detail.
Begin by deciding how visible you want the grout pattern to be. A color close to the tile allows the overall surface to read more continuously. A contrasting grout emphasizes each tile and makes the layout more prominent. This can add graphic interest, but it will also draw attention to changes in direction, cut pieces, and transitions.
For a classic neutral bathroom, both approaches can work:
- Matching grout supports a soft, understated ceramic or marble look.
- Slightly contrasting grout defines the tile shape without overwhelming a pale scheme.
- Strong contrast creates a more noticeable pattern and should be assessed across the whole room, not from one tile alone.
The grout used on a bathroom floor or in a tiled shower also needs to be chosen for the conditions of that location. Ask the tile installer or grout supplier which options are compatible with the selected tile and where each product is intended to be used.
A common question is whether epoxy grout can be used on tiled shower walls and bathroom floors. Its key attraction in showers is resistance to water penetration through the grout. This can make it appealing for areas that experience regular water exposure.
At the same time, experiences and preferences differ. Some renovators raise concerns about staining or discoloration developing over time, particularly in relation to water quality. That concern does not mean epoxy grout should automatically be rejected, but it does make careful product selection and realistic color expectations important.
Before deciding on epoxy grout, ask:
- Is the specific grout suitable for both the chosen tile and its intended location?
- How might the selected grout color look after regular exposure to local water?
- Will the grout appearance coordinate with the floor, shower, and half-tiled walls?
- What cleaning and care guidance does the manufacturer provide?
- Does the installer have experience applying the selected grout with this tile finish?
These questions are especially relevant with pale grout, where changes in appearance may be more noticeable. They also matter with marble finishes, since the goal is often a clean, consistent surface that does not compete with the tile’s pattern.
It is not necessary to use one grout color everywhere. The shower, floor, and half-height wall tile may use different tiles or layouts, so separate grout choices can sometimes create a more coherent result. Even so, limit unnecessary variation. Repeating a grout tone where practical can help the different tiled areas feel related.
The final choice should balance water exposure, visual preference, tile compatibility, and long-term appearance. By selecting grout at the design stage, you can evaluate it with the tile, paint, and fixtures—and ensure the smallest lines in the room support the larger bathroom concept.