How to Fit a Bathroom Vanity Unit: A Step-by-Step Guide
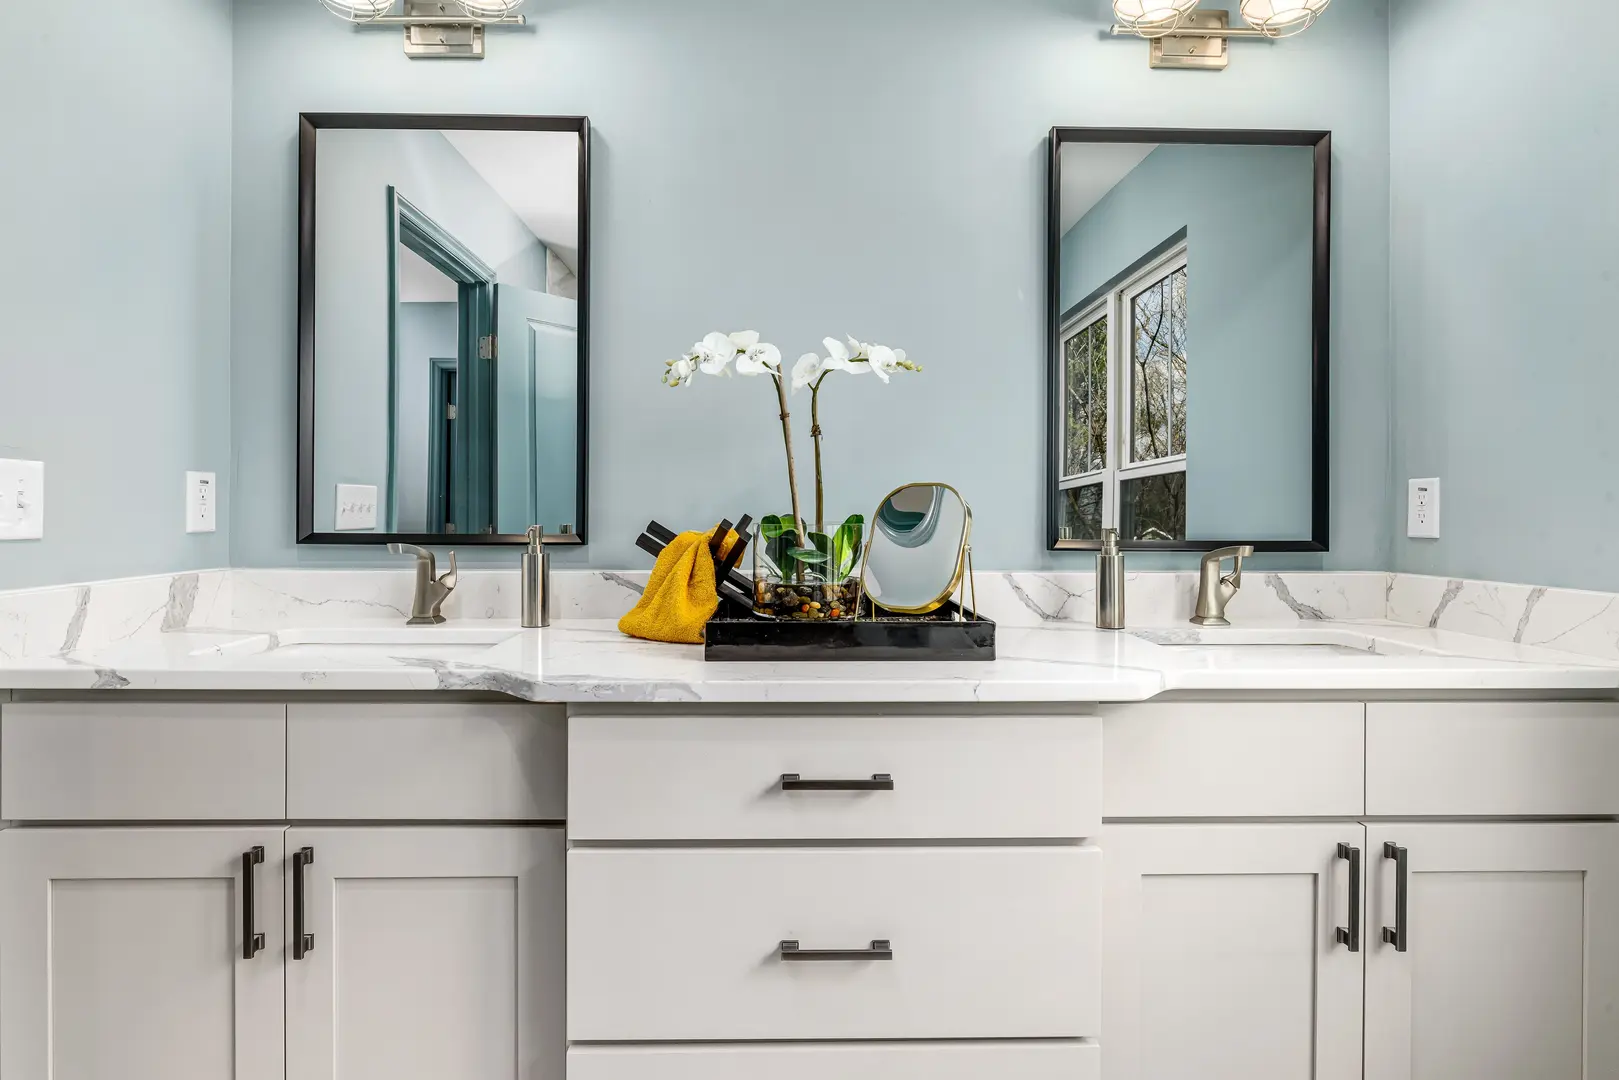
Learning how to fit a bathroom vanity unit can help you replace a basic pedestal sink with a practical combination of washing space and bathroom storage. The project involves removing the existing basin, preparing the plumbing, positioning and securing the cabinet, fitting the new basin and taps, and testing every connection.
Although an experienced DIYer may be comfortable completing the work, plumbing layouts and cabinet designs vary. If you cannot safely isolate the water supply, alter the pipework or make secure connections, arrange for a qualified plumber to handle those parts of the installation.
Understanding Bathroom Vanity Units
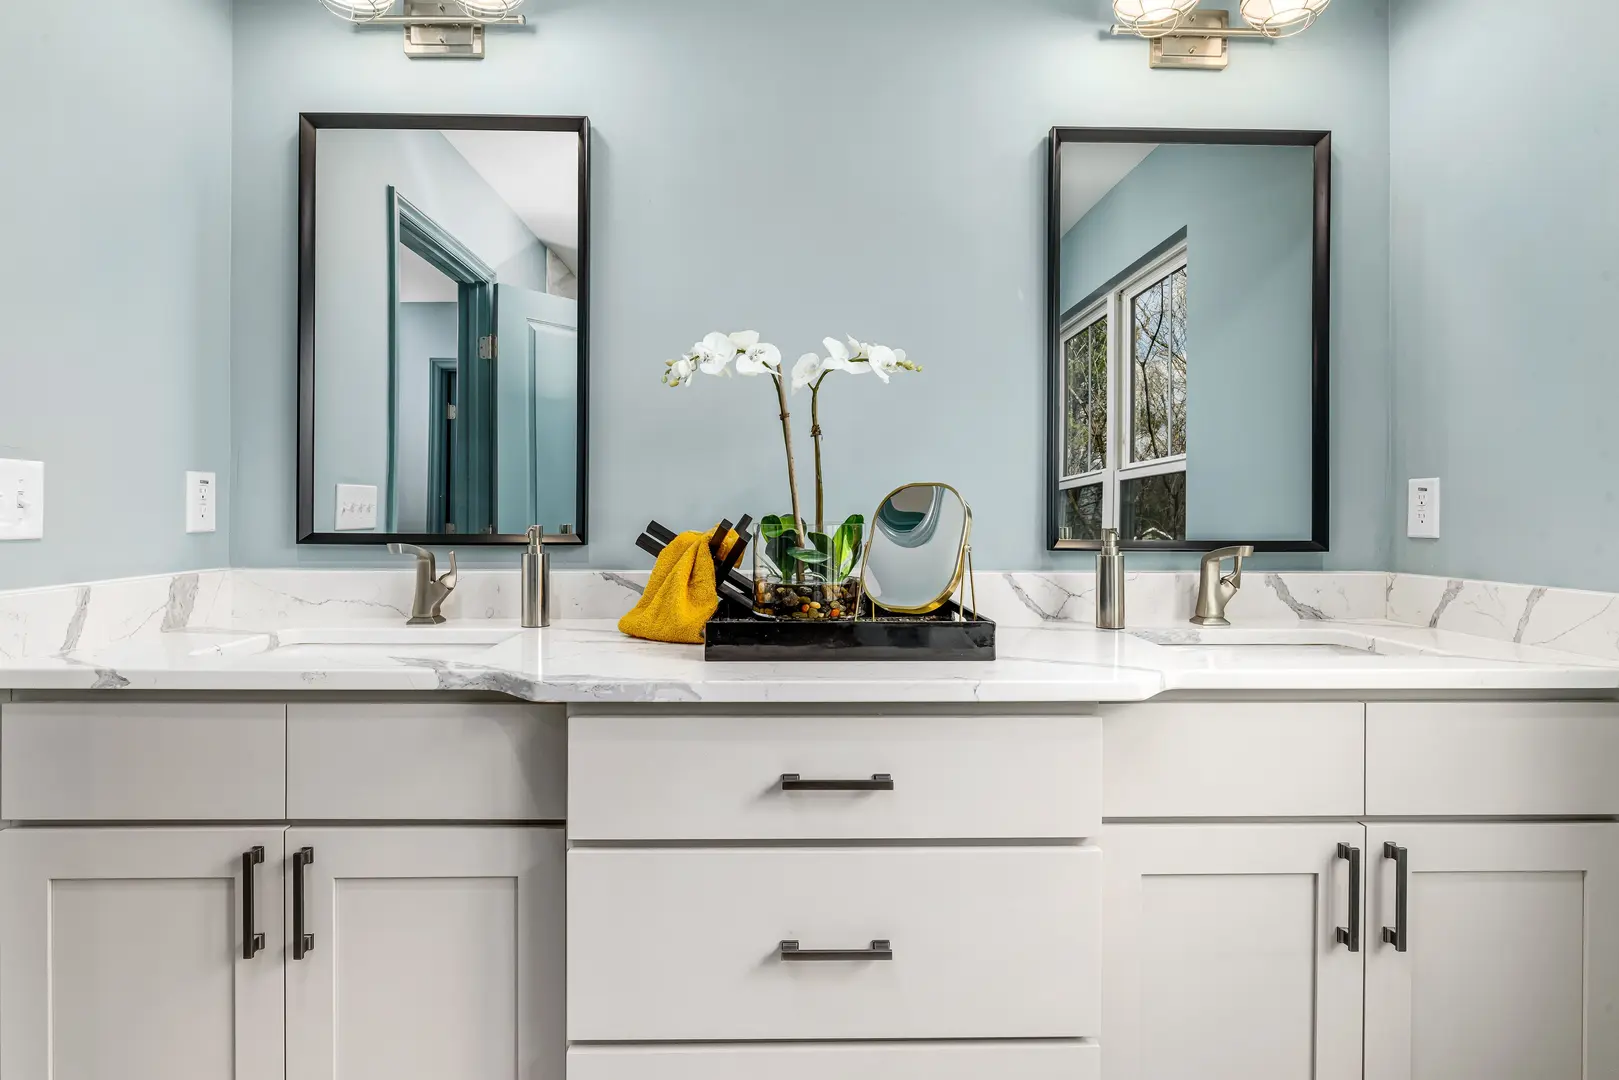
A bathroom vanity unit combines a basin with a storage cabinet. Instead of leaving the area beneath the sink unused or exposing the plumbing, the unit provides space for toiletries, cleaning products and other bathroom essentials.
Vanities are available in several configurations. Common design choices include:
- Cupboard-style units: Doors open to reveal a larger storage area, usually with room around the pipework.
- Drawer units: Drawers provide organised storage but may require more careful positioning around waste and supply pipes.
- Combined storage: Some vanities use both drawers and cupboards.
- Open-back designs: These allow the cabinet to fit around existing plumbing, although part of the wall may remain visible.
- Integrated styles: A coordinated cabinet and basin can create a more seamless appearance than a freestanding sink.
When choosing a vanity, consider more than its external dimensions. Check where the basin waste, tap connections and water supply lines will sit inside the cabinet. You should also consider how the cabinet will meet the wall and whether any previously hidden surfaces will become visible.
Colour, finish, handles and storage arrangement all affect how well the vanity integrates with the rest of the bathroom. However, the correct dimensions and pipe alignment should take priority. A cabinet that looks suitable but does not fit the available space or plumbing can lead to unnecessary alterations.
How to Install a Bathroom Vanity Unit
The fitting process can be divided into five main stages:
- Remove the old sink: Isolate the water, disconnect the supply and waste connections, and carefully take out the existing basin.
- Mark the new position: Measure the vanity and basin, mark their intended location, and prepare any necessary holes.
- Install the cabinet: Align the unit with the plumbing, level it and secure it to the wall studs.
- Fit the basin and taps: Install the taps, position the basin and seal the joint between the basin and cabinet.
- Reconnect and test: Connect the water supply, inspect for leaks and run the water to confirm that everything works correctly.
Before beginning, unpack the vanity and check its components. Read the manufacturer’s fitting instructions, as the fixing method may differ between units. It is also helpful to compare the cabinet openings with the existing pipe positions before removing the old sink.
The work may be suitable for DIY if the replacement unit works with the current pipe layout and you are confident making plumbing connections. A plumber may be needed if the supplies or waste pipe must be repositioned, the shut-off system is unreliable, or you are uncertain about any connection.
Removing the Existing Sink Safely
Turn off the main water supply before disconnecting the old sink. Open the taps after isolation to confirm that the supply has stopped and to release any water remaining in the lines. Keep a container or absorbent cloth nearby because some residual water may still escape when connections are opened.
Remove the existing unit in a controlled sequence:
- Disconnect the hot and cold supply lines.
- Detach the waste connection beneath the basin.
- Identify and remove any screws or other fixings securing the basin or pedestal.
- Cut through or loosen the sealant around the basin.
- Lift the old basin away carefully.
Do not try to force a basin away from the wall while the sealant is still holding it. A suitable sealant remover may help release the joint. Heat can also soften some stubborn material, but it should be applied cautiously to avoid damaging the surrounding finish.
A basin can remain partly supported by wall fixings, a pedestal, a cabinet or a combination of these. Make sure its weight is supported as each fixing is removed. If the basin is awkward to handle, obtain assistance rather than trying to lift and disconnect it at the same time.
Once the old sink has been removed, clear away remaining sealant and inspect the area. The wall and floor need to provide a suitable surface for positioning the new cabinet. This is also the best time to compare the exposed pipes with the openings in the vanity.
Marking Out the New Basin Position
Accurate marking helps prevent unnecessary cutting and makes it easier to achieve a level installation. Place the vanity in its intended location without securing it, then use a pencil to mark its edges and fixing points. Check the basin position in relation to the wall and surrounding fittings.
Your initial checks should cover:
- The overall width and depth of the vanity
- The finished height of the basin
- The positions of hot and cold supply pipes
- The waste pipe location
- Existing or required cabinet openings
- The position of the cabinet’s wall fixings
If holes must be drilled or cut in the cabinet for the plumbing, measure each location carefully before making the opening. Check the measurements against the pipe layout more than once. The openings should allow the cabinet to move into position without forcing the pipes.
After cutting, sand the edges of the holes. Smoothing rough edges helps prevent them from damaging the vanity finish or rubbing against the plumbing. Remove dust and debris before fitting the cabinet.
Keep the basin’s final position in mind throughout this stage. A correctly positioned cabinet will still cause problems if the basin does not sit properly against the wall or align with its intended tap and waste connections.
Installing and Levelling the Vanity Cabinet
Move the cabinet into place and align it with your pencil markings. Feed the pipes through the prepared openings without bending or forcing them. Check that the waste and water supply positions remain accessible for the final connections.
Place a spirit level across the top of the cabinet. Check the unit in more than one direction and adjust its position until it is level. This step matters because the basin will follow the cabinet’s alignment. Do not rely solely on the floor or wall appearing straight.
Once the cabinet is level and the pipework is correctly positioned, secure the unit to the wall studs using the appropriate fixing points. Confirm that the cabinet remains aligned as the fixings are tightened. Recheck with the spirit level before proceeding.
Before permanently securing an open-back cabinet, step back and examine the visible area around and inside it. A previous built-in vanity may have concealed unfinished wall sections, old fixing holes or gaps around the pipes. These details can become noticeable through an open cabinet.
Solutions for Fitting an Oversized Vanity Unit
A common fitting problem is a vanity that is slightly wider than the available space—for example, trying to place a 60-inch unit in a 59.5-inch opening. Even a small difference can prevent the cabinet from fitting or leave insufficient room to position it correctly.
Do not assume that the vanity can simply be pushed into place. Recheck the opening at several points, as the usable width may vary. Compare those measurements with the unit itself before modifying either the room or the cabinet.
In some situations, removing or adjusting drywall can provide the extra clearance needed. This approach may allow a wider or custom-sized vanity to fit between two walls. However, it involves altering the wall and is not feasible in every bathroom. The construction of the surrounding area and the location of pipes or other concealed elements can limit what can be changed.
Possible responses to an oversized unit include:
- Choosing a narrower vanity
- Ordering a size suited to the actual opening
- Reconsidering the unit’s intended position
- Investigating whether a limited wall alteration is practical
- Asking an appropriate professional to assess the space
Plan these decisions before the remodel begins. Buying a unit first and trying to make the room accommodate it later can lead to overspending, extra work or an installation that cannot be completed as intended. Measure the available space, plumbing and access route before committing to a vanity.
Managing the Appearance of an Open-Back Vanity
Open-back vanities make it easier to accommodate existing pipework, but they do not conceal the entire wall. This can be an aesthetic concern when a fully built-in vanity is replaced with a more open design.
After removing the old fixture, inspect the wall for:
- Unfinished or differently decorated sections
- Visible fixing holes
- Rough openings around supply and waste pipes
- Areas that will be seen through or beneath the cabinet
Decide how these surfaces will look before fixing the vanity permanently. Positioning the cabinet slightly differently may change what is visible, but it should not compromise pipe alignment, basin placement or secure wall fixing.
When the cabinet is temporarily in position, view it from the bathroom entrance and from normal standing positions. Make sure the visible wall interior does not undermine the intended finish. If remedial decorating is needed, completing it before the vanity is secured is generally more straightforward than working around the installed unit.
Securing the Basin to the Vanity Cabinet
Prepare the basin before placing it on the cabinet. In particular, fit the taps while the relevant parts of the underside remain easy to reach. It can be much harder to tighten tap fixings once the basin is installed.
Carefully position the prepared basin on top of the cabinet. Use a spirit level to check its alignment rather than assuming that it is correct. Confirm that the basin sits evenly on the unit and meets the wall as intended.
Before sealing it in place, check that:
- The tap connections are accessible
- The basin waste aligns with the waste pipe
- The basin is supported correctly by the cabinet
- The edges are evenly positioned
- The cabinet has remained level
Seal the junction between the basin and the vanity cabinet as directed for the unit. Create a consistent joint so water cannot readily collect between the two components. If the basin also meets the wall, follow the manufacturer’s instructions for sealing that edge.
Avoid moving the cabinet after the basin has been positioned and sealed, as this can affect the alignment of both the unit and the plumbing.
Installing the New Taps
Insert each tap through the corresponding opening in the basin. From beneath, fit the supplied nut and tighten it so the tap is held securely. Check the tap’s position from above before final tightening; it should be correctly aligned and should not rotate during normal use.
If the basin uses separate hot and cold taps, make sure each one is installed in the intended position. If it uses a mixer tap, follow the fitting instructions supplied with that model.
Connect the taps to the appropriate water supply lines. The connections should sit naturally without being twisted, stretched or forced out of alignment. Tighten them securely, but follow the tap manufacturer’s guidance rather than overtightening the fittings.
If the existing supplies do not align with the new taps, do not improvise a connection. Repositioning plumbing or resolving incompatible fittings may require professional help. A plumber can also complete the installation if you are not confident that the connections are secure.
Testing the Water Supply and Checking for Leaks
Review every connection before restoring the water supply. Make sure the tap fixings, supply lines and waste connections are secure and that no tools or loose components remain inside the cabinet.
Turn the water back on and inspect the plumbing closely. Look and feel for moisture around each connection, including the hot and cold supply lines and the waste beneath the basin. If a connection leaks, turn off the supply and correct it before using the vanity.
Run both hot and cold water to confirm that the taps operate correctly. Allow water to drain through the basin while checking the waste connection. Continue monitoring the interior of the cabinet, as a small leak may not be immediately obvious.
Complete the final inspection by confirming that:
- The vanity remains firmly attached to the wall
- The cabinet and basin are level
- The taps are stable
- Water flows and drains correctly
- Supply and waste connections remain dry
- The sealed basin joint is neat and continuous
- Exposed wall areas have an acceptable finished appearance
Only begin using the cabinet for storage after you are satisfied that the installation is stable and leak-free. If tightening an accessible connection does not solve a leak, or if the source is unclear, turn off the water and contact a plumber.