How to Build a Shower Pan: Materials, Prep, and DIY Steps
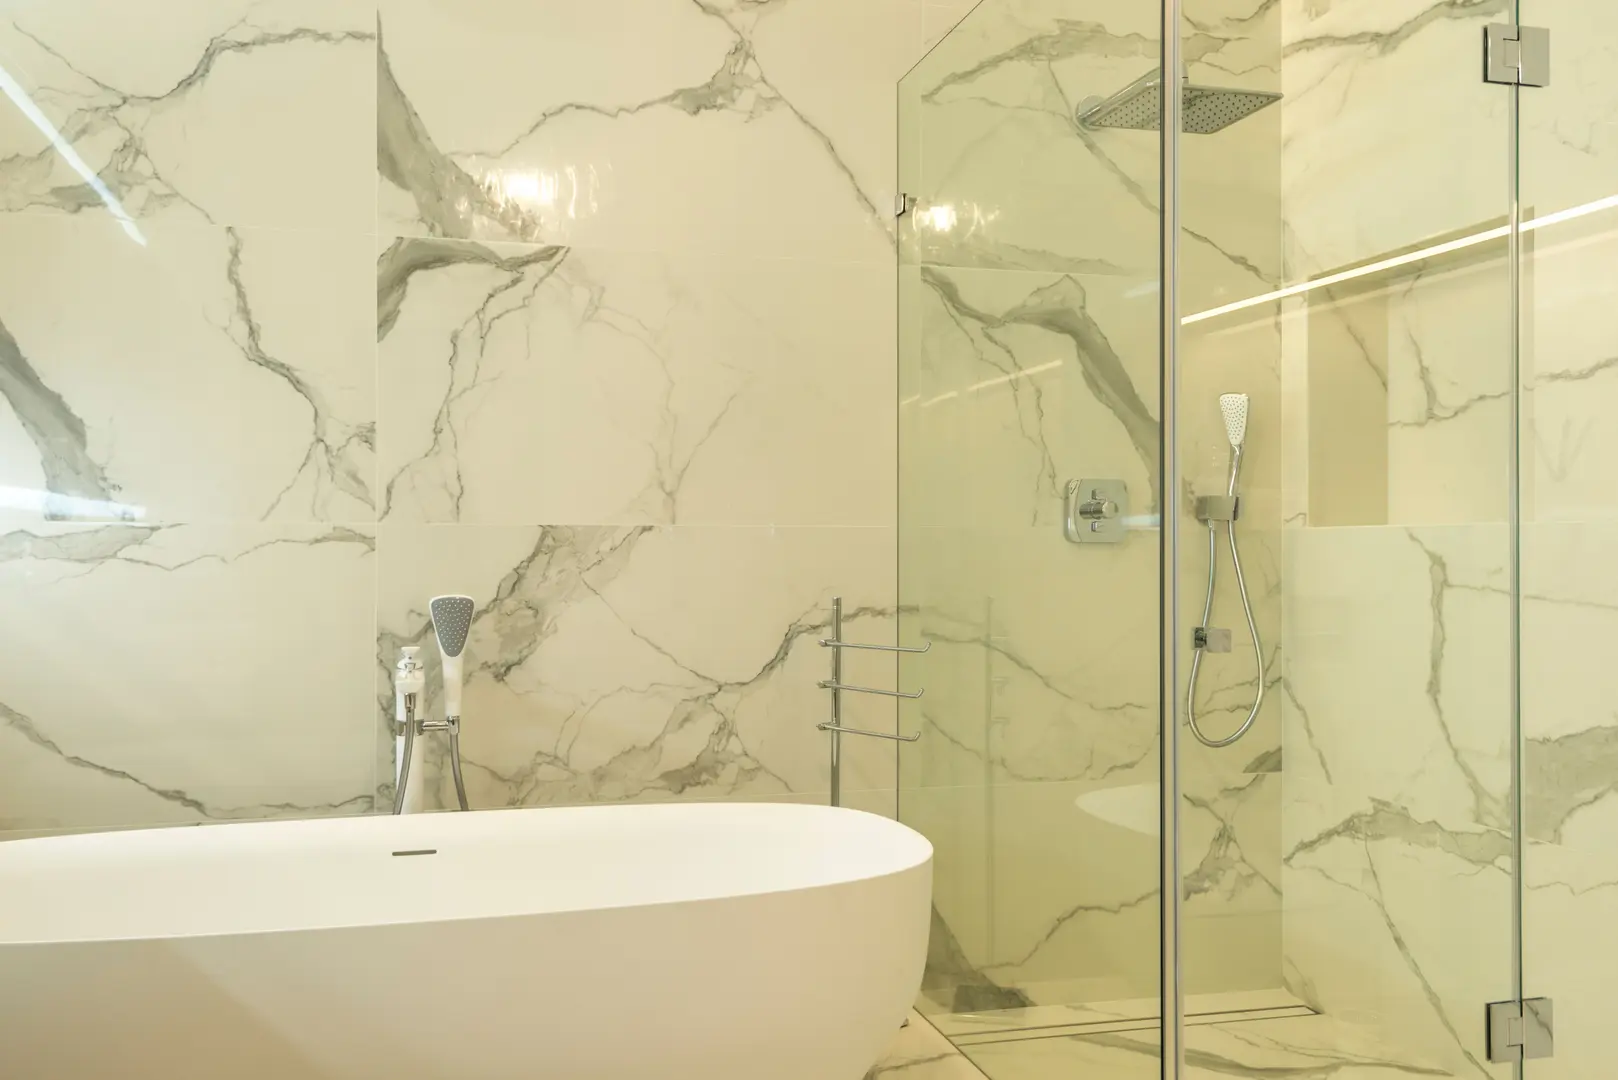
Few parts of a bathroom work harder than the shower pan. It is the sloped floor that guides water to the drain and keeps moisture away from the structure underneath. When it performs well, it is easy to take for granted. When it fails, the consequences can be expensive.
This guide covers the full process of building a shower pan, from understanding the terminology to choosing materials and completing the final installation. You will learn what to prepare before you start, how to weigh DIY against hiring a pro, and what a first-time builder needs to know.
Shower Pan Basics: What It Is and Why It Matters
The shower pan is the built-in floor of the shower, and its most important job is directing water toward the drain. The surface is angled just enough to let water flow naturally to the drain opening, so moisture does not pool underfoot or creep toward the edges of the room. That slope is not a design detail; it is the core function of the entire assembly.
The terminology can be confusing. Shower pan and shower base are often used as synonyms, but they refer to different parts of the shower floor. The base is the prefabricated tray or the visible floor surface you step onto. The pan is the layered system beneath it, including the frame, moisture barrier, mortar bed, and waterproof liner that create the slope and protect the structure. In simple terms, the base is the finish, and the pan is the protection.
That protection also extends beyond the exact footprint of the shower. A raised edge or curb helps contain overspray from the shower head, preventing water from running onto the surrounding bathroom floor. When this barrier fails, moisture can reach the subfloor and walls, where it may lead to rot and mold.
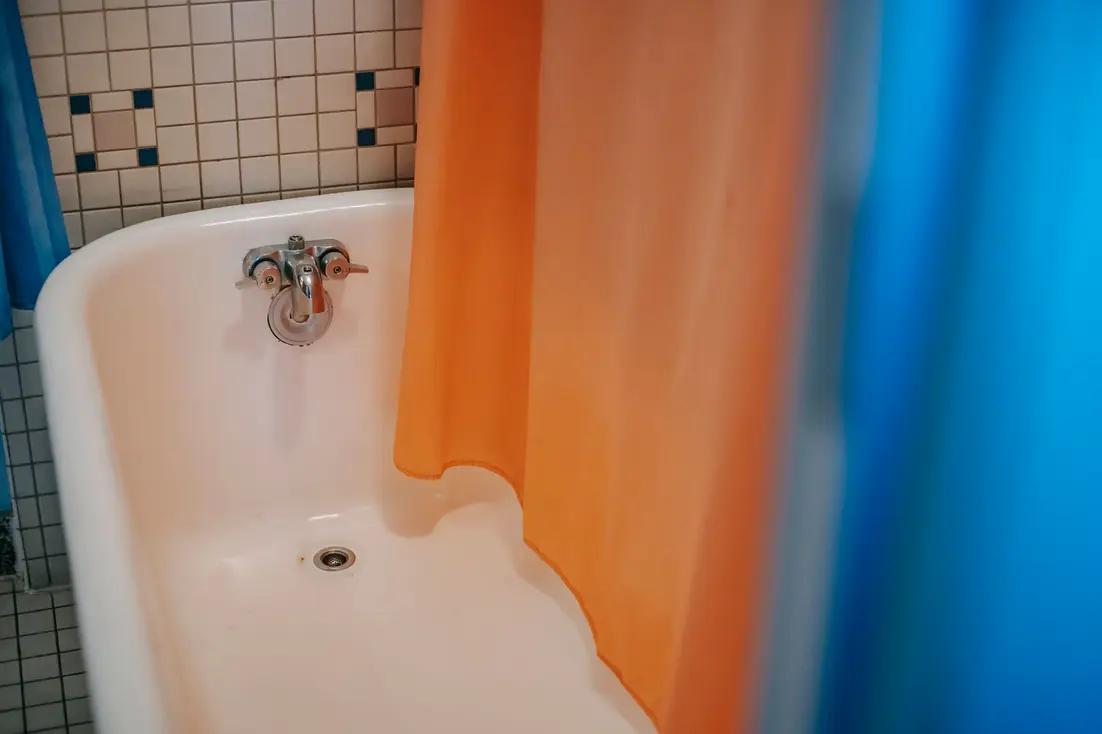
Some homeowners only learn about shower pans after something goes wrong. One buyer moved into a house and soon discovered that the existing pan was already defective. The floor never drained properly, and every shower left water sitting where it should have disappeared. Replacing that pan became an urgent and costly project, even though the homeowner had no prior experience with shower construction. It was a clear reminder that the condition of the pan matters just as much as the tile that covers it.
Shower Pan Flooring Materials: Pros and Cons
Choosing the right material for your shower pan flooring comes down to three things: appearance, budget, and maintenance. Each option handles daily shower use differently, so the best choice depends on your priorities.
| Material | Pros | Cons |
|---|---|---|
| Tile | Premium look, design flexibility, durable surface | Higher upkeep, grout needs regular cleaning and sealing |
| Acrylic | Tough, cost-effective, simple to care for | Fewer style options, can scratch with harsh scrubbers |
| Molded stone | Refined appearance, natural mold resistance | Heavier to install, higher material cost |
| Fiberglass | Budget-friendly, lightweight, easy installation | Staining can become an issue without regular care |
Tile gives a bathroom a classic, high-end appearance and lets you match the floor to the walls. The trade-off is maintenance. Grout lines collect soap scum and need periodic sealing to stay waterproof. A tiled pan also requires the most skill to install correctly.
Acrylic is a strong choice for anyone who wants a low-maintenance shower. It resists impact and staining, and it cleans up quickly with a mild bathroom cleaner. Because acrylic pans are molded in one piece, they have fewer joints where moisture could sneak through.
Molded stone offers upscale looks with practical benefits. Its smooth, nonporous surface gives mold and mildew little room to grow, making it popular in bathrooms that see frequent use.
Fiberglass is the easiest option on the wallet and the easiest to move into place during installation. The catch is that the surface can dull or stain over time if it is not wiped down regularly. Hard water and soap residue can leave marks, but consistent care keeps them manageable.
When deciding, think about how much time you are willing to spend cleaning and resealing. The cheapest surface may cost more in daily effort, while the most attractive floor may demand the most attention.
What to Do Before You Build a Shower Pan
A successful shower pan starts long before the first bag of mortar is opened. Careful preparation prevents most of the problems that frustrate first-time builders.
Begin by inspecting the drain. It must be in place and aligned with the planned drain opening before any construction starts. Fixing a mispositioned drain after the pan is framed is a messy and expensive correction. Take the time to confirm the rough-in is correct.
Next, measure everything. Measure the shower footprint twice, then check it against the materials you plan to use. The finished surface must slope toward the drain at a gentle, consistent angle so water does not pool in the corners. Plan that slope into the mortar bed from the beginning.
Protective gear should be gathered before you begin. Wear gloves when handling mortar and waterproofing products, eye protection when cutting materials, and a dust mask when mixing and sanding. These items are inexpensive and make the work safer and more comfortable.
If you reach a step that feels uncertain, stop and consult a professional. A plumber or tile contractor can answer questions about drain connections, waterproofing, and building codes before you commit to a build.
This advice is especially important for newcomers. A homeowner who is handy with general repairs but has never built a shower pan may wonder whether the job is realistic without professional help. The answer depends on the complexity of the shower, the tools available, and the time you can set aside. Weigh your experience against the budget you are trying to protect, then consider the options in the next sections.
Should You DIY or Hire a Pro?
One of the first decisions is whether to build the pan yourself or hire a contractor. There is no universal answer, but a practical framework can help you decide.
Start by getting a sense of contractor pricing in your area. This varies widely by region, shower size, and materials. In one homeowner’s case, professional quotes for a pan replacement came to roughly $3,000 to $4,000, a figure they personally considered high but fair. Treat that as a single homeowner’s experience, not a typical price. Your own quotes may come in well above or below that range.
Next, evaluate the time and effort. A DIY build will likely take several weekends once drying time is included. Mixing and carrying mortar, cutting boards, and working in a tight space are physically demanding. If you have limited free time or physical limitations, that labor may be better left to a professional.
Then consider the risk. The most serious danger is water damage from a flawed install. A small mistake in the waterproofing layer can allow moisture to reach the subfloor and walls, causing rot and structural damage that costs far more than the DIY savings. An experienced contractor carries the knowledge and insurance to manage that risk.
A DIY project can save a significant amount of money, but only if the finished pan works correctly. Be honest about your skill level. If you have never worked with mortar or waterproof membranes, factor in the cost of learning materials and possible reworks.
If the savings matter and you are ready for the physical work, DIY can be a rewarding option. If the risk makes you hesitate, the contractor cost may be worth the peace of mind.
What a First-Time DIYer Needs to Know
Imagine a homeowner who is confident with tools, has completed other renovation projects, but has never built a shower pan. They look at a damaged pan, see a contractor quote that exceeds their budget, and wonder whether they can attempt the replacement alone.
The honest answer is that it is possible, but it depends on preparation. A shower pan is built in a specific order, and each layer depends on the one before it. The order runs from framing the opening, to laying the moisture barrier, to shaping the mortar bed, to installing the waterproof liner, and finally to the top mortar layer and tile. Getting that sequence wrong can mean tearing the assembly out and starting over.
Research is the foundation of a successful first build. Follow detailed tutorials, study how the drain assembly works, and understand how the waterproof liner seals to the drain flange. That connection is one of the most common leak points, and it deserves close attention before any materials are purchased.
Gather every tool and supply ahead of time. Stopping in the middle of a mortar mix to run to the hardware store wastes time and makes you more likely to rush the next step. Confirm that all products are rated for wet environments.
Allow extra time for corrections. A first pan rarely comes together perfectly on the first attempt. Re-shaping a slope or redoing a membrane seal is part of learning, so build some cushion into your schedule.
A handy beginner can absolutely build a working shower pan with careful study and patience. The key is treating it as a serious project, respecting every drying period, and being honest about mistakes when they happen.
Tools and Safety Gear for Building a Shower Pan
The tools you need depend on the type of pan you install. A prefabricated acrylic or fiberglass base requires much less equipment than a custom tile-and-mortar pan. If you are building the latter, plan for framing, mortar, and tiling gear.
The framing stage requires lumber or cement board, fasteners, a saw, and a drill or screw gun. The mortar stages call for a mixing container, a trowel, and a straightedge for shaping the slope. Tiling adds spacers, a tile cutter, and grout floats.
Some tools are important regardless of the pan type:
- A tape measure for confirming the shower footprint before cutting.
- A level for checking that the perimeter is even and the bed slopes consistently.
- A trowel for spreading and smoothing mortar.
Safety gear belongs on the list before any tool. Safety glasses protect your eyes from dust and debris during cutting. Gloves keep mortar and chemical products off your skin. A dust mask or respirator reduces the amount of airborne particles you inhale while mixing and sanding. These are simple, inexpensive items that make the physical work far more comfortable.
Before you start, set up a clean workspace with good lighting and room to mix materials. Lay a drop cloth over the surrounding floor and keep the area free of loose debris. A little preparation makes the build smoother and safer.
Step-by-Step Instructions for Building Your Shower Pan
Once your materials are ready and the workspace is prepared, you can begin assembly. Follow the steps in order, and respect the drying times between layers.
Construct the board frame. Build the outer frame that defines the shower footprint, leaving the opening for the drain in the correct spot. Make sure the frame is square and level, because every layer above it depends on that stability.
Lay the membrane or tar paper. Spread the moisture barrier flat across the framed area and fasten it securely. This layer protects the wood frame from moisture that could work its way through the upper layers.
Spread the first mortar bed. Mix the mortar according to the product instructions and spread it over the frame, shaping it with a gentle slope toward the drain. Allow the bed to dry for about 24 hours. Check the slope with a level before the mortar sets, since corrections are much easier at this stage.
Install the waterproof liner. Place the liner over the dried mortar bed, extending it up the sides of the frame. Press it flat to remove wrinkles, then apply silicone around the drain connection to create a watertight seal. This layer is what truly keeps the structure dry.
Add the second mortar layer. Spread a thin layer of mortar over the liner to protect it and create the final finished bed. Smooth it carefully so the tile sits evenly and water continues to flow toward the drain. Allow this layer to dry completely before tiling.
Install tile and finish. Set tile onto the dried mortar bed with thin-set mortar, then grout and seal the joints. A consistent slope and tight grout lines complete the pan and give the shower a polished look.
Drying times are tempting to shorten, but they exist for a reason. Rushing a mortar layer can cause cracking, shifting, or a low spot where water gathers. Give each step the time it needs, and the finished pan will perform as designed.
Final Thoughts on Building a Shower Pan
A well-built shower pan is one of the most practical features a bathroom can have. It allows entry without the step-over required by a tub, making the space more accessible for children, older adults, and anyone with mobility concerns. It can also include a built-in bench or a wide ledge that offers a generous sitting area.
More importantly, a sound pan keeps the bathroom floor dry. By catching overspray and channeling it to the drain, the pan protects the walls, subfloor, and surrounding flooring from water damage. That protection extends the life of the entire bathroom.
Building a shower pan takes patience, careful planning, and some physical effort. The reward is a durable shower floor that stands up to daily use. Follow the preparation and build steps carefully, give each layer the time it needs, and keep the slope aimed at the drain. Your shower pan will stay solid for years to come.