How to Caulk a Shower
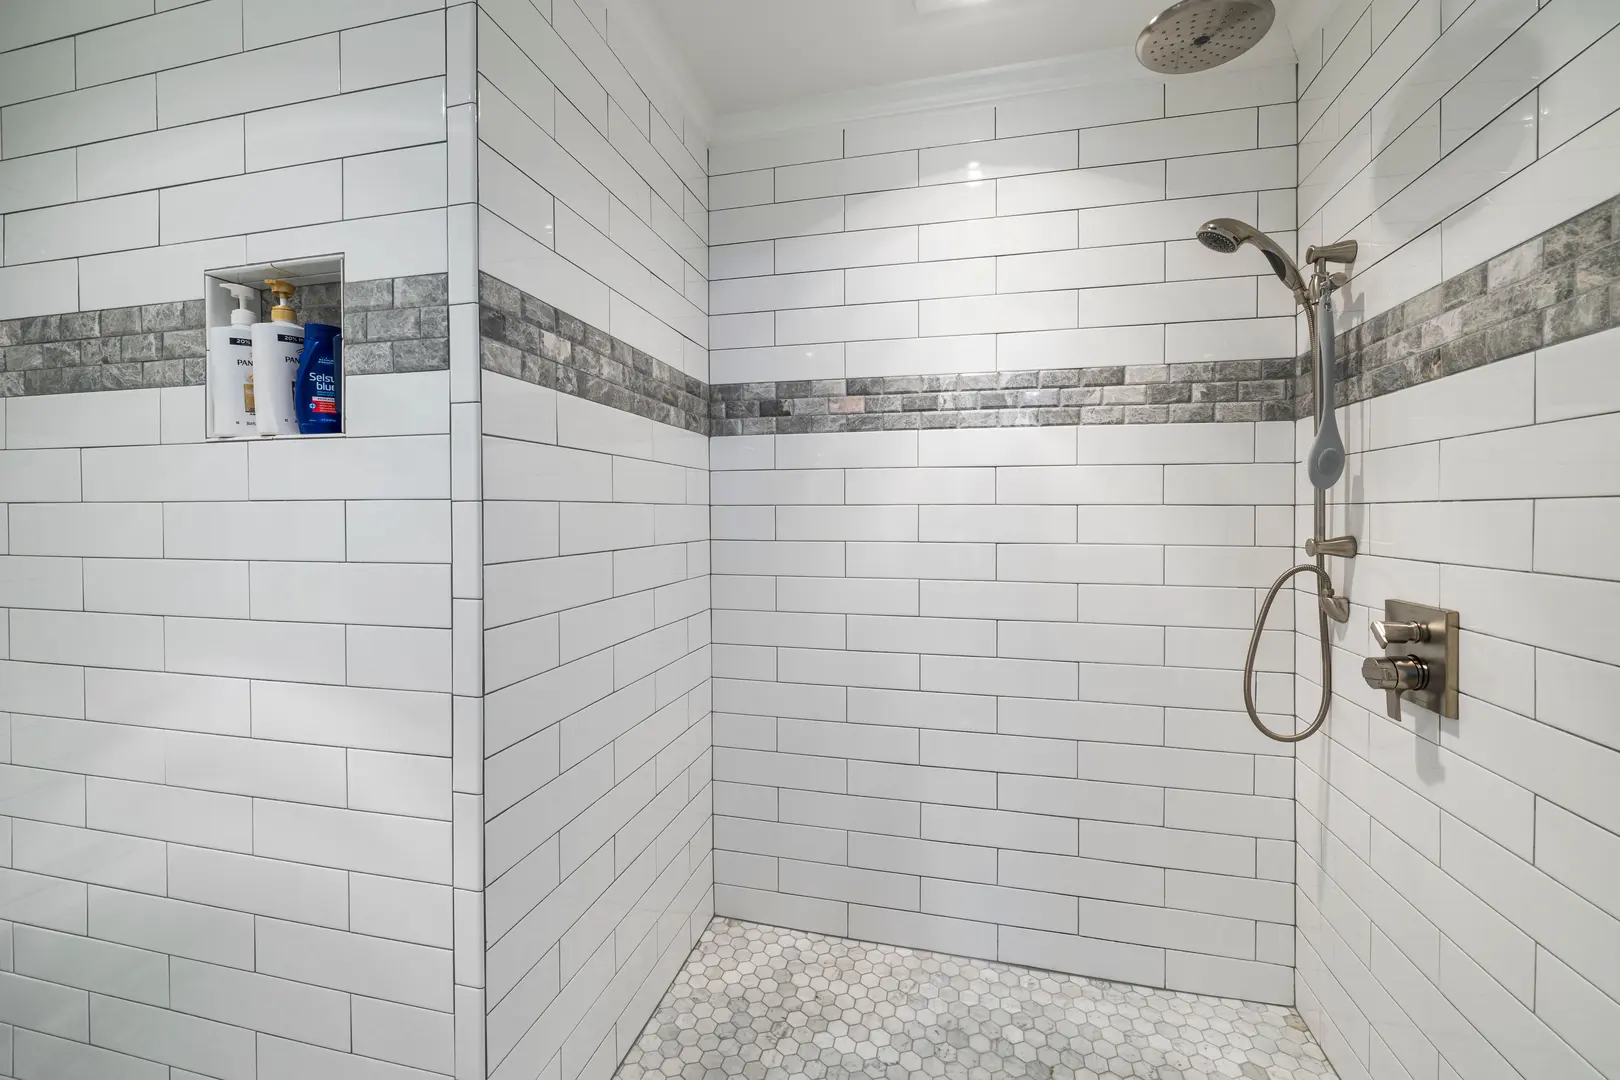
A shower goes through a lot. Steam, splashes, and everyday use constantly push moisture toward the edges of the walls, the tub, and the floor. Caulk is the flexible barrier that keeps water from slipping behind the tile and into the structure of the room. When the old seal starts to crack, peel, or discolor, it is time to replace it.
Recaulking a shower is not a complicated project. It takes some patience, a handful of basic tools, and an understanding of why each step matters. Once you learn the routine, you can keep your shower looking crisp and protect your bathroom from moisture damage for years to come.
This guide walks through the entire process, from pulling out the old caulk to caring for the fresh seal.
Clear the Way by Removing Old Caulk
The most important step in a caulking job happens long before the new caulk goes on. Every trace of the old caulk must be removed. New caulk cannot bond properly to a surface that still has flakes of old silicone or latex clinging to it. Even a thin layer of leftover material creates a weak point where water can eventually sneak through.
A few tools can handle the job:
- Utility knife with a sharp blade
- Putty knife or flat scraper
- Curved caulk removal tool
A utility knife slices along the edges of the old bead, while a putty knife pries it away from the tile and tub. A caulk removal tool often has a curved end that grabs the bead and pulls it out in long strips. Pick whichever feels most comfortable in your hand.
For stubborn sections, a caulk softener can make removal much easier. The gel needs time to penetrate the old material, so follow the directions on the label and wait a few minutes before scraping again. Once the bulk is gone, run the blade along the seam once more to remove any thin film left behind.
When the seam is bare, clean it thoroughly with rubbing alcohol or a mild bathroom cleaner. This removes soap scum, dust, and the oily film left by old caulk. Dry the seam completely with a clean cloth. Any moisture in the gap will stop the new caulk from sticking, so wait until the tile and the tub edge feel dry to the touch.
Pick a Suitable Caulk and Get It Ready
Standard painter’s caulk is not meant for a wet shower. Look for a kitchen and bath formula that explicitly offers mold and mildew resistance. Silicone and latex-silicone blends are reliable choices for damp areas because they stay flexible and form a waterproof barrier.
Color is a practical decision, not just a cosmetic one. White caulk suits most tubs and white tile, since it blends into the fixture and makes the seam disappear. Clear caulk works well with colorful or patterned tile because it does not compete with the design. If you are unsure, buy a small tube and test it on a hidden spot before committing to the whole seam.
Preparing the tube is simple but easy to rush. Cut the tip at a 45-degree angle, starting with a small opening. You can always enlarge the hole, but you cannot shrink it once it has been cut. After cutting, push a wire or the puncturing rod built into the caulk gun into the nozzle to break the inner seal. If you forget this step, no caulk will flow no matter how hard you squeeze the trigger.
Load the tube onto the caulk gun and gently press until the caulk reaches the opening. That way, you are not pumping the gun awkwardly while you are already leaning over the seam.
Run a Steady Bead Along the Seam
Hold the caulk gun at a 45-degree angle to the seam, with the nozzle dragging along the joint. This angle pushes caulk into the gap instead of letting it sit on top of the surface. Keep the nozzle lightly against the corner and let the bead flow ahead of the tip.
Steady movement is the key to a consistent bead. Stop-and-start motion leaves a wavy, uneven line. Work in one long pass where you can, and try to keep the trigger pressure even. If you are new to the feel of a caulk gun, practice on a piece of scrap cardboard first.
Start in corners and work outward. Corners are the trickiest part, so tackle them while your hand is fresh. Then move to the long, straight runs. Do not forget wall corners and tub-to-floor joints. Both are common spots for moisture to gather, and both need a clean, continuous seal.
For uneven gaps, adjust the trigger pressure and the speed of your hand. A wider gap needs more caulk, so squeeze harder. A narrow gap needs less, so ease off. The goal is to fill the void completely without leaving a thick, lumpy rope of excess caulk on top.
Smooth and Shape the Wet Caulk
Fresh caulk rarely looks perfect straight out of the nozzle. It needs to be shaped before it sets. Smooth the bead while it is still wet so it settles into the seam and forms a neat, even line. This also pushes the caulk deeper into the gap, improving the seal.
You can use your fingertip or a finishing tool. A light touch is essential. Pressing too hard scoops the caulk out of the seam, leaving a thin spot or a ridge. If you smooth with your finger, dip it in a little soapy water first so it glides instead of dragging.
Keep paper towels nearby. As you smooth, excess caulk collects on your finger or tool, and wiping it clean before each pass keeps the mess from smearing across the tile. Work in manageable sections: apply a short length of bead, smooth it right away, then continue. This is far easier than trying to smooth a full wall of caulk after it has started to set.
Use light pressure to shape the bead evenly. The result should be a smooth, clean line that transitions neatly from the tile to the tub. If you spot gaps or shallow areas while smoothing, add a tiny bead of caulk and smooth it again immediately.
Wait for the Caulk to Cure, Then Tidy Up
Curing takes time, and skipping that time is the fastest way to ruin a good caulk job. Check the product label for the drying and curing times. The surface may feel dry long before the material is fully set, so be patient.
Wait until the caulk is fully cured before letting any water touch it. Even a quick rinse can wash out fresh caulk or leave a cloudy film. Plan your recaulking project for a time when you can leave the shower unused for the full curing period listed on the tube.
While you wait, tidy the workspace. Remove painter’s tape, wipe down your tools, and wash your hands. If you have leftover caulk, seal the tube with its cap or cover the tip with plastic wrap secured by a rubber band. A properly sealed tube can be saved for another small job.
Once the caulk has cured, inspect the line. Look for gaps, thin spots, or places where the bead has pulled away from the tile. If you find a problem, remove the affected section and reapply. Fixing a small area now is much easier than dealing with water damage later.
Resolve Routine Caulking Setbacks
Even careful work can hit a snag. If no caulk flows from the tube, the inner seal is probably still intact, or the opening is too small. Puncture the seal with a wire and enlarge the tip slightly, then test again. Also check that the plunger on the caulk gun is pushing the tube properly.
If the bead looks uneven or too thick, wipe it off and reapply. Removing wet caulk is quick; removing cured caulk is a slog. Clean the seam again, let it dry, and run a fresh bead.
For corner failures, start in the corner first. This gives you better control when the nozzle is close to the junction and lets you shape the corner before you move on. Corners left for last usually end up smeared in awkward directions.
If caulk pulls away after drying, the cause is often a poor surface. Moisture, soap residue, or dust prevents a tight bond. Remove the failing caulk, clean the seam thoroughly, and confirm it is completely dry before you try again.
Use Extra Polishing Tricks for a Professional Result
A few simple tricks can make your caulk lines look like they were done by a seasoned pro. Painter’s tape is the best way to get straight edges. Apply tape along the tile and the tub, leaving the seam exposed, then caulk and smooth the bead. Pull the tape away while the caulk is still wet, gently and at an angle, so the edge stays crisp.
Good lighting matters more than you might think. A bright bathroom reveals thin spots, air bubbles, and uneven lines that dim light hides. Use a portable work light or open the shower curtain fully so you can see the entire seam.
Ventilate when working with strong-smelling caulk. Many kitchen and bath formulas release a noticeable odor as they cure. Open a window, turn on the exhaust fan, and keep the air moving while you work.
If you are caulking more than one fixture, be deliberate about switching colors. Keep separate tubes and clean the gun nozzle between them. A smear of white caulk inside a clear bead stands out and is hard to hide.
Care for the Shower Caulk Over Time
Fresh caulk will not stay perfect forever, but a little care extends its life. Clean the caulk line whenever you clean the tub. Use a mild bathroom cleaner and a soft cloth or sponge. Avoid abrasive pads, which can scratch the caulk and create rough spots where mold likes to grow.
Inspect the caulk every few months for signs of trouble. Look for:
- Yellowing or staining
- Cracks or peeling
- Soft spots where the bead meets the tile
- Small patches of mold
Addressing these issues quickly limits the chance of moisture seeping behind the tile. If you find a gap or a damaged section, scrape out the bad caulk, clean the area, and apply a fresh bead. Small repairs are much less work than recaulking the entire shower.
Make a habit of recaulking when the seal begins to show wear. Caulk loses flexibility over time, and a rigid, brittle seal is a sign that the protection has weakened. When that happens, gather your tools, follow the steps in this guide, and start fresh.
Bring It Together: Your Recaulking Game Plan
Recaulking a shower comes down to a straightforward sequence:
- Remove the old caulk completely.
- Clean the seam and let it dry.
- Apply a steady bead with the caulk gun.
- Smooth the wet caulk into a neat line.
- Wait for the caulk to cure fully before using the shower.
Each step depends on the one before it. Skipping the dirty work or rushing the cure only creates problems a few months down the line.
A neat caulk line is not only about appearances. The seal protects the area behind the tub, including the backer board and framing. Water that slips behind a cracked seam can cause rot, mold, and expensive repairs. The effort you put into a clean seal pays off in peace of mind.
The same basic technique works on sinks, windows, and countertops. Once you are comfortable with the caulk gun, you can use the same skills to refresh a backsplash, seal a window frame, or tidy up a vanity. The principles are identical: clean the surface, lay a steady bead, smooth it, and let it cure.
Patience and practice will improve your results. Your first attempt may not be flawless, but every caulk job teaches you something about pressure, pacing, and smoothing. With time, the task becomes routine, and the protection it provides is well worth the effort.