How to Change a Shower Head: A Practical DIY Walkthrough
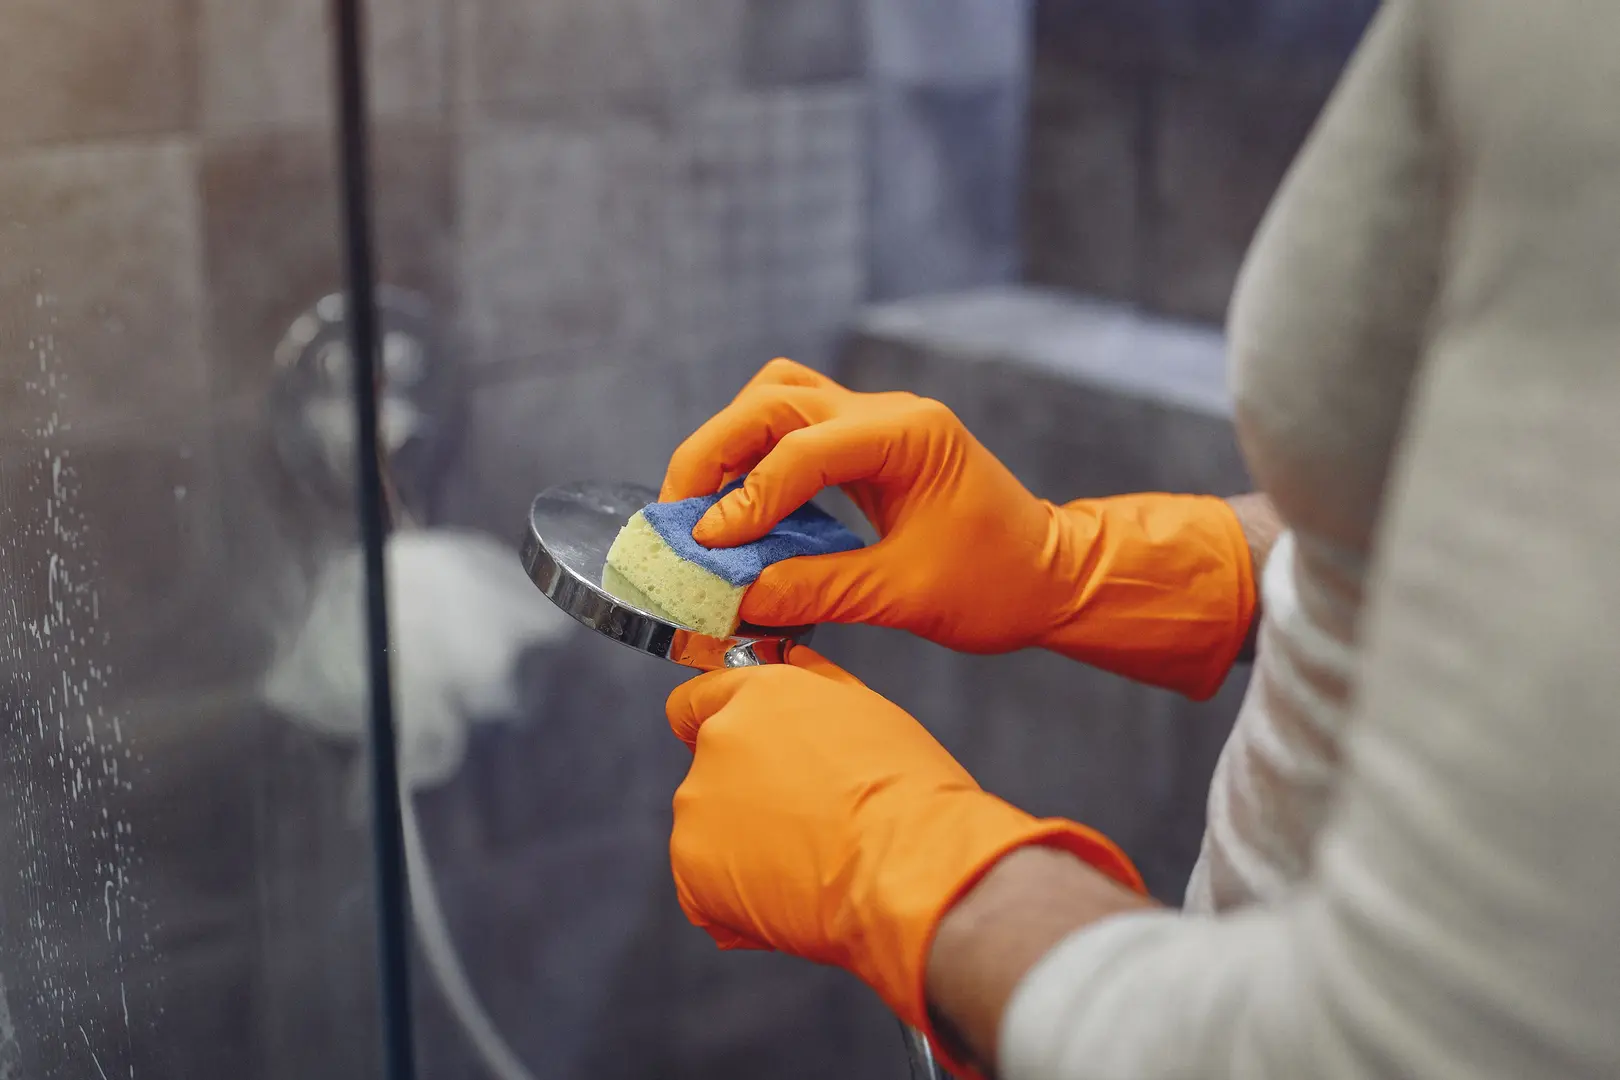
Changing a shower head is one of the most approachable bathroom upgrades for a DIYer. It requires only basic tools, can often be finished in under 30 minutes, and usually does not require a plumber. The key is to protect the existing shower arm, clean and seal the threaded connections carefully, and check for leaks before calling the job complete.
This walkthrough explains how to change a shower head, including fixed and handheld models, while avoiding common installation problems.
Reasons to Replace Your Shower Head
A shower head may need replacing because it no longer works properly, no longer suits your preferences, or looks dated compared with the rest of the bathroom. In many cases, installing a new fixture provides a noticeable improvement without requiring changes behind the wall.
Replacement may be more practical than repeatedly cleaning or repairing a heavily worn fixture. It also gives you an opportunity to choose a model with spray settings, water-saving features, or a finish that better matches your bathroom decor.
Advantages of Installing a New Shower Head
A new shower head can improve both the function and appearance of your shower.
Potential advantages include:
- Better water pressure: Mineral deposits and internal wear can restrict an older shower head. A clean replacement may provide a stronger or more consistent spray.
- Greater water efficiency: Water-efficient models are designed to use less water while maintaining a useful spray. This may help reduce household water use.
- Customizable spray patterns: Depending on the model, you might be able to switch between concentrated, wide, pulsing, or gentle spray settings.
- More flexibility: A handheld shower head can make rinsing, cleaning the shower enclosure, and assisting children or people with limited mobility more convenient.
- An immediate visual update: A new finish or more contemporary design can refresh the shower area without a full renovation.
Think about how you use the shower before selecting a replacement. A simple fixed head may be sufficient if you prefer minimal controls, while an adjustable or handheld design may be more useful if flexibility is important.
When Your Shower Head Needs Replacing
Visible mineral buildup is one of the clearest signs that a shower head needs attention. Deposits can block the spray openings, causing uneven streams or directing water sideways. Cleaning may solve minor buildup, but persistent deposits can make replacement the easier option.
Other signs include:
- Constant dripping after the shower controls have been turned off
- Reduced or inconsistent water pressure
- Cracked plastic, corrosion, or other visible damage
- Spray settings that no longer work correctly
- A loose connection that cannot be secured
- Leaks around the shower head or hose joints
Not every leak means the fixture itself has failed. A leak at the connection after installation may result from poorly applied thread seal tape, a loose joint, or a damaged or misplaced washer. Check these points before deciding that a new shower head is defective.
If water appears to be leaking from inside the wall rather than from an exposed joint, stop using the shower and consider contacting a plumber. The following instructions are intended for replacing fixtures attached to accessible threaded connections.
Tools and Supplies for the Replacement
Gathering everything before you begin helps keep the project straightforward. The exact items required depend on the fixture, but most installations use the following:
| Tool or supply | Purpose |
|---|---|
| Adjustable wrench | Loosens and tightens threaded fittings |
| Pliers | Provides additional grip when removing a stubborn fixture |
| Thread seal tape | Helps seal threaded pipe connections |
| Soft cloth or towel | Protects the finish from tools and catches drips |
| Old toothbrush or small cleaning brush | Removes residue from exposed threads |
| Mild cleaning solution | Loosens grime and mineral deposits |
| Replacement washers | Seal certain hose and shower-head connections |
| Bucket or container | Catches water left in the fixture or hose |
Check the new shower head’s instructions before starting. Some manufacturers specify whether thread seal tape should be used on a particular joint. Handheld kits may also include a hose, washers, a shower-arm bracket, or a separate wall-mounted holder.
Avoid gripping a decorative finish directly with metal pliers or a wrench. Place a soft cloth between the tool and the fixture to reduce the chance of scratches.
How to Replace a Shower Head Step by Step
The following process covers a typical threaded shower head attached to a shower arm extending from the wall.
Turn off the water. Make sure the shower controls are fully closed. If the controls do not shut off reliably, or if the shower arm remains under active flow, turn off the appropriate household water supply before proceeding. Do not remove the fixture while water is running. Skipping this step can lead to uncontrolled spraying, flooding, and water damage.
Protect the shower area. Place a towel over the shower floor or drain. This catches drips and helps prevent a dropped tool from damaging the surface. Keep a bucket nearby if the existing fixture or hose contains water.
Try loosening the old shower head by hand. Hold the shower arm steady and turn the shower head counterclockwise. Some fixtures loosen without tools. Keeping the arm stable is important because you do not want to twist the pipe connection inside the wall.
Use tools if the connection is stuck. Wrap a cloth around the fitting, then use an adjustable wrench or pliers for additional grip. Apply steady pressure rather than sudden force. If possible, use one tool to support the shower arm while the other turns the fixture. Excessive force can damage the fitting or loosen a concealed connection.
Remove the old fixture. Once it begins turning freely, finish unscrewing it by hand. Expect a small amount of trapped water to drain out.
Remove old sealing material. Peel old thread seal tape from the shower-arm threads. Use a small brush and mild cleaning solution to remove mineral deposits and residue. The threads should be clean and visible before the new fixture is installed.
Inspect the shower arm. Look for damaged threads, cracks, severe corrosion, or movement where the arm enters the wall. A damaged or unstable arm may require repair before you attach the new shower head.
Apply thread seal tape. Starting near the end of the shower-arm threads, wrap the tape smoothly in the same direction that the new shower head will turn as it is tightened. Keep the tape flat and confined to the threaded section. Avoid bunching it up or allowing excess tape to cover the water opening.
Careful application matters. Tape wrapped in the wrong direction may unravel as the fixture is installed, while uneven or insufficient coverage can contribute to a leaking joint.
Attach the new shower head. Place the shower head squarely on the shower arm and turn it clockwise by hand. It should thread on smoothly. If it immediately feels crooked or unusually tight, remove it and start again to avoid damaging the threads.
Tighten carefully. Hand-tightening is sufficient for many models. If the instructions call for additional tightening, protect the finish with a cloth and make a small adjustment with a wrench. Do not overtighten, as this can damage the fixture, washer, or shower arm.
Restore and test the water. Turn the water supply back on if you shut it off. Stand outside the direct spray path and run the shower. Check the joint between the shower arm and the new head.
Correct any leak. If water beads or drips from the threaded connection, turn the water off and tighten the joint slightly. If it continues leaking, remove the fixture, clean off the tape, and apply fresh tape more evenly. Do not simply keep tightening with increasing force.
For a handheld shower head, the general process is similar but includes a hose and holder:
- Remove the existing head and clean the shower-arm threads.
- Apply thread seal tape where directed.
- Screw the handheld bracket or diverter onto the shower arm.
- Place the supplied washers inside the hose ends. These washers are essential for sealing many hose connections.
- Connect one end of the hose to the bracket and the other to the handheld wand.
- Tighten each connection by hand, taking care not to twist or kink the hose.
- Set the wand in the bracket and confirm that it is stable.
- Run the shower and inspect the shower-arm, hose, and wand connections for leaks.
Some handheld holders mount directly to the wall rather than to the shower arm. Follow the manufacturer’s mounting instructions for these models. Avoid drilling or attaching hardware until you know what is behind the wall and are confident that the location is appropriate.
Common Mistakes When Changing Shower Heads
Although the project is simple, a few errors can turn it into a frustrating repair.
Removing the head while the water is available at the outlet Confirm that the shower controls are completely off before loosening anything. If the controls are faulty or there is any reason water may flow during the job, shut off the relevant supply. This prevents flooding and gives you time to work safely.
Twisting the shower arm The exposed arm connects to plumbing behind the wall. If it turns while you are removing the fixture, the concealed connection may loosen. Support the arm and apply force only where needed.
Using excessive force on an old holder Broken holders and wall-attached fixtures can be difficult to remove. Forcing them may damage the surrounding surface or complicate the repair. Work gradually, identify how the holder is attached, and stop if removal would disturb hidden plumbing or wall materials.
Installing the fixture at an angle A shower head should engage the threads smoothly. Starting it crooked can damage the threads and prevent a proper seal. Back it off and restart if you feel unusual resistance.
Applying thread seal tape carelessly Loose, bunched, or backward tape may shift during installation. Wrap it neatly in the tightening direction and keep it on the threads.
Forgetting hose washers Many handheld hose fittings rely on rubber washers rather than tape alone. A missing, damaged, or badly seated washer commonly results in drips.
Overtightening connections More force does not always produce a better seal. Overtightening can deform washers, crack plastic parts, scratch finishes, or damage threaded fittings. Start by hand and use tools only when necessary.
Failing to test every joint Run the shower and inspect all exposed connections. For a handheld model, that means checking the shower-arm fitting and both ends of the hose. Correcting a small leak immediately is easier than discovering it later.
Ways to Care for Your Replacement Shower Head
Regular cleaning helps prevent mineral deposits from blocking the spray openings. Wipe the surface during routine bathroom cleaning and use a mild cleaning solution suitable for the fixture’s finish. Avoid abrasive tools or harsh cleaners that could damage the surface.
If the spray becomes uneven, inspect the nozzles for visible buildup. Clean them according to the manufacturer’s recommendations rather than disassembling the fixture unnecessarily.
A noticeable pressure change may also be related to the flow restrictor. Check the fixture instructions before inspecting or cleaning this component. A blocked restrictor may affect flow, but pressure problems can also originate elsewhere in the plumbing.
Check exposed joints occasionally for moisture. If a handheld hose begins leaking, inspect the washers before replacing the entire assembly. A worn, cracked, or poorly seated washer may be the only problem. Replacing it can restore the seal.
Shower-head filters are another optional consideration, but user experiences are mixed. Some people report perceived improvements in how their hair or skin feels, while others notice little or no difference in water quality. A filter also requires maintenance and cartridge replacement according to its instructions. It should not be treated as a guaranteed solution for every water concern.
Final Thoughts
A shower head influences water flow, comfort, flexibility, and the overall feel of a daily routine. Before upgrading, compare water-efficiency features, available spray patterns, fixture style, and whether a fixed or handheld model fits your needs.
Learning how to change a shower head mainly involves careful preparation: turn off the water, remove the old fixture without twisting the shower arm, clean the threads, apply thread seal tape neatly, and inspect every connection after installation. With basic tools and close attention to the seals, most homeowners can complete this practical bathroom update without hiring a plumber.