How to Replace a Toilet Flush Mechanism
A toilet that will not flush does not always need a completely new mechanism. The problem may be a blockage, a disconnected handle or a button that is no longer operating the outlet valve. Before learning how to change a toilet flush, identify the fault and make sure the replacement parts are compatible with your cistern.
The following guide covers traditional handles, push-button controls and dual-flush systems, including the practical issues involved with concealed cisterns.
Why Is the Toilet Not Flushing?
Begin by determining whether the problem is in the toilet bowl or inside the cistern.
If flushing causes the water in the bowl to rise instead of draining normally, there is probably a blockage. Do not keep flushing, as adding more water could cause the bowl to overflow. Stop using the toilet and try to clear the obstruction with a toilet plunger. If the blockage cannot be reached or affects more than one fixture, seek help from a plumber.
If the bowl drains normally but pressing the button or moving the handle does little or nothing, inspect the cistern mechanism:
- Remove the cistern lid carefully and place it somewhere safe.
- Check whether there is enough water in the cistern.
- Operate the handle or button while watching the internal mechanism.
- Look for a loose chain, disconnected linkage or control that does not lift the flush valve.
- Check whether the moving parts are sticking or visibly damaged.
- Confirm that the water supply valve is open if the cistern is not refilling.
A handle that moves without resistance may no longer be connected to the flushing mechanism. Likewise, a push button can stop working if its rods, cable or other connection becomes detached. If the control works but the cistern releases little water, the internal flush valve may not be opening fully.
Clogs can often be prevented by flushing only toilet paper and human waste. Items such as wipes, sanitary products, nappies, cotton buds, paper towels and other household waste should go in a bin, even when packaging suggests that an item is flushable. These materials may remain in the toilet trap or contribute to a blockage farther along the sewer line.
If an unsuitable object is flushed accidentally, stop using the toilet if it begins draining slowly or the bowl water rises. Try to remove a visible object without pushing it deeper. A plunger may clear a simple paper-related blockage, but a solid object or persistent obstruction may require professional attention.
Which Toilet Flush Controls Are Available?
The three common types of toilet flush control are traditional lever handles, single push buttons and dual push buttons. Although the visible control is different, each one activates a mechanism inside the cistern that releases water into the bowl.
| Flush control | How it works | Main consideration |
|---|---|---|
| Lever handle | Moving the handle operates a connected arm, chain or linkage | Common in older toilets and usually simple to inspect |
| Single push button | One button activates a standard flush | Offers straightforward operation without separate flush volumes |
| Dual push button | Separate controls provide a reduced or full flush | Can save water when the smaller flush is suitable |
Traditional lever handles are often fitted through the front or side wall of a ceramic cistern. They are generally easy to reach once the lid has been removed. A fault may be limited to the handle, its internal arm or the chain connecting it to the flush mechanism.
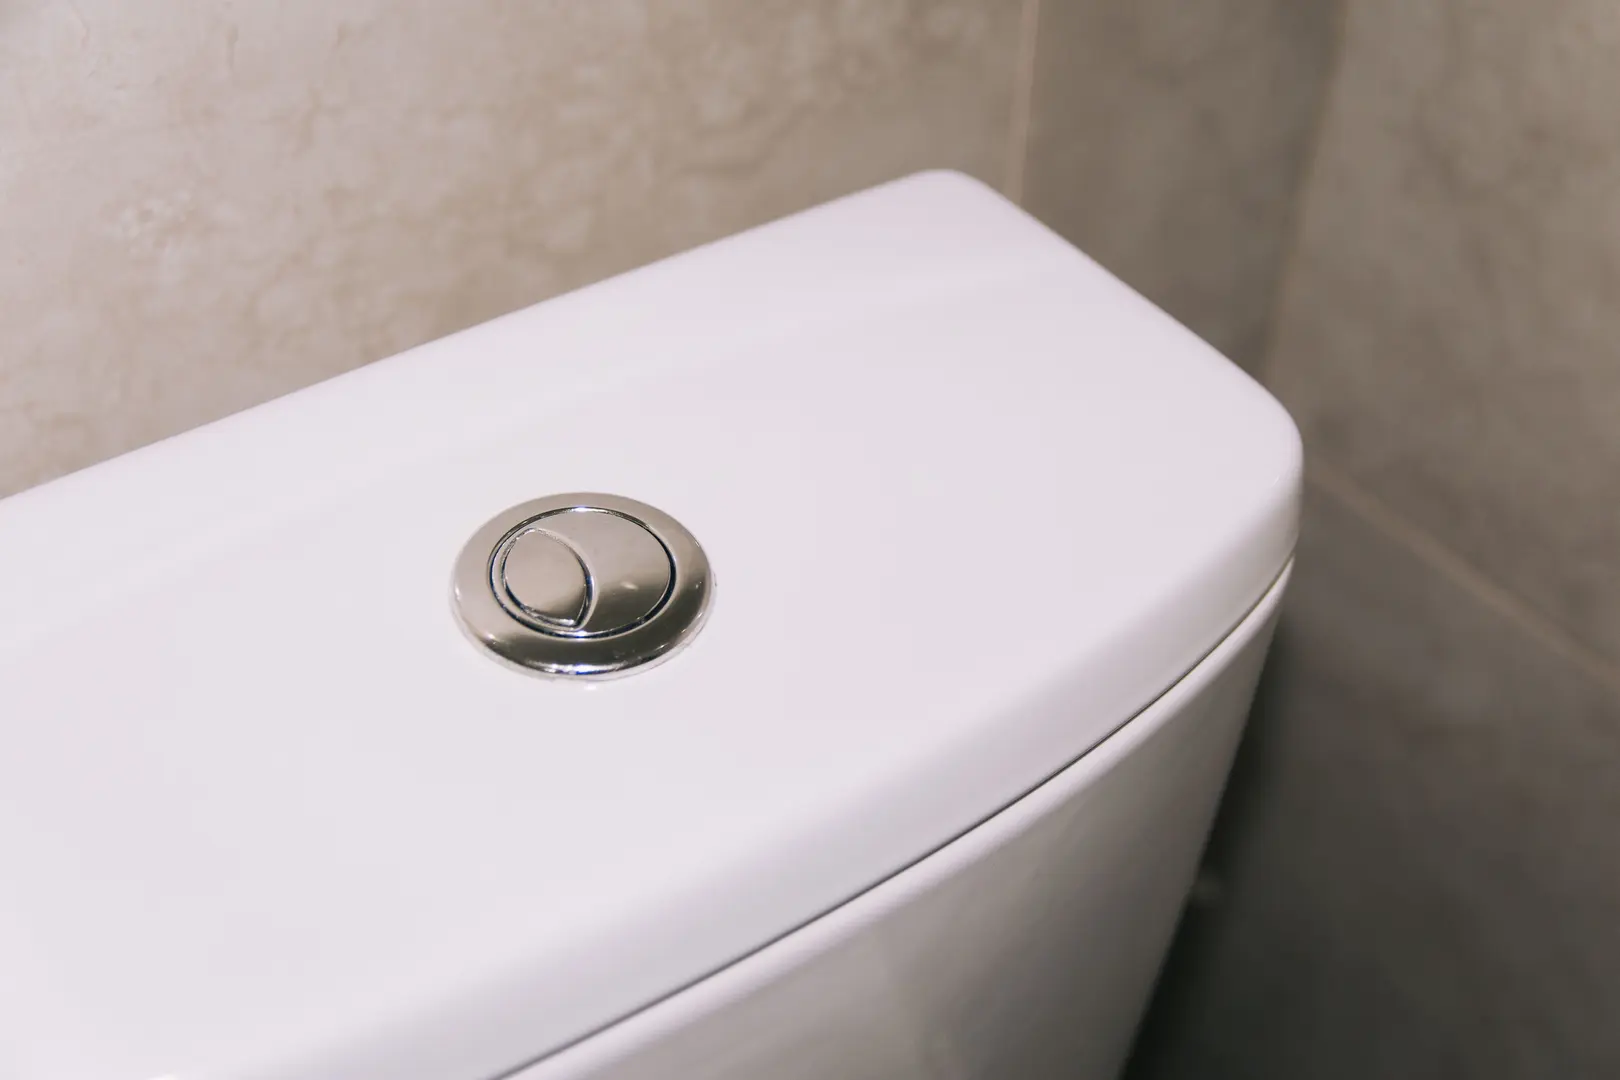
A single push-down button releases one flush volume. Depending on the toilet, the button may be fitted into the cistern lid or connected to a concealed unit through rods, a cable or another actuator.
A dual-flush button gives the user a choice between a half flush and a full flush. The reduced setting supports water saving when less water is needed. However, a half flush may not remove solid waste effectively, in which case the full flush should be used. Repeatedly operating the smaller flush can defeat the purpose if a second flush is then required.
Dual-flush conversion kits can upgrade some compatible single-flush toilets, but they are not universal. Check the cistern layout, outlet size, available space and the kit manufacturer’s compatibility guidance before purchasing one. A conversion kit may also provide less flushing power than the existing system, particularly when its reduced setting is used.
How to Replace a Toilet Flush Handle
Lever handles remain common in older homes because many traditional cisterns were designed around a simple mechanical linkage. Replacing one is often more straightforward than replacing the entire flush valve.
Before starting, buy a handle that fits the existing cistern opening and can connect to the current linkage. A universal handle may offer adjustable parts, but “universal” does not guarantee that it suits every cistern. Compare the new handle with the old one before installation.
Useful items include:
- A compatible replacement toilet handle
- An adjustable spanner or suitable pliers
- A screwdriver if required by the fittings
- A towel or cloth
- A small container or sponge for residual water
- Protective gloves
Ceramic cistern lids can be heavy and may crack if dropped. Lift the lid with both hands and place it on a padded, stable surface.
Remove the Existing Flush Handle
Follow these steps to remove the old lever safely:
Turn off the water supply. Close the isolation valve on the pipe feeding the cistern. If there is no accessible local valve, turn off the appropriate main water supply.
Drain the cistern. Flush the toilet and hold the handle down long enough to release as much water as possible. Remove any remaining water with a sponge or cloth if it interferes with the work.
Remove the cistern lid. Lift it slowly. If it does not move freely, check whether any part of the control is holding it in place rather than forcing it.
Inspect the existing connection. Note how the handle arm joins the chain, wire or linkage. Taking a photograph can help when connecting the replacement.
Detach the chain or linkage. Unhook it from the internal handle arm. Avoid bending reusable parts unnecessarily.
Undo the retaining nut. The handle is normally secured from inside the cistern. Use your fingers or a suitable tool to loosen the nut. Some toilet-handle fittings use an unusual thread direction, so inspect the fitting or follow its instructions instead of forcing it.
Withdraw the old handle. Slide the spindle and lever out through the cistern opening. Clean around the hole so the replacement can sit correctly.
If the handle is intact but the chain has simply come loose, a full replacement may not be necessary. Reconnect the linkage and test it manually before fitting new parts.
Install and Test the Replacement Handle
Once the old assembly has been removed, install the new handle as follows:
Insert the new lever. Feed the handle spindle through the cistern opening from the outside. Position the external handle in its normal resting orientation.
Fit the retaining hardware. Attach the washer and retaining nut from inside the cistern in the order specified for the replacement. Tighten the fitting until secure, but do not overtighten it against the ceramic.
Position the internal arm. Make sure the lever can move without striking the cistern wall, fill valve or other components. Adjustable arms should be set to align with the existing flush linkage.
Reconnect the chain or linkage. Attach it to the lever arm. It should have enough movement to allow the flush valve to close fully but not so much slack that the handle cannot lift it.
Operate the handle by hand. Before restoring the water, move the lever several times and watch the mechanism. Check that it lifts and returns without catching.
Restore the water supply. Open the isolation valve and allow the cistern to refill.
Test the flush. Flush the toilet and confirm that the valve opens, the bowl clears and the handle returns to its resting position. Watch the refill cycle and check that water is not continuing to run into the bowl.
Make small adjustments if needed. If the handle has excessive movement, shorten the linkage slightly. If the flush valve cannot close, add a little slack. Test again after each adjustment.
Replace the cistern lid only after the mechanism operates reliably. Ensure the lid is seated correctly and does not restrict the lever.
How to Replace a Push-Button Toilet Flush
Push-button systems vary more than traditional handles, so first determine what needs replacing. A faulty external button may not require a new outlet valve. Conversely, a working button that does not release water may indicate a disconnected actuator or a fault in the internal flush mechanism.
Use a replacement designed for the toilet or confirmed as compatible with its cistern. A single-flush and dual-flush system cannot always be exchanged by replacing the visible button alone; a dual-flush conversion may require a matching outlet valve and actuator.
The general replacement process is:
Turn off the water supply. Close the cistern’s isolation valve.
Drain the cistern. Operate the flush, then remove remaining water if necessary.
Release the push button. Depending on the design, the button may unscrew, unclip or detach from below the lid. Follow the replacement instructions and avoid forcing the surround.
Remove the cistern lid. Lift it only after confirming that the button or its connection is no longer securing it.
Disconnect the actuator. Detach the rods, cable or other connection between the button and the flush valve. Note its routing and adjustment.
Remove the faulty component. If only the button unit has failed, remove and replace that part. If the internal outlet mechanism is also being changed, release it according to its design. Some installations require additional access around the cistern, so do not dismantle pipework unless you are confident about reassembling it correctly.
Fit the replacement system. Secure the new button or flush mechanism and reconnect the actuator. Ensure that moving parts are aligned and can return freely.
Refit the lid and button. Seat the lid correctly, then secure the button without overtightening it.
Restore the water supply. Let the cistern fill while checking for leaks or unwanted water flow.
Test each flush setting. For a single-button control, check that the valve opens and closes properly. For a dual-flush model, test both the reduced and full settings.
Concealed cisterns create an additional access problem because the working parts sit behind a wall, panel or fitted unit. Many are intended to be serviced through the flush-plate opening or a removable access panel. Remove the flush plate carefully and look for the designed service route. Do not force surrounding tiles, wall panels or furniture.
The available opening may be narrow, making it difficult to see the clips and connections. Photograph each stage before disconnecting parts and keep small fittings together. If the valve cannot be reached through the intended access point, or the installation appears to require opening the wall, consult a plumber rather than causing unnecessary damage.
Common Plumbing Mistakes and How to Avoid Them
Several common mistakes can turn a simple flush replacement into a larger repair:
- Replacing parts before checking for a blockage: A new handle or button will not clear an obstructed toilet. Diagnose the bowl and cistern separately.
- Buying an incompatible mechanism: Compare the control, connections and internal space before purchasing a replacement.
- Forcing fittings: Buttons, retaining nuts and concealed-cistern clips may release in different ways. Check the product instructions rather than applying excessive force.
- Overtightening against ceramic: Secure fittings firmly, but avoid placing unnecessary pressure on the cistern.
- Failing to turn off the water: Isolate and drain the cistern before disconnecting internal parts.
- Incorrectly adjusting a chain, rod or cable: Too much slack can produce a weak or unresponsive flush, while too little may stop the valve from sealing.
- Skipping the test stage: Test the mechanism with the lid accessible so adjustments can be made before everything is closed.
- Using the half flush for unsuitable waste: A reduced flush may not clear solids. Use the full setting when needed.
- Assuming every toilet can be converted to dual flush: Conversion kits require a compatible cistern and may not match the flushing performance of the original mechanism.
- Flushing inappropriate items: Wipes, sanitary products, cotton items, nappies and general waste can clog the toilet or sewer line.
After learning how to change a toilet flush, the most important final step is observation. Run several test flushes, check that the cistern refills and stops, and make sure no water continues to enter the bowl. If the mechanism remains unreliable, the toilet repeatedly blocks or a concealed system cannot be accessed safely, arrange a professional inspection.