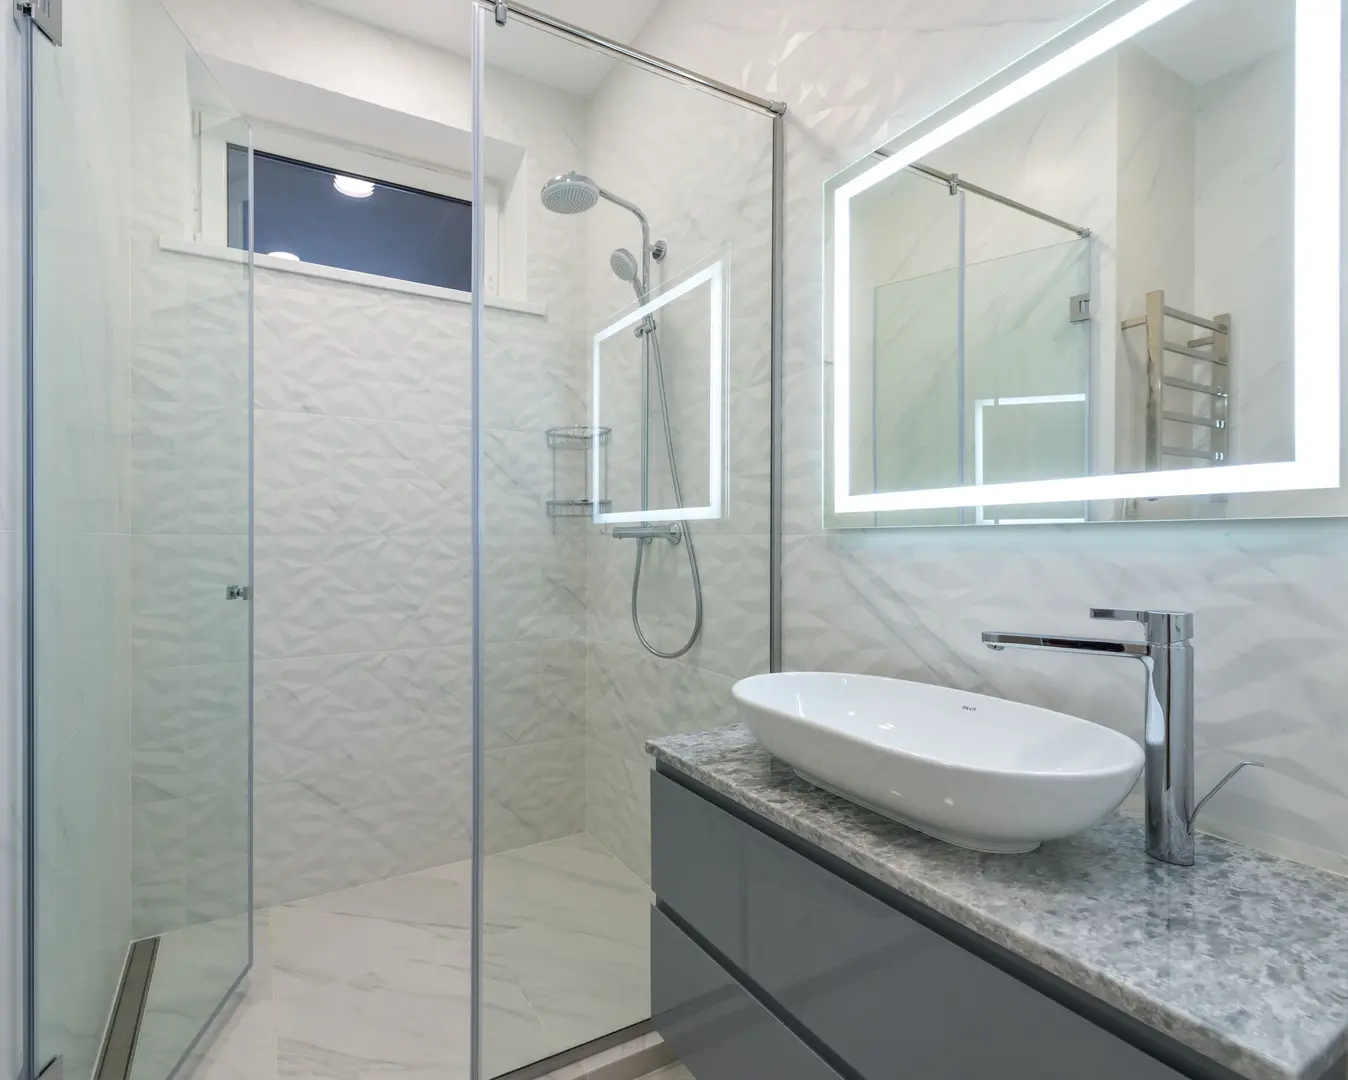
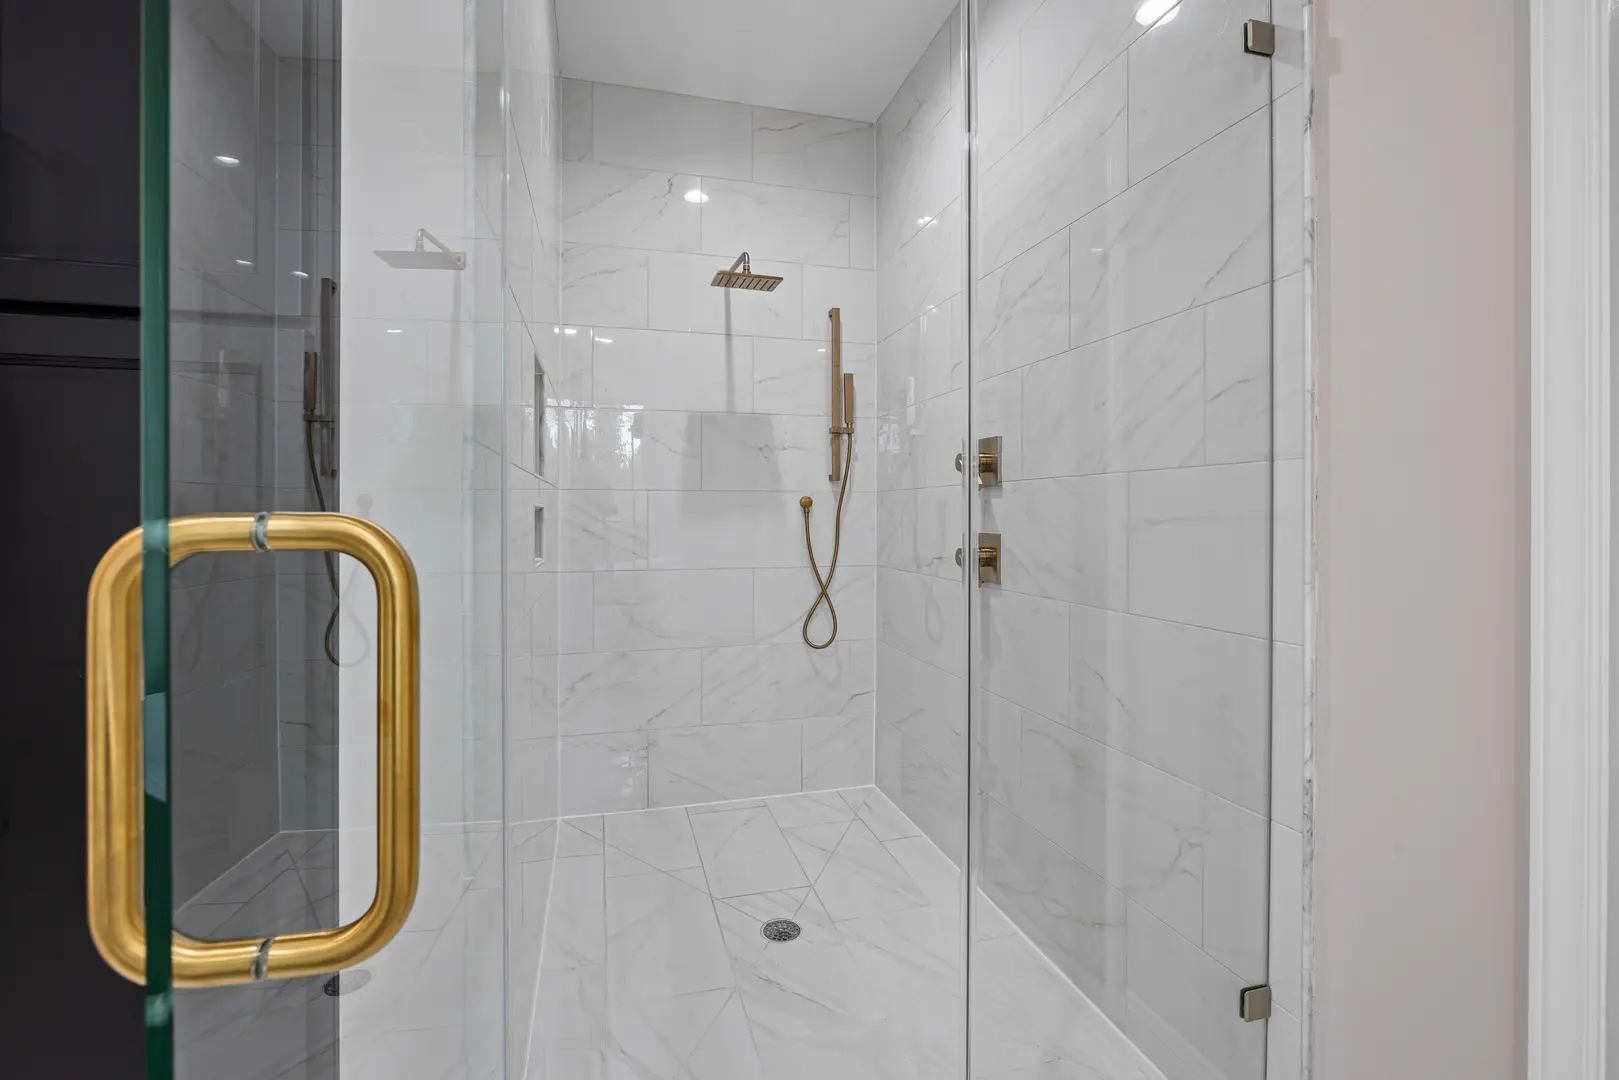
How to Change a Tub into a Walk-In Shower
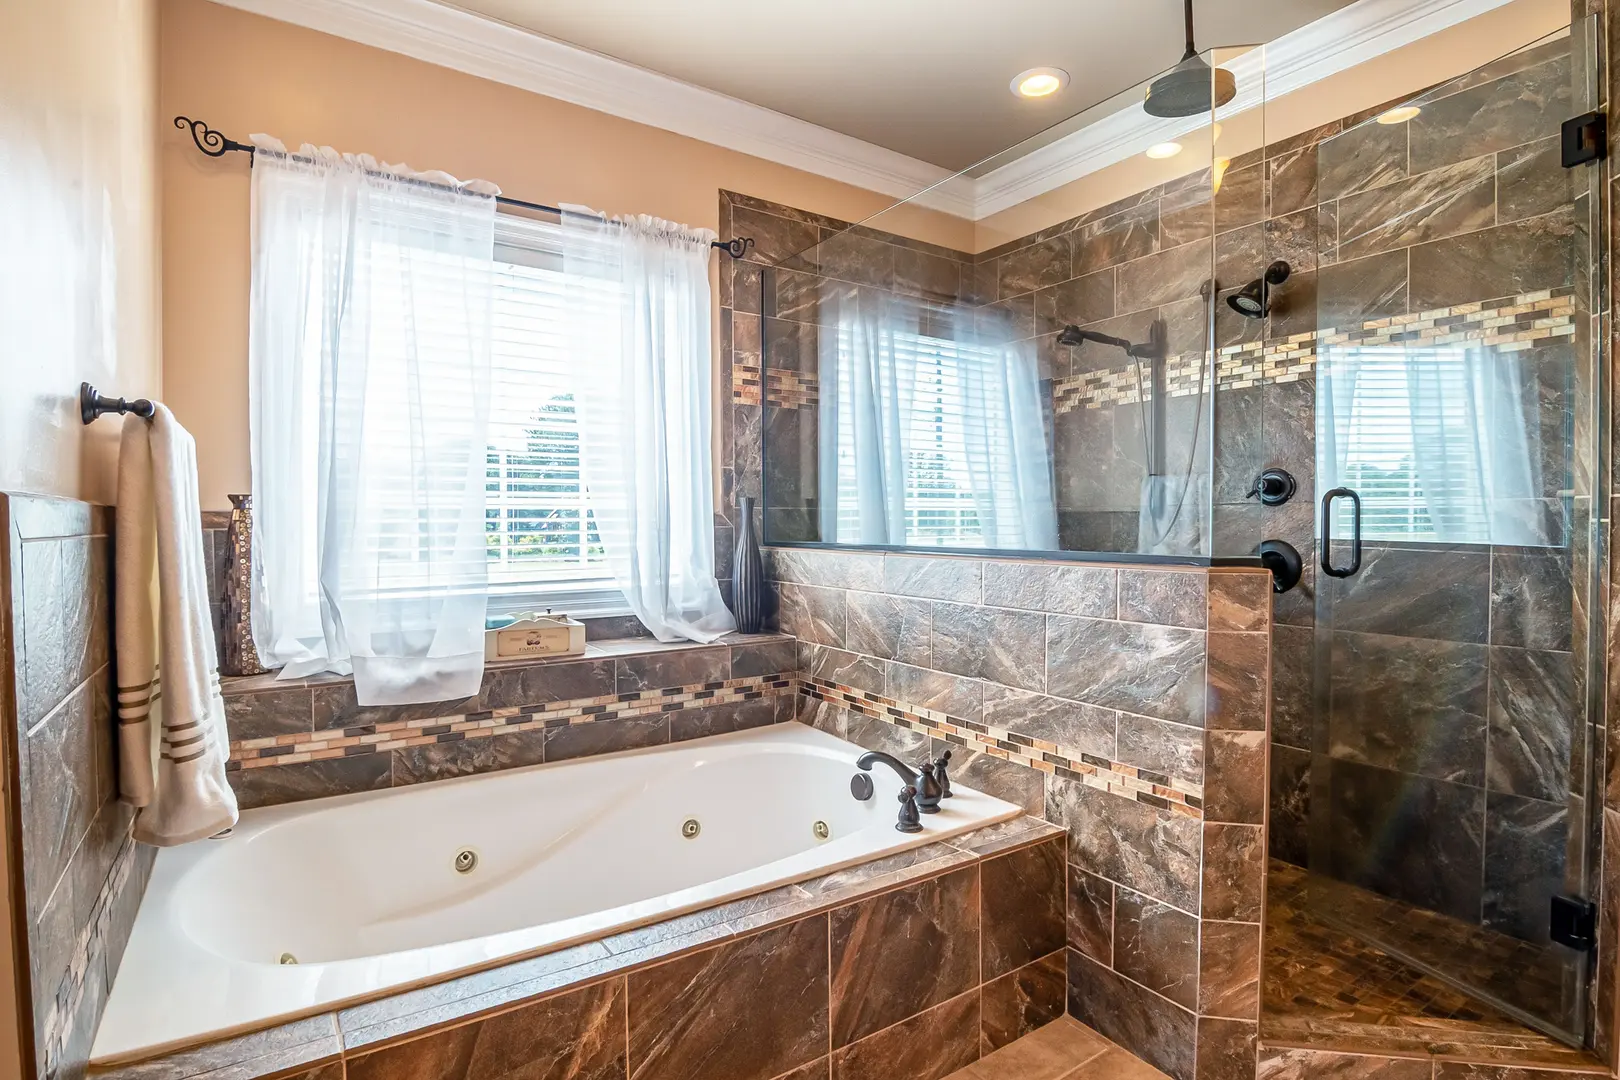
If you are tired of climbing over the tub wall to bathe or rarely use your bathtub, converting it into a walk-in shower can transform your daily routine. A tub-to-shower conversion opens up space, improves accessibility, and gives your bathroom a modern feel. However, the project comes with its own set of considerations—from post-installation checks to deciding whether to tackle it yourself. Below we walk through the essential steps after conversion, assess whether a DIY approach fits your skill level, explore low-cost options if a full renovation isn’t in the budget, and help you weigh the pros and cons to decide if the change is truly worth it.
What to Do After Your Tub-to-Shower Conversion
Once the old tub is gone and your new walk-in shower is installed, a few final tasks ensure everything works as it should and lasts for years. Start by turning on all the shower fixtures to check for leaks. Run the water at both hot and cold settings, confirming that flow is steady and temperature control responds correctly. Pay close attention to the showerhead, valve, and any handheld components—any drips behind the wall or at the connection points need immediate attention. Let the water run for several minutes to observe drainage; standing water in the pan indicates an improper slope or a clogged drain line.
Next, examine all seals and grout lines. Look for cracks, gaps, or areas where the sealant may not have been applied properly. Damaged grout or caulk can lead to moisture intrusion, which over time causes mold or structural issues. If you spot any problems, reapply fresh sealant or grout before using the shower regularly. For extra assurance, use a moisture meter on the adjacent wallboard after a test shower—this can reveal hidden leaks behind tile or waterproofing layers.
After the functional checks, reattach any trim or final details that were removed during the conversion. This includes escutcheon plates, handles, and decorative covers. Even small gaps around fixtures can compromise the finished look and allow moisture behind the tile. Check that all screw covers are snapped in place and that any access panels close flush.
Finally, step back and assess the bathroom’s overall condition. Pay special attention to the ventilation system—an exhaust fan that is too weak or noisy may not remove steam effectively, leading to peeling paint or mildew. Test the fan by holding a piece of toilet paper near the grille; if it doesn’t stay pulled up, the fan may need cleaning or replacement. Proper lighting is also important: a well-lit shower area improves safety and enjoyment. Consider adding a waterproof LED fixture if the existing light leaves shadows. Addressing these final considerations—checking for leaks, confirming water flow and temperature, inspecting seals and grout, reapplying trim, verifying ventilation and lighting, and confirming drainage—maximizes your enjoyment of the revamped bathroom and contributes to the durability of your upgrade.
Is a DIY Tub-to-Shower Conversion Right for You? Assessing Risk and Skill Level
If you are a beginner DIYer, the idea of removing a bathtub and installing a walk-in shower can feel daunting. Many users express concern that the project is simply too advanced for someone with limited experience. One common question is whether a tub-to-shower conversion is risky for a beginner—and the honest answer is that it depends on your comfort with plumbing, demolition, and waterproofing.
Assessing the complexity
A full conversion typically involves disconnecting supply lines, removing the tub and surrounding tile, rerouting drainage, building a new shower pan or curb, installing wallboard and waterproof membrane, tiling or installing panels, and connecting new fixtures. Each step carries potential pitfalls: a leak behind the wall, improper slope for drainage, or damaged waterproofing can lead to costly repairs. For a beginner, the risk of making a mistake that requires professional intervention is real. Additionally, local building codes often require permits for plumbing and electrical work; missing these can complicate a future home sale.
Tools and skills required
You will need basic tools such as a wrench, screwdriver, utility knife, level, and drill. More specialized tools—like a reciprocating saw for cutting old plumbing, a tile saw, and a trowel for thin-set—may also be necessary. Beyond tools, you need skills in measuring, cutting, soldering or connecting PEX fittings, applying waterproofing, and setting tile or panels. If you have never done plumbing or tile work before, the learning curve is steep. For example, soldering copper pipes requires practice to avoid weak joints that can leak behind walls. Using push-fit PEX fittings reduces the fire risk but still demands precise cuts and deburring.
Common pitfalls to watch for
One of the most frequent mistakes among beginners is failing to create a proper slope in the shower floor (¼ inch per foot toward the drain), leading to standing water. Another is inadequate waterproofing behind the walls—using only a plastic vapor barrier instead of a bonded sheet membrane can cause rot and mold. Finally, aligning the drain with the new shower pan often requires careful measurement and sometimes additional subfloor work; a misaligned drain can trap water under the pan.
Should you hire a professional?
If you feel uncertain about any of the steps—especially plumbing or waterproofing—it is wise to consult a licensed contractor. A professional can ensure the work meets local building codes and provides a watertight result. The cost of hiring a pro is often offset by avoiding expensive repairs down the road. On the other hand, if you have experience with similar renovations and are prepared to invest time in research and careful work, a DIY conversion is achievable. You might also consider a hybrid approach: hire a plumber to rough in the drain and valve, then handle the demolition, framing, and tiling yourself. This splits the labor and reduces the highest-risk steps. The key is to honestly assess your skill level and risk tolerance before starting. A full DIY conversion can take several weekends, whereas a professional crew may finish in three to five days—valuable time to factor into your decision.
Budget-Friendly Alternatives: Showering Without Removing the Tub
Not everyone has the budget for a full tub-to-shower conversion. If cost is a barrier—as one user explicitly stated—there are workarounds that let you enjoy the convenience of a shower without tearing out the tub. These solutions are temporary and limited, but they can be effective for many households.
Add a handheld shower wand to the tub spout
A simple way to shower in a tub is to attach a handheld shower wand to the existing tub spout diverter. Many kits include a hose, a hand shower, and a bracket that mounts to the wall or tub ledge. This allows you to rinse off while sitting or standing in the tub. The wand can be used for washing hair, rinsing the tub, or even bathing children or pets. Cost is low—typically $20 to $60—and installation requires only basic tools. However, check your tub spout: some older diverter valves have a limited flow rate that reduces water pressure. Upgrading to a modern diverter spout with a built-in check valve can improve performance without a full conversion.
Install an L-shaped curtain rod
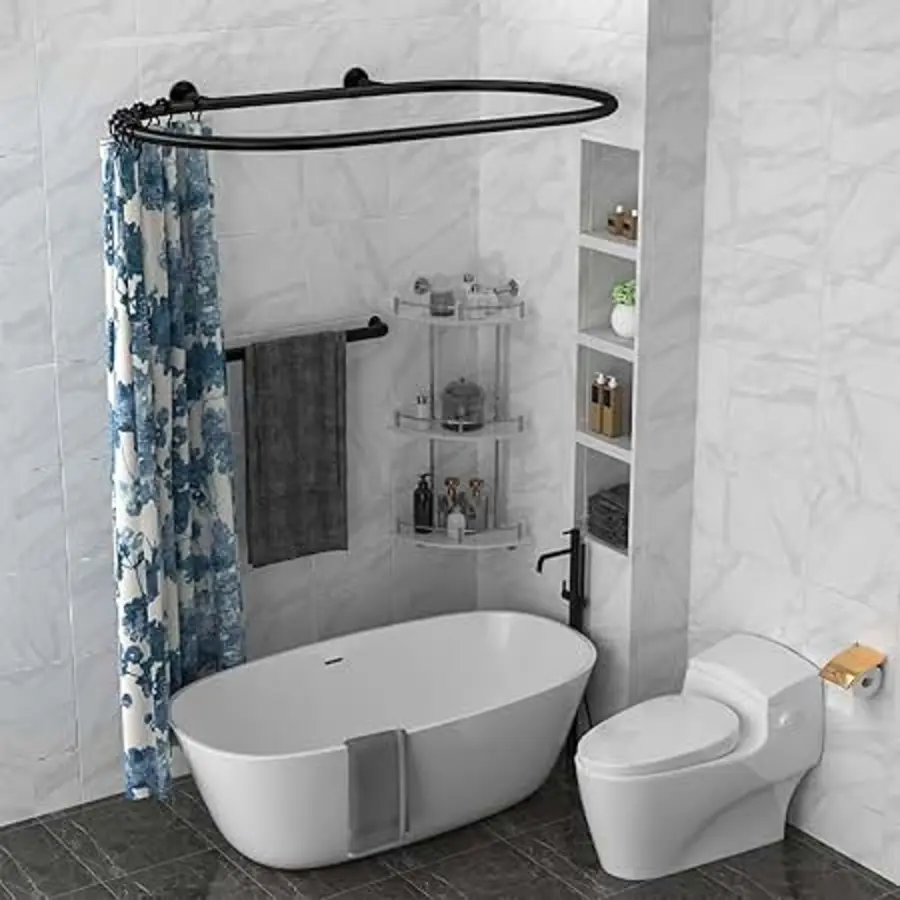
To prevent water from spraying onto the bathroom floor, install an L-shaped or curved shower curtain rod that extends beyond the tub edge. This creates a more enclosed showering area. Combined with a waterproof liner and a decorative curtain, the setup keeps the bathroom dry while you shower. The rod can be tension-mounted (no drilling) or screwed into the wall for a sturdier hold. If you are renting or want to avoid drilling into tile, choose a tension rod rated for the span; some models include adhesive end caps for extra grip. For a more permanent feel, a screw-mounted rod provides better stability, but you must drill into tile—use a carbide bit and avoid cracking tiles by starting with a small pilot hole.
Limitations of these workarounds
It is important to understand what these alternatives do not provide. Most importantly, you still have to step over the tub wall to enter and exit—this is not a true walk-in shower. The space remains a bathtub with a shower attachment, not a barrier-free access. Additionally, the shower head height may be limited if you use a tub faucet diverter, and the water pressure can be lower than a dedicated shower. The handheld wand may also require holding while lathering, which some find inconvenient. These solutions are not permanent and do not increase resale value the way a formal conversion might. But for someone on a tight budget or renting a home, they offer a practical way to enjoy a shower without the expense and hassle of removing the tub. They also serve as a low-risk trial—if you find you still want a full walk-in shower later, you’ve already confirmed that showering in the tub area is viable.
Is It Worth It? Weighing the Pros and Cons of Converting a Tub to a Walk-In Shower
Before you commit to a full conversion, take a step back and ask yourself: is it truly worth the effort and cost? Many homeowners consider this project because they rarely use the bathtub. One user mentioned they rarely bathe in the tub, which drives the desire to replace it with a walk-in shower, but they question whether the conversion provides enough value. Let’s break down the pros and cons to help you decide.
Pros of converting a tub to a walk-in shower
- Improved accessibility: A walk-in shower eliminates the need to step over a high tub wall, making it safer for people with mobility issues or for aging in place. Curbless designs can even accommodate a wheelchair.
- Daily convenience: Most people shower more often than they bathe. A dedicated shower space is quicker, uses less water, and feels more modern.
- Space savings: Removing a bulky tub can open up floor area, making a small bathroom feel larger. You may even have room for a bench or storage niche.
- Potential for higher resale value: In bathroom-focused markets, a stylish walk-in shower can appeal to buyers who prioritize showers over tubs. However, homes with only one bathroom may still benefit from keeping a tub for families with young children.
Cons and considerations
- Loss of a bathtub: If you ever sell, some buyers may prefer a tub—especially if the property has only one bathroom or is marketed to families. You could lose potential buyers or reduce the pool of offers.
- High project cost: A professional conversion can run from $3,000 to $8,000 or more depending on materials and complexity. Even a DIY version costs hundreds in materials and tools, plus the time investment.
- Permanent change: Once the tub is removed, re-installing one later is expensive and disruptive. It is not a reversible decision. Consider the condition of your existing tub—if it is cracked or outdated, removal becomes less of a loss.
- No benefit if you rarely use the shower: If you already have a functional shower elsewhere (e.g., a second bathroom), the conversion may not add daily value. Focus on the primary bathroom that everyone uses.
Decision-making criteria
To decide if the conversion is worthwhile, consider your actual tub usage. If you can count on one hand how many times you have taken a bath in the past year, and you do not plan to have small children who need tub baths, then converting to a shower is likely a good fit. Also think about your long-term plans: are you staying in the home for many years, or do you plan to sell soon? If you are selling within five years, consult a local real estate agent about buyer preferences in your area. Some markets value a tub in every bathroom, while others prioritize sleek walk-in showers. In a primary suite with a separate soaking tub elsewhere, removing a tub is usually safer.
Also examine your household composition. If everyone in the home showers, a walk-in shower makes sense. If someone requires bath therapy for a medical condition or you have a pet that needs bathing, a tub may remain essential. Finally, consider the existing tub’s footprint—if it takes up excess space that could be better used, the conversion can dramatically improve the bathroom layout. Try the budget-friendly alternatives first to test showering in the tub area; if you find yourself using the handheld wand daily and still wanting a barrier-free entry, the full conversion may be the right next step.
Ultimately, the answer is personal. If the conversion aligns with your lifestyle, budget, and future plans, it can be a smart upgrade. If you are on the fence, try one of the budget-friendly alternatives first to see if that meets your needs without committing to a major renovation.