How to Clean a Bathroom Vanity Cabinet Without Damage
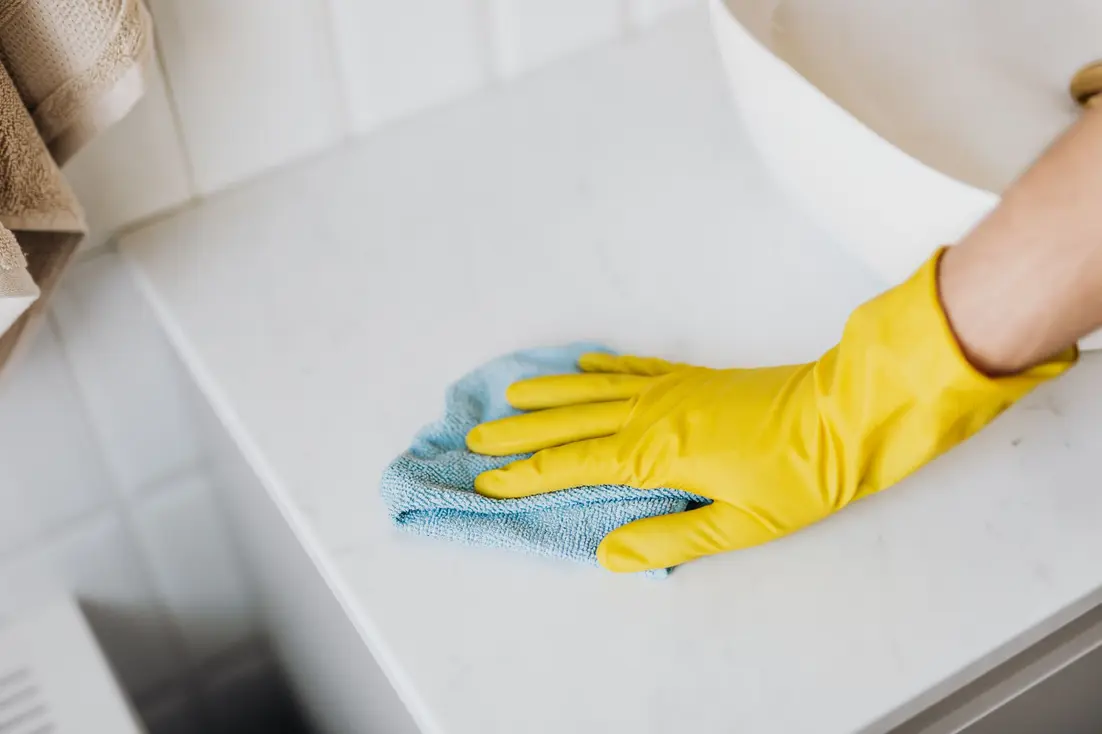
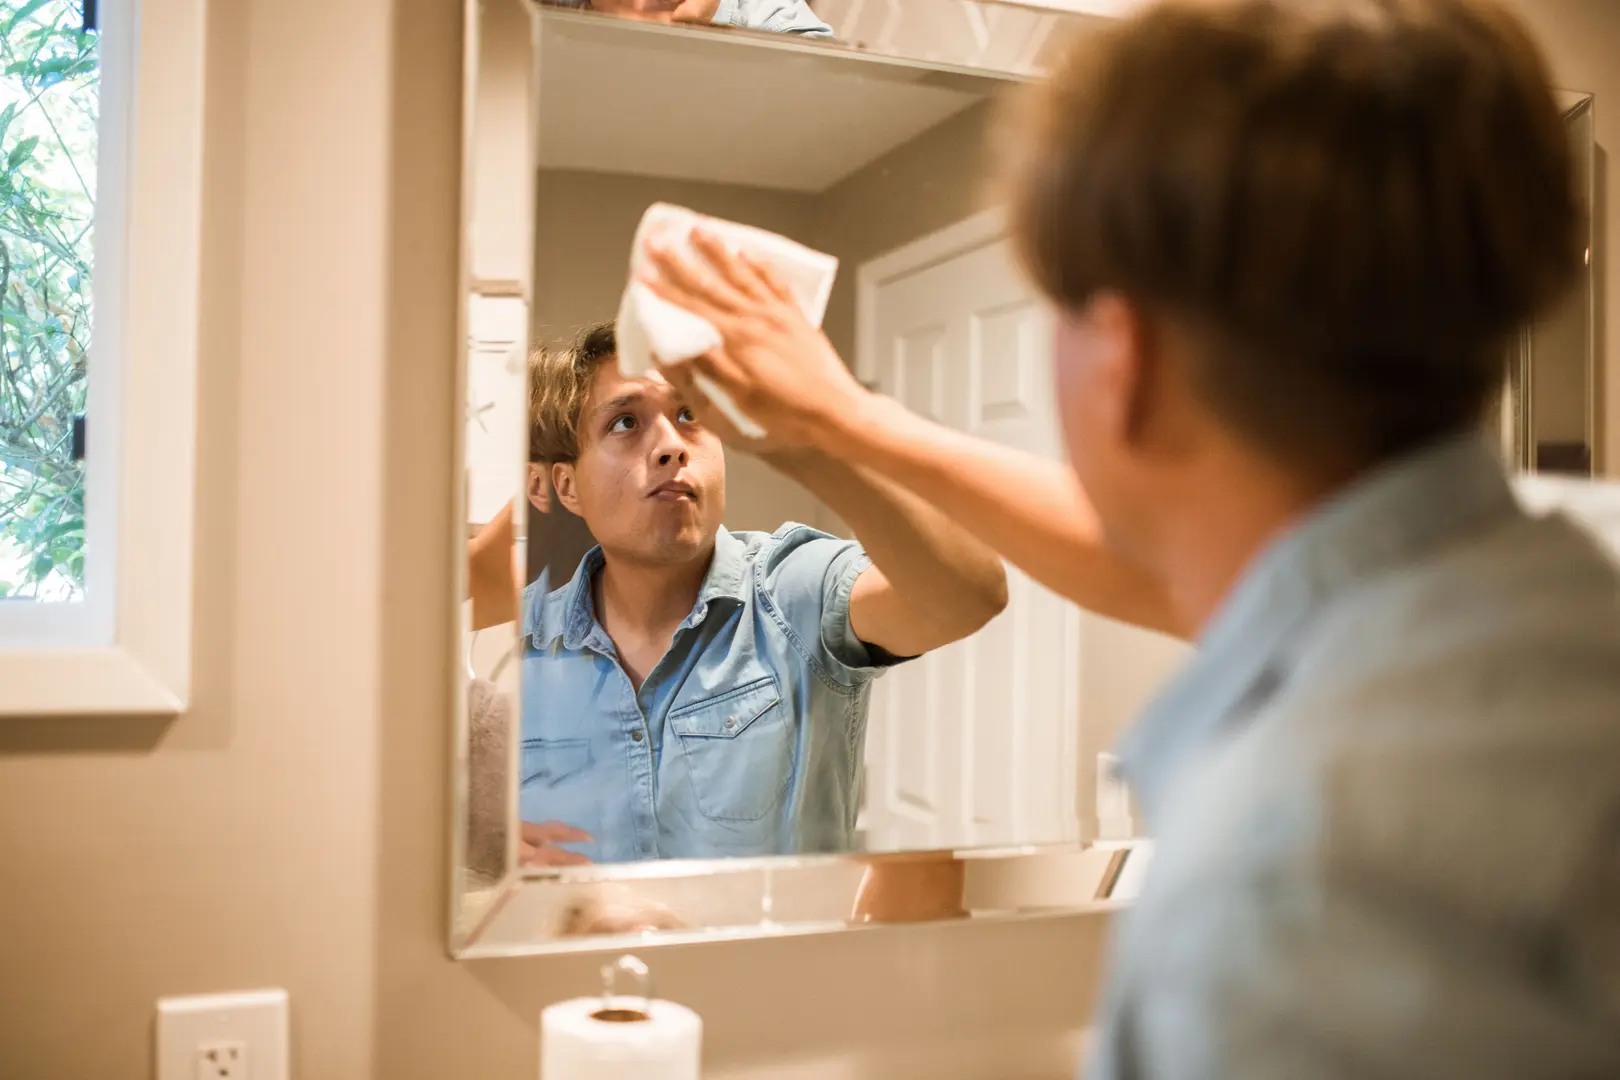
Cleaning a bathroom vanity cabinet safely is mostly a matter of using mild cleaner, limited water, and the right amount of pressure. Start by removing dust and loose residue, then wipe the cabinet with a barely damp microfiber cloth and a small amount of mild dish soap diluted in warm water. Wipe away soap residue with another damp cloth and dry every surface, especially edges, seams, corners, and the area beneath the sink.
The method works for most painted wood, laminate, MDF, veneer, and coated hardware, but the cabinet’s finish determines how cautious you need to be. The goal is to lift toothpaste, soap residue, makeup, dust, and water marks without soaking the material or wearing away its protective surface.
What you need
- A soft microfiber cloth or other non-abrasive cloth
- A small bowl of warm water
- Mild dish soap
- A dry towel
- A soft toothbrush or cotton swabs for hinges and narrow gaps
- A vacuum with a soft brush attachment, if available
Use clean cloths as you work. A cloth that has picked up grit can leave fine scratches on glossy laminate, painted surfaces, or metal handles.
Before cleaning, identify the cabinet surface
If you know the cabinet material, follow the care instructions supplied by the manufacturer. If you do not, look at the exposed edges, door fronts, and finish before applying cleaner.
- Painted wood or painted MDF: Clean with very little water. Painted MDF and unfinished or poorly sealed edges can swell when moisture gets into seams.
- Laminate: Usually tolerates routine wiping well, but water can still enter at damaged edges, joints, and around hardware.
- Veneer: Treat it like a thin wood surface. Avoid soaking, aggressive scrubbing, and repeated wet cleaning.
- Solid wood: Use a damp rather than wet cloth, and dry it promptly. Wood can react to excess moisture even when sealed.
- Metal or coated handles: Mild soapy water is usually a suitable starting point. Avoid abrasive powders and rough scrubbers that can scratch or dull the coating.
If the finish is peeling, cracked, bubbling, or already swollen, cleaning will not restore the damaged area. Use less moisture and stop if wiping begins to remove paint or finish.
How to clean a bathroom vanity cabinet
1. Empty the cabinet and clear the counter
Remove bottles, toiletries, cleaning products, and items from drawers or shelves. Set them aside so you can clean the cabinet without working around clutter. Check beneath the sink for leaks or damp items before cleaning; ongoing moisture can cause swelling that looks like a stubborn stain.
For loose dust and hair, use a dry microfiber cloth or a soft vacuum brush. Do not begin with a wet cloth if the surface has grit on it, since rubbing grit across the finish can create scratches.
2. Mix a mild cleaning solution
Add a small amount of mild dish soap to warm water. The water should feel lightly soapy, not heavily sudsy. You do not need to saturate the cloth or cabinet to remove ordinary bathroom residue.
Avoid combining cleaners. Strong disinfectants, abrasive powders, solvent-based products, and concentrated sprays can affect paint, laminate, veneer, sealants, or hardware. Products containing bleach, ammonia, or acids should not be treated as universal cabinet cleaners; use them only if the cabinet manufacturer specifically says they are suitable for that finish.
3. Test an inconspicuous area
Dampen a cloth with the solution and wring it out well. Test the underside of a door, an inside corner, or another hidden area. Wait until it dries and check for color change, cloudiness, tackiness, swelling, or a dull patch.
A small test is especially useful for older cabinets, repainted vanities, high-gloss finishes, and surfaces with unknown coatings. If the test area reacts poorly, use plain water on a barely damp cloth and seek the cabinet maker’s care instructions before using another product.
4. Wipe doors, drawer fronts, and cabinet sides
Work in small sections from the top down. Wipe gently in the direction of the wood grain when the surface has a visible grain pattern. On laminate or painted surfaces, use light overlapping passes rather than pressing hard at one spot.
Pay extra attention to areas that collect daily residue:
- Around drawer pulls and door handles
- Below the countertop edge
- Along the bottom of doors
- Near the sink and faucet
- On the cabinet face where toothpaste or makeup splashes
- Around drawer corners and door stops
If a mark does not lift with mild soap and light wiping, let the damp cloth rest over the spot briefly, then wipe again. Do not attack it with a scouring pad or a sharp tool. Repeated hard scrubbing is more likely to damage the finish than remove a mark safely.
5. Clean edges, seams, and the area around hinges
Edges and seams need less water than broad, sealed faces. Use the corner of a wrung-out cloth rather than spraying cleaner directly onto the cabinet. Follow with a dry cloth so moisture does not sit in the joint.
For hinges, use a soft toothbrush or cotton swab that is only slightly damp. Brush away dust and dried residue without flooding the hinge. Wipe the metal dry afterward. Do not force cleaner deep into the hinge or use abrasive tools that could remove its coating.
If a hinge squeaks or feels stiff, cleaning alone may not solve the problem. Avoid applying household oil unless the hardware instructions allow it, because oil can attract dust and may transfer onto the cabinet.
6. Wipe inside shelves and drawers
Clean the inside of the cabinet after removing everything. Vacuum loose debris first, then wipe shelves, side panels, and drawer bottoms with the same lightly soapy cloth. Keep the cloth especially well wrung out on unfinished edges, particleboard, and MDF.
Do not leave bottles or containers sitting on a damp shelf. Dry the shelf completely before replacing items, and use a removable tray under products that may leak.
7. Rinse lightly and dry immediately
Use a second cloth dampened with plain water to remove any soap film. It should not be wet enough to leave puddles or run down the door. Then dry the cabinet with a clean towel, including the underside of the countertop edge, door bottoms, seams, handles, and areas around hinges.
Leaving the vanity open for a short time can help remaining moisture evaporate. The more important step is removing standing water rather than trying to force air into every gap.
How to remove stains from a vanity cabinet
Start by identifying whether the mark is residue, a surface discoloration, or material damage.
- Toothpaste or soap residue: Use the mild soap solution and a soft cloth. Several gentle passes are safer than one aggressive scrub.
- Makeup: Wipe it as soon as possible with a damp cloth and mild soap. Avoid rubbing it farther across a porous or matte surface.
- Water marks: Remove surface moisture and soap film first. If a pale ring remains, repeat gentle cleaning rather than using a harsh acid or abrasive.
- Dark marks near seams: Check for a leak, trapped moisture, or swelling. The mark may be inside the material rather than on its surface.
- Sticky residue: Soften it with a warm, damp cloth, then wipe gently. Do not use a razor or solvent unless the finish manufacturer approves it.
If the finish has bubbled, lifted, cracked, or changed color, stop treating the spot as ordinary dirt. Swollen edges and soft areas usually indicate moisture damage or finish failure, and more cleaning can make the surface worse.
Cleaning mistakes to avoid
- Spraying cleaner directly onto doors, drawers, or hinges
- Using a soaking wet cloth or allowing water to pool on shelves
- Scrubbing with steel wool, scouring pads, or abrasive powders
- Applying furniture polish without checking whether it is compatible with the finish
- Using vinegar, bleach, ammonia, or solvent cleaners as a default solution
- Leaving wet towels, leaking bottles, or damp mats against the cabinet
- Ignoring a plumbing or faucet leak beneath the sink
A simple maintenance routine
Dust the vanity regularly with a dry or barely damp microfiber cloth. Wipe toothpaste, makeup, and splashed water when you notice them rather than allowing residue to build up. Dry the cabinet after cleaning and check the area beneath the sink periodically for leaks or dampness.
For most homes, frequent light cleaning is safer than occasional heavy scrubbing. If a cabinet continues to swell, peel, smell musty, or show darkening around plumbing, address the moisture source before attempting deeper cosmetic cleaning.