How to Clean a Shower Caddy
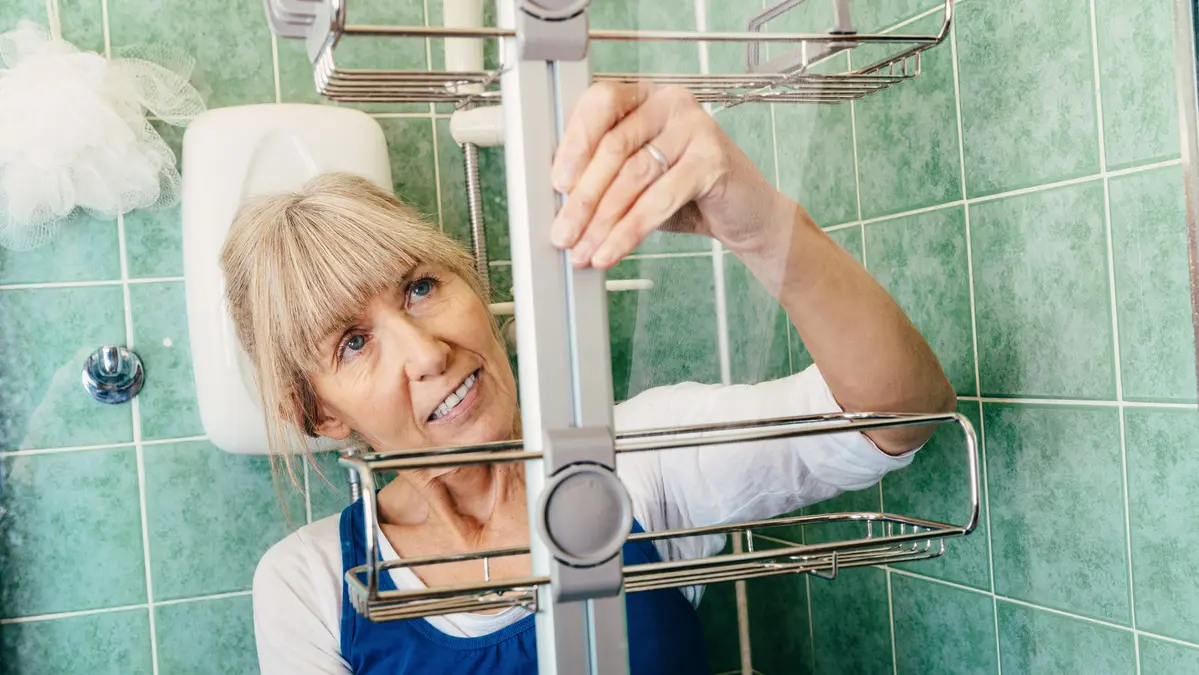
Soap residue, shampoo drips, mildew, and hard-water deposits can make a shower caddy look dirty and leave bottles sitting in grime. The simplest way to clean a shower caddy is to remove it from the shower, empty it, wash it with warm water and mild dish soap, clear its drainage holes, then rinse and dry it completely. For mineral deposits or stubborn soap scum, a diluted white vinegar solution can help—but the finish matters.
Plastic caddies can usually be cleaned with dish soap and water. Stainless-steel caddies need gentle handling to avoid scratches and water spots. Painted, plated, or coated caddies should be cleaned conservatively and according to the manufacturer’s care instructions when available.
What you need
- Warm water
- Mild dish soap
- A soft cloth or non-scratch sponge
- An old toothbrush or small soft brush
- A clean towel
- White vinegar, if mineral buildup is present
- A bowl or basin large enough for soaking, if needed
Avoid abrasive powders, steel wool, and stiff scouring pads. They can scratch plastic, stainless steel, or decorative coatings.
How to clean a shower caddy
1. Remove the caddy and empty it
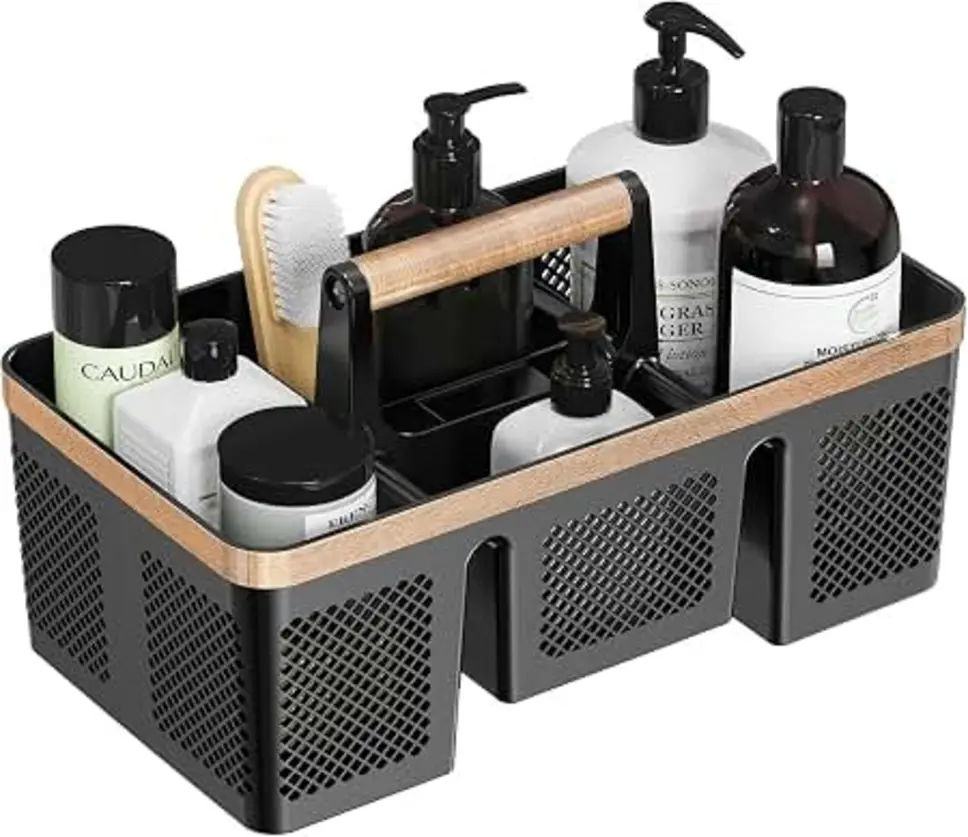
Take the caddy out of the shower if possible. Remove shampoo bottles, soap, razors, loofahs, and anything else stored inside it. Wipe or rinse the bottles before putting them back, especially if their bases are coated with soap or mildew.
If the caddy is hanging from a showerhead, rod, tension pole, or suction cups, handle the attachment carefully. For a suction-cup caddy, separate the cups from the wall rather than pulling hard on the basket.
Source: m.media-amazon
2. Rinse away loose residue
Rinse the empty caddy with warm water. A handheld shower spray works well, but a sink or bathtub can also be used. Rinsing first removes loose hair, product residue, and surface dirt before you start scrubbing.
Turn the caddy upside down and rinse through every drainage opening. Soap and hair often collect around the holes, where they can slow drainage and keep the bottom damp.
3. Wash with mild dish soap
Add a small amount of mild dish soap to warm water. Dip a soft sponge or cloth into the solution and wash the shelves, sides, hooks, corners, and underside of the caddy.
Use an old toothbrush or small soft brush around seams, wire joints, suction-cup ridges, and other tight areas. Work especially carefully around places where bottles sit, since dried shampoo and body wash can form a sticky film there.
For heavy soap buildup, let the caddy sit in the soapy water for several minutes before scrubbing. A short soak is usually more useful than applying extra pressure.
4. Clear the drainage holes
Check every drainage hole for hair, soap flakes, or mineral deposits. Loosen the material with a soft brush, cloth corner, or wooden toothpick. Do not force a sharp metal object through the holes, since it can scratch the surface or enlarge small openings.
Rinse water through the caddy again to confirm that it drains freely. If water still pools on a shelf, look for buildup along the underside of the holes as well as inside them.
5. Treat hard-water deposits and stubborn soap scum
If a film remains after washing, use a diluted solution of equal parts white vinegar and water on finishes that can tolerate it. Apply it with a cloth or use it for a short soak, checking the surface as you go. A soak of about 15 to 20 minutes can soften mineral deposits and soap scum enough to brush away.
Rinse thoroughly afterward. Vinegar can help with limescale and water spots, but it is not the right choice for every finish. Do not use it on a caddy if the manufacturer warns against acidic cleaners, or if the surface is damaged, peeling, or unusually delicate.
Never combine vinegar with bleach or other cleaning chemicals. Use one cleaner at a time and rinse the caddy before switching products.
Cleaning different shower caddy materials
| Caddy material | Best starting method | Take extra care with |
|---|---|---|
| Plastic | Warm water, mild dish soap, and a soft brush | Abrasive pads, harsh solvents, and prolonged exposure to strong cleaners |
| Stainless steel | Mild dish soap, warm water, and a soft cloth | Scrubbing across the grain, steel wool, and cleaners that leave residue |
| Painted, plated, or coated metal | Mild soap and water, followed by gentle drying | Vinegar, abrasives, chipped areas, and soaking unless the care instructions allow it |
Plastic shower caddies
To clean a plastic shower caddy, start with dish soap and warm water. Plastic often holds onto oily product residue, so a soft brush can be useful around corners and drainage slots. If mildew-like spotting remains, wash the area thoroughly and rinse it rather than scrubbing aggressively.
Avoid abrasive cleaners that can leave fine scratches. Scratched plastic can be harder to keep clean because residue collects in the roughened surface.
Stainless-steel shower caddies
Use mild dish soap and a soft cloth or sponge on stainless steel. Rinse away all cleaner, then wipe in the direction of the metal’s existing grain if one is visible. Drying is important because leftover water can leave spots, particularly in hard-water areas.
For mineral buildup, a diluted vinegar treatment may be suitable for plain stainless steel, but test a small hidden area first. Do not use steel wool or a harsh scouring pad, which can scratch the finish and leave metal particles behind.
Coated or plated shower caddies
Many shower caddies have a painted, chrome-look, brushed, or otherwise coated surface. Treat these finishes more gently than bare metal. Use soap and water first, keep soaking brief, and stop if the coating begins to discolor, lift, or look cloudy.
If the coating is already chipped or peeling, avoid aggressive scrubbing. Clean around the damaged area and consider replacing the caddy if rust continues to spread or sharp edges develop.
How to deal with shower caddy mildew
Mildew is more likely to appear where water and product residue remain trapped. Wash the affected area with warm water and dish soap, scrub gently with a soft brush, and rinse well. Then dry the entire caddy before returning it to the shower.
Pay attention to hidden areas such as the underside of shelves, suction-cup grooves, hooks, and the bases of stored bottles. If dark spotting keeps returning despite regular cleaning and drying, inspect the caddy for cracks, trapped moisture, or a coating that is breaking down.
Do not put toiletries back while the caddy is still damp. Bottles can transfer residue back onto clean shelves and create another source of buildup.
Rinse and dry the caddy completely
Rinse until the water runs clear and no slippery cleaner remains. Shake excess water from the caddy, then dry it with a clean towel. Leave it in a well-ventilated place until the joints, underside, and drainage holes are dry.
Before reinstalling it, wipe the shower wall or attachment point. A clean, dry surface is especially important for suction cups. Reattach the caddy only after both the attachment area and the cups are free of soap film.
How often should you clean a shower caddy?
Give the caddy a quick rinse whenever product residue is visible, and wipe away standing water after cleaning the shower. A more thorough wash every few weeks is a practical starting point, although a caddy in a busy household or poorly ventilated bathroom may need attention more often.
Regularly remove bottles instead of cleaning only around them. Keeping the shelves less crowded improves drainage and makes it easier to notice soap scum, mineral buildup, or mildew before it becomes difficult to remove.
Common mistakes to avoid
- Leaving the caddy attached while trying to clean the underside
- Using a rough scrubber on plastic, stainless steel, or decorative coatings
- Ignoring drainage holes and the underside of shelves
- Mixing vinegar with bleach or other cleaners
- Returning wet bottles to a freshly cleaned caddy
- Reattaching suction cups to a soapy or wet wall
- Soaking a coated caddy without checking its care instructions
A gentle wash, clear drainage, and thorough drying will handle most shower caddy buildup without damaging the finish.
References
- How to Clean a Metal Shower Caddy - Week. (n.d.). https://www.weekand.com/home-garden/article/clean-metal-shower-caddy-18006071.php
- How To Clean A Plastic Shower Caddy | Storables. (n.d.). https://storables.com/furniture-and-design/bathroom-accessories/how-to-clean-a-plastic-shower-caddy
- Clean Shower Caddy Fast! Pro Hacks That Stop Soap Buildup. (n.d.). https://spacesaver.net.au/clean-shower-caddy-fast-pro-hacks-that-stop-soap-buildup
- How to Clean Rust & Soap Scum Off a Metal Shower Caddy. (n.d.). https://www.tiktok.com/@cleaningandclaire/video/7191997960048151851
- How to Clean Shower Shelves and Caddies? Safe Guide. (n.d.). https://queenannecleaning.com/blog/clean-shower-shelves-caddies
- The Best Way To Give Your Shower Caddy A Much …. (n.d.). https://www.housedigest.com/1417597/vinegar-baking-soda-clean-shower-caddy
- How to Clean Bathroom Accessories. (n.d.). https://www.lowes.com/n/how-to/how-to-clean-bathroom-accessories
- How to Remove Rust from Showers & Deep Clean Your …. (n.d.). https://www.korraware.com/article/remove-rust-from-shower-clean-bathroom-guide.html