How to Clean a Walk-In Shower: A Practical Guide
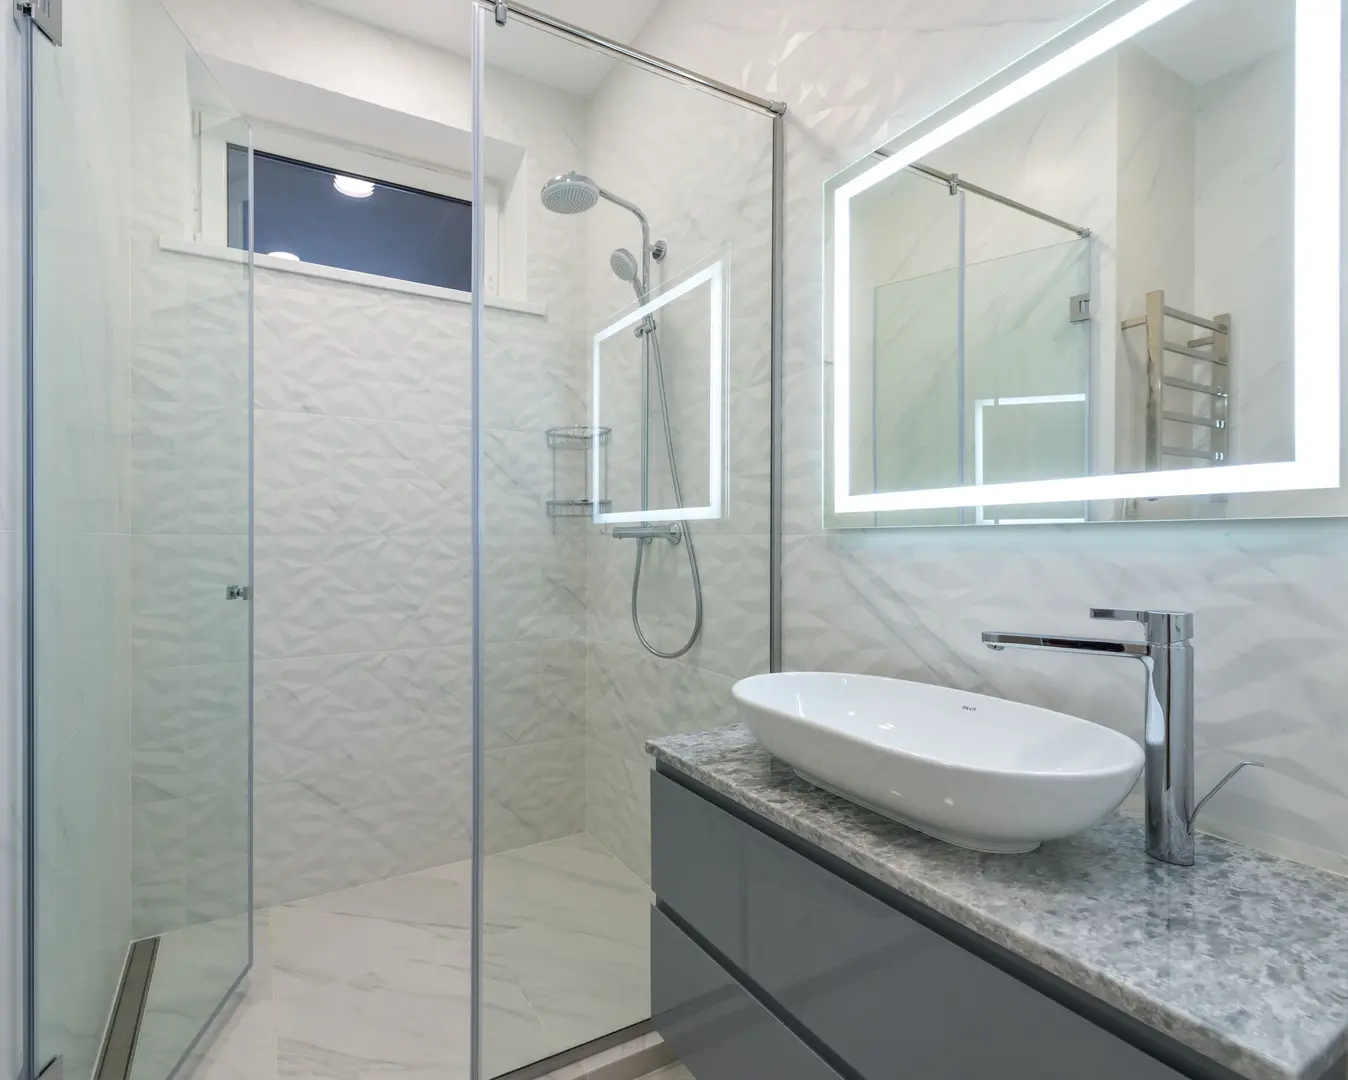
A walk-in shower feels open, accessible, and easy to use, but its exposed surfaces still collect soap residue, mineral deposits, and everyday grime. Because there may be no door or curtain to contain moisture, an effective routine should cover the entire shower area—from glass panels and wall corners to fixtures and the floor.
If you are wondering how to clean a walk in shower without wasting time or overlooking problem areas, the key is to work in a logical order. The following practical method combines regular maintenance with targeted treatment for stubborn, calcified soap scum.
Understanding the Design of a Walk-In Shower
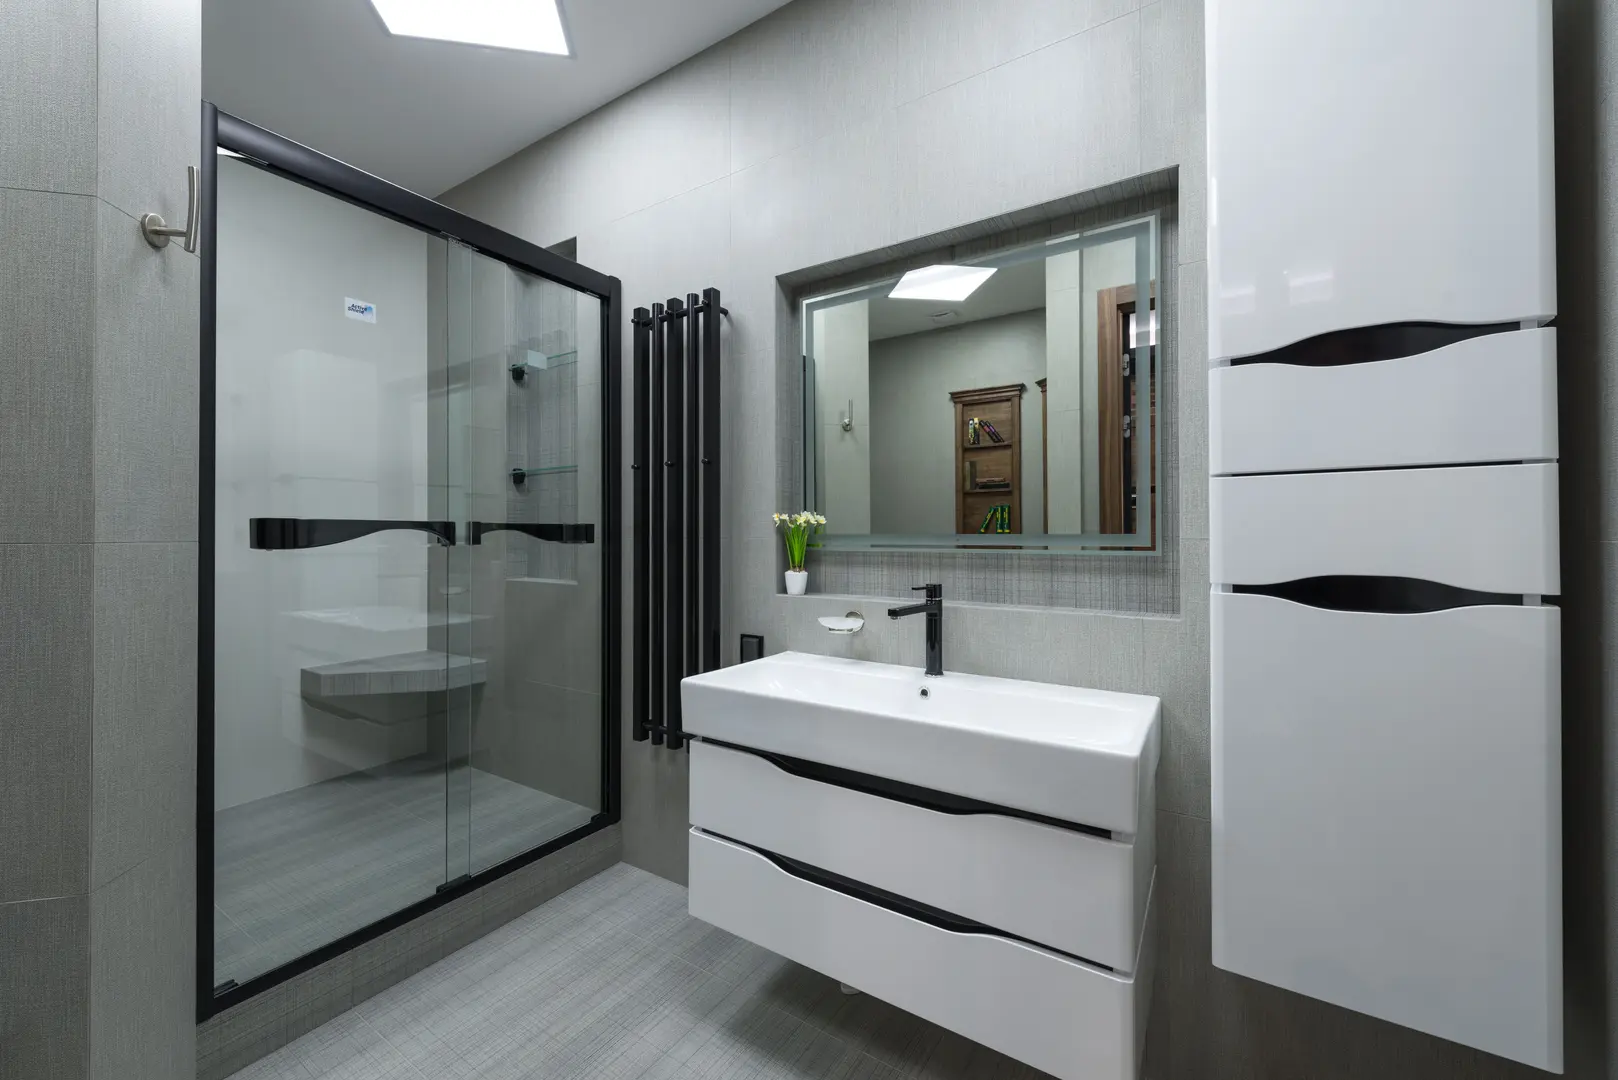
A walk-in shower usually has an open entrance rather than a conventional hinged door or curtain. It may have no threshold at all, or it may use a very low threshold to make entry easier. This accessible design is one reason walk-in showers are popular in both contemporary and mobility-conscious bathrooms.
Water is typically contained with one or more glass panels, a partial wall, or a half-wall. These barriers reduce splashing while preserving the shower’s open appearance. However, their edges, mounting points, and lower sections can collect water marks and soap residue.
The open layout can also improve ventilation. Better airflow helps surfaces dry more quickly and may reduce the conditions that encourage mould growth. Even so, ventilation is not a substitute for cleaning and drying. Water can remain in corners, around sealant, beside fixtures, and in low spots on the shower floor.
Cleaning a walk-in shower differs slightly from cleaning a fully enclosed cubicle. There may be fewer door tracks and moving parts, but the water can reach a broader area. Pay particular attention to:
- Both sides of fixed glass panels
- The edges of half-walls and splash barriers
- Corners, joints, and sealant lines
- The open entrance and nearby floor
- Fixtures and showerhead nozzles
- Floor texture and the area around the drain
A consistent routine helps preserve the shower’s appearance and keeps its components working as intended.
A Step-by-Step Method for Cleaning Your Walk-In Shower
An efficient cleaning sequence prevents you from repeatedly rinsing or dirtying surfaces you have already cleaned. Start at the top, work downward, and finish by drying and inspecting the entire area.
Gather your supplies before beginning. Depending on the shower’s materials and condition, you may need:
- A suitable bathroom cleaner
- Baking soda and white vinegar
- Microfiber cloths
- A non-abrasive sponge
- A soft-bristled brush
- A squeegee
- A small cleaning brush for corners
- A plastic bag and a tie or elastic band for the showerhead
Always choose cleaners that are compatible with the materials in your shower. Glass, ceramic tile, grout, acrylic panels, metal finishes, and natural stone do not necessarily tolerate the same products. Follow the care instructions for each surface, especially when using acidic or strongly formulated cleaners.
1. Remove Everything from the Shower
Begin by removing shampoo bottles, soap dishes, razors, bath accessories, stools, and other loose items. Clearing the space gives you unobstructed access to the floor, walls, shelves, and corners.
Do not simply move everything to one side. That creates extra work and can leave hidden areas untouched. Instead, place the items outside the shower until cleaning is complete.
Check the bottoms of bottles and containers before setting them aside. Soap and water can form a sticky film underneath them, which may transfer back onto a freshly cleaned shelf. Wipe or rinse each item before returning it later.
Once the shower is empty:
- Remove loose hair from the drain area.
- Pick up any visible debris.
- Rinse away light surface residue.
- Look for areas needing extra attention, such as cloudy glass or darkened corners.
This quick inspection will help you decide where the cleaner needs more contact time.
2. Wash the Walls, Panels, and Glass
Start with the highest wall surfaces and work downward. This allows loosened dirt and cleaning solution to flow onto areas that have not yet been scrubbed.
Apply a cleaner that is suitable for your wall and panel materials. Give it enough time to soften ordinary soap residue, but do not allow it to dry on the surface. Wipe or scrub with a microfiber cloth, non-abrasive sponge, or soft brush.
For a simple natural option, vinegar can help loosen soap film and mineral residue on compatible surfaces. However, it is not appropriate for every material. Avoid applying acidic solutions to surfaces that the manufacturer warns against, including some types of natural stone.
Concentrate on places that are easy to miss:
- Vertical corners
- Grout lines
- Sealant around glass panels
- Panel brackets and mounting points
- Recessed shelves and niches
- The underside of ledges
- Joints where the walls meet the floor
For glass, clean both sides of the panel. Residue is often heavier on the side facing the water, but fingerprints, dust, and overspray can dull the outer surface as well. Use broad, overlapping passes to avoid leaving untreated strips.
A small brush can help reach around fittings and into narrow crevices. Avoid aggressive scrubbing tools that could mark glass, polished metal, acrylic, or decorative finishes.
After cleaning, rinse the walls, panels, and glass thoroughly. Remaining cleaner can leave streaks or a dull film, so continue rinsing until the water runs clear and the surfaces no longer feel soapy.
3. Scrub and Rinse the Shower Floor
The floor usually needs more focused scrubbing because it collects runoff from every other surface. By cleaning it after the walls and glass, you remove both the original grime and the residue that has washed down during earlier steps.
A baking soda and vinegar treatment can be used for many general shower-floor cleaning tasks. Sprinkle or apply baking soda to the damp floor, focusing on visible residue and textured areas. Add vinegar gradually, then work the mixture across the surface with a soft-bristled brush.
Scrub methodically rather than moving randomly. Start at the farthest point from the entrance and work toward the opening or drain. Pay extra attention to:
- The perimeter of the floor
- Grout lines
- Textured or slip-resistant sections
- The area around the drain
- Joints beneath fixed glass
- Low areas where water tends to remain
Use gentle pressure and allow the brush to do the work. A soft-bristled brush can reach into floor texture without relying on a sharp edge.
Rinse the entire floor thoroughly. Baking soda can leave a pale or gritty residue if it is not fully washed away. Direct clean water toward the drain and check the corners before moving on.
As with wall cleaners, confirm that vinegar is suitable for the floor material. If it is not, use a manufacturer-approved alternative.
Advanced Techniques for Removing Calcified Soap Scum
A heavily used shower may develop a thick, chalky layer that routine wiping does not remove. This calcified soap scum can form where soap residue and mineral deposits repeatedly dry on glass, tile, or fixtures.
Trying to remove the entire layer with a scraper is often ineffective. A scraper may lift isolated patches, but it does not necessarily dissolve the buildup beneath or around them. It can also be difficult to use around corners, fittings, textured surfaces, and sealant lines. The more practical approach is to soften the deposit before wiping or gently scrubbing it away.
First, identify the affected surface. A treatment that works on glass or ceramic tile may not be suitable for natural stone, acrylic, coated glass, or a delicate metal finish. Check the surface-care instructions before applying an acidic or concentrated cleaner.
For compatible glass or tile:
- Wet the affected area with warm water.
- Apply vinegar or a suitable soap-scum cleaner.
- Keep the buildup in contact with the solution rather than wiping it off immediately.
- Agitate the softened residue with a non-abrasive sponge or soft brush.
- Rinse thoroughly and inspect the surface.
- Repeat the treatment if a thick layer remains.
Several controlled applications are often more effective than one forceful scraping session. Work on a manageable section at a time so the cleaning solution does not dry before you can scrub and rinse it.
On vertical glass, a solution-soaked cloth can help maintain contact with a stubborn patch. Once the deposit softens, wipe in overlapping passes and rinse. Do not assume that a cloudy area is permanent after the first attempt; severe buildup may have accumulated in layers.
For corners and fixture bases, use a small soft brush. These areas are difficult to reach with a flat scraper, which is one reason residue can remain even after the most visible glass has been cleaned.
Do not combine different cleaning products. Rinse away one treatment completely before using another, and ventilate the bathroom while working. If the deposit does not respond to repeated compatible treatments, consult the shower material or fixture manufacturer for an approved cleaning method rather than increasing abrasion.
Once the calcified layer has been removed, regular rinsing and drying can help prevent it from quickly rebuilding.
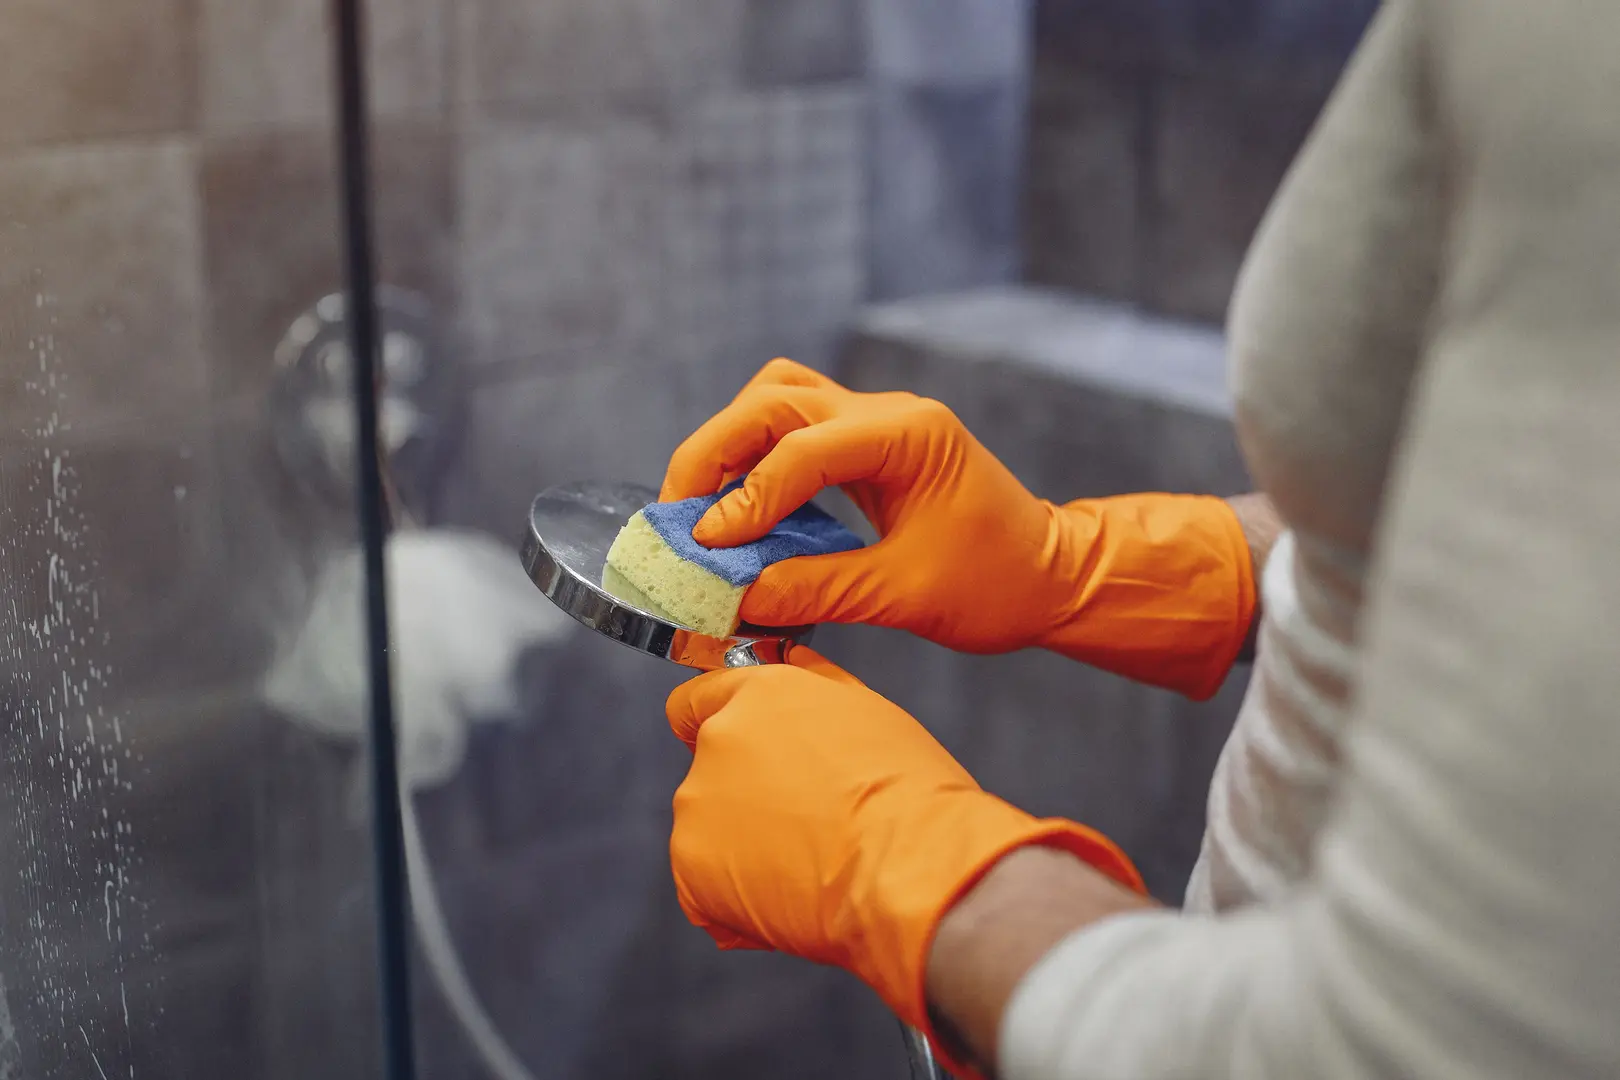
4. Clean the Showerhead and Other Fixtures
Spray or apply a suitable cleaner to a microfiber cloth, then wipe the taps, controls, handles, hose, brackets, and exposed pipework. Applying cleaner to the cloth gives you more control around joints and decorative finishes.
Work around fixture bases, where water and soap residue often collect. Use a soft brush or the corner of a microfiber cloth for narrow gaps. After cleaning, rinse or wipe the fixtures according to the product directions.
If mineral deposits are blocking or coating the showerhead, a vinegar soak can help on compatible finishes:
- Pour enough vinegar into a plastic bag to cover the affected part of the showerhead.
- Position the bag around the showerhead.
- Secure it with a tie or elastic band.
- Allow the deposits to soak and soften.
- Remove the bag, wipe the showerhead, and rinse it well.
- Run the shower briefly to flush the nozzles.
For a removable showerhead, soaking only the affected section in a container may be easier. Check the manufacturer’s instructions before using vinegar on plated, coated, or specialty finishes.
Finish by wiping the controls and handles with a clean microfiber cloth. This removes remaining droplets and restores a more even appearance.
5. Dry All Surfaces After Cleaning
Drying is an important part of the process, not an optional finishing touch. Water left on glass, walls, and fixtures can create spots as it evaporates. Persistent dampness in corners and joints can also contribute to mould growth.
Use a squeegee on large, flat surfaces such as:
- Glass panels
- Smooth wall panels
- Large-format tiles
- Half-wall tops
Pull the squeegee downward in overlapping strokes. Wipe the blade periodically so that it does not spread residue back across the surface.
Use a clean microfiber cloth for corners, fixture bases, ledges, sealant lines, and other areas the squeegee cannot reach. Dry the outer side of glass panels as well, especially if it was rinsed during cleaning.
Check the floor for remaining pools of water. You do not need to polish every floor tile, but removing excess moisture will help the shower dry more efficiently. Leave the area open and use the bathroom’s available ventilation.
A quick squeegee after everyday showers can also reduce the amount of residue that must be removed during deeper cleaning.
6. Put Items Back and Check Your Work
Before replacing bottles and accessories, make sure they are clean and dry. Returning containers with soap-coated bottoms can immediately mark shelves and ledges.
Arrange items so they do not block drainage or crowd corners. Leaving some space around bottles makes future rinsing and wiping easier.
Complete a final inspection from several angles. Look for:
- Streaks on the glass
- Cleaner left in corners
- Residue around the drain
- Missed grout or sealant lines
- Water beneath fixtures
- Soap film under shelves
- Drips on the outer side of panels
- Splash marks near the open entrance
If you find a missed patch, treat it with the same surface-appropriate method, rinse it, and dry it. Once everything looks clean, return the shower items and allow the area to remain well ventilated.
Following this top-to-bottom routine makes walk-in shower cleaning more manageable. Regular attention to walls, glass, flooring, and fixtures also prevents ordinary residue from developing into the thick calcified buildup that requires repeated treatment.