How to Clean a Wet Room Floor: 7 Effective Methods
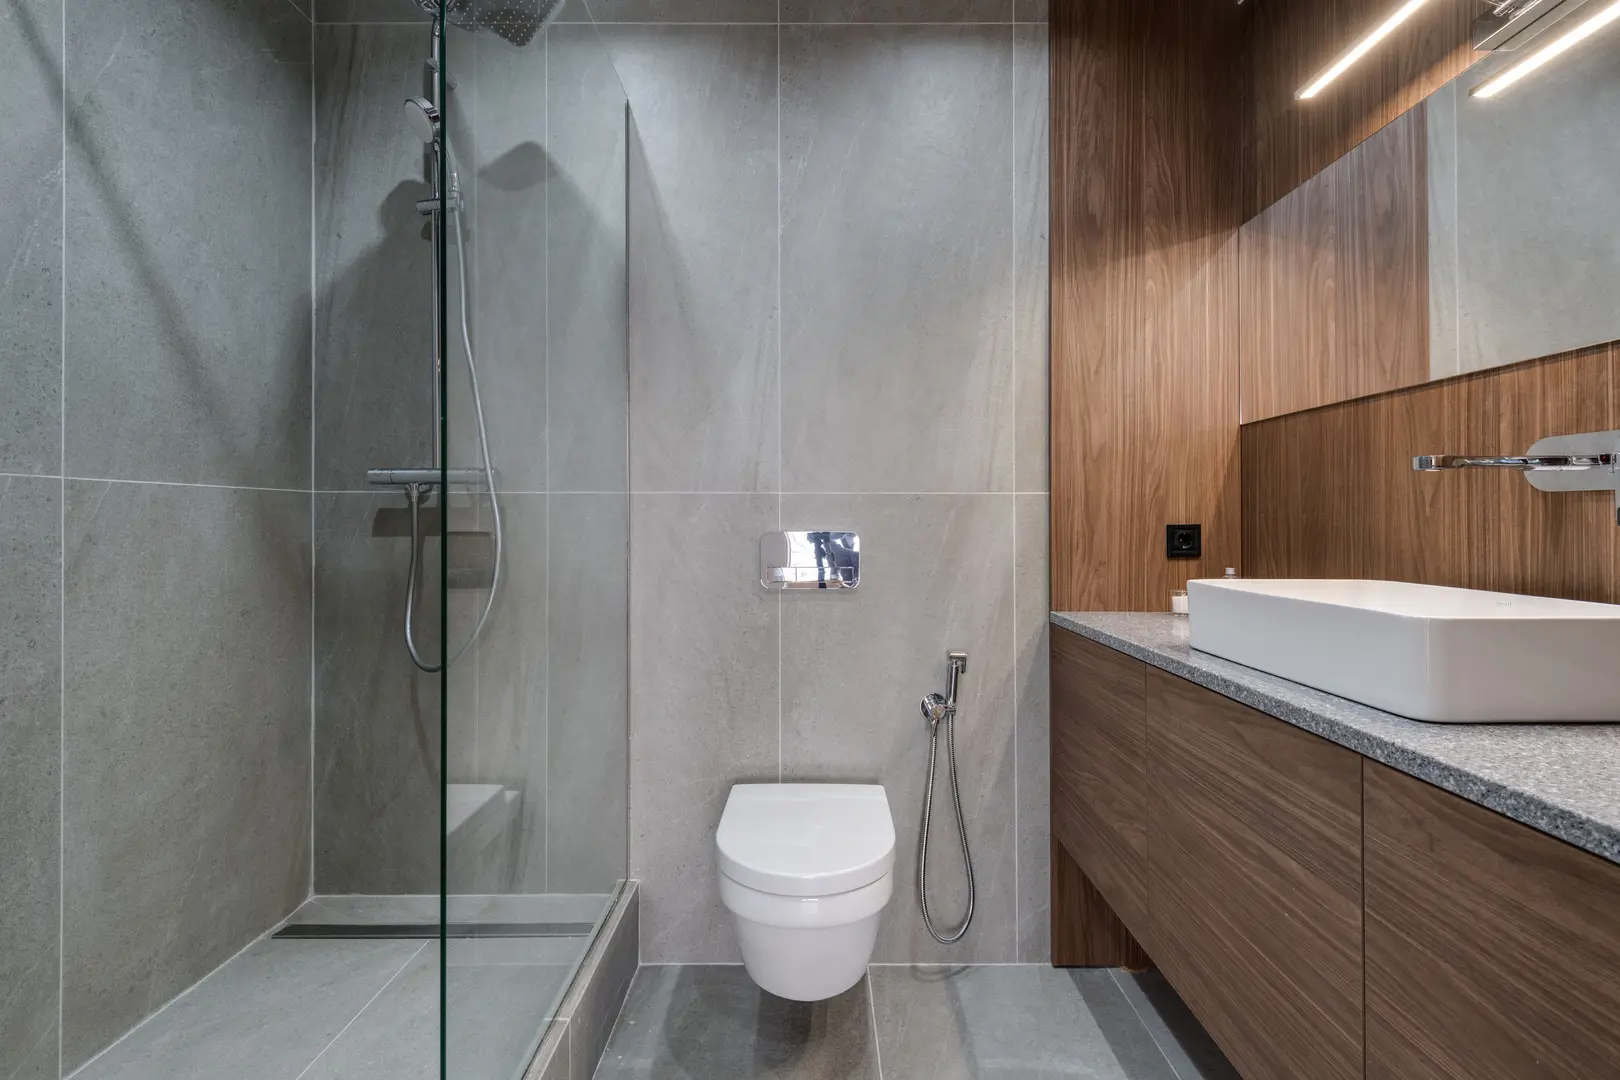
Wet rooms are convenient and easy to access, but their open design means the entire floor is regularly exposed to water, soap residue, and everyday dirt. Learning how to clean a wet room floor properly helps preserve its appearance, keep the drainage system working, and create a safer, fresher space.
The right approach depends on the floor material and how heavily soiled the room is. Routine mopping and squeegeeing may be sufficient most days, while grout, drains, and stubborn buildup occasionally need more focused attention.
Why Routine Wet Room Floor Cleaning Matters
Because a wet room floor is frequently damp, dirt and residue can build up quickly. Constant moisture may also encourage mold and bacterial growth, especially around grout lines, corners, drains, and other areas that take longer to dry.
A dirty or poorly drained floor can also become slippery. Soap residue, body-care products, and standing water may all reduce traction. Regular cleaning removes this film and helps water travel freely toward the drain.
A consistent routine offers several practical benefits:
- Reduces dirt, soap residue, and water spots
- Helps control mold and bacterial growth
- Limits unpleasant odors
- Keeps grout and drainage grates cleaner
- Reduces potential slip hazards
- Makes occasional deep cleaning more manageable
Cleaning frequency will depend on how often the room is used, how quickly it dries, and whether it has effective ventilation. Instead of waiting for obvious staining or odors, remove surface water and debris regularly and schedule more thorough cleaning as needed.
Before using any cleaner, check the floor material and the care instructions supplied by the flooring manufacturer or installer. Ceramic tile, porcelain tile, natural stone, grout, and other surfaces do not necessarily tolerate the same products.
Effective Ways to Clean a Wet Room Floor
Effective wet room care combines routine surface cleaning with targeted treatment of grout, drains, and stubborn dirt. The following seven methods can be used individually or as part of a complete cleaning routine.
Start by removing toiletries, mats, stools, and other movable objects. Sweep, vacuum, or pick up loose hair and debris before adding water or cleaner. This prevents debris from being pushed into the drain and makes mopping or scrubbing more effective.
Choose a Suitable Cleaner for Mopping
Mopping is one of the simplest ways to clean the main floor area. However, the cleaning product must be compatible with the surface.
For most tiled wet room floors, use a pH-neutral floor cleaner unless the manufacturer recommends something different. A neutral product can remove ordinary dirt and residue without relying on a strongly acidic or alkaline formula.
Natural stone requires particular care. Choose a non-acidic cleaner specifically labeled as suitable for the type of stone installed. Avoid assuming that a general bathroom cleaner is safe, as some formulas may be inappropriate for stone surfaces.
A basic mopping routine is:
- Remove loose hair and dirt from the floor.
- Dilute the cleaner according to its directions.
- Mop from the edges of the room toward the drain.
- Pay attention to corners and the area around the toilet or shower controls.
- Rinse the floor if required by the product instructions.
- Remove remaining water with a squeegee.
Avoid pouring excessive cleaner onto the floor. Using more than the recommended amount may leave a residue, making the surface look dull or feel slippery. Change dirty mop water rather than spreading it around the room.
A mop with a washable head can handle general maintenance, but it may not reach textured surfaces, grout lines, or narrow edges effectively. Use a brush for those areas.
Guide Water Away with a Squeegee
A squeegee is useful both after showering and after cleaning. It directs water toward the drain, helping the floor dry faster and reducing standing water and water spots.
Starting at the side farthest from the drain, pull or push the water in controlled strokes. Work around corners, fixtures, and any changes in the floor’s shape. Finish by guiding the collected water directly over the drain grate.
For better results:
- Use overlapping strokes so water is not left between passes.
- Check low areas where small puddles tend to remain.
- Rinse the squeegee blade after use.
- Store it where the blade can dry.
- Remove hair or debris before pushing water toward the drain.
Squeegeeing does not replace cleaning because it will not remove all soap film or bacteria. Nevertheless, it is an effective daily habit that limits moisture and reduces how much residue remains on the surface.
If water consistently collects away from the drain, clean the drain and grate first. Persistent pooling that continues despite a clear drain may need to be assessed separately rather than addressed with cleaning alone.
Scrub Dirt from Grout Lines
Grout lines can collect dirt even when the surrounding tiles look clean. Their slightly recessed or textured surface can hold soap residue, discoloration, and debris that a flat mop does not reach.
Apply an appropriate grout cleaner according to its label. Allow it to sit only for the recommended period, then work it into the grout with a stiff cleaning brush. An old toothbrush is useful for narrow joints, edges, and spaces around the drain grate.
Follow this process:
- Test the cleaner on a small, inconspicuous section.
- Apply it directly to the grout rather than flooding the entire floor.
- Scrub in short strokes to loosen trapped dirt.
- Rinse away the cleaner and lifted residue.
- Squeegee the rinse water toward the drain.
- Check that no cleaner remains in corners or joints.
Select a brush that is firm enough to remove dirt but suitable for the floor and grout. Avoid using an unsuitable abrasive tool that could affect the surrounding surface.
Grout cleaning is easier when done before discoloration becomes widespread. Include the joints around the drain and along the perimeter of the room, as these places can be missed during ordinary mopping.
Clean with Vinegar and Baking Soda
A vinegar-and-baking-soda method can help clean compatible wet room floors. It should not be treated as a universal solution, however. Vinegar is acidic, so do not use it on natural stone or any surface whose manufacturer advises against acidic cleaners.
For a suitable surface, dilute vinegar with water rather than applying it undiluted. Wet the floor with the solution, then sprinkle baking soda over areas that need additional scrubbing. Work the surface with a floor-safe brush and rinse thoroughly with clean water.
A practical sequence is:
- Clear loose debris from the room.
- Prepare a diluted mixture of vinegar and water.
- Apply it to a small section of compatible flooring.
- Add baking soda where dirt or residue is visible.
- Scrub the area with a suitable brush.
- Rinse thoroughly to remove the mixture and loosened dirt.
- Direct the water toward the drain with a squeegee.
Work in small areas so the solution does not sit on the floor longer than necessary. Pay particular attention to rinsing, since remaining powder or cleaning residue may leave the surface looking cloudy or contribute to slipperiness.
If you do not know what the floor is made from, use a manufacturer-approved pH-neutral cleaner instead. Material compatibility is more important than choosing a homemade cleaning method.
Deep-Clean with a Low-Pressure Washer
A pressure washer can support occasional deep cleaning, particularly when a textured floor has dirt that is difficult to lift with routine mopping. It must be used carefully inside a wet room.
Choose a low-pressure setting and keep the nozzle at a distance from the floor. Do not concentrate the stream on one point. Instead, use controlled, even passes and direct the loosened dirt and water toward the drain.
Before beginning:
- Remove loose items from the wet room.
- Clear visible debris from the drain.
- Confirm that the floor, grout, seals, and nearby fittings are suitable for this cleaning method.
- Protect anything that should not receive direct spray.
- Make sure water can flow freely to the drain.
Begin at a greater distance and use the lowest effective pressure. Avoid directing the spray closely at grout lines, edges, seals, or fittings. After washing, rinse if needed, remove dirty water with the squeegee, and inspect the drain for debris.
Pressure washing is intended for periodic deep cleaning, not everyday maintenance. It is also not a substitute for applying an appropriate cleaner where soap film or other residue requires treatment. If the flooring or installation instructions do not permit pressure washing, use a brush and compatible cleaner instead.
Drying is particularly important after machine cleaning because the process introduces a significant amount of water. Remove as much moisture as possible rather than leaving the room to stay saturated.
Use Floor-Safe Disinfecting Wipes or Sprays
Floor-safe disinfecting wipes or sprays are convenient for daily touch-ups. They can be used on small spills, visibly dirty patches, and areas around fixtures where residue appears between full floor cleanings.
Only select a disinfecting product labeled as safe for the installed flooring. A product suitable for a sink or toilet is not automatically suitable for tile, grout, natural stone, or another floor finish.
When using a spray:
- Remove visible dirt first.
- Apply the product as directed.
- Leave it on the surface for the label’s specified contact time.
- Wipe or rinse it away if instructed.
- Keep the area unused until the floor is ready to walk on.
Wipes work well for small areas but are inefficient for cleaning an entire wet room floor. Replace a dirty wipe instead of continuing to spread residue across the surface.
Disinfecting also works best as part of a broader routine. It does not replace the physical removal of hair, soap film, and other debris. Clean first where necessary, then use the disinfectant according to its directions to help reduce bacterial growth.
Never combine different cleaning or disinfecting products unless their instructions explicitly state that doing so is safe.
Keep Drains and Grates Clean
A wet room floor cannot stay clean if water and debris cannot leave efficiently. Hair, soap residue, and visible dirt often collect on or around the drain grate, slowing drainage and contributing to unpleasant smells.
Inspect the grate frequently and remove visible debris by hand while wearing cleaning gloves. If the grate is removable, lift it according to the manufacturer’s instructions. Scrub its upper and lower surfaces with a suitable brush and cleaner, then rinse it before putting it back.
Drain maintenance can include:
- Removing hair and visible debris
- Cleaning around the edges of the drain opening
- Scrubbing the grate and its slots
- Using an appropriate drain cleaner regularly
- Rinsing or flushing only as directed by the chosen product
- Reinstalling removable parts correctly
Choose a drain cleaner that is suitable for the drainage system, and follow its instructions. Do not mix drain cleaner with vinegar, disinfectants, or other cleaning chemicals.
Cleaning the grate at the same time as the floor prevents dirty water from flowing over an already clogged surface. It also gives you an opportunity to notice whether water is draining more slowly than usual.
Managing Odors in a Wet Room
A smelly wet room usually requires more than masking the odor with fragrance. Persistent smells can come from dirty grout, residue around the floor edges, debris trapped in the grate, or a drain that needs attention.
Begin with a complete cleaning routine:
- Remove loose dirt and hair.
- Mop with a floor-compatible cleaner.
- Scrub stained or dirty grout lines.
- Remove and clean the drain grate where possible.
- Clear visible material from the drain.
- Rinse the floor and guide all water toward the drain.
- Dry the room thoroughly.
Pay particular attention to hidden or easily missed areas, such as underneath movable furniture, around the base of fixtures, and beneath removable grates. Repeatedly adding scented products without removing the source is unlikely to provide lasting improvement.
After cleaning, use the room’s extraction fan to help remove humid air. A dehumidifier can also help dry damp areas when used appropriately. These measures support drying, but they will not remove heavy dirt or replace drain and floor cleaning.
Do not leave excess water behind after using a mop, scrubbing tool, or cleaning machine. Lingering moisture may worsen general dampness and can aggravate allergy concerns for some people. Squeegee the floor, provide ventilation, and allow cleaning tools and mats to dry separately.
If odors remain, inspect and clean the grate and drain again, and make sure no damp items are being stored in the room. A consistent routine of surface cleaning, drain maintenance, and effective drying is the most practical way to keep a wet room fresh.