How to Clean Moldy Shower Grout with Hydrogen Peroxide
Few things make a clean bathroom feel dirtier than mold creeping into the grout lines. Grout is naturally porous, which means it traps moisture, soap scum, and skin cells—everything mold needs to thrive. If you’ve been reaching for bleach, it’s time to reconsider: a simple 3% hydrogen peroxide solution can clean moldy shower grout more effectively and far more safely.
If you’re wondering how to clean moldy shower grout with hydrogen peroxide, the answer is simpler than you might think. This guide walks you through two practical methods—one using oxygen-based cleaning powder and one using everyday baking soda—plus the reasons peroxide is a useful choice for bathroom grout. We’ll also cover how often to clean, whether peroxide damages grout, and how to keep the chore manageable.
The Importance of Grout Cleaning
Grout is porous, and that’s exactly what makes it vulnerable. It soaks up moisture and traps soap scum, mold, mildew, bacteria, dirt, and grime that would otherwise sit on the surface of the tile. In a bathroom, humidity is constant, and every shower adds another layer of moisture to the grout. Combine that with the organic matter left behind by soap and skin cells, and you have a breeding ground for mold and mildew.
This is why grout needs more than an occasional wipe-down. Regular grout cleaning keeps the bathroom looking fresh and extends the life of both the grout and the tile. The longer dirt and moisture sit in the pores, the harder they become to remove, so staying ahead of the buildup matters.
The good news is that this chore doesn’t have to become a deep-cleaning project every time. Staying on a weekly schedule—using hydrogen peroxide with an oxygen-based cleaning powder or baking soda—is enough to keep mold from gaining a foothold. Peroxide treats mold on and below the surface, and the abrasive ingredient gives you extra scrubbing power to remove the buildup.
How to Clean Bathroom Grout with Hydrogen Peroxide and Oxygen-Based Cleaning Powder
3% hydrogen peroxide is a workhorse for household cleaning. It disinfects, whitens, and brightens surfaces, and it is particularly useful for treating mold and mildew. When you pair it with an oxygen-based cleaning powder, you get a grout cleaner that addresses both mold and the buildup around it.
What you’ll need:
- Bathroom cleaner
- 3% hydrogen peroxide in its original brown bottle, preferably with a trigger sprayer
- Oxygen-based cleaning powder
- A scrub brush, toothbrush, or tile brush
- A microfiber cloth
A quick note on the peroxide: you can pour it into a spray bottle for easier use, but storing it in its original brown bottle helps extend its shelf life.
How to clean:
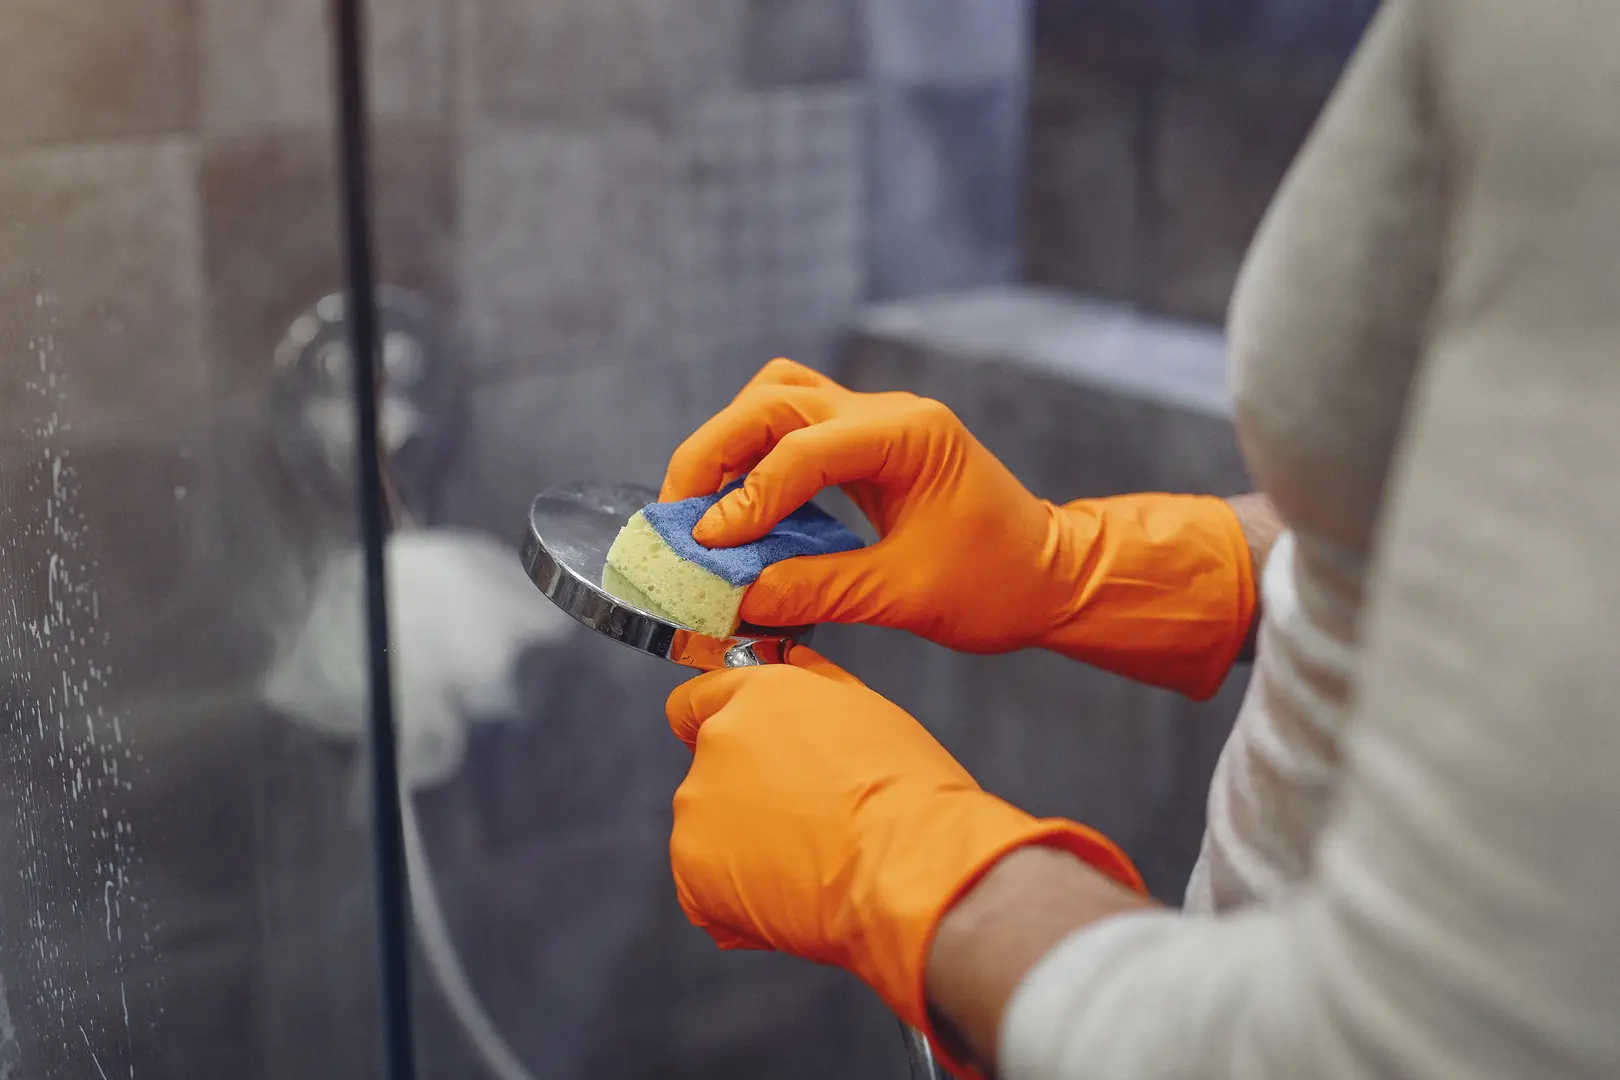
- Start by cleaning the grout and tile with bathroom cleaner and a microfiber cloth. This removes surface germs, dirt, grime, and mold. As with mold remediation, the goal is to remove the mold first.
- Spray the grout lines liberally with 3% hydrogen peroxide.
- Sprinkle oxygen-based cleaning powder over the grout lines. Then wet it with a spray of bathroom-cleaning solution or more hydrogen peroxide.
- Let the mixture sit for 1 to 5 minutes—the longer, the better.
- Scrub with a toothbrush, grout brush, or scrub brush.
- Rinse or wipe off the residue with a microfiber cloth to remove dirt, mold, mildew, and grime.
- Finish by spraying straight hydrogen peroxide onto the grout lines. This kills any remaining mold and helps keep it from coming back.
- Let the grout dry completely.
Repeat this process weekly to keep grout mold-free and free of dirty buildup.
If scrubbing feels like the hardest part, you’re not alone. Some users recommend a long-handled grout brush with a broom-stick attachment so you can work from a standing position. Others prefer a steam cleaner with a scrubby nozzle attachment for deeper cleaning. Both are practical options for making the job easier.
How to Clean Bathroom Grout with Hydrogen Peroxide and Baking Soda
If you don’t have oxygen-based cleaning powder on hand, plain baking soda works as a mild abrasive alternative. This method uses the same peroxide base and adds an ingredient most people already have in the kitchen.
What you’ll need:
- Bathroom cleaner
- 3% hydrogen peroxide in its original brown bottle, preferably with a trigger sprayer
- Pure baking soda
- A scrub brush, toothbrush, or tile brush
- A microfiber cloth
How to clean:
- Pre-clean the grout and tile with bathroom cleaner and a microfiber cloth. As with the first method, this removes surface mold and grime before the deeper treatment.
- Spray the grout lines liberally with 3% hydrogen peroxide.
- Sprinkle baking soda over the grout lines. Wet it down with a spray of bathroom-cleaning solution or more hydrogen peroxide.
- Let the mixture sit for 5 to 10 minutes—the longer, the better.
- Scrub with a toothbrush, grout brush, or scrub brush.
- Rinse or wipe off the residue with a microfiber cloth to remove dirt, mold, mildew, and grime.
- Finish by spraying straight hydrogen peroxide onto the grout lines to kill any remaining mold and keep it from coming back.
- Let the grout dry.
Repeat weekly to keep grout clean and free of buildup. The baking soda version takes a little longer to work—the instructions call for 5 to 10 minutes of sitting time—but it’s an effective everyday alternative.
Advantages of Using Peroxide vs. Bleach for Cleaning Grout
Bleach has been the default answer for moldy bathroom grout for decades. It is also an old standby for mold removal in general. But the EPA no longer recommends bleach for removing mold and mildew. Hydrogen peroxide is now the recommended alternative because it is more effective at killing mold on and below the surface, and it is much safer for human use.
Remediation professionals use a specific sequence when mold is present: HEPA vacuuming to capture loose spores, cleaning with soap and water to physically remove the mold, and then a follow-up with peroxide to kill anything that remains. That is the same logic behind the grout-cleaning methods above—remove what you can, then let peroxide finish the job.
The experiences of everyday users point in the same direction, with a few caveats. One Redditor insisted that bleach is the only thing that will truly whiten grout stained by mold. But a Stack Exchange answer reported that 3% hydrogen peroxide removed mold from porous surfaces better than bleach, with less damage and discoloration and no bleach smell. A Quora responder also described peroxide as safer and less aggressive, recommending it where bleach might cause unwanted color changes. Another user reported that saturating porous surfaces with store-bought 3% hydrogen peroxide worked well—though it required generous saturation, and the example involved natural stone rather than standard tile grout.
Bleach also comes with practical downsides. Users who cleaned with bleach-based grout products without adequate ventilation reported unpleasant fumes; one person kept the vent fan running for hours. And as one Quora responder warned, bleach must never be mixed with vinegar or ammonia, because the resulting chemical reaction can be dangerous.
The bottom line: if you want a mold killer that works on and below the surface, is gentler on your grout and your lungs, and doesn’t come with harsh fumes, hydrogen peroxide is the better choice. If you do use bleach, open a window, run the fan, and keep it far away from vinegar and ammonia.
Frequently Asked Questions
How Often Should I Clean Grout?
We recommend cleaning grout weekly using either method outlined above. If you live alone, you could probably stretch it to every other week, but the more often you clean, the less buildup you will have to deal with later.
Will Hydrogen Peroxide Damage Grout?
No. Unlike harsh bleach, hydrogen peroxide is 3% peroxide in 97% water, making it a safe and gentle solution for porous materials like tile grout.
Will Vinegar Work Instead?
Straight vinegar combined with baking soda may work fine for everyday grout cleaning. However, it won’t whiten and brighten your grout, and it won’t address mold or mildew issues, which is why we recommend peroxide instead. Also, never mix vinegar and peroxide or store them together—this can create toxic fumes that are harmful to people and pets.
Is Hydrogen Peroxide Natural?
Hydrogen peroxide is made up of two hydrogen molecules and two oxygen molecules (H2O2). Our bodies, animals, plants, and even some bacteria produce hydrogen peroxide as a byproduct of metabolic processes, so it occurs naturally in living things. It is also a byproduct in nature when water vapor reacts with ozone and sunlight. Hydrogen peroxide can be manufactured in a laboratory for a wide range of cleaning, medical, food processing, and cosmetic products. It is approved for oral use in toothpaste for teeth whitening and topically as a disinfectant. It is also 100% biodegradable and won’t harm the planet.
What Other Ways Can I Use Peroxide For Cleaning?
Peroxide is truly a product with many uses, especially for low-tox, eco-friendly cleaning, laundry, and disinfecting. The same 3% solution you use on grout can be used all over the home, making it a versatile addition to a non-toxic cleaning cabinet.
Does Vinegar or Hydrogen Peroxide Only Kill Black Shower Mold Down to the Surface, and Do You Have to Manually Scrub It Off Afterward?
Yes, scrubbing is still required. Both cleaning methods above include a scrubbing step for a reason: the initial cleaning physically removes mold from the surface, and the peroxide finish kills any mold that remains. The goal, as in mold remediation, is to remove the mold first and then let the peroxide complete the cleanup. So you can’t just spray and walk away—manual scrubbing is what lifts the dead mold and grime out of the porous grout.