How to Clean a Shower Tray: An Easy Step-by-Step Guide
A shower tray collects soap residue, body oils, hair, mineral deposits, and moisture every day. Without regular care, this buildup can leave the surface looking dull and create stubborn stains around the drain and edges.
Fortunately, learning how to clean shower tray surfaces is straightforward. With a mild cleaner, a soft brush or sponge, and a consistent routine, you can keep the tray fresh without aggressive scrubbing. The following method covers everyday cleaning as well as common problems such as limescale, stains, mold, and calcified soap scum.
Why a Clean Shower Tray Matters
A clean shower tray is important for both hygiene and appearance. Because the tray is repeatedly exposed to water and bathroom residue, dirt can quickly collect in textured areas, corners, joints, and around the drain.
Routine cleaning helps to:
- Remove soap residue and everyday grime
- Prevent stains from becoming more difficult to treat
- Reduce visible limescale caused by mineral deposits
- Limit the conditions in which mold and mildew develop
- Keep the tray looking bright and well maintained
- Make each deep-cleaning session easier
Moisture is a particular concern. If water remains on the tray or in surrounding joints, mold and mildew may appear over time. Ventilation, rinsing, and drying are therefore valuable parts of shower maintenance—not just finishing touches.
Regular cleaning is also more effective than waiting for a thick layer of residue to form. Severe, calcified soap scum can be difficult to remove, especially near the drain. Once deposits have hardened, a simple wipe or scraper may not be enough.
What to Gather Before Cleaning
Preparing your supplies in advance makes the job quicker and helps ensure that the cleaner is applied evenly.
You will need:
- A soft-bristled brush or non-abrasive sponge: Use this to loosen dirt without harsh scraping.
- A mild cleaning solution: A general bathroom cleaner suitable for the tray’s surface is ideal for routine care.
- A spray bottle: This allows you to distribute the solution across the tray.
- A clean cloth: Use it to dry the surface and remove water marks after rinsing.
- Warm water: This is useful for the initial and final rinse.
For specific problems, you may also need white vinegar, baking soda, or a specialised limescale remover.
Before applying any product, check that it is appropriate for your shower tray material and follow its instructions. Acrylic, stone-resin, enamelled, and coated trays may have different care requirements. If you are uncertain, test the solution on a small, inconspicuous area first.
A Step-by-Step Method for Cleaning the Shower Tray
The basic cleaning process involves removing loose debris, applying a mild solution, allowing it to work, gently scrubbing, and rinsing thoroughly. This approach is suitable for routine maintenance and light-to-moderate buildup.
Step 1: Clear and Rinse the Tray
Remove bottles, soap dishes, bath mats, and other items from the shower. This gives you access to the entire tray, including the corners and area around the drain.
Next, remove loose debris such as:
- Hair
- Dust
- Small pieces of soap
- Surface dirt
- Debris caught around the drain cover
Rinse the tray with warm water. The initial rinse carries away loose material and wets dried-on residue, making it easier for the cleaning solution to reach the surface underneath.
Pay attention to the drain and edges of the tray. These areas often collect more residue than the open central section. If the drain cover is removable and intended to be cleaned, clear any accessible debris before continuing.
Step 2: Spray on the Cleaning Solution
Fill a spray bottle with your chosen mild cleaning solution, following any dilution instructions supplied with the product. Spray it evenly over the entire shower tray.
Cover the commonly missed areas, including:
- Corners
- Textured sections
- The perimeter of the tray
- The area around the drain
- Spots beneath bottles or shower accessories
The surface should be evenly coated rather than flooded. Applying the cleaner consistently helps it work across the tray and reduces the likelihood of leaving untreated patches.
For routine cleaning, a mild solution should usually be sufficient. Save targeted treatments such as vinegar, baking soda paste, or a limescale remover for deposits that remain after the standard process.
Step 3: Give the Cleaner Time to Work
Allow the cleaning solution to sit on the tray before scrubbing. This contact time helps soften soap residue and general bathroom grime, so less physical effort is needed.
The correct waiting time depends on the product, so follow its directions rather than assuming that leaving it on longer will give a better result. Do not allow the cleaner to dry onto the surface unless the product instructions specifically say otherwise.
While the solution is working, ventilate the bathroom by running the extractor fan or opening a window where possible. Good airflow also helps the area dry more efficiently after cleaning.
Step 4: Gently Scrub the Surface
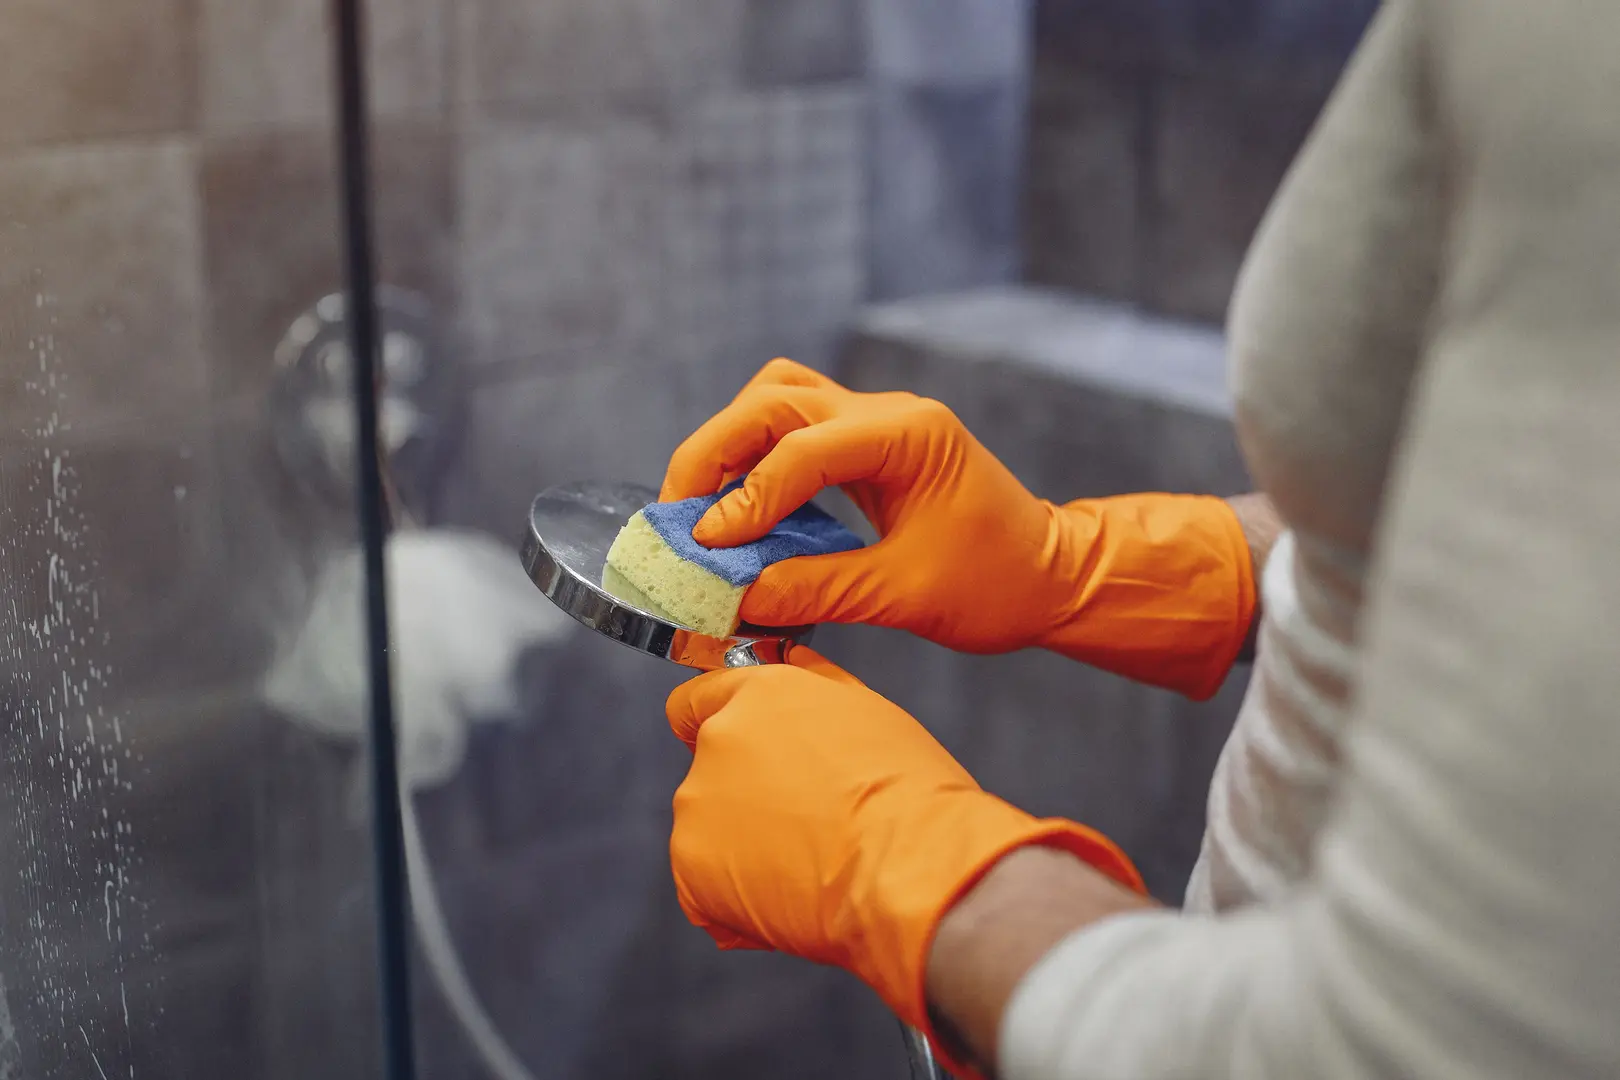
Use a soft-bristled brush or non-abrasive sponge to scrub the tray. Work methodically from one side to the other so that no section is missed.
Use gentle circular motions, paying additional attention to:
- The area around the drain
- Corners and edges
- Textured or anti-slip sections
- Visible water marks
- Patches of soap scum
- Areas with heavier buildup
Avoid relying on excessive pressure. If a mark does not lift with gentle scrubbing, it may need a more specific treatment rather than a harder or sharper tool.
A soft brush can be useful on textured trays because the bristles reach into shallow grooves. On smooth surfaces, a soft sponge may be enough. In either case, avoid abrasive pads that could dull or mark a delicate finish.
Step 5: Rinse Well and Dry the Tray
Rinse the tray thoroughly with warm water. Make sure all loosened dirt and cleaning solution are washed into the drain.
Check the corners, edges, and textured sections for remaining foam. Cleaner left behind can create streaks or make the tray feel unpleasant underfoot.
Once rinsed, wipe the tray with a clean cloth. Drying gives the surface a more even, streak-free finish and removes water that might otherwise leave mineral marks. It also reduces the amount of lingering moisture available to mold and mildew.
Return shower products and accessories only after the tray has been rinsed and dried.
How to Handle Common Shower Tray Problems
Routine cleaning will remove most everyday grime, but some deposits require targeted treatment. The right approach depends on whether you are dealing with limescale, a persistent stain, calcified soap scum, or biological growth.
Start with the mildest suitable option. Always consider the tray material before applying a specialised or unconventional product.
Removing Limescale from the Tray
Limescale is a mineral deposit that can appear as a pale, chalky film or crust, particularly around the drain and in areas where water regularly pools.
A vinegar-and-water solution can help treat this buildup:
- Add vinegar and water to a spray bottle.
- Apply the solution to the affected areas.
- Leave it in place for a short period so it can work on the deposit.
- Gently scrub with a soft brush or sponge.
- Rinse the tray thoroughly and dry it with a cloth.
Before using vinegar, confirm that an acidic cleaner is appropriate for your tray. Some surfaces or coatings require different care.
For heavier limescale, consider a specialised limescale remover that is approved for the tray material. Follow the label directions, including its recommended contact time. More product or a longer waiting period is not necessarily more effective and may be unsuitable for certain finishes.
If the deposit is thick, repeat an appropriate gentle treatment rather than immediately turning to a sharp scraper.
Treating Persistent Shower Tray Stains
For a stain that remains after routine cleaning, make a paste using baking soda and a small amount of water. The consistency should allow it to stay on the affected area rather than immediately running into the drain.
Apply the paste directly to the stain and let it sit. Tougher marks may need a longer contact period than light surface residue. Then use a soft sponge or brush to work over the area gently.
Rinse away all of the paste and inspect the tray after it has dried. If the mark remains, repeat the treatment rather than scrubbing aggressively.
As with any cleaning method, first check that baking soda is suitable for the finish. Although it is commonly used for household cleaning, rubbing any powder forcefully against a delicate or coated surface may affect its appearance.
Unconventional Cleaning Methods: Pros and Cons
When ordinary cleaners fail, some people consider products such as WD-40 or try to lift deposits with a scraper. These methods should not be treated as general shower-cleaning solutions.
WD-40 may be useful as a limited spot treatment for certain stubborn mineral, adhesive, or greasy residues. However, it has important drawbacks:
- It can leave an oily film.
- That film requires careful removal afterward.
- It may affect some coatings or finishes.
- It is not intended to replace routine cleaning of the whole shower tray.
- It can be unsuitable for a surface people stand on if oily residue remains.
If you are considering it, first check the tray manufacturer’s care guidance and test it in an inconspicuous place. Apply it only to the specific deposit rather than spraying the entire tray. The area must then be cleaned and rinsed thoroughly so no slippery film remains.
Scrapers should also be approached cautiously. Users dealing with severe calcified soap scum often find that a scraper does not remove the deposit, particularly where layers have hardened around the drain. Increasing pressure may still fail to solve the problem while putting the surface at risk of visible damage.
For thick, calcified buildup, a more appropriate strategy is to soften the deposit with a surface-compatible limescale treatment and repeat the process as necessary. If common cleaning methods cannot shift it, consult the tray manufacturer’s guidance before using stronger products or tools.
Preventing and Clearing Mold or Mildew
Mold and mildew are more likely to persist in damp, poorly ventilated areas. They often appear around tray edges, joints, seals, or places where water remains after showering.
For light surface growth, apply a vinegar solution to the affected area, allow it time to work, and wipe or gently scrub it away. Rinse thoroughly afterward. Make sure vinegar is suitable for the surface being treated, particularly when cleaning seals or nearby finishes.
Prevention is equally important. To reduce recurring mold or mildew:
- Run the bathroom extractor fan during and after showering.
- Open a window when practical.
- Rinse soap residue from the tray.
- Wipe away pooled water.
- Let shower screens or doors remain open long enough for the enclosure to dry.
- Clean corners and edges regularly rather than waiting for visible growth.
If dark marks remain within sealant after surface cleaning, the issue may extend beyond removable surface residue. Cleaning the tray regularly will still help prevent further moisture and grime from collecting in that area.
Ways to Keep the Shower Tray Clean
A shower tray is easier to maintain when cleaning is divided into quick daily care and a more complete weekly routine. This prevents residue from sitting on the surface long enough to become a stubborn layer.
Keep a soft cloth or squeegee nearby so that removing water after a shower becomes a simple habit. Good ventilation should also be part of the routine, especially in a bathroom that dries slowly.
Rinse and Wipe the Tray After Each Use
After showering, rinse the tray with clean water to wash away soap, shampoo, and other fresh residue. Focus on corners, textured areas, and the space around the drain.
If possible, wipe the surface with a clean cloth or squeegee. Removing water helps prevent mineral marks and stops soap residue from drying into a film.
This daily process does not need to be a full clean. A quick rinse and wipe can significantly reduce buildup and make the weekly cleaning session faster.
You can also use this opportunity to remove visible hair from the drain area. Doing so prevents loose debris from becoming mixed with soap scum during the next shower.
Schedule a Weekly Deep Clean
Once a week, follow the complete cleaning method:
- Clear the tray and remove loose debris.
- Rinse it with warm water.
- Spray on a mild cleaning solution.
- Let the cleaner sit for the recommended time.
- Scrub gently with a soft brush or sponge.
- Rinse thoroughly.
- Dry the tray with a clean cloth.
Use the weekly clean to inspect the drain area, corners, joints, and seals. Treat early limescale, stains, or mildew before they become harder to remove.
The ideal routine is simple: rinse and wipe after use, ventilate the bathroom, and deep-clean the tray regularly. This combination keeps soap scum, limescale, stains, mold, and mildew under control while reducing the need for aggressive tools or unconventional products.