How Do You Clean Wooden Bathroom Walls?
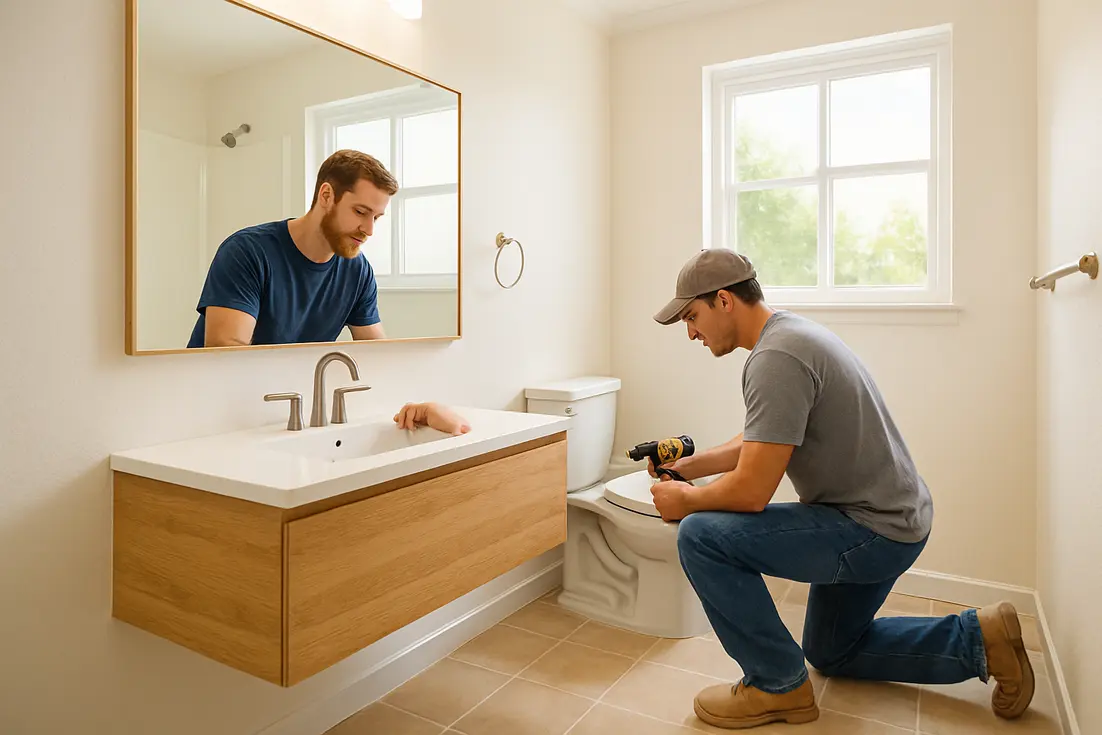
If you need to know how to clean wooden bathroom walls, start with as little moisture as possible. Dust the surface, wipe it with a nearly damp soft cloth and a small amount of mild cleaner if needed, then dry it immediately. Do not spray the wall directly or leave water sitting in joints, seams, edges, or damaged finish.
The right method depends on what the wall actually is. Sealed timber, painted wood, veneer, laminate, vinyl, and other wood-look panels can have very different finishes. If you are unsure, check the product or paint-care instructions first and test any cleaner on a hidden area.
Identify the wall surface before cleaning
A wood appearance does not always mean solid wood. Look at an exposed edge, a cutout around an outlet, or an inconspicuous corner if it is safe to do so. You may have:
- Sealed or finished wood: The surface has a protective coating, but water can still cause trouble at seams, scratches, and unfinished edges.
- Painted wood: The paint may tolerate gentle wiping, but repeated scrubbing can dull it or wear through the finish.
- Veneer: A thin layer of real wood is attached to another material. Excess moisture and aggressive rubbing can damage the surface or loosen edges.
- Laminate, vinyl, or another imitation material: Follow the care instructions for that specific product rather than treating it like timber.
- Unfinished or visibly damaged wood: This is the most moisture-sensitive category. Routine wet cleaning may deepen marks or affect the wood, so use minimal moisture and consider advice from the manufacturer or a qualified repair professional.
If the wall is part of a rented bathroom or a recent renovation, product paperwork may provide the safest cleaner. A cleaner suitable for cabinets or floors is not automatically suitable for a wall panel, painted finish, or veneer.
Source: inspectapedia
How to clean wooden bathroom walls safely
1. Remove dust first
Use a clean, soft microfiber cloth or another nonabrasive duster. Work from the top down and follow the direction of the grain or panel pattern. Dusting first prevents loose grit from being dragged across the finish during wiping.
For grooves and joints, use a soft brush or the soft brush attachment on a vacuum. Keep the attachment from scraping the surface. Avoid using a rough sponge, scouring pad, or stiff brush.
2. Prepare a mild cleaning solution
For a finished or painted surface, use clean water with a small amount of mild dish soap or a cleaner specifically labeled for the material. The cloth should be damp, not wet. If you can wring out water easily, it is probably carrying more moisture than you need for a wall.
Do not mix cleaning products. Avoid choosing a product simply because it is labeled natural or powerful. Vinegar, lemon-based products, degreasers, disinfectants, solvents, and abrasive powders may affect some finishes. Use them only when the wall manufacturer or finish instructions specifically allow them.
3. Test a hidden area
Dampen a corner of the cloth with the diluted solution and try it on an inconspicuous spot. Check for changes in color, sheen, texture, swelling, tackiness, or transfer of paint to the cloth. Let the area dry before deciding whether the cleaner is suitable.
This step matters especially for older paneling, dark stains, painted surfaces, veneers, and walls with an unknown coating. A cleaner that appears harmless while wet may leave a dull or discolored patch after drying.
4. Wipe small sections
Clean one manageable section at a time, using light pressure. Wipe with the grain when possible, and pay attention to areas that receive soap spray, hand contact, or splashes from the sink and tub.
Do not saturate the wall or spray cleaner directly onto it. Spraying can force liquid into seams, trim, electrical openings, or the lower edge of a panel. Apply the solution to the cloth instead.
5. Remove residue and dry immediately
If the cleaner leaves a film, use a second cloth lightly dampened with plain water. Then dry the section with a clean, absorbent cloth. Check corners, grooves, base edges, and panel joints rather than assuming they have dried.
The goal is not to make the wall wet and then wait for it to dry. It is to loosen surface dirt with controlled moisture and remove that moisture promptly.
Cleaning soap splashes and everyday residue
Soap residue is usually best handled before it builds up. Wipe visible splashes with a barely damp cloth, then dry the area. For a stubborn spot on a sealed or painted surface, hold the damp cloth over the mark briefly to soften it, then wipe gently. Do not scrape at it with a blade or abrasive pad.
If a mark remains after gentle cleaning, stop and identify the material before escalating. The spot could be a change in the finish rather than removable dirt. Stronger chemicals or more pressure may make the damage more noticeable.
For cleaning wood paneling in a bathroom, regular light wiping is generally preferable to occasional aggressive scrubbing. Keep bath mats, towels, and shower curtains from trapping water against the lower wall, and wipe splashes near the tub or shower when you notice them.
What to do about mildew-like marks
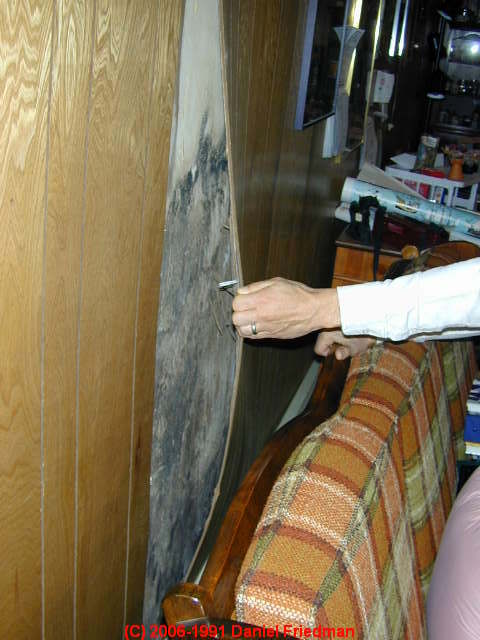
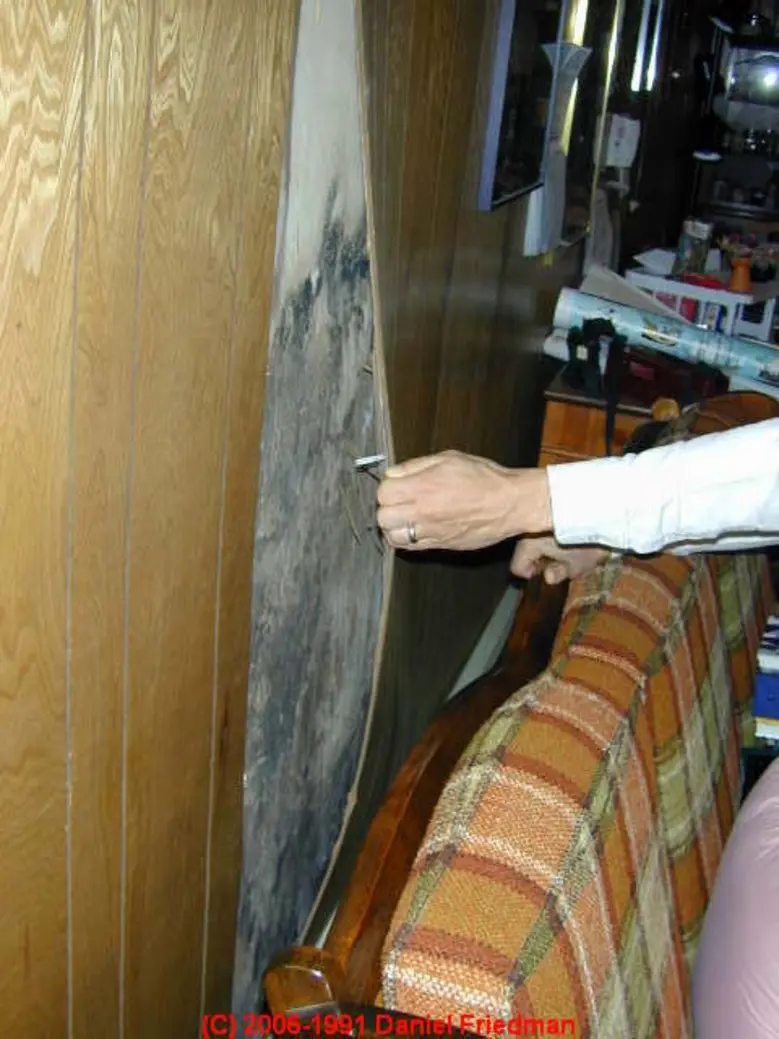
Dark, fuzzy, spreading, or musty-looking marks should not automatically be treated as ordinary dirt. They may indicate moisture entering a seam, a recurring leak, poor ventilation, or a damaged finish. Take a close look around joints, trim, the shower edge, and the floor line.
Do not immediately apply bleach, undiluted vinegar, a solvent, or a strong bathroom cleaner to wood. These products can discolor or damage some finishes, and the appropriate response depends on the wall material and the source of the moisture. Follow the surface manufacturer’s instructions if available. If the marks keep returning, the wood feels soft or swollen, or moisture appears to be behind the panel, stop routine cleaning and arrange an appropriate inspection or repair.
For a small surface mark on a sound, sealed finish, use only a product that is labeled as compatible with that finish. Test it first, keep the cloth controlled rather than soaking the wall, and dry the area promptly. Do not sand questionable marks in place, since sanding can spread dust and remove the protective coating.
Products and methods to avoid
Avoid these common mistakes when cleaning wood safely in humid rooms:
- Spraying water or cleaner directly onto the wall
- Soaking a cloth, sponge, or panel
- Using abrasive sponges, steel wool, or powdered scrubbers
- Scraping residue with a sharp tool
- Applying bleach, ammonia, solvents, or strong degreasers without finish-specific approval
- Mixing cleaning products
- Using waxes, oils, or furniture polishes that are not intended for the wall finish
- Leaving wet towels, bath mats, or splashed water against the lower wall
- Using steam or high heat unless the manufacturer specifically permits it
A glossy or oily product may temporarily improve the appearance while leaving residue that attracts dust or changes the finish. Maintenance products should match the coating, not just the wood color.
Bathroom wood wall maintenance
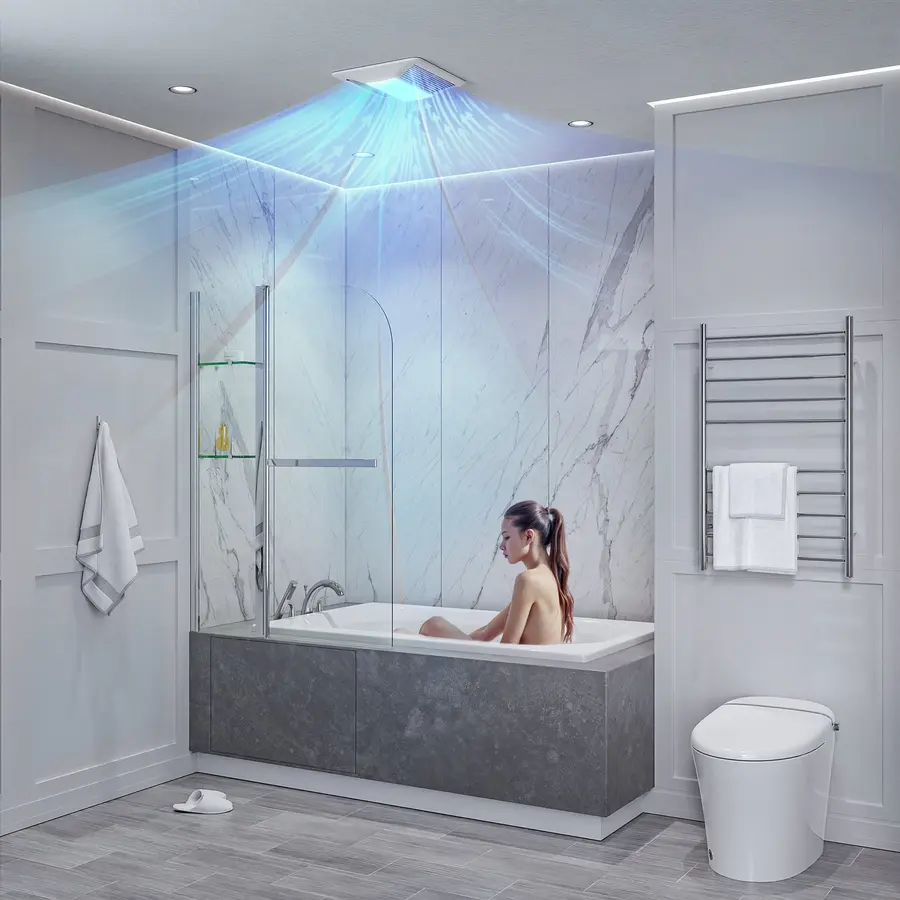
Cleaning is only part of protecting a bathroom wood wall. Use the exhaust fan or other available ventilation during and after bathing, and keep the shower curtain or liner positioned so water stays inside the bathing area. Wipe obvious splashes instead of allowing them to dry repeatedly on the panel.
Inspect the wall occasionally for lifting edges, cracked caulk, darkening seams, swelling, peeling paint, or a finish that feels sticky or rough. These signs can point to moisture or coating failure rather than a need for stronger cleaner. Address the underlying problem before repeated wiping makes it worse.
For a simple maintenance routine, dust regularly, spot-clean splashes with a nearly damp cloth, dry the surface after cleaning, and follow the finish manufacturer’s instructions for any deeper cleaning or refinishing. This low-moisture approach is the safest starting point for most sealed or painted bathroom wood surfaces.
References
- How to Clean Wood Paneling. (n.d.). https://www.murphyoilsoap.com/hardwood-flooring/clean-wood-paneling
- How to Clean Wood Panel Walls | Wood Paneling Cleaner Guide. (n.d.). https://www.woodenave.com/how-to-clean-wood-panel-walls
- How to Clean Rough Wooden Walls? : r/CleaningTips. (n.d.). https://www.reddit.com/r/CleaningTips/comments/1ji83ll/how_to_clean_rough_wooden_walls
- How to Clean Wood Paneling: A Complete Guide. (n.d.). https://centennialwoods.com/blogs/news/how-to-clean-wood-paneling
- A Step-by-Step Guide on How to Clean Bathroom Cabinets. (n.d.). https://www.jk-cabinetry.com/blog-old-cms/step-by-step-guide-clean-bathroom-cabinets
- How To Clean Wood Paneling In Easy Steps. (n.d.). https://woodywalls.com/blog/how-to-clean-wood-paneling
- How to Clean 50‑Year‑Old Wood Paneling Walls (La’s …. (n.d.). https://www.tiktok.com/@radiancerevival/video/7390166078346808606
- The Expert Housekeeper’s Guide on How to Clean Wood …. (n.d.). https://andorwillow.com/blogs/blog/how-to-clean-wood-walls