How to Deep Clean a Bathroom: A Step-by-Step Guide
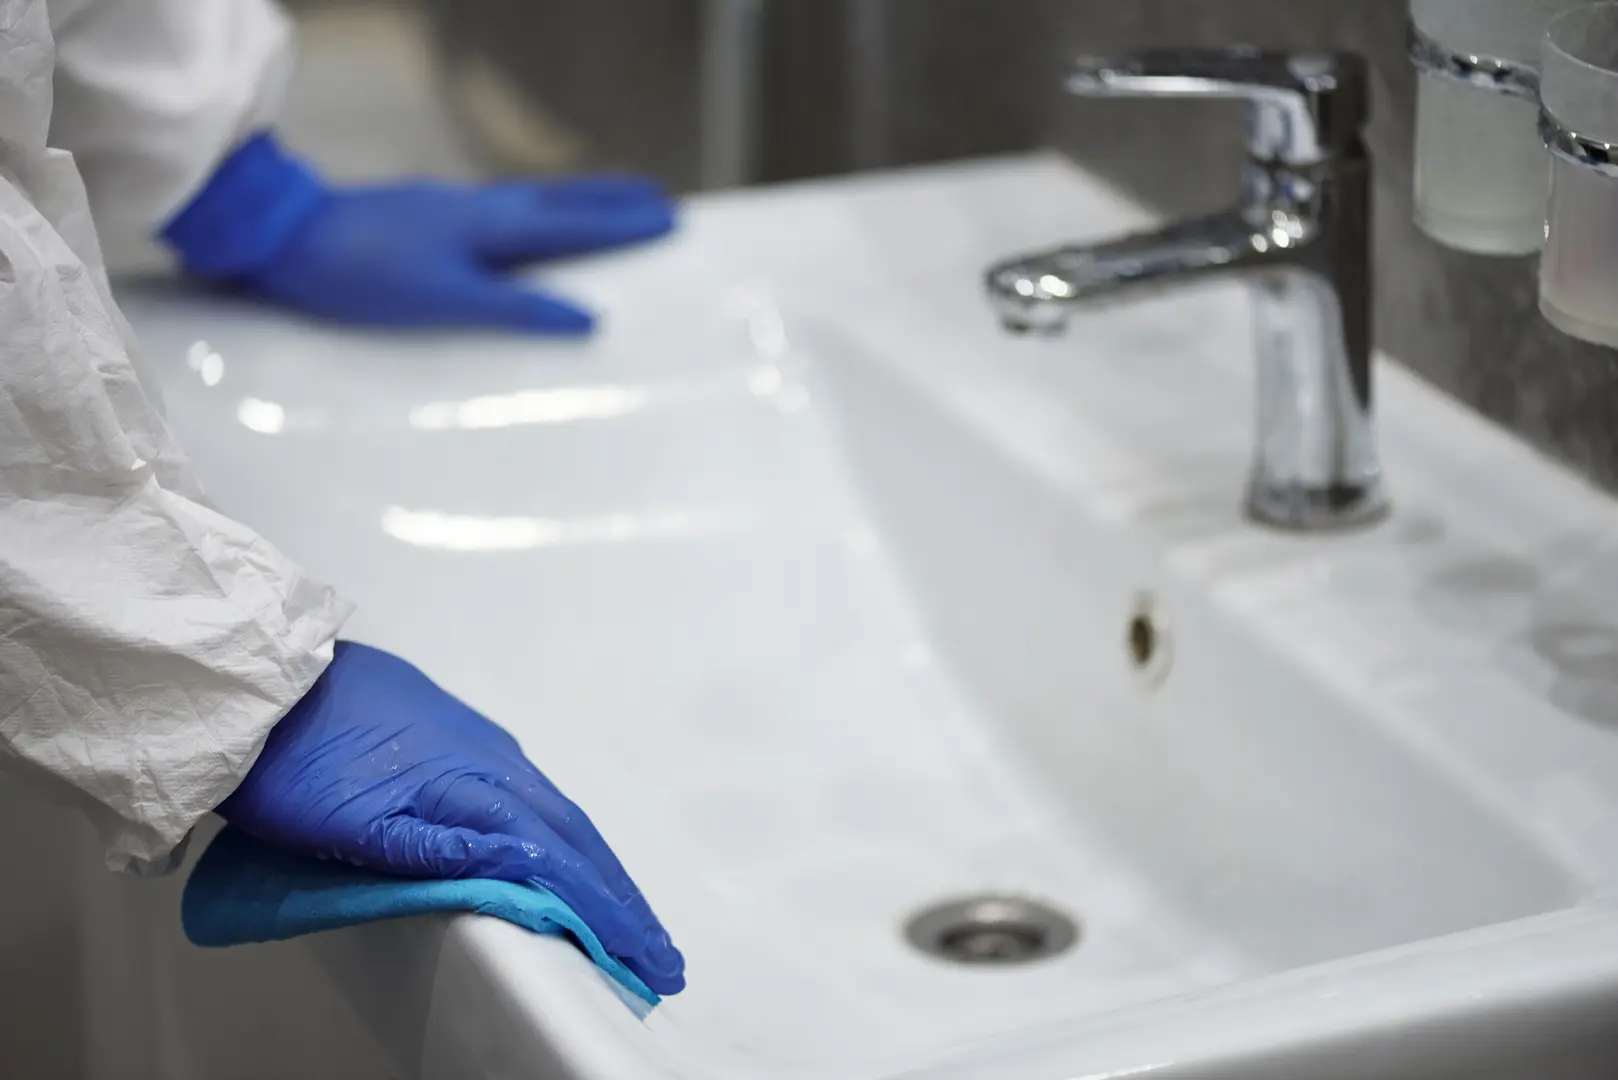
Deep cleaning a bathroom is easier when you use the right supplies and follow a logical order. Rather than moving randomly between fixtures, work from high areas to low ones, address wet zones early, and leave the floor until the end. This guide explains how to deep clean bathroom surfaces efficiently while reducing the need to repeat tasks.
Gather Your Bathroom Cleaning Supplies
Collect everything before you begin so you do not have to stop midway through the job. The exact products will depend on your bathroom’s materials, but a practical cleaning kit may include:
- Microfiber cloths
- A toilet brush
- A small detail brush or old toothbrush
- A non-scratch scrubbing brush or sponge
- A mop and bucket
- A vacuum with attachments
- Glass cleaner
- Bathroom surface cleaner or disinfectant
- A cleanser suitable for the sink, shower, bathtub, and floor
- White vinegar for the shower head
- Rubber cleaning gloves
- Paper towels, if desired
- Bins or containers for organizing cabinets
Check product labels before applying any cleaner. Natural stone, acrylic, enamel, tile, grout, and metal finishes can require different care. Never combine cleaning products, especially bleach with vinegar, ammonia, or other cleaners.
Next, declutter exposed surfaces. Remove toiletries, cosmetics, towels, bath mats, wastebaskets, and decorative accessories. Empty the shower or bathtub ledges as well. Place washable items together and temporarily move everything else outside the room.
This preparation gives you clear access to the surfaces and prevents dust or cleaning spray from landing on personal items.
Step-by-Step Guide to Efficient Bathroom Cleaning
A checklist helps make the work manageable and prevents you from overlooking the tub, sink, toilet, or other frequently used areas. A useful sequence is:
- Open the room for ventilation. Run the bathroom vent or open a window when appropriate, particularly while using cleaning products.
- Remove clutter and washable textiles. Take out towels, bath mats, shower curtains that need laundering, and countertop items.
- Dust from high to low. Wipe light fixtures, shelves, the top of the mirror, window trim, and other raised surfaces first.
- Vacuum loose debris. After high-level dust has settled, vacuum the floor, corners, baseboards, and accessible edges.
- Treat the shower or bathtub. Apply the appropriate cleaner and allow it to work according to its label while you handle another task.
- Clean cabinets and drawers.
- Clean the toilet, sink, and mirror.
- Clean the vent.
- Vacuum again if needed, then mop the floor.
- Return clean, organized items only after surfaces are dry.
Some people vacuum at the very beginning. However, dusting afterward can send debris back onto the floor and create extra work. Dusting high areas before the main vacuuming is generally more efficient. If the floor has a large amount of hair or loose debris, a quick preliminary vacuum is reasonable, followed by a final pass after dusting.
To manage your time, let products do part of the work. For example, apply the shower cleaner as directed, then organize a drawer while it sits. Work in one section at a time rather than switching repeatedly between unrelated tasks.
Spray cleaner and paper towels can provide a convenient finish on some surfaces. However, disposable towels are not suitable for every material, and spraying directly may create overspray. When in doubt, apply the product to a microfiber cloth and follow the surface manufacturer’s care instructions.
Deep Clean the Bathtub or Shower
Begin detailed cleaning with the bathroom’s wet areas. Remove bottles, razors, soap dishes, and other accessories. Wash reusable accessories separately and discard empty containers.
Apply a cleaner suited to the shower or tub material. Follow its instructions, including any recommended contact time. Scrub from the top downward so loosened residue moves toward the drain. Pay attention to:
- Shower walls and corners
- Tub ledges
- Door tracks and frames
- Grout lines
- Faucets and handles
- The drain area
- Built-in shelves and soap dishes
Rinse the surfaces thoroughly and wipe them dry with a clean microfiber cloth. Drying helps reveal any areas that still need attention and leaves fixtures looking polished.
For the shower head, vinegar can help remove mineral buildup. If the fixture’s care instructions permit vinegar, detach the shower head or position it so the affected area can soak. Rinse it well afterward and wipe the exterior dry. Avoid using vinegar on materials or finishes that the manufacturer identifies as acid-sensitive.
Match your scrubbing method to the bathtub material. A non-scratch sponge and compatible cleaner are generally a safer choice for surfaces that can be marked by abrasive tools. More durable materials may tolerate firmer brushing, but always verify the care guidance before scrubbing.
If you have a shower curtain or washable liner, clean it according to its care label. Wipe the curtain rod and rings before reinstalling clean materials.
Declutter and Organize Bathroom Cabinets and Drawers
Empty every cabinet and drawer rather than trying to clean around the contents. Place the items on a towel or another protected surface and group similar products together.
Review each item before returning it. Discard:
- Empty packaging
- Expired products
- Items you no longer use
- Damaged containers
- Unnecessary duplicates
Dispose of medicines and specialized products according to their labels and local disposal guidance rather than automatically placing them in household trash or pouring them down a drain.
Vacuum crumbs, hair, and loose dust from the empty storage spaces. Wipe the interiors with a compatible cleaner and microfiber cloth, then allow them to dry fully.
Use small bins, trays, and containers to separate categories such as dental care, skincare, hair products, and extra toiletries. Keep frequently used products within easy reach and place backups farther away. Avoid overfilling drawers, since crowded storage is harder to wipe down and maintain.
Before replacing a bottle or jar, clean its exterior. This prevents sticky residue and dust from immediately transferring back to the freshly cleaned cabinet.
Deep Clean the Toilet from Top to Base
Use separate cloths or disposable paper towels for the toilet so they do not spread contamination to the sink or other surfaces. Apply toilet bowl cleaner according to its directions, making sure it reaches beneath the rim. Allow it to sit for the specified time.
While the bowl cleaner works, disinfect the exterior from top to bottom:
- Wipe the tank and flush handle.
- Clean the top and underside of the lid.
- Wipe both sides of the seat.
- Clean the hinges and the area behind the seat.
- Wipe the outside of the bowl.
- Clean around the base and the nearby floor.
Give the flush handle, seat hinges, and other frequently touched points careful attention. Keep surfaces visibly wet for the contact time stated on the disinfectant label.
Use a suitable toilet brush to scrub under the rim and around the inside of the bowl. Work down toward the water line and lower bowl, then flush as directed. Rinse or sanitize the brush afterward and let it dry before returning it to its holder.
Check the floor around the toilet base for dust and residue. A small detail brush can help clean narrow exterior gaps, provided it is reserved for toilet-area cleaning.
Scrub and Polish the Bathroom Sink
Remove everything from the counter and rinse loose residue from the basin. Apply a cleanser that is safe for the sink material, then scrub the basin, rim, drain area, and overflow opening where accessible.
Use a detail brush around the base of the faucet and handles, where residue can collect. Rinse the sink thoroughly and wipe it dry.
Clean the faucets with a product approved for their finish. Avoid abrasive tools if they may scratch or dull the surface. After cleaning, polish the faucet and handles with a dry microfiber cloth.
Wipe the countertop, backsplash, soap dispenser, toothbrush holder, and other accessories before returning them. Clean beneath small countertop items rather than simply wiping around them.
Clean the Bathroom Mirror Without Streaks
Remove dust from the mirror and frame first. Spray glass cleaner lightly onto a clean microfiber cloth or apply it according to the product directions. Using the cloth instead of saturating the mirror can reduce drips around the frame and edges.
Wipe methodically from the top down, paying particular attention to toothpaste spots and fingerprints. Turn the cloth to a clean, dry side for the final pass. Check the surface from more than one angle and buff away any remaining streaks.
Do not use a cloth that still contains residue from another cleaner, since that can leave a cloudy finish. If you use paper towels, confirm that they are suitable for the mirror and avoid leaving lint behind.
Clean the Bathroom Vent and Cover
Turn off the bathroom exhaust fan before cleaning it. If the vent cover is designed to be removed by the user, detach it according to the manufacturer’s instructions.
Vacuum loose dust from the cover, then wash or wipe it using a method appropriate for its material. Let it dry completely before reinstalling it.
Use a vacuum attachment to remove accessible dust from around the vent opening and motor area. Do not push tools into wiring or components, and do not apply liquid directly to the motor. If the fan is difficult to access or requires disassembly beyond removing the cover, follow the manufacturer’s guidance or seek qualified help.
Reattach the dry cover securely. Keeping the vent clear of dust supports normal airflow and gives the ceiling area a cleaner appearance.
Finish by Cleaning the Bathroom Floor
The floor should be one of the final tasks because dust, hair, and drips may fall while you clean higher surfaces.
Vacuum the entire floor before mopping. Use attachments around baseboards, behind the toilet, beside the vanity, and in corners. If earlier work created additional debris, this final vacuum prevents it from turning into damp residue during mopping.
Choose a floor cleanser that is compatible with the material. Products suitable for ceramic tile may not be appropriate for natural stone, wood, vinyl, or other surfaces. Use only as much moisture as the flooring permits.
Mop from the farthest corner toward the doorway so you do not have to walk over freshly cleaned sections. Address edges and the floor around the toilet carefully. Let the floor air-dry fully before replacing the wastebasket, bath mats, scale, or storage items.
Wash Bathroom Towels and Set a Cleaning Schedule
Wash bathroom towels weekly using warm water and laundry detergent, provided that the care labels allow it. Do not overcrowd the washing machine, since towels need room to move during the cycle.
Dry towels completely before folding, storing, or hanging them. Damp towels should not be placed in a closed cabinet. Wash bath mats and other bathroom textiles according to their individual labels.
A simple maintenance schedule makes future deep cleaning faster:
- After use: Hang towels so they can dry and remove standing water when practical.
- Regularly: Wipe the sink, faucet, and visibly soiled surfaces.
- Weekly: Wash towels and clean the main fixtures.
- Periodically: Deep clean cabinets, the vent, shower head, baseboards, and hard-to-reach areas.
Adjust the schedule to the number of people using the bathroom and how quickly residue accumulates.
Sanitize Your Bathroom Cleaning Tools
Cleaning is not complete until the tools are ready for their next use. Remove hair and debris from brushes, rinse reusable cloths, and empty the vacuum as directed by its manufacturer.
Where appropriate, soak compatible brushes and tools in a bleach solution prepared according to the bleach product’s label. Never combine bleach with vinegar, ammonia, toilet bowl cleaner, or any other cleaning product. Ensure adequate ventilation and wear suitable gloves.
After sanitizing, rinse the tools as directed and allow them to air-dry completely. Wash microfiber cloths separately as needed and follow their care labels. Store toilet-cleaning tools apart from cloths and brushes used on sinks, mirrors, or showers.
Clean, dry tools help you begin the next bathroom cleaning session efficiently—and without transferring residue from the previous one.