How to Drill Into Tile Without Damage
Drilling tile can feel intimidating, especially when the hole is needed for a shower rail, shelf, towel hook, or other bathroom fitting. One slip, too much pressure, or excess heat can crack the surface and turn a simple installation into a costly repair.
Learning how to drill into tile safely comes down to preparation, the correct drill bit, controlled speed, and consistent cooling. The following method will help you create a clean, accurately positioned hole while reducing the risk of chips and cracks.
Tools and Materials to Gather First
Having suitable equipment ready before you begin improves the chance of making a clean, successful hole. Gather:
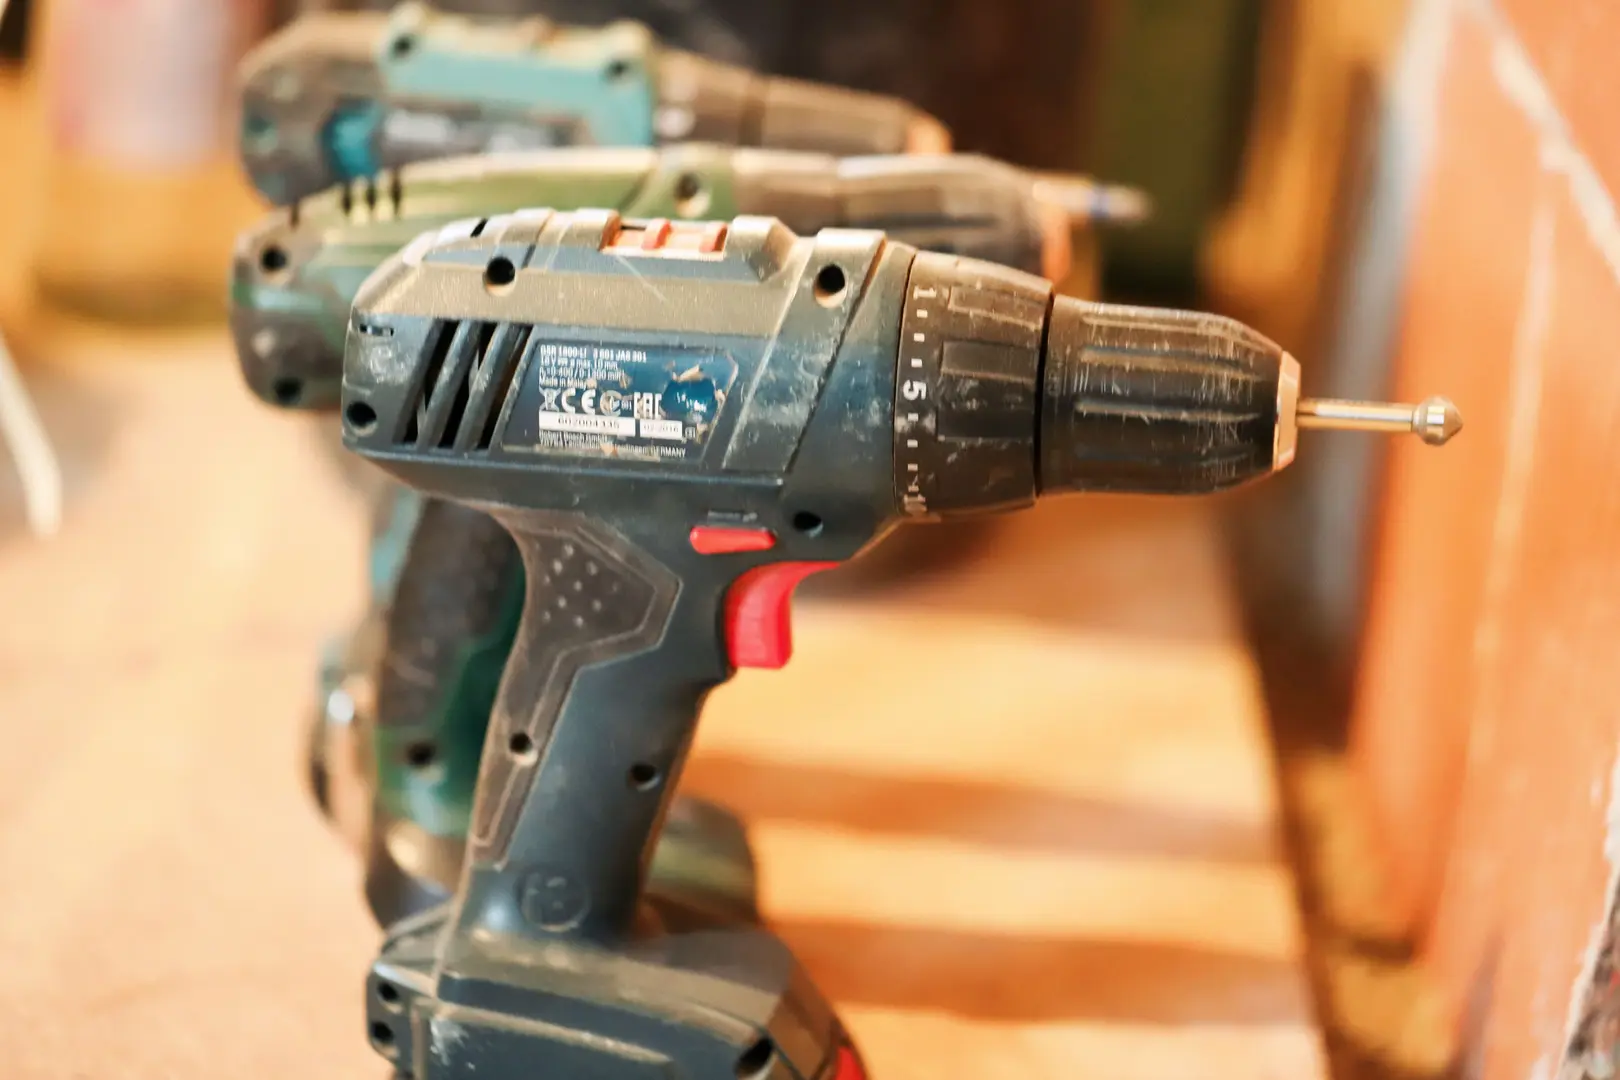
- A variable-speed drill
- A tile-appropriate drill bit
- A tile hole saw for larger openings
- Masking tape
- A pencil or marker
- A centre punch
- A drill guide, if available
- A spray bottle filled with water
- Safety goggles
- Work gloves
- A dust mask
- The screw, anchor, or fitting you plan to install
Check the installation area before drilling. Confirm that the proposed hole will not interfere with concealed pipes, cables, or other services behind the tile.
Choosing the Right Drill Bit for Tile
Match the drill bit to the material rather than using a general-purpose wood or metal bit. Ceramic, porcelain, natural stone, and glass have different surface characteristics, so a bit that works well on one may perform poorly on another.
The bit diameter also matters. It should correspond to the wall plug, anchor, screw, or fitting specified for the installation. Check the fitting manufacturer’s instructions rather than estimating. A hole that is too small may place damaging pressure on the tile when the anchor is inserted, while an oversized hole can produce an insecure fixing.
Use Diamond-Coated Drill Bits
Diamond-coated bits are particularly useful for cutting hard tile surfaces, including dense porcelain. They grind through the surface rather than relying on aggressive impact.
A suitable, sharp bit allows you to work with lighter pressure, reducing the likelihood of cracking the tile. Although diamond-coated bits can make hard porcelain more manageable, they still require patience and regular cooling. For softer ceramic, an appropriate carbide-tipped tile bit may also be suitable.
Apply Masking Tape Over the Mark
Place masking tape over the planned drilling point before making your final mark. The tape gives the bit a less slippery starting surface and helps prevent it from skating across the glazed face.
Tape also makes pencil marks easier to see, particularly on glossy, patterned, or dark tiles. You can place two strips in a cross and mark the centre where the lines intersect.
Choose a Variable-Speed Drill
A variable-speed drill provides the control needed to begin the hole accurately. Starting slowly allows the bit to establish a shallow depression before you apply any additional speed.
Keep hammer action switched off while drilling through the tile. Impact can increase the risk of surface damage. The goal is to let the cutting edge gradually grind through the material rather than strike it.
Wear the Necessary Safety Gear
Wear safety goggles to protect your eyes from tile fragments and drilling debris. Gloves can help protect your hands when handling bits and fittings, while a dust mask limits exposure to fine particles.
Safety equipment remains important even when water is being used for cooling. Debris can still be released as the bit enters and exits the tile.
Keep a Water Spray Bottle Nearby
Friction creates heat, and too much heat can damage the bit or contribute to tile cracking. Keep a water spray bottle close and mist the drilling area regularly.
The objective is to keep both the tile and bit cool without soaking the drill. If possible, ask another person to apply a controlled spray while you keep both hands on the tool. Keep water away from the drill’s motor, battery connections, and electrical supply.
Identify the Tile Material Before Drilling
Before choosing a bit or drilling speed, identify whether the surface is ceramic, porcelain, natural stone, or glass. Different tile materials call for different levels of pressure, cooling, and patience.
If you are unsure, check leftover packaging, ask the installer, or test your setup on a spare tile. Treating every surface as ordinary ceramic can result in slow progress, a damaged bit, or a cracked tile.
Ceramic Tile: A More Forgiving Surface
Ceramic is common and comparatively easy to drill. An appropriate carbide or diamond-coated tile bit should normally establish a hole without the prolonged cutting time associated with harder porcelain.
Use low speed and light pressure even though ceramic is more forgiving. Its glazed face can still chip if the bit slips or breaks through too aggressively.
Porcelain Tile: Work Slowly and Patiently
Porcelain is dense and can be difficult to penetrate. It is common for progress to feel slow, so resist the temptation to increase the speed or push harder.
Use a sharp diamond-coated bit and cool it frequently. If progress slows significantly, stop and inspect the bit rather than forcing it. Consistent cooling and patient drilling help prevent mangled bits and damaged tile.
Natural Stone Tile: Use a Sharp, Fresh Bit
Natural stone can be brittle and may vary in hardness across one tile. Begin with a fresh, sharp bit suited to stone so that you do not need excessive pressure.
Work steadily and keep the bit aligned. Because the material can be unpredictable, testing on an offcut is especially worthwhile when one is available.
Glass Tile: Drill at the Lowest Practical Speed
Glass tile requires a bit specifically designed for glass. Use the lowest practical drilling speed and maintain a light, controlled touch.
Keep the cutting area cool and avoid sudden changes in pressure. Do not substitute a standard wood, metal, or masonry bit, as it may slip or damage the glass surface.
A Safe Step-by-Step Tile Drilling Method
Once the tools and correct bit are ready, follow a controlled process. Accuracy at the marking stage and patience during drilling are more important than finishing quickly.
Mark the Hole Location Precisely
Measure the position carefully and use a pencil or suitable marker to identify the exact centre. Apply masking tape over the area and transfer the mark to the tape.
If the fitting needs multiple screws, verify the spacing and alignment before drilling the first hole. A level or the fitting’s mounting template can help prevent misplaced holes.
Make a Small Starter Indent
Create a very shallow starter indent at the marked point with a centre punch. This gives the bit somewhere to sit and helps keep it from skating across the surface.
Use extreme care and avoid striking the punch forcefully. The intention is only to establish a starting point, not to fracture or break through the glaze. On fragile glass or brittle stone, rely on masking tape or a drill guide instead of an impact-made indent.
Begin Drilling at Low Speed
Position the bit on the mark and start the drill at low speed. Apply only light, steady pressure. The bit should cut or grind through the surface at its own pace.
Do not hold the drill at high speed in one place or lean your body weight onto it. If the bit is barely progressing, check that it is suitable and still sharp instead of compensating with force.
Cool the Bit and Tile Regularly
Pause periodically and spray water onto the bit and drilling point. Frequent cooling limits heat buildup, protects the cutting edge, and reduces stress on the tile.
Do not wait until the bit is extremely hot. For hard porcelain and prolonged drilling, short drilling intervals with regular cooling are safer than one continuous attempt.
Start Angled, Then Straighten the Drill
For bits that tend to wander, begin with the drill at a slight angle so one edge starts cutting into the surface. Once a shallow groove has formed, gradually straighten the drill until it is perpendicular to the tile.
This technique should be controlled and gentle. A drill guide can make the start easier, especially when using a circular diamond bit or tile hole saw.
Reduce Pressure as the Bit Breaks Through
Pay attention to changes in resistance. As the bit approaches the back of the tile, the resistance may decrease.
Ease off the pressure at this stage and allow the bit to finish the hole slowly. Pushing hard during breakthrough can chip the rear of the tile or cause the drill to lurch forward.
Drilling Errors That Can Damage Tile
Most drilling problems result from an unsuitable bit, excess speed, poor cooling, or too much pressure. Use the following points as a prevention checklist before starting.
Do Not Use the Wrong Type of Bit
Avoid bits intended only for wood or metal. They are not designed to cut glazed ceramic, dense porcelain, stone, or glass effectively.
Use a carbide or diamond-coated bit that is explicitly suitable for the tile material. For glass, choose a dedicated glass-tile bit. Confirm that the bit diameter also matches the specified anchor or fitting.
Avoid Excessive Drilling Speed
High speed creates excess friction and heat. It can also make the drill harder to control at the start of the hole.
Begin slowly and maintain a controlled pace. Hard porcelain does not necessarily require more speed; it usually requires a suitable diamond bit, more cooling, and additional patience.
Do Not Skip Water Cooling
Water cooling is an essential part of drilling hard tile. Without it, heat can build quickly enough to damage the bit and place unnecessary stress on the surface.
Spray regularly throughout the cut, not just at the beginning. Pause if necessary so the tile and bit can remain cool.
Let the Bit Cut Instead of Pushing Hard
Excessive pressure does not compensate for a dull or unsuitable bit. It transfers force into the tile and can lead to cracks, chips, and sudden breakthrough.
Maintain a light touch and let the cutting edge do the work. If progress stops, inspect the setup, cool the area, and replace the bit if needed.
Practical Ways to Improve Your Results
Small improvements in preparation can make drilling more reliable. Practice, guides, and careful hole positioning are particularly valuable when working with an installed shower wall or a highly visible tiled surface.
Practice on Leftover Tiles First
Use a spare tile to test the drill bit, speed, pressure, cooling method, and starting technique. Practice helps you learn how quickly the material cuts and how the drill feels near breakthrough.
Testing is especially useful for porcelain, natural stone, and glass. It also gives you an opportunity to confirm that the bit produces the required hole size.
Keep the Drill Aligned With a Guide
A drill guide helps hold the bit in position and keeps the hole straight. It can be particularly helpful with diamond hole saws, which may otherwise move across a smooth tile face before establishing a groove.
Once drilling begins, maintain the chosen angle. Sideways movement can enlarge the hole, reduce accuracy, or place uneven stress on the tile.
Use a Grout Line When the Layout Allows
If the mounting position is flexible, consider whether a grout line can accommodate the hole. Drilling through grout may present less risk than drilling directly through the tile face.
However, positioning and secure fixing still matter. Do not move a fitting to an unsuitable location simply to avoid tile, and make sure the fastener can achieve a reliable hold in the material behind the surface.
Choose a Tile Hole Saw for Larger Openings
Use a tile-specific hole saw when installing larger fittings or creating openings for pipes. Match the hole saw to the tile material and required opening size.
Do not attempt to form one large opening by drilling a cluster of small holes. This produces uneven edges and can place unnecessary stress on the surrounding tile. As with smaller bits, use low speed, light pressure, and regular water cooling.
Key Takeaways for Drilling Tile Safely
The safest way to drill tile is to combine the right equipment with a slow, controlled technique:
- Identify the tile material before selecting a bit.
- Use a diamond-coated option for especially hard surfaces such as porcelain.
- Match the hole diameter to the specified anchor, screw, or fitting.
- Mark the position accurately and use masking tape to limit slipping.
- Start at low speed with hammer action switched off.
- Apply light pressure and allow the bit to cut gradually.
- Cool the bit and tile regularly with water.
- Reduce pressure as the bit breaks through.
- Use a tile hole saw rather than multiple small holes for larger openings.
When the installation involves valuable tile, complex fittings, concealed plumbing, or a location that is difficult to assess, consider hiring an experienced professional. Careful preparation may take longer, but it can prevent cracked tiles, ruined drill bits, and insecure bathroom fittings.