How to Fit a Bath Panel: A Practical Guide
A bath panel conceals the underside of a bath, including the supporting frame and pipework, while giving the room a more finished appearance. Installing one yourself can be a cost-effective project, provided you measure carefully, use the right materials and take suitable safety precautions.
This guide explains how to fit a bath panel, from selecting the correct size to sealing the final joints.
Understanding Bath Panels
Bath panels are coverings fitted along the exposed sides of a bath. They are particularly common with straight baths, which may require a long front panel and, where one end is visible, a shorter end panel.
Their main purposes are to:
- Hide the underside of the bath, its frame and visible pipes
- Create a neat transition between the bath and the floor
- Help protect the floor around the bath from splashes
- Complement the overall style of the bathroom
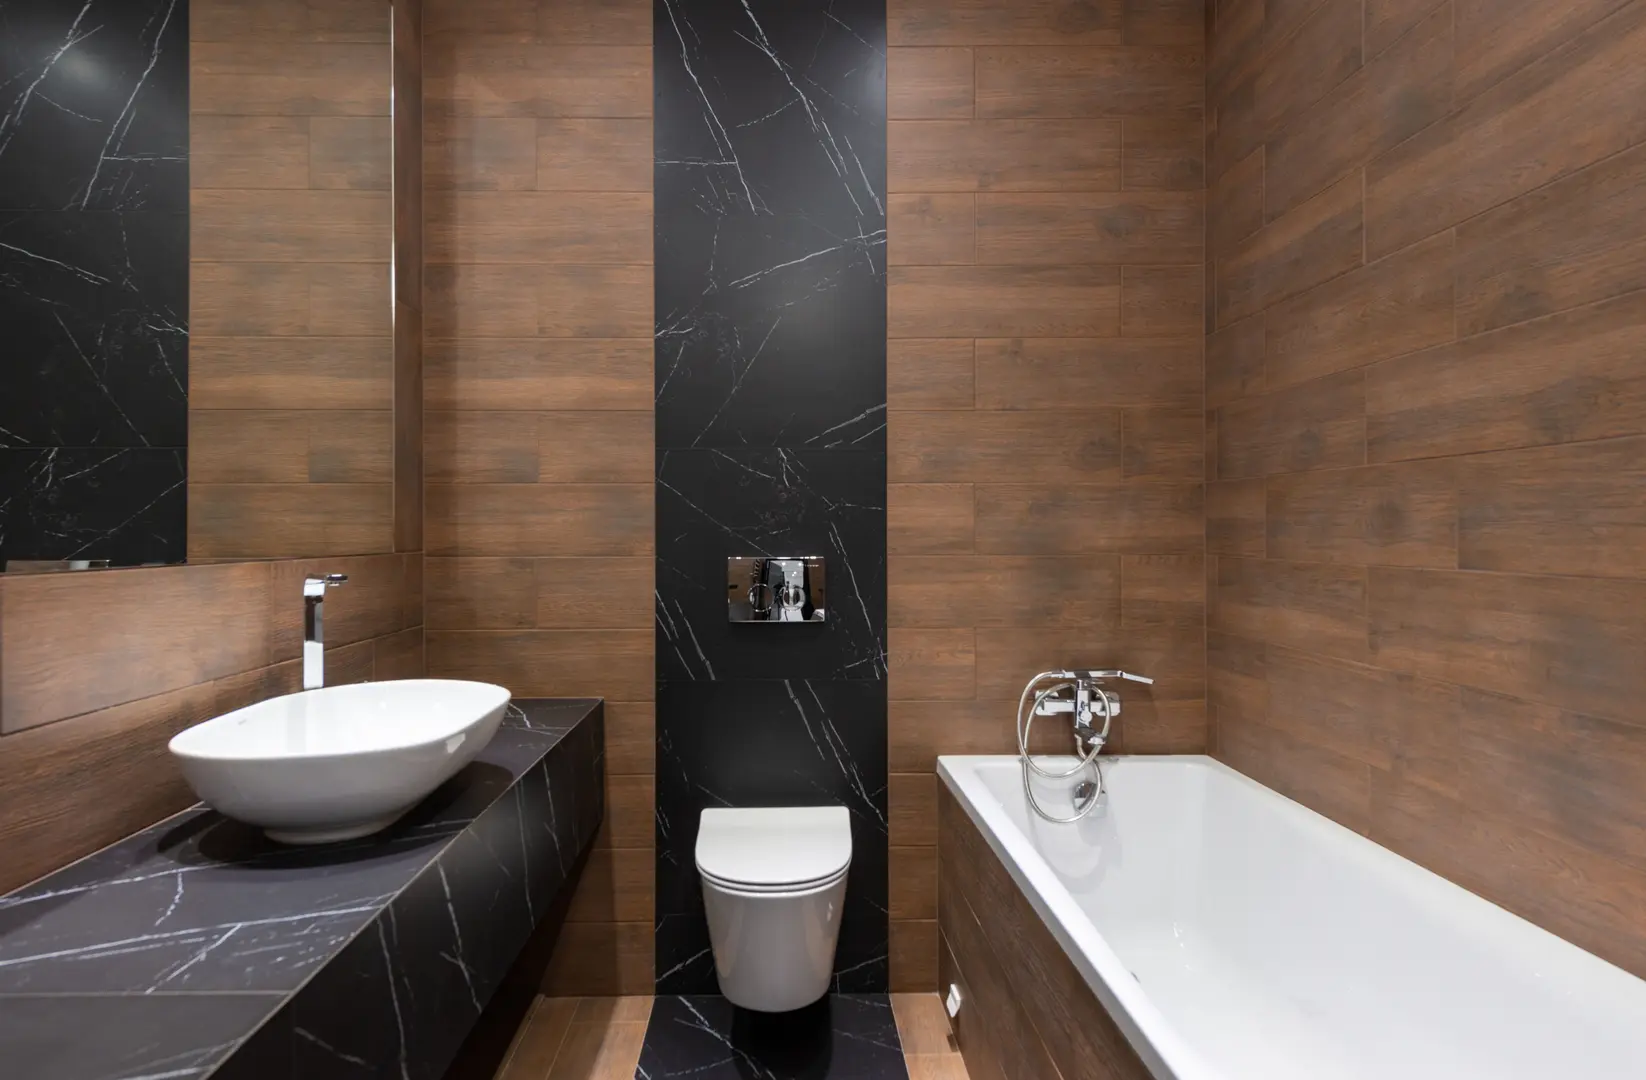
Panels are available in a variety of designs and finishes. A simple white panel can blend in with the bath, while a wood-effect or decorative panel can become a more prominent part of the bathroom design.
Some panels are supplied as one fixed piece. Others include a separate plinth that allows the visible height to be adjusted. Understanding which type you have is important before beginning the installation.
Materials Used to Make Bath Panels
Most bath panels are made from either acrylic or wood. Although both types perform the same basic function, their construction and fitting requirements differ.
| Material | Construction and characteristics | Fitting considerations |
|---|---|---|
| Acrylic | Usually formed around a fibreglass core | Lightweight, but requires appropriate support; rebated wood is used during fitting |
| Wood | Available in thicknesses from approximately 5–18mm | Provides a firm surface for fixing and is available in various finishes |
Acrylic panels are commonly chosen for their clean appearance and compatibility with white baths. Their fibreglass core provides structure, although the panel still needs to be positioned and supported correctly.
Wooden panels can be painted, finished or supplied with a decorative surface. Thicknesses range from around 5mm to 18mm, so check that your intended battens, screws and available space are suitable for the particular panel.
Regardless of material, inspect the panel before installation. Check its orientation, finished face and edges so that you do not accidentally mark or cut the visible side.
Choosing the Right Bath Panel Size
Bath panel dimensions generally correspond with standard bath sizes. Common panel lengths range from 1500mm to 1800mm, although the required size depends on the bath and how it is positioned.
Measure the exposed side of the bath rather than relying only on its stated dimensions. The wall finish, bath frame and arrangement of the end panel can all affect how the panel sits.
Before buying or cutting a panel, confirm:
- The length of the exposed front of the bath
- Whether an exposed end also needs a panel
- The vertical distance between the underside of the bath rim and the floor
- Whether the panel includes a separate plinth
- Whether the design can be trimmed or adjusted
Many panels are not adjustable. A fixed-size panel that is too short will leave an obvious gap, while one that is too long may not fit between the surrounding walls. Where adjustment is possible, check which edges can be cut without affecting the finished appearance or intended fixing points.
Unusually shaped baths need additional attention. Measure the full panel route, including any return around an exposed end, rather than treating the bath as a standard rectangle.
A Step-by-Step Guide to Fitting a Bath Panel
Fitting a bath panel yourself can reduce installation costs and is achievable with careful preparation. The general process involves checking the area, measuring the opening, cutting the panel or plinth if permitted, installing support battens, positioning the panel, securing it and sealing the joints.
Do not rush the early stages. Accurate measurements and a trial fit make it easier to achieve a straight, secure finish.
Tools and Materials for Bath Panel Installation
Gather everything you need before removing packaging or making cuts.
Essential tools include:
- Measuring tape
- Spirit level
- Hacksaw
- Suitable screwdriver
- Pencil for marking
- Screws appropriate for the panel and battens
Installation materials may include:
- Bath panel and, where supplied, a separate plinth
- Softwood battens
- Rebated wood for an acrylic panel
- Adhesive
- Silicone sealant
- Suitable materials for holding the panel temporarily in position
Use only fixings and adhesive that are appropriate for the panel material and the surface receiving the fixing. Check any fitting instructions supplied with the panel before starting.
Safety Checks Before You Start
Water and electricity are a dangerous combination. Before working around the bath, check for nearby electrical panels, wiring, fittings and signs of water leakage.
Take the following precautions:
- Make sure the floor and working area are dry.
- Do not work with electrical tools or fittings in contact with water.
- Check the location of electrical panels, cables and concealed services before drilling or inserting screws.
- Do not continue if water is leaking beneath the bath.
- Keep sealant, adhesive and loose tools out of the bath while working.
- Ensure the bath itself is stable before fitting the decorative panel.
Ignoring electrical hazards around water can lead to electrocution or serious injury. If you identify a leak, damaged electrical fitting or uncertain cable route, stop work and arrange for the underlying issue to be dealt with by a suitable professional. Simply avoiding a wet area does not resolve the cause of a leak.
Take Accurate Measurements
Start by measuring vertically from the underside of the bath rim to the floor. Take measurements at several points along the exposed side, as the floor or bath may not appear completely level.
Next, measure the horizontal length that the panel must cover. If the bath has an unusual shape, account for the full length and direction of the required panel rather than using only the bath’s nominal size.
Record:
- The height from the bath rim to the floor
- The front length between the walls or end panel
- The dimensions of any exposed bath end
- The required plinth height, if a separate plinth is included
- The position of battens and fixing points
Use a spirit level to check the intended top and side lines. This helps identify whether a gap is caused by the panel or by an uneven adjoining surface.
Compare your measurements with the panel before cutting. Remember that many bath panels cannot be adjusted, so verify that trimming is allowed.
Cut the Panel to Fit
If the panel is designed to be trimmed, mark the cutting line clearly. Measure again before making the first cut.
A hacksaw can be used to remove excess material. Work steadily so the cut remains even and the panel is not cracked, splintered or otherwise damaged. Do not force the blade or try to remove too much material quickly.
For a controlled result:
- Place the panel on a stable, supported surface.
- Keep the finished face protected while cutting.
- Follow the marked line carefully.
- Remove only the amount required.
- Check the cut edge before attempting the trial fit.
An uneven cut may leave visible gaps and make the panel difficult to seal. After cutting, return the panel to the bath and check its size before applying adhesive or installing permanent fixings.
Install Battens for an L-Shaped Panel
An L-shaped arrangement is required when both the front and one end of the bath are exposed. Battens provide support and create fixing points for the two panel sections.
Softwood is suitable because screws can be secured into it without relying on the decorative panel alone. Position the battens so the finished panels sit flush with the bath rim and meet neatly at the corner.
Use the spirit level to confirm that each batten is straight. Check the depth as well as the vertical position: a batten set too far forwards can make the panel project beyond the bath, while one set too far back may leave the panel recessed.
Before inserting screws, confirm that there are no pipes, electrical cables or other concealed services behind the fixing area.
Prepare and Fit the Plinth
Some panels have a separate plinth that closes the lower section between the main panel and the floor. If the plinth is supplied unattached, measure and cut it to the required size.
Carry out a dry fit first. The plinth should sit evenly without forcing the main panel out of alignment. Once you are satisfied with the size and position, attach it with suitable adhesive.
Apply enough adhesive to hold the plinth securely without allowing excessive material to squeeze onto the visible face. Remove stray adhesive according to its instructions before it sets.
Allow for any curing time stated by the adhesive manufacturer before putting pressure on the joint.
Check the Panel Position
Place the panel against the bath without adhesive to check how it meets the bath rim, wall, floor and any end panel.
Look for:
- A straight top edge beneath the bath rim
- An even meeting point with the wall
- Correct alignment with an adjoining end panel
- Space for the plinth, where applicable
- A position that does not interfere with pipes or fittings
Use the spirit level to confirm the panel is upright. If the panel will not stay in position during the check, hold it carefully or use temporary supports that will not mark its surface.
This trial fit is the best opportunity to correct small alignment issues. Do not begin sealing until the panel sits properly in its final position.
Secure the Bath Panel
Once the dry fit is satisfactory, remove the panel and apply adhesive to the required panel ends or contact areas.
Return the panel to the opening and align it with the bath, wall and floor. Press it carefully into position, making sure that it remains level. Where a wall batten has been installed, secure the panel to the batten using suitable screws.
Avoid overtightening the screws, as this could damage the panel or pull it out of alignment. Check the position after each fixing is inserted rather than waiting until all screws are in place.
For an L-shaped installation, confirm that the front and end panels meet neatly. Both sections should be supported rather than relying only on their corner joint.
Seal the Edges and Joints
The final step is to create a watertight finish with silicone sealant. Apply it along the necessary edges and joints, particularly where the panel meets the wall.
Run a controlled bead along the joint, then smooth it to produce a continuous finish. Pay attention to corners and the meeting point between front and end panels, as irregular gaps can be difficult to seal neatly.
Wipe away unwanted sealant before it cures, taking care not to disturb the finished bead. Follow the sealant’s stated curing time before exposing the area to water.
A smooth, complete seal helps protect the installation from splashes while giving the panel a clean, professional-looking edge.
Fitting an Acrylic Bath Panel
The process for fitting an acrylic bath panel is broadly similar to the method used for a wooden one. You still need to measure the opening, check the panel size, prepare the supports, trial-fit the panel, secure it and seal the joints.
The main difference is the support arrangement. Rebated wood is required when fitting an acrylic bath panel. The rebate provides a suitable location for the panel edge and helps it sit correctly beneath the bath.
Position the rebated wood according to the panel profile, checking that the acrylic face aligns with the bath and adjoining wall. Carry out a dry fit before adding adhesive or permanent fixings.
Because an acrylic panel has a fibreglass core, any permitted cutting should be completed carefully with a hacksaw to avoid an uneven edge or damage. Confirm that the particular panel can be trimmed before altering it, as many models are supplied at a fixed, non-adjustable size.
Once the panel is aligned and supported, secure it as directed, then apply silicone sealant to the wall joint and other exposed joins. Smooth the sealant to complete the installation and leave the panel with a neat, watertight finish.