How to Fix a Sagging Shower Curtain Rod
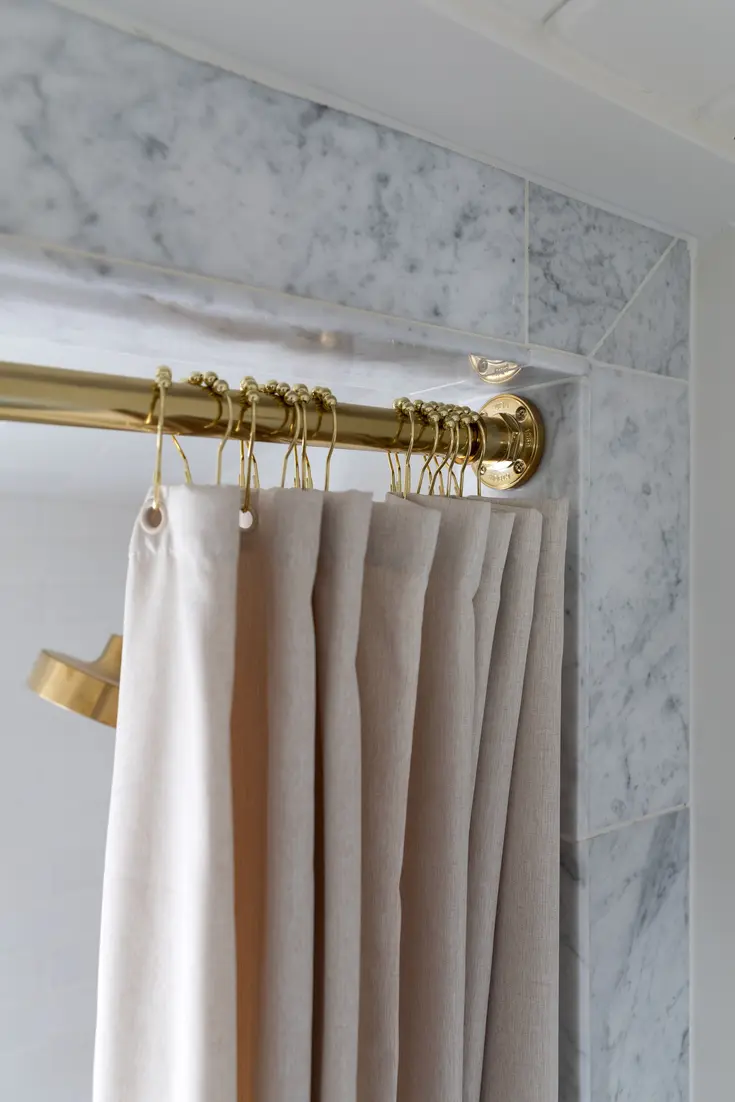
A sagging shower curtain rod usually has one of four causes: too much weight on the rod, a span that is too long for the rod, loose or poorly anchored brackets, or a tension rod that has lost its grip. Start by removing the curtain and hooks, then check whether the rod itself is bent and whether either wall fitting moves. Tighten or re-anchor loose hardware, reduce the load, and add a suitable center support when the rod is fixed and the installation allows it. If the rod is permanently bent or the span is too large, replacement is usually the cleaner fix.
Source: buyrailings
First, identify why the shower rod is sagging
Do not begin by forcing the rod upward. Take down the curtain and rings or hooks so you can inspect the rod without their weight.
Look for these clues:
- The brackets move: The problem is likely loose screws, failing anchors, or brackets that were not secured to a suitable surface.
- The rod is straight without the curtain but sags when loaded: The curtain, liner, hooks, or extra accessories may be creating too much weight for the rod or its span.
- The rod remains curved after it is removed: It has probably been overloaded or is not rigid enough for the opening.
- Only the center drops on a long fixed rod: The rod may need a center support or a stronger replacement.
- A tension rod slides, twists, or falls: Its spring or adjustment mechanism may no longer be holding securely, or the wall surfaces may not provide enough grip.
Check the wall around each bracket as well. If the drywall is cracked, crushed, or pulling away, simply tightening the existing screw may make the damage worse.
Fix 1: Reduce the weight on the rod
A shower curtain rod supports more than the curtain itself. A liner, fabric curtain, heavy rings, decorative hooks, and items hung from the rod all add load. A wet curtain can also place more stress on a weak or undersized installation.
Remove anything that does not need to stay on the rod. Avoid hanging towels, clothing, bath accessories, or storage baskets from it. If the curtain and liner are unusually heavy, consider a lighter liner or a simpler set of hooks.
After reducing the load, reinstall the curtain and check whether the rod returns to a level position. If it still droops noticeably, the cause is probably the rod, its span, or its mounting rather than the curtain alone.
Fix 2: Tighten or reposition loose brackets
For a fixed shower rod, remove the curtain and support the rod while you inspect the mounting hardware. Tighten loose bracket screws carefully, but stop if the screw spins without becoming firm or if the wall surface starts to crumble.
A loose screw may indicate that the anchor has pulled out of the wall. In that case, remove the bracket and examine the existing hole. The appropriate repair depends on the wall construction and the bracket design. A screw should be secured into a suitable structural point when available, or paired with a wall anchor rated for the hardware and surface. Do not assume that a generic plastic anchor is adequate for every rod, wall, or load.
If the bracket was installed into drywall, the repair may require a different anchor or a new mounting position. If you are renting, check your agreement before drilling new holes. When moving the bracket, keep both ends at the same height and use the original hardware only if it is still suitable for the new installation.
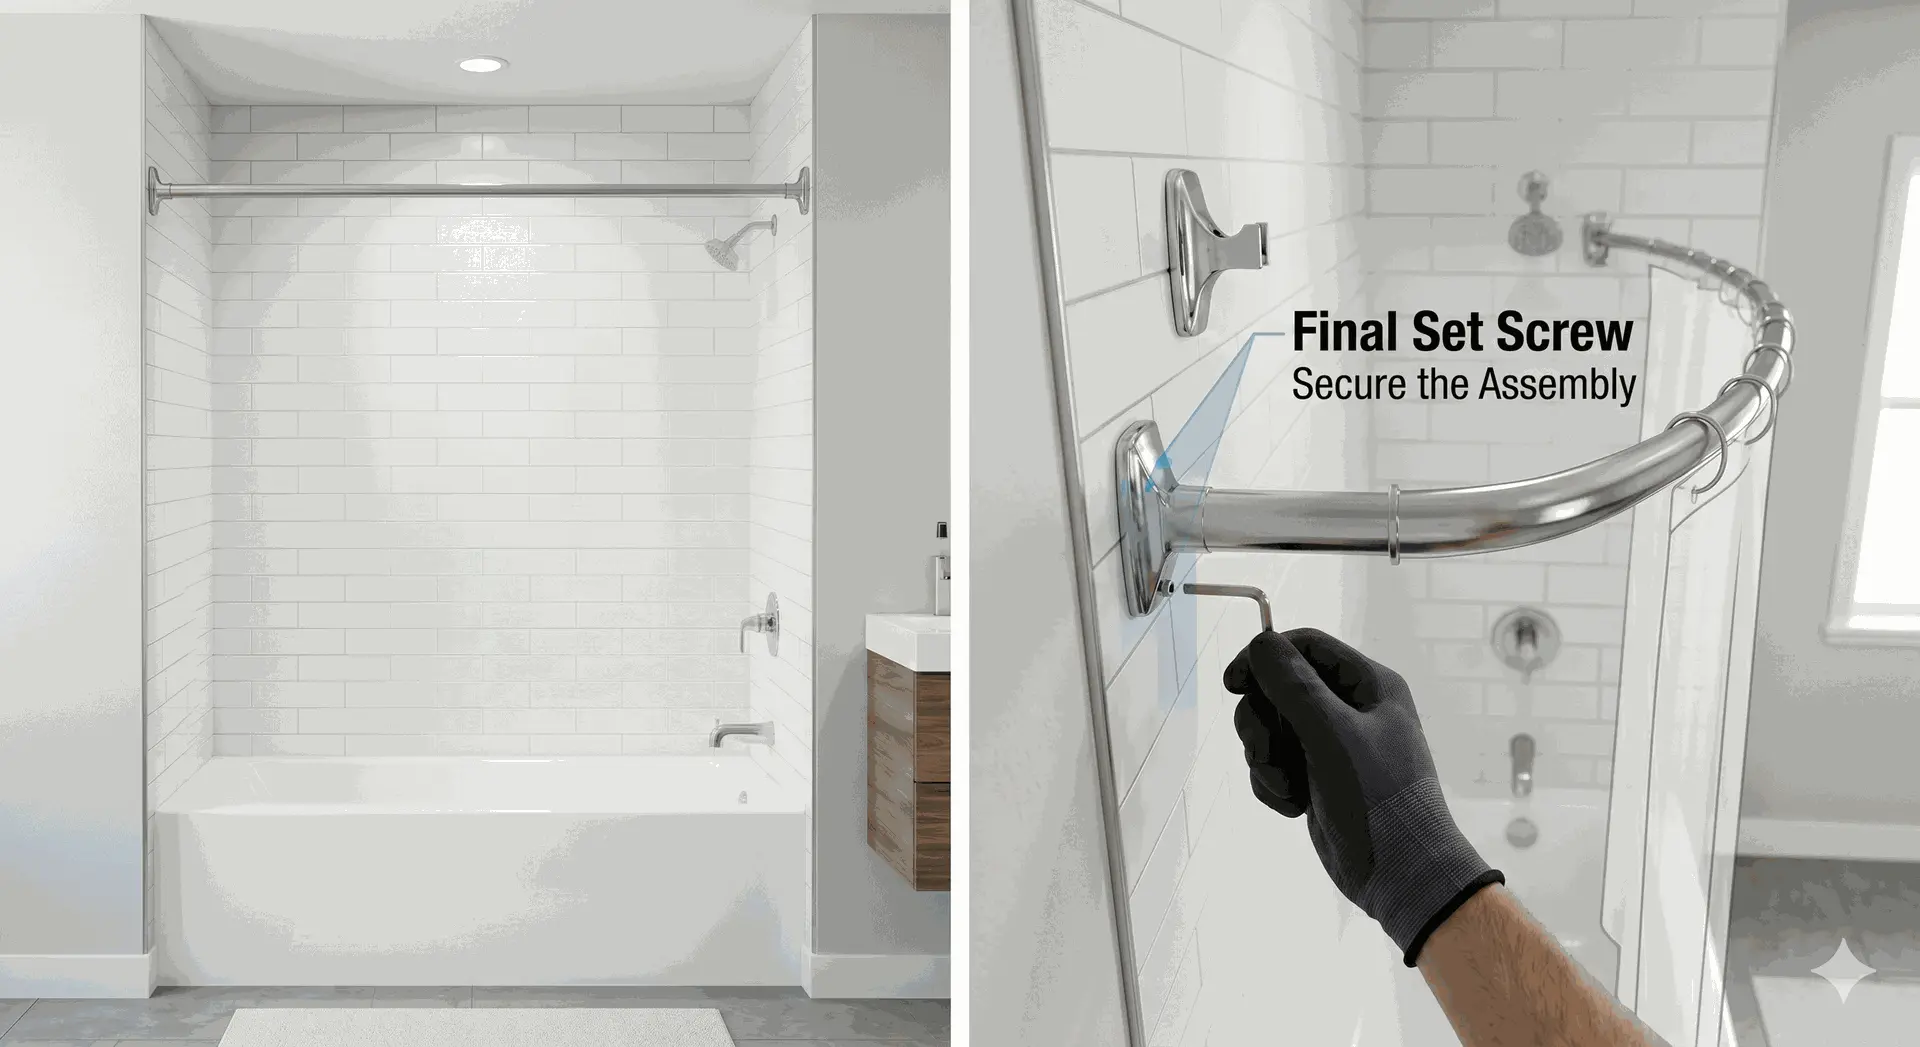
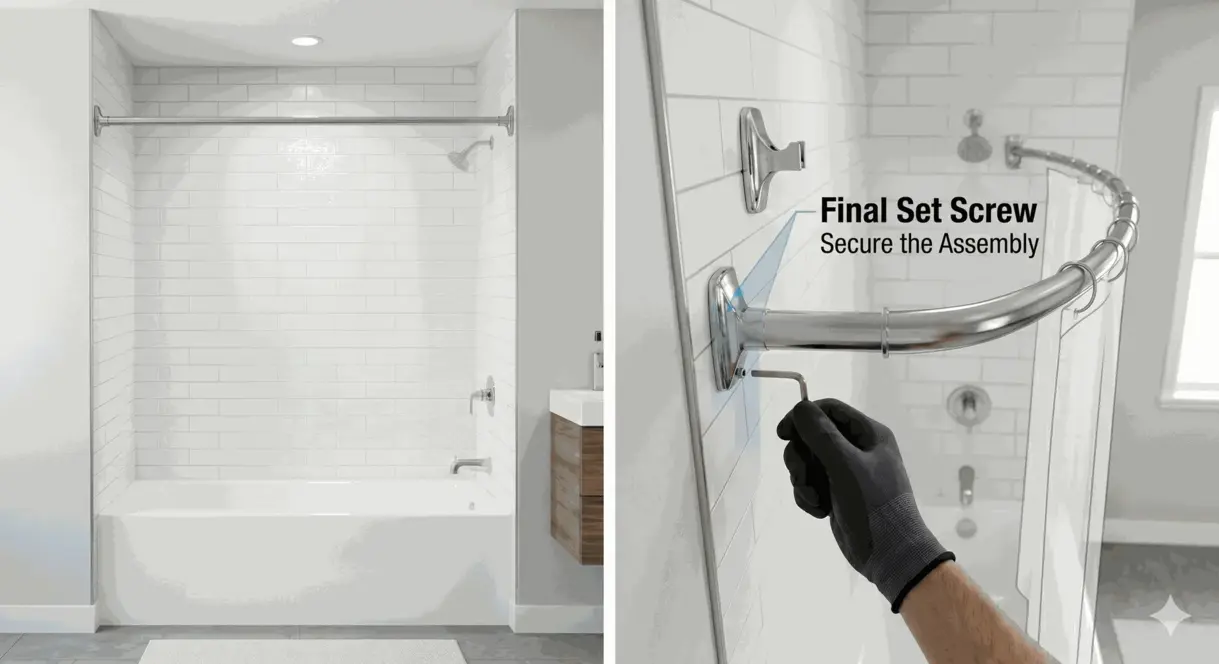
Some rods also use small set screws to lock the rod inside the bracket. Check the installation instructions if available, then tighten those screws with the correct tool. A set screw that is missing, stripped, or too short may require replacement hardware rather than additional force.
Fix 3: Add a center support to a fixed rod
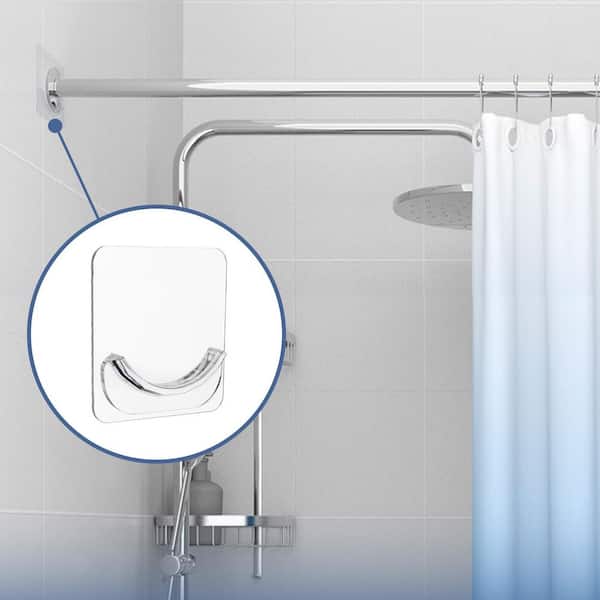
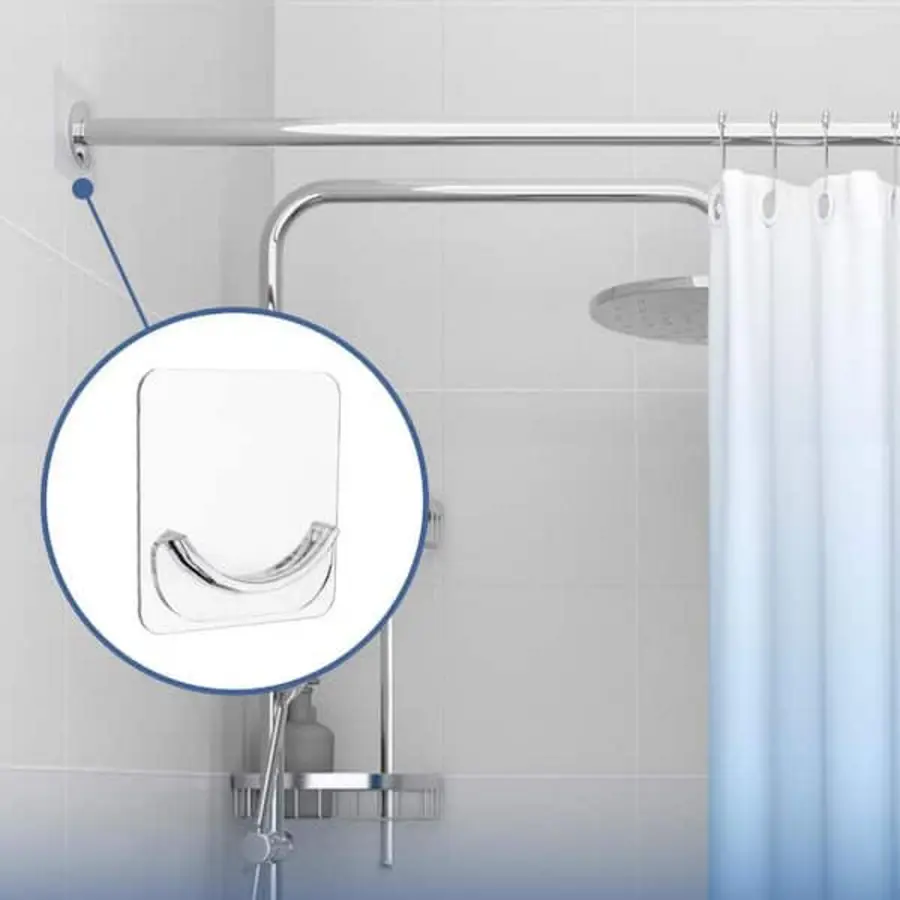
A center support is one of the most practical ways to stop a long fixed rod from drooping in the middle. It works by reducing the unsupported span, so the rod is not carrying the curtain’s weight across the entire opening.
Source: images.thdstatic
Before installing one, confirm that the rod and support are designed to work together. A center bracket may attach to the ceiling, a back wall, or another suitable surface depending on the rod style. The mounting point must be able to hold the support securely, and the support must not interfere with opening the curtain or with the shower space.
A center support is usually more appropriate for a permanently mounted rod than for a basic tension rod. Do not improvise by attaching a cable, hook, adhesive item, or unrelated bracket unless it is specifically suitable for the load and surface. An improvised support can pull away from the wall or place stress on the rod ends.
To install a compatible support:
- Remove the curtain and hold the rod level.
- Mark the center of the unsupported span and confirm that the proposed support will align with the rod.
- Check for pipes, wiring, or other obstructions before drilling.
- Install the support with hardware appropriate for the ceiling or wall material.
- Secure the rod according to the support manufacturer’s instructions.
- Rehang the curtain and check that it slides freely without catching.
If the support would require drilling into a questionable surface, or if the rod is a curved or wraparound design, replacing the rod with a model intended for that layout may be safer and simpler.
Fix 4: Stabilize or replace a tension rod
Tension rods do not use ordinary wall brackets. They depend on spring pressure or an expanding adjustment mechanism pressing against two opposing walls. They can begin to droop when the adjustment loosens, the rod sections twist, the end pads slip, or the curtain load is too great.
Remove the rod and inspect both end pads and the overlapping sections. Clean dust or residue from the wall contact areas, if appropriate for the wall finish, and make sure the pads sit flat. Reinstall the rod according to its instructions, keeping it level and applying only the amount of tension the product is designed to use.
If the overlapping sections rotate and allow the rod to shorten, some tension rods have a locking feature or a manufacturer-approved way to secure the adjustment. Follow the rod’s instructions rather than drilling into it automatically. Drilling or adding a screw can damage the mechanism, complicate removal, or create a problem in a rental bathroom.
A tension rod that repeatedly slips, bends, or cannot support the curtain should be replaced with a better-suited rod. A fixed rod with properly mounted brackets is generally the more dependable choice when the wall construction and lease terms allow permanent hardware.
When replacing the rod is the best fix
Replacement makes sense when:
- the metal or plastic rod remains bent after unloading;
- the rod is too long or flexible for the opening;
- the brackets are damaged or no longer match the rod;
- the tension mechanism no longer holds reliably;
- the wall surface cannot securely support the existing mounting method; or
- a curved, wraparound, or unusually wide installation needs hardware designed for that shape.
Measure the distance between the finished mounting surfaces before buying a replacement. For a fixed rod, also note the bracket locations, rod shape, and available mounting surfaces. For a tension rod, measure the opening at the height where it will sit and compare that measurement with the rod’s stated adjustment range.
Choose a rod with mounting hardware suited to your wall rather than choosing only by finish or appearance. If the opening is long, look for a more rigid design or one that allows a compatible center support.
Check the curtain after the repair
Rehang the liner and curtain, then slide them from end to end. The rod should remain level, the hooks should move without snagging, and the curtain should not pull a bracket away from the wall. Check the installation again after the first few uses, especially if you repaired an anchor or changed the rod position.
If a bracket continues to pull loose, the wall shows damage, or you cannot identify a safe mounting point, stop tightening and get advice from a qualified hardware or home-repair professional. A sagging rod is inconvenient, but a falling rod can damage the wall, tub, or shower fixtures. The lasting fix is the one that matches the rod’s weight, span, and mounting surface—not simply the one that makes the rod look level for the moment.
References
- DIY Shower Curtain Rod Installation: A Step-by-Step Guide for a Perfect Hang - HomeFixMagic. (n.d.). https://homefixmagic.com/how-to-hang-shower-curtain-rod
- How do I repair a sagging curved shower rod?. (n.d.). https://www.reddit.com/r/HomeImprovement/comments/x9vr2n/how_do_i_repair_a_sagging_curved_shower_rod
- Garrett’s Ingenious trick for Keeping a Tension Shower Curtain Rod From Falling Down — The Grit and Polish. (n.d.). https://www.thegritandpolish.com/blog/how-to-keep-a-tension-shower-curtain-rod-from-falling-down
- Unlock the Ease of Briofox Shower Curtain Rod Installation - HomeFixMagic. (n.d.). https://homefixmagic.com/how-to-install-briofox-shower-curtain-rod
- How to Secure a Curved Shower Curtain Rod. (n.d.). https://www.justanswer.com/home-improvement/ilodd-curved-shower-curtain-rod-that-s-giving-us.html
- How to Install a Curved Shower Rod. (n.d.). https://www.signaturehardware.com/ideas-how-to-install-curved-shower-rod.html
- How to Install a Shower Curtain Rod | Foter. (n.d.). https://foter.com/how-to-install-a-shower-curtain-rod
- Fixing a drooping wrap-around shower rod?. (n.d.). https://www.facebook.com/groups/525026358915707/posts/1536080504476949