How to Fix a Leaking Shower Head: Find the Source
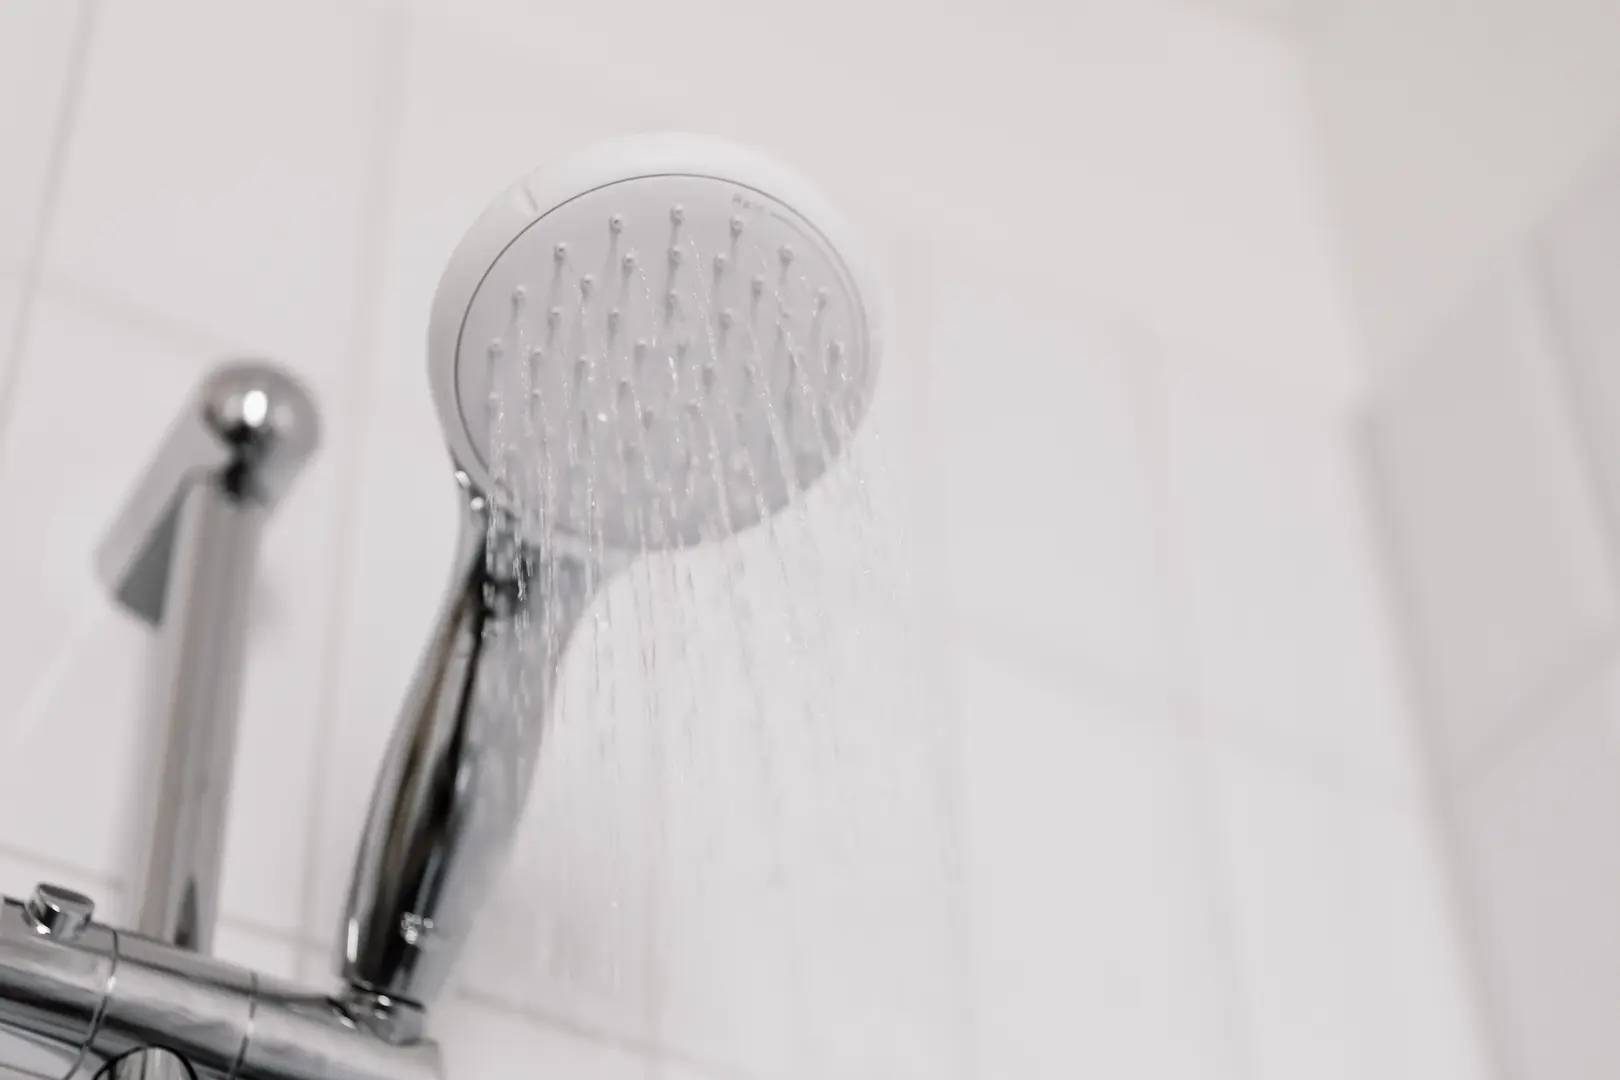
A dripping shower head is a common bathroom problem that can waste water, raise bills, and damage your home. Many leaks are easy to fix without a plumber. This guide explains how to fix a leaking shower head, starting with the key diagnostic question: is it a real leak or just leftover water?
How to Tell If Your Shower Head Is Really Leaking
Not every drip at the shower head is a genuine leak. Before you take the fixture apart, check whether the water is actually escaping on its own or simply draining from the head after a shower. A shower head that drips while the faucet is running is often leaking through the valve rather than the head itself. The true source may be a faulty valve cartridge, a worn drain gasket, or tile waterproofing failure. Finding the source prevents you from replacing parts that were never broken.
Normal dripping vs actual leak
Don’t worry if a few drops fall after you turn off the water. This is called run-on, and it’s normal: shower heads hold water inside, and that leftover water needs to drain once the valve closes.
A real leak is different—the head keeps dripping long after use, drips all day, or releases water from places other than the spray holes. Timing tells you where the issue lies:
- Dripping when the water is off usually points to the valve cartridge, not the shower head.
- Leaking from connections or the head body when the water is on points to the shower head itself.
Common signs of a leaky shower head
Watch for these signs that the drip is a genuine leak:
- Water escaping from unusual places – check the swivel joint, threads, hose connections, and holder joints.
- Visible mineral deposits – white or off-white lines around the fixture signal buildup that can clog nozzles and force water elsewhere.
- Unusual sounds – a dripping sound behind the wall means the problem is out of sight and needs immediate attention.
- Damage in nearby areas – water stains on the ceiling below or wet spots on the floor mean the leak has caused real harm.
A leaky shower head wastes water at an impressive rate. According to the EPA, it can waste up to 3,000 gallons per year. The extra moisture can breed mildew and mold, rust the fixture, stain bathroom surfaces, and damage walls. The sound of dripping water can be just as stressful, so this is worth fixing sooner rather than later.
Fixing Leaks When the Water Is On
If the shower sprays water from unexpected places as soon as it’s turned on, you have an active leak. These leaks usually appear at connection points or through nozzles blocked by mineral deposits, and most can be fixed without calling a plumber.
Tighten the connection to the shower arm
The most common cause of an active leak is a loose connection between the shower head and the shower arm, the pipe that extends from the wall. Regular use and water pressure can loosen it over time.
Here’s how to tighten it:
- Wrap a soft cloth around the shower head to protect the finish.
- Grip the head and turn it clockwise to tighten.
- Apply enough pressure to stop the leak; hand tightening usually works.
Don’t overtighten. Too much force can damage the threads or compress the internal washer so it can’t seal properly. If hand tightening doesn’t do the job, use an adjustable wrench with a protective cloth and only minimal extra pressure.
Clean or replace the washer or O-ring
The rubber washer or O-ring inside the shower head creates the watertight seal. When it flattens, hardens, or cracks, the head starts to drip.
To inspect it, disconnect the shower head by turning it counterclockwise. If the connection is stuck, wrap a cloth soaked in equal parts vinegar and hot water around it for 30 minutes to dissolve mineral deposits. Then check the rubber part, usually found at the swivel ball joint. If you see cracks, stiffness, or flattening, replace the washer or O-ring with one of exactly the same diameter and thickness.
Remove mineral buildup from nozzles
Hard water minerals can clog the nozzles and force water out through other openings. Cleaning the head removes the blockage and usually stops the leak.
Soak the entire shower head in white vinegar for 30 to 60 minutes. Vinegar dissolves limescale and sediment without damaging the finish. Use a toothbrush to scrub stubborn deposits, and clear individual blocked nozzles with a toothpick or a straightened paperclip.
Avoid abrasive cleaners, bleach, and toilet bowl cleaners. These can ruin the finish and damage internal parts.
Use plumber’s tape to create a better seal
If tightening the shower head and replacing the washer don’t stop a leak at the arm connection, plumber’s tape can close the gap. Also called thread seal tape or PTFE tape, it creates a watertight seal between threaded parts.
Here’s how to apply it:
- Remove the shower head completely.
- Clean old tape and debris from the shower arm threads.
- Wrap new tape clockwise around the threads 2 to 3 times.
- Reattach the shower head and hand tighten.
The tape also creates an electrical barrier between different metals, which helps prevent rust and makes future removal easier. You won’t need the tape if the shower head already has a rubber gasket, since the gasket forms the seal on its own.
After any of these repairs, turn on the water and check the connection. If the head still leaks, the problem may be in the valve that controls water flow.
Fixing Leaks When the Water Is Off
A shower head that drips with the water turned off points to a deeper problem. In most cases, the source is a faulty valve cartridge behind the shower handle.
Fixing Leaks When the Water Is Off
Because the cartridge controls the flow of water to the shower head, a worn cartridge can allow water to creep past even when the handle is in the off position. The following steps cover checking, removing, and replacing the cartridge, and flushing the system afterward.
Check for a faulty valve cartridge
The cartridge controls water flow and temperature whenever you turn the handle. It typically lasts 10 to 15 years. When it starts to fail, you may notice the handle becoming hard to turn, sticking, temperature changes, or a drop in pressure.
The O-rings and seals inside the cartridge break down, dry out, and corrode over time, and hard water speeds up the process. A dripping shower head with the water off is one of the clearest signs that the cartridge has lost its ability to keep water contained.
Before you replace anything, identify the exact cartridge. Removing the old cartridge and taking it to the hardware store is the most reliable way to get a match.
Steps to remove and replace the cartridge
Replacing the cartridge requires careful work. Start by shutting off the water supply at the dedicated valve or main house line, and confirm the water is off before you begin.
To remove the old cartridge:
- Remove the handle cap to reach the mounting screw.
- Remove the handle and set it aside.
- Remove the escutcheon plate screws and take off the decorative wall cover.
- Locate the U-shaped retaining clip that holds the cartridge and remove it with a flat-head screwdriver.
- Pull the cartridge out. If it’s stuck, use a cartridge puller to avoid damaging the valve.
- Bring the old cartridge to the hardware store for an exact match.
To install the new cartridge:
- Apply a little lubricant to help it slide in.
- Push it into the valve, lining up any tabs with their grooves.
- Replace the retaining clip.
- Reattach the escutcheon plate and the handle.
With pull-knob faucets, an exact-match replacement valve can drop in without replacing the whole faucet unit, but the replacement must be the same faucet; otherwise the procedure may differ.
When to flush the system
After the new cartridge is in place, flush the system before reattaching the shower head. This removes loose debris and helps prevent mineral buildup from damaging the new part.
Leave the shower head off, turn the water back on, and let it run for 1 to 2 minutes. Then reattach the head and test everything. This step is especially helpful if you have hard water or old pipes that can shed debris. If the drip continues after a new cartridge, a professional should take a look.
What to Do If the Leak Is Behind the Wall
Hidden leaks behind walls can damage your home severely if they aren’t addressed quickly. These are the situations where a slow drip can eventually require opening up the wall and making major repairs.
Signs of hidden leaks
Hidden shower leaks often show themselves through subtle clues. Water stains, mold, mildew, or walls that feel spongy point to moisture inside the wall. The ceiling below the bathroom may develop yellow or brown stains as water seeps down from above.
Other warning signs include:
- A musty or damp smell that stays after cleaning.
- Peeling paint, bubbling drywall, or warped baseboards near the shower.
- Tiles that sound hollow when tapped or have come loose.
- Unexpected increases in your water bill.
In one user-reported case, water seeped through tile grout and ran down the wall behind the tiles, damaging a wooden floor and wall. The leak persisted for years and caused slow damage that eventually made the repair larger and more invasive.
How to confirm a behind-the-wall issue
Start by letting the shower and the whole bathroom dry out completely. Then inspect the walls and floor for damp spots.
A leak detection professional can fill the shower with water and use thermal cameras or UV dyes to find where the moisture is escaping. These tools trace the path of the leak without tearing the room apart.
You could also make a small inspection hole near a wet spot between wall studs, but be careful not to hit any pipes. Moisture meters can confirm that dampness is present, but they may not pinpoint the exact source.
Why this may require a professional
Hidden shower leaks don’t respond well to DIY fixes. Reaching the source usually means cutting through tile, drywall, or backer board, using specialized tools like thermal cameras and moisture meters, and working safely around pressurized water lines.
Delaying a professional repair raises the risk of mold inside walls, decay in structural framing, higher water bills, and insurance issues if the damage results from neglect.
In the grout case mentioned earlier, re-grouting, re-siliconing, and applying grout sealer all failed to stop the leak. The suggested fix was tile removal and a full waterproofing rebuild. Grout sealer alone couldn’t help because the failure was in the waterproofing layer behind the tile.
When to Repair vs Replace the Shower Head
Once you’ve tried the simple fixes, the next decision is whether to repair the existing shower head or replace it. The answer depends on the fixture’s condition, age, and level of damage.
How to inspect for cracks or damage
Unscrew the shower head and examine all the parts with a flashlight. Look closely at the fitting and the seal for cracks, wear, or damage.
Check these areas:
- The shower head fitting and surrounding seals.
- The valve, O-rings, and washers inside the faucet component.
- The shower head body for cracks.
- Signs of rust or corrosion.
Also notice where water escapes during use. If hard water has plugged some nozzle holes, the water may be forcing its way out through other openings.
Cost comparison: repair vs replacement
Cost often decides the matter. Professional repair of minor shower head issues costs $50 to $150, covering cleaning, readjustments, or replacing seals and washers. New shower head installation runs $100 to $300, including labor and materials.
| Option | Typical Cost |
|---|---|
| Professional repair of minor issues | $50-$150 |
| New shower head installation | $100-$300 |
Repairs can seem cheaper, but repeated small fixes add up, especially when the same root problem returns. For an older fixture with multiple issues, replacement is often the more economical long-term choice.
Choosing a new shower head if needed
Several signs indicate replacement rather than more repairs:
- Low water pressure that cleaning doesn’t fix.
- Leaks that persist after repairs.
- Visible cracks or damage.
- Rust or heavy mineral buildup.
- Stubborn mold that won’t go away.
Modern shower heads produce strong pressure while using less water. Installation is simple: unscrew the old head, apply fresh plumber’s tape to the shower arm threads, and screw in the new fixture. While it’s off the wall, it’s also a good time to check the shower head height.
Final Thoughts
You can fix many shower head leaks yourself. That constant drip wastes water and adds cost to your bills, but the right approach depends on leak timing.
If water escapes while the shower is running, the problem is usually a loose connection, a worn washer, or mineral buildup. If the head drips with the water off, the valve cartridge is the likely cause. Hidden leaks behind the wall need a professional to prevent serious structural damage.
Quick action prevents small leaks from becoming large ones. With basic tools and the steps in this guide, you can quiet most drips. Know when to call a plumber, especially for valves and hidden leaks.
If your fixture is too damaged or repairs don’t hold, a modern low-flow shower head is a practical long-term choice. It will save water while still delivering strong pressure, and your bathroom will finally be free of that drip-drip-drip.