How to Hang a Bathroom Mirror on Drywall Safely
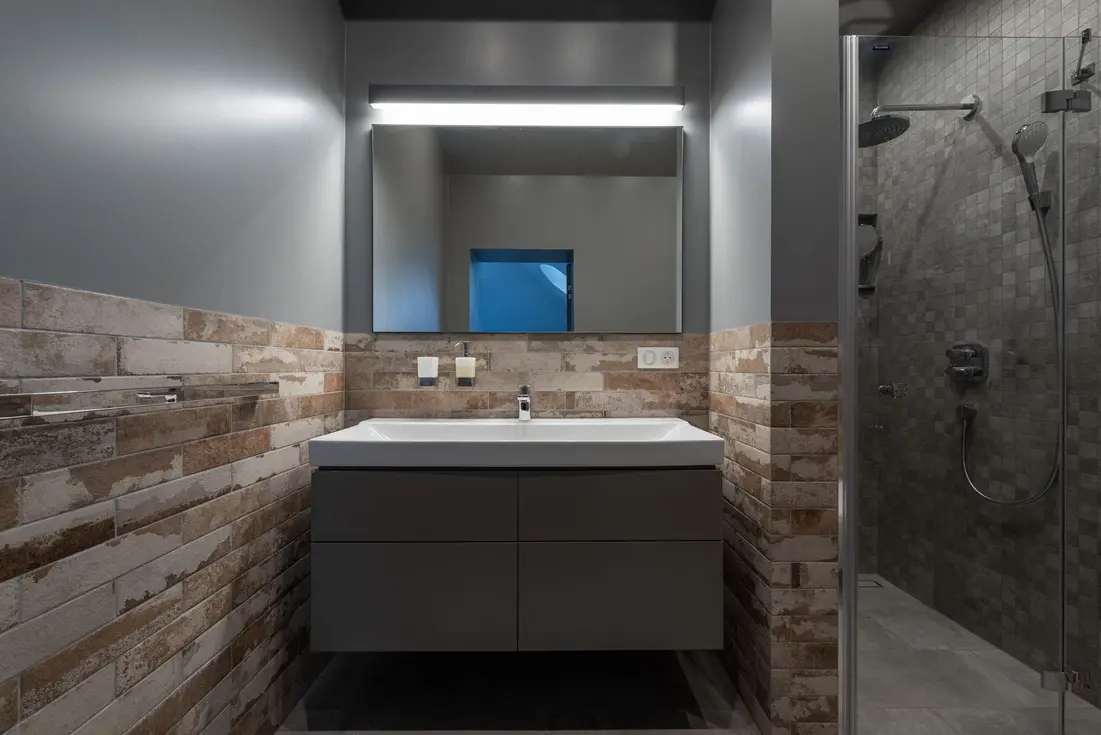
Mounting a bathroom mirror on drywall safely starts with three checks: determine the mirror’s actual weight, locate any wall studs, and choose hardware rated for the mirror and the wall construction. A small framed mirror may hang from a screw placed in a stud or a suitable drywall anchor. A heavy, wide, frameless, or unusually shaped mirror may need a cleat, several fixing points, or professional installation.
Do not choose an anchor by appearance alone, and do not assume that a screw in drywall can support any mirror. Check the mirror manufacturer’s instructions, the anchor’s load rating, and the wall’s condition before drilling.
Before you drill
Identify the mirror’s hanging system
The back of the mirror determines the installation method. Common arrangements include:
- D-rings or sawtooth hangers: Usually found on framed mirrors. These may use one or two wall fixing points.
- Picture wire: A wire across the back of a frame can hang from a suitable wall hook or screw, but the fixing still needs to match the mirror’s weight.
- Rear brackets or cleats: A horizontal bracket can spread the load across more than one fixing point. Some mirrors include a wall plate and a matching bracket on the mirror.
- Frameless mirror clips: These hold the edges of a mirror against the wall. The clips must be installed in the specified positions and supported by appropriate wall fixings.
Do not replace a supplied cleat or bracket with a single picture hook unless the manufacturer specifically allows that method. Likewise, avoid drilling through the mirror unless it was designed and prepared for that type of installation.
Weigh the mirror
Use the mirror’s listed shipping or product weight if it is reliable, or weigh it before choosing hardware. Include the frame and any attached shelf or lighting components. If the mirror is too large or awkward to handle safely, ask another adult to help rather than trying to lift it alone.
Compare the mirror’s weight with the working load listed for the fixing. Use the instructions for the exact anchor, screw, hook, or cleat rather than relying on a general chart. The stated rating can depend on drywall thickness, installation quality, the number of fixing points, and whether the anchor is installed correctly.
Find the studs
A stud provides a more secure fixing point than drywall alone. Use a stud finder, then confirm the likely location with small measurements or a discreet test hole where appropriate. Stud spacing and wall construction vary, so do not assume a stud is exactly where expected.
If the mirror’s hanging points do not line up with studs, you may be able to use suitable drywall anchors. Another option is a cleat or mounting rail with several properly selected fixings. Do not force a fixing into a location that conflicts with a stud, pipe, cable, or other concealed service.
Choose the right drywall fixing
The correct bathroom mirror wall fixing depends on the mirror weight, the number of fixing points, the drywall or plasterboard thickness, and the hardware supplied with the mirror.
- Fixing into a stud: A screw or other suitable fastener can be installed into the center of the stud. Select its size and type according to the hanging hardware and the wall construction.
- Self-drilling drywall anchors: These are convenient for lighter installations, but their stated capacity and installation requirements vary. They may not suit a heavy mirror or a fixing point that will be pulled away from the wall.
- Expansion anchors: These open or expand behind the drywall. They must be matched to the wall thickness and installed with the specified hole size.
- Toggle-style anchors: These can spread the load behind hollow drywall and may suit some heavier applications, but they require enough open space behind the wall and careful installation.
- Cleats or rails: A properly designed cleat can distribute the mirror’s load across several attachment points. The cleat itself still needs fixings suitable for the wall and the expected load.
Use corrosion-resistant hardware where the bathroom environment calls for it, and follow the product instructions. A drywall anchor is not automatically suitable just because it fits the screw supplied with the mirror.
How to hang a bathroom mirror on drywall
1. Plan the position
Hold the mirror or a cardboard template against the wall and check its position from several angles. Mark the intended top, sides, and hanging points. Confirm that the mirror will not interfere with a faucet, light fitting, cabinet door, shower door, or other bathroom fixture.
If the mirror is above a vanity, leave enough practical clearance for the faucet and for cleaning around the basin. The exact position depends on the mirror, vanity, wall, and users, so use the actual layout rather than a universal height rule.
2. Mark the fixing points
Measure from the mirror’s edges to its D-rings, brackets, cleat, or clips. Transfer those measurements to the wall. For a two-point installation, measure carefully between the fixing points; a small error can make the mirror sit crooked or place stress on the hardware.
Mark the center of each stud or the exact location for each drywall anchor. Check the marks with a level, especially when using a horizontal cleat or multiple clips.
3. Drill the pilot holes
Use the drill-bit size specified for the selected anchor or fastener. A pilot hole into a stud should be appropriate for the screw and the stud material. For a drywall anchor, do not make the hole larger than instructed, since an oversized hole can prevent the anchor from gripping correctly.
Drill straight into the wall and stop if the hole behaves unexpectedly, if you encounter resistance that does not match the wall material, or if the location may contain a concealed cable or pipe. Keep dust away from the vanity and protect the sink before drilling.
4. Install the anchors or wall hardware
Install each anchor according to its instructions. Some anchors sit flush with the drywall, while others need to be driven, folded, or expanded behind it. Do not overtighten; crushing the drywall can weaken the fixing.
When mounting into a stud, drive the fastener into the stud rather than relying on the surrounding drywall. For a cleat or rail, use every fixing point required by its instructions and make sure the rail is level before fully tightening it.
5. Attach the mirror
For a framed mirror, place the D-rings, wire, or rear hardware onto the installed screws or hooks. For a cleat system, lift the mirror onto the wall cleat until the parts fully engage. For mirror clips, set the mirror into position carefully and install the retaining clips without overtightening against the glass.
Use two people for a large or heavy mirror. One person can support the mirror while the other guides the brackets or clips into place. Keep fingers clear of the lower edge and do not rest an unsupported mirror on a fragile vanity surface.
6. Check the finished installation
Confirm that the mirror is level, sits flat where intended, and does not shift when touched lightly. Look for loose screws, damaged drywall, tilted clips, or a cleat that has not fully engaged. If the mirror moves, remove it and correct the fixing rather than trying to stabilize it with decoration or adhesive.
When adhesive is not enough
Adhesive alone should not be treated as a universal solution for hanging a bathroom mirror on drywall. Its suitability depends on the specific product, mirror backing, wall finish, moisture exposure, preparation, and load. Some mirrors are designed for adhesive mounting, while others require mechanical support.
Follow the mirror and adhesive manufacturer’s instructions exactly. Do not use adhesive to compensate for an undersized anchor, damaged drywall, or missing bracket.
When to hire a professional
Professional installation is the safer choice when the mirror is very heavy, unusually large, frameless with limited fixing points, mounted over a fragile surface, or difficult to lift and position. It is also sensible when the wall is damaged, the stud layout is unclear, the mirror requires special brackets, or you cannot identify what is behind the drywall.
Stop the installation if the drywall crumbles, an anchor spins without gripping, a stud appears damaged, or the mirror hardware does not match the wall position. A mirror that is securely supported at several appropriate points is safer than one mounted quickly with a convenient but unsuitable fixing.