How to Install a Bathroom Towel Ring
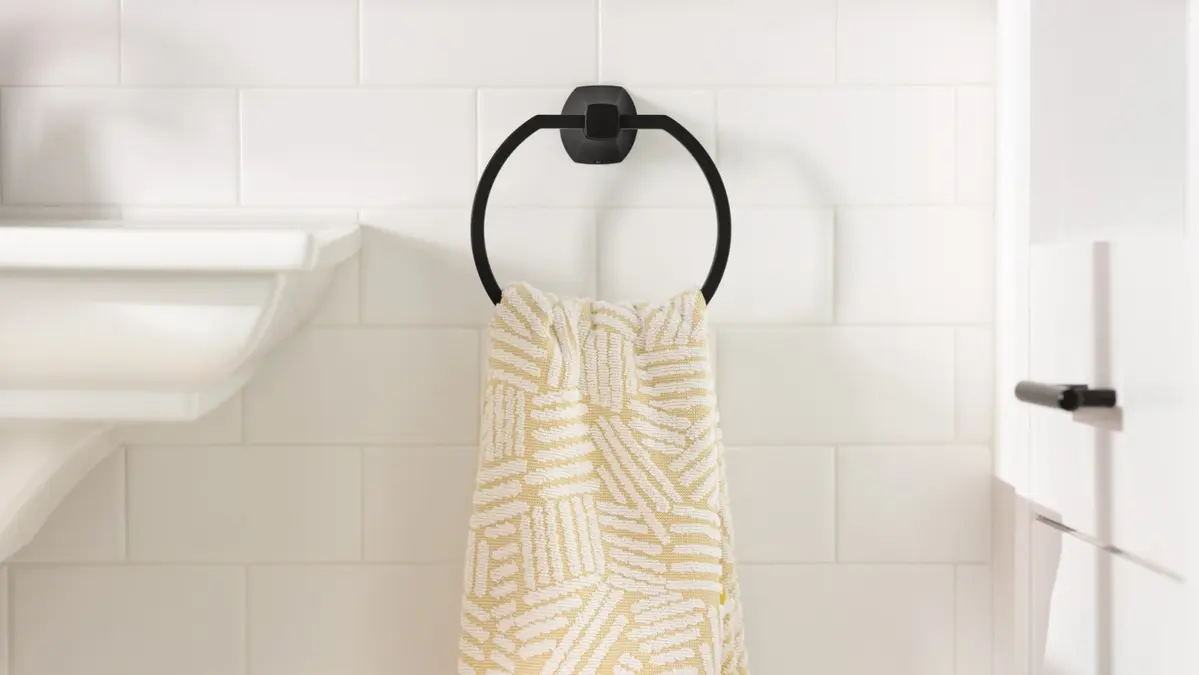
A bathroom towel ring is usually easiest to install beside the sink, where a hand towel is within reach but does not hang into the basin. For a screw-mounted ring, position the bracket, check it with a level, mark the fixing points, choose the correct anchor or stud, and then attach the ring. Adhesive towel rings use a different process: the wall must be clean and dry, and the adhesive needs enough time to bond before the ring carries a towel.
The exact mounting height depends on the people using the bathroom, the vanity, and the shape of the ring. A useful starting point is about 50 to 52 inches from the floor, or roughly 16 to 18 inches above a countertop. Treat those figures as a planning guide rather than a fixed rule. The towel should hang freely without touching the counter, backsplash, floor, or nearby fixtures.
Choose the position before picking up a drill
Stand where you normally use the sink and consider how far you would reach for a hand towel. A location close to the sink is generally more useful than one chosen only for symmetry. Leave enough room for the towel to swing or hang without striking the wall, faucet, mirror, or cabinet door.
Also check the full footprint of the ring and its mounting plate. Some rings extend farther from the wall than they appear to when viewed from the front. Open nearby drawers and cabinet doors before marking the location.
A practical placement check:
- The ring is easy to reach from the sink.
- The towel will not rest on the countertop.
- The ring does not interfere with a mirror, medicine cabinet, door, or shower curtain.
- The mounting plate sits on a flat, solid part of the wall.
- The towel will not block a switch, outlet, or other bathroom accessory.
If the ring will be used by children, a lower position may be more convenient. The best height is the one that keeps the towel accessible and clear of surrounding surfaces.
Check the mounting method and wall
Turn the towel ring over and identify how it attaches. Most screw-mounted models use a small wall bracket or mounting flange that is secured first. The visible ring or escutcheon then slides over the bracket and is held by a small set screw, often tightened with an Allen key.
Read the hardware instructions before drilling. The supplied parts may include different fixings for drywall and tile, while a wood stud may not require a separate wall anchor. Do not assume that an anchor included with the ring is suitable for every wall type.
For a screw installation, determine what is behind the chosen spot:
- Wood stud: Use the supplied screw or a suitable screw for the bracket. An extra wall anchor is generally not needed when the screw is properly secured in the stud.
- Drywall: Use the correct drywall anchor for the bracket and the expected load. Install it according to its instructions rather than relying on the screw alone.
- Tile or solid wall: Use a bit intended for the surface and the appropriate tile or masonry anchor. Check the towel ring instructions for the required hole size.
Before drilling, be aware of concealed plumbing and electrical services. If the location is uncertain, choose another position or get appropriate advice before making a hole.
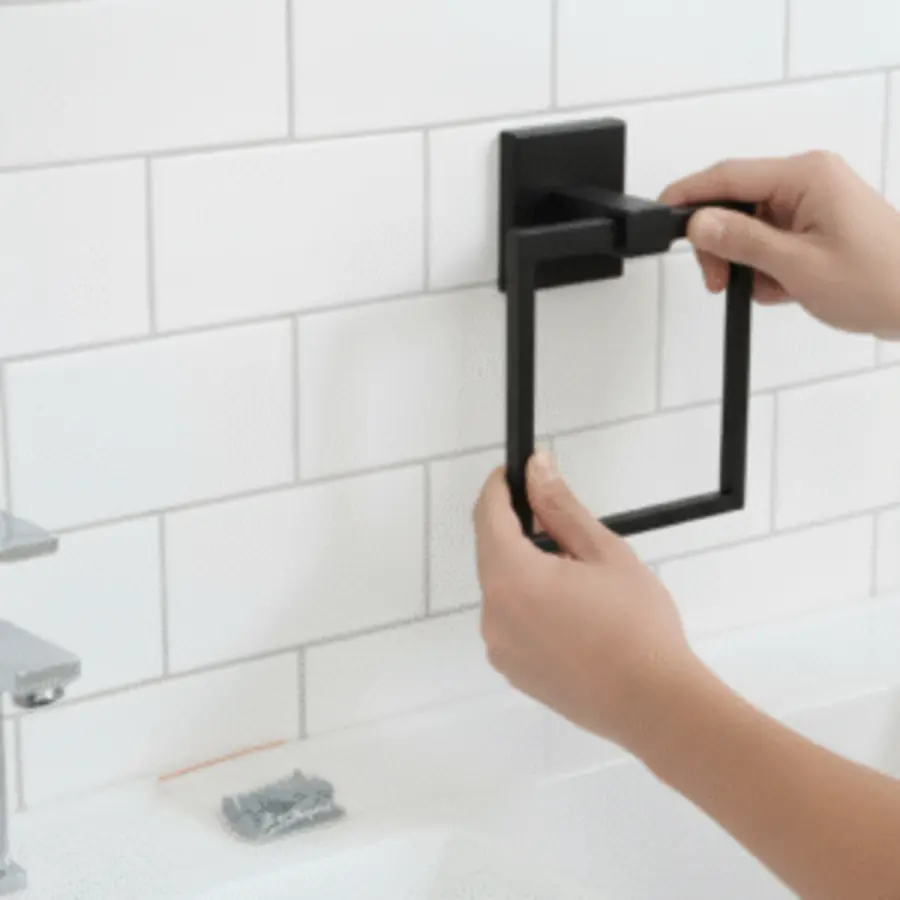
Source: bennerplumbing
How to install a screw-mounted towel ring
1. Separate the ring from its bracket
Loosen the small set screw or retaining screw and remove the decorative ring from the mounting bracket. Keep the screw and any small tool in a safe place. Working with the bracket alone makes it easier to position and level the fixing points.
2. Position and mark the bracket
Hold the bracket at the selected height. Use a level across the bracket or its straight edge, then mark each screw hole with a pencil. If the bracket has a definite top and bottom, keep it oriented as shown in the instructions.
Check the marks once more against the ring itself. A level bracket can still be in the wrong place if the ring is too close to the sink, backsplash, or cabinet.
3. Drill the fixing holes, if required
Use a drill bit that matches the wall material and the anchor instructions. When drilling tile, use a tile- or masonry-rated bit and work carefully so the surface is not damaged. Avoid forcing the bit, and follow the hardware instructions for the hole diameter and depth.
If the bracket is being fixed to a stud or another solid surface, drill only as needed for the supplied screws. If it is being fixed to drywall, install the anchors so they sit correctly in the wall rather than leaving them loose or projecting from the surface.
For tile, do not substitute a general-purpose bit simply because it is available. The wrong bit can make a clean hole harder to achieve.
4. Secure the mounting bracket
Place the bracket over the holes and start each screw without fully tightening it. This allows a small adjustment if the bracket needs to move. Check the level again, then tighten the screws evenly until the bracket is firm.
Do not overtighten. Excessive force can damage drywall, strip a screw, or put unnecessary pressure on tile. The bracket should not shift when you apply light hand pressure, but it does not need to be crushed against the wall.
5. Attach and secure the towel ring
Place the decorative ring over the mounted bracket as directed by the manufacturer. Tighten the set screw or retaining screw until the ring is held firmly. If the screw is hidden underneath, turn the ring to its intended orientation before making the final adjustment.
Avoid hanging a towel immediately if the bracket still moves. Recheck the screw, anchor, and bracket rather than trying to compensate by tightening the small set screw alone.
How to fit an adhesive towel ring
An adhesive model can be useful when you do not want to drill, but it still needs careful preparation. Adhesive mounting is most reliable on a smooth, clean, dry surface that is suitable for the product. Dust, soap residue, grease, textured paint, loose grout, and moisture can reduce adhesion.
Use the following process unless the product instructions specify something different:
- Hold the ring in the planned position and mark its edges or centerline lightly.
- Clean the mounting area with a product compatible with the wall finish.
- Allow the surface to dry completely.
- Apply the adhesive pad or mounting plate without touching the bonding surface.
- Press it firmly and evenly for the time stated in the instructions.
- Leave it unused for the recommended curing period before hanging a towel.
Adhesive rings have a stated weight limit, and that limit may be lower than the load a screw-mounted ring can handle. Do not use an adhesive towel ring for wet, heavy towels, bathrobes, or anything beyond its instructions. Humidity and repeated pulling can also affect how well it stays attached.
If the wall is rough, dusty, damp, or prone to flaking, a drilled mounting method may be more appropriate. Do not add adhesive to a product unless its instructions allow it.
Final stability and clearance check
Before finishing, pull the ring gently in several directions and watch the bracket rather than the decorative cover. It should remain secure without rocking, twisting, or separating from the wall. If it moves, remove the load and correct the fixing.
Then place a hand towel on the ring and check that it hangs freely. Confirm that it does not touch the countertop or sink, drag against a wall, or interfere with nearby doors and drawers.
Common installation mistakes
- Marking the ring instead of the bracket: The fixing holes determine the position, so mark the bracket after removing the ring.
- Skipping the level check: A small error is easy to see on a short accessory.
- Using the wrong anchor: Drywall, tile, and solid wall surfaces require different fixing approaches.
- Drilling before checking cabinet clearance: Open doors and drawers can reveal an unsuitable location.
- Overtightening: This can damage the wall or hardware without making the installation stronger.
- Loading adhesive too soon: Allow the adhesive to cure as instructed before using the ring.
- Ignoring the weight limit: A towel ring is intended for the load specified by its manufacturer, not for every bathroom textile.
A successful bathroom towel ring installation comes down to three decisions: choose a useful position, match the fixing to the wall, and test the finished ring before putting it into daily use. Taking a few minutes to mark and check the location usually prevents the most noticeable problems—an awkward reach, a crooked bracket, or a ring that loosens after installation.
References
- How to Install a Towel Ring: Easy 5-Step Guide for Your Bathroom. (n.d.). https://www.hardwarexsupply.com/blogs/diy-tips-and-ideas/how-to-install-towel-ring
- INSTALLATION INSTRUCTIONS TOWEL RING. (n.d.). https://www.newportbrass.com/documents/dynamicdocuments/INS-38-09.pdf
- How To Fix and Remove Towel Ring. (n.d.). https://www.lowes.com/n/how-to/how-to-fix-and-remove-a-towel-ring
- How to Install a Towel Ring in a Bathroom. (n.d.). https://www.youtube.com/watch?v=-a-KS3lQsLk
- Installation Height For A Bathroom Towel Ring. (n.d.). https://www.hunker.com/13412483/installation-height-for-a-bathroom-towel-ring
- How to Install a Towel Ring on Drywall in 15mins. (n.d.). https://www.youtube.com/watch?v=McZoSHKJc6I
- Italia Towel Ring. (n.d.). https://images.thdstatic.com/catalog/pdfImages/63/63b624d533064fc1b6033c3db0bb3287.pdf
- Design House Satin Nickel Towel Ring - Classic Bathroom Accessory - CP Deals. (n.d.). https://deals.christianpost.com/deal/upgrade-your-bathroom-with-the-classic-satin-nickel-wall-mount-towel-ring.html