How to Add a Handheld Shower Head to an Existing Shower
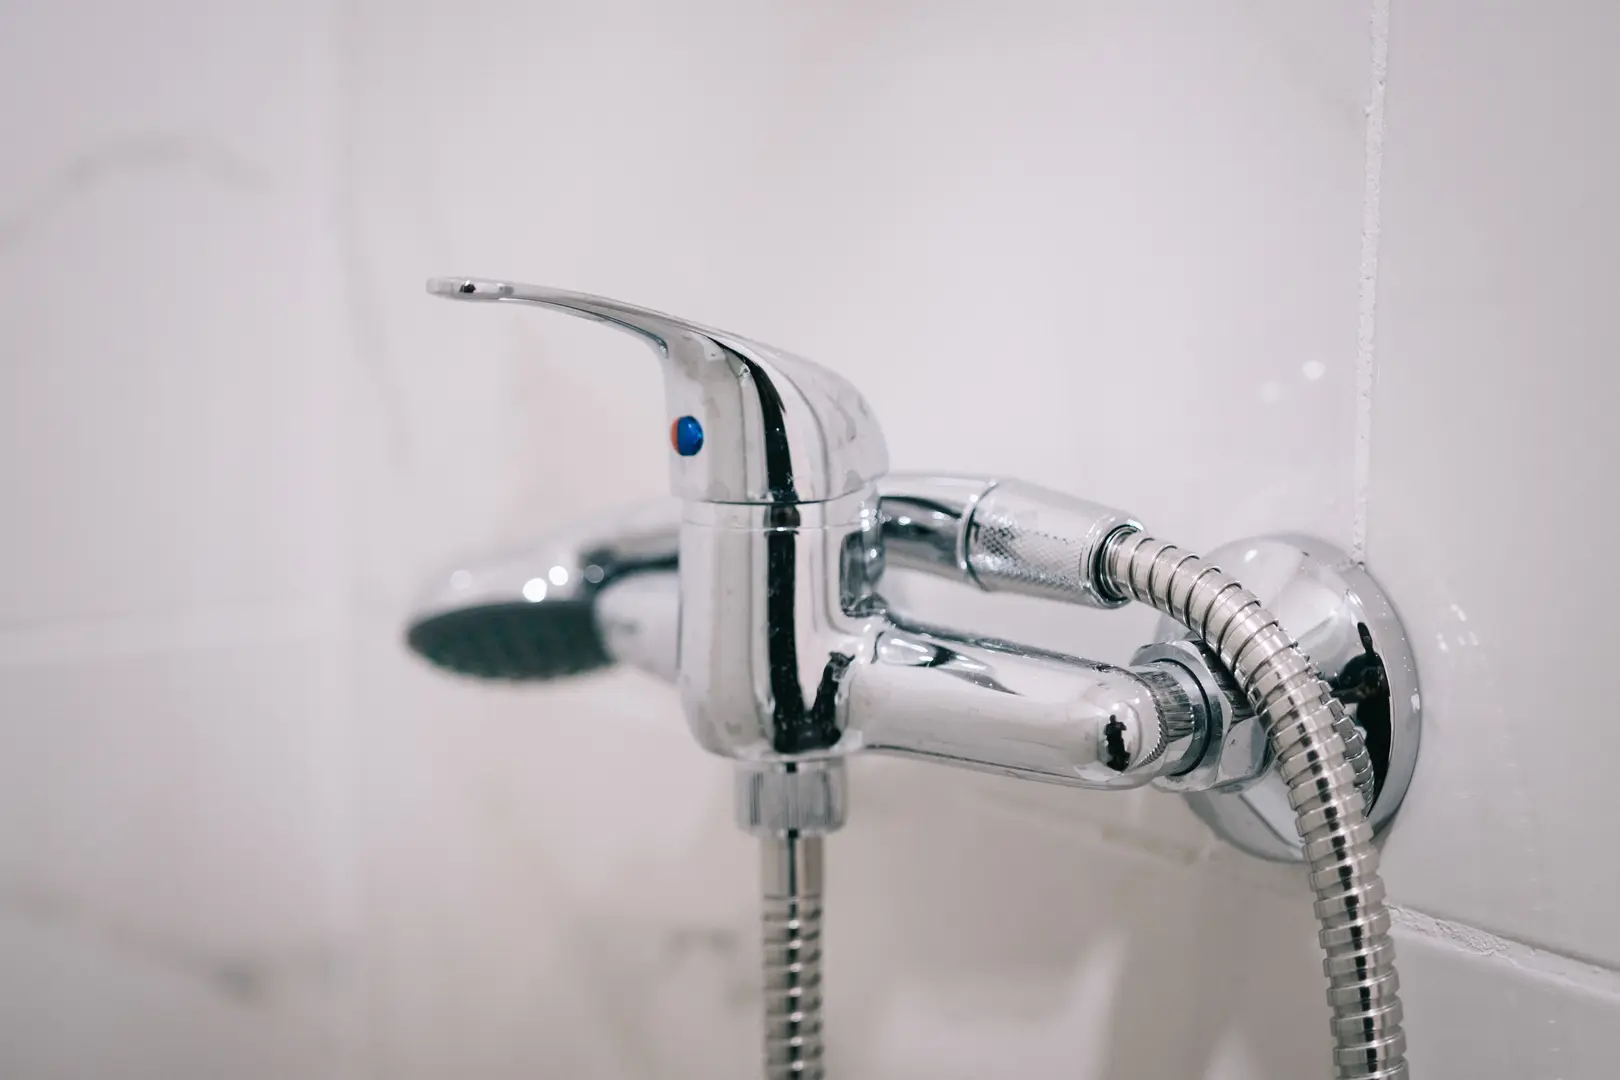
Upgrading your shower with a handheld shower head is one of the most practical improvements you can make. It adds flexibility to your daily routine and can make a big difference for everyone in the household. Before we walk through the step-by-step installation, it helps to understand exactly why this upgrade is worth the effort.
The process itself is straightforward, and most homeowners can complete it in an hour or less with basic tools. Whether you are replacing an old fixed head or adding a secondary handheld unit, the steps are manageable. Let’s start by looking at the benefits, then move into the full installation guide.
Benefits of Using a Handheld Shower Head
Handheld shower heads offer a level of convenience that a fixed head simply cannot match. Here are the main advantages that make this project so popular:
- Unparalleled flexibility: You can direct water exactly where you need it. That is helpful for rinsing shampoo out of long hair, washing hard-to-reach areas, or even cleaning the tub and shower walls.
- Perfect for kids and pets: Bathing a squirmy toddler or a large dog becomes much easier when you can bring the spray to them. It reduces splashing and makes bath time less stressful for everyone.
- Accessible for all abilities: For seniors or anyone with mobility challenges, a handheld shower head allows you to sit on a shower bench or stool while still enjoying a full shower. It provides independence and safety.
- Customizable experience: Many models offer adjustable spray settings. You can switch from a gentle mist to a strong massage spray, turning your everyday shower into a spa-like experience.
These benefits make it clear why so many homeowners choose to add a handheld unit. But the next question is whether your existing shower setup can accommodate one.
Can You Add a Handheld Shower Head to an Existing Shower?
Yes, you can. Adding a handheld shower head to an existing shower is not only possible but also very straightforward. The key is choosing the right replacement head and, if needed, a diverter valve that allows you to keep your existing fixed head while adding the handheld unit. There are two common scenarios: replacing your current fixed shower head entirely with a handheld model, or installing a diverter so that both heads are available. If you want to keep the fixed head, you will need a diverter that attaches between the shower arm and the fixed head, creating an extra outlet for the handheld hose. If you plan to replace the fixed head, you simply need a handheld model that includes a wall mounting bracket or slide bar. The project does require a few decisions on your part, particularly whether to tackle it yourself or call a professional. Let’s look at that question first.
Do You Need a Plumber?
For most people, the answer is no. If you are comfortable using basic tools like an adjustable wrench and plumber’s tape, you can handle this installation yourself. The job typically takes less than an hour, and you do not need a plumber’s assistance.
However, there are exceptions. If you are dealing with older plumbing or have noticed low water pressure issues, it may be worth hiring an expert. Older plumbing, especially galvanized pipes, can be corroded and more fragile. Applying torque to remove a showerhead from such pipes risks cracking or breaking the arm, which would require a costly repair. Plumbers can assess the condition of your pipes and make necessary repairs before you begin. Additionally, if your home has persistently low water pressure, a plumber can diagnose whether the issue is with the showerhead, the valve, or the supply lines. That said, plumber rates can be high, so consider professional help a last resort for straightforward installations. With a standard, well-maintained setup, you can proceed confidently on your own.
Tools and Materials You’ll Need
Beyond the handheld shower head itself and possibly a diverter, the required tools are minimal. Here is what you will need:
- Adjustable wrench
- Plumber’s tape (if recommended by the manufacturer)
- Drill (optional, for mounting a wall bracket or slide bar into tile)
No advanced expertise is needed for most installations. With this guide, you will be able to get the job done quickly and easily.
How to Add a Handheld Shower Head to an Existing Shower: Step-by-Step Guide
By the time you finish reading these steps, you will feel confident about tackling the project. Whether you are replacing an old shower head entirely or adding a handheld unit as a secondary option, the process is similar. The first step is selecting the right shower head, which makes a big difference in your final experience.
Step 1: Select the Right Handheld Shower Head
Not all handheld shower heads are created equal. When shopping, consider these factors:
- Water pressure: Some heads are designed to perform well with low water pressure, while others need higher pressure for optimal spray. If your home’s water pressure is below 40 psi, look for a low-flow model designed to maintain a useful spray at reduced pressure. You can also check your pressure with a simple gauge to guide your choice.
- Spray settings: Look for adjustable options that let you choose from mist, massage, or a wide spray. Having multiple settings allows you to tailor the experience to different tasks, from gentle rinsing to deep muscle relief.
- Hose length: A longer hose offers more reach, which is helpful for cleaning the tub or bathing pets. Standard hoses are about 60 inches, but longer options up to 72 inches are available for larger showers. Measure your shower space to ensure the hose reaches the far corners.
- Build quality: A well-made head will last longer and require fewer replacements. Metal components generally resist cracking better than plastic, while clog-resistant nozzles can make maintenance easier in hard-water areas. Compare flow rate, spray pattern, materials, and warranty terms for your intended use.
Step 2: Shut Off the Water Supply
You might not need to shut off the water for a simple shower head swap, but it is better to be safe than sorry. Locate the main water valve or the shower-specific shut-off valve. In many homes, the shower has a dedicated shut-off valve behind an access panel or near the water heater. If you cannot find one, shut off the main water supply to the house. After turning off the water, open a sink faucet to relieve any residual pressure. This prevents surprise sprays while you work and reduces the chance of water dripping from the shower arm during the swap. Once the water is off and pressure is relieved, you can proceed safely.
Step 3: Remove the Existing Showerhead
Grip the base of your current shower head where it meets the shower arm with an adjustable wrench. Turn counterclockwise while holding the arm steady with your other hand to avoid damaging the pipe. If you feel resistance, mineral buildup may be the cause. Apply a small amount of penetrating oil to the threads where the showerhead meets the arm. Let it sit for five to ten minutes, then try again. Do not force it, as you risk breaking the arm off. If the head still won’t budge, a plumber’s strap wrench can provide a better grip without marring the finish. Once the old head is loose, unscrew it completely by hand.
If you are adding a handheld head as a secondary option, you still need to remove the old head. This allows you to attach a diverter valve, which lets you switch between the two heads or use both at once.
Step 4: Clean the Shower Arm Threads
With the old head removed, inspect the threads on the shower arm. Remove any remnants of old plumber’s tape, mineral deposits, or debris. Use a rag to wipe off loose material, and if stubborn deposits remain, a small wire brush or an old toothbrush can help clean the grooves thoroughly. Cleaning the threads is an often-overlooked step, but failure to do so can lead to annoying leaks later on. A clean surface ensures that the new connection forms a consistent seal.
Some shower heads do not require plumber’s tape. If the manufacturer says it is unnecessary, you can skip that step. Otherwise, wrap fresh tape clockwise around the threads three to five times. Wrapping in the direction of the threads prevents the tape from bunching when you screw on the new fitting.
Step 5: Attach the Diverter or Mounting Bracket
If you are adding the handheld head as a secondary unit, attach the diverter valve now. There are two common types: an inline diverter that replaces the showerhead and has one outlet for the fixed head and another for the hose, and a dual-outlet diverter that screws onto the shower arm and provides two threaded connections. Choose the type that matches your existing setup. Screw the diverter onto the shower arm by hand, then use a wrench to give it a snug turn. Avoid overtightening, as that can damage the fittings or crack the diverter.
Mounting the handheld head on the wall makes it easier to use. Most brackets require drilling small holes in the tile, so follow the included instructions carefully. Use a tile bit to prevent cracking, and check the bracket’s template for hole alignment. Ensure the mounting location is convenient for all users – typically at a height that allows the head to sit comfortably when not in use but can be reached easily from a seated or standing position. If you are replacing an old fixed head entirely, you can skip the diverter and proceed directly to attaching the new head.
Step 6: Install the Handheld Shower Head
Connect the flexible hose to the shower arm or diverter valve. First, screw one end of the hose onto the arm or diverter by hand, then give it a slight turn with your wrench. Next, attach the other end of the hose to the handheld head itself, hand-tightening before finishing with the wrench. Avoid overtightening, as it can crack the fittings or damage the hose’s swivel connection. Ensure the hose is not twisted or kinked during installation – a smooth, straight connection prevents future leaks and extends the life of the hose.
If you are using a mounting bracket, place the head into the holder after the hose is connected. Some slide bars allow you to adjust the height of the holder; adjust it to a comfortable position before locking it in place.
Step 7: Test for Leaks and Adjust Settings
Turn the water supply back on. Slowly open the valve to avoid sudden pressure surges. Check each connection for leaks – use a dry paper towel to wipe the joints; if you see any moisture, turn the water off again and tighten the connection an additional quarter-turn, then test again. Pay special attention to the diverter, the shower arm connection, and both ends of the hose. Once everything is dry, experiment with the spray settings to find your preferred pattern. Then place the head in its holder and enjoy the upgraded shower experience.
Final Thoughts on Adding a Handheld Shower Head
Adding a handheld shower head is one of the easiest and most cost-effective upgrades you can make to your bathroom. The process takes just a few minutes, requires minimal tools, and delivers immediate benefits: better flexibility, easier bathing for kids and pets, and improved accessibility. A model with durable components, a suitable flow rate, and an easy-to-clean spray face should provide reliable everyday use. Whether you are cleaning the tub, caring for an elderly family member, or simply improving flexibility, choose a model that suits your water pressure and mounting setup.