How to Install a Shower Curtain Track
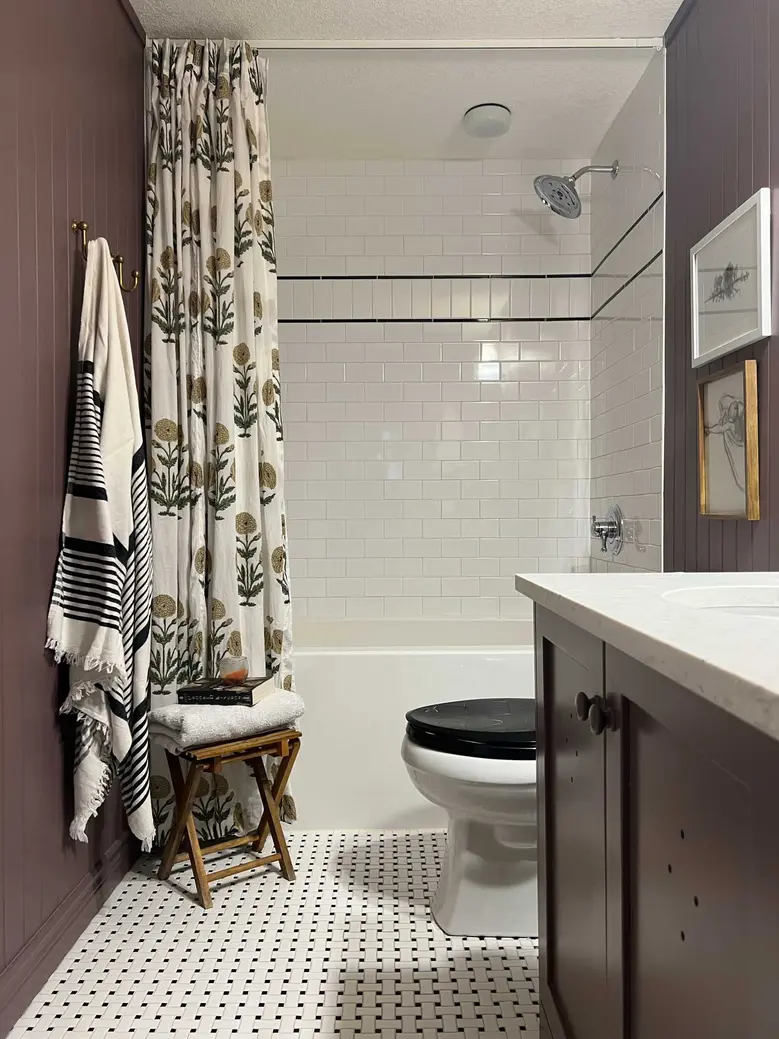
A shower curtain track is installed by planning the curtain’s path, marking the mounting points, drilling for the correct anchors, securing the track or brackets, and then fitting the runners and curtain. The important part is positioning the track so the curtain covers the opening without rubbing against the tub, floor, or nearby fixtures.
Before drilling, check the installation instructions for your specific track. Straight, curved, wall-mounted, and ceiling-mounted models can use different brackets, screws, end stops, and runner systems.
What you need
Gather the track and all supplied hardware, along with:
- Tape measure
- Pencil or removable marker
- Level
- Drill and suitable bits
- Screwdriver
- Appropriate wall or ceiling anchors
- Masking tape for marking tile
- Step stool or ladder for ceiling work
- Hacksaw or approved cutting tool if the track must be shortened
- Vacuum or dust-catching cloth for drilling debris
Use the fixings supplied with the track when they suit your surface. If they do not, choose anchors designed for the actual wall or ceiling material rather than relying on a general-purpose plug.
1. Plan the track position
Start by deciding where the curtain needs to hang when it is closed. For a standard tub or shower opening, the track should follow the opening and provide enough curtain width to cover both sides. If the curtain is meant to sit inside the tub, place the track so the lower edge of the curtain can fall inside the tub rather than outside it.
A ceiling-mounted straight track is commonly aligned above the outside edge of the tub or shower area. This lets the curtain hang slightly inward instead of projecting into the room. Do not copy that position automatically for every bathroom; check the tub rim, shower base, wall trim, and curtain dimensions first.
For a wall-mounted track, identify the locations of the end brackets and any intermediate supports. A long or curved track may need more than one support. Follow the supplied layout rather than spacing brackets by appearance alone.
Check for obstacles before marking anything. Look for window trim, shelves, towel bars, light fixtures, doors, and the swing path of the bathroom door. Also consider whether the curtain can open far enough for normal entry and cleaning.
2. Measure and prepare the track
Measure the opening and compare it with the track length and curtain width. If the track is supplied in sections, lay the sections on the floor and assemble them according to the instructions. Make sure joints are fully seated and that a curved track has the intended orientation.
Some tracks can be cut to length. If yours can, make a square cut with the recommended tool and remove sharp burrs. A rough or angled cut can interfere with the runners or prevent an end cap from fitting properly.
Decide when to add the runners. On a ceiling-mounted track, runners may need to be fed into the slot before the track is fixed overhead. The same may apply to a wall-to-wall installation where the ends will be closed by brackets or walls. If the track has a removable end stop or gate, confirm that it can be opened later before you install the track.
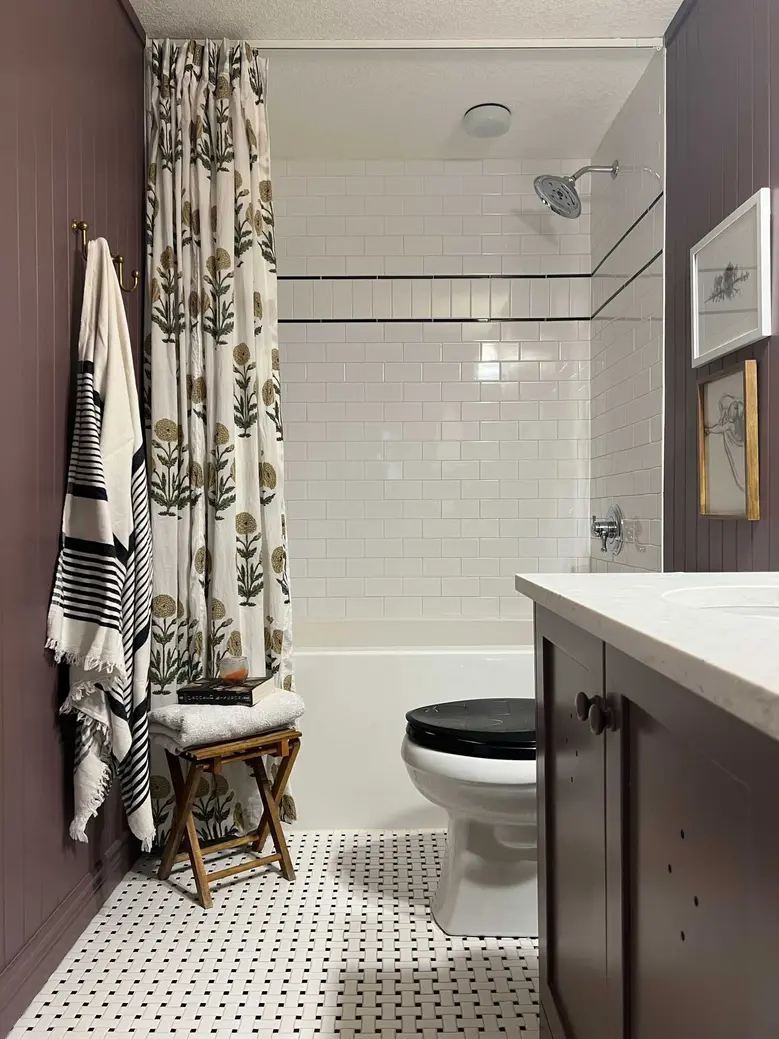
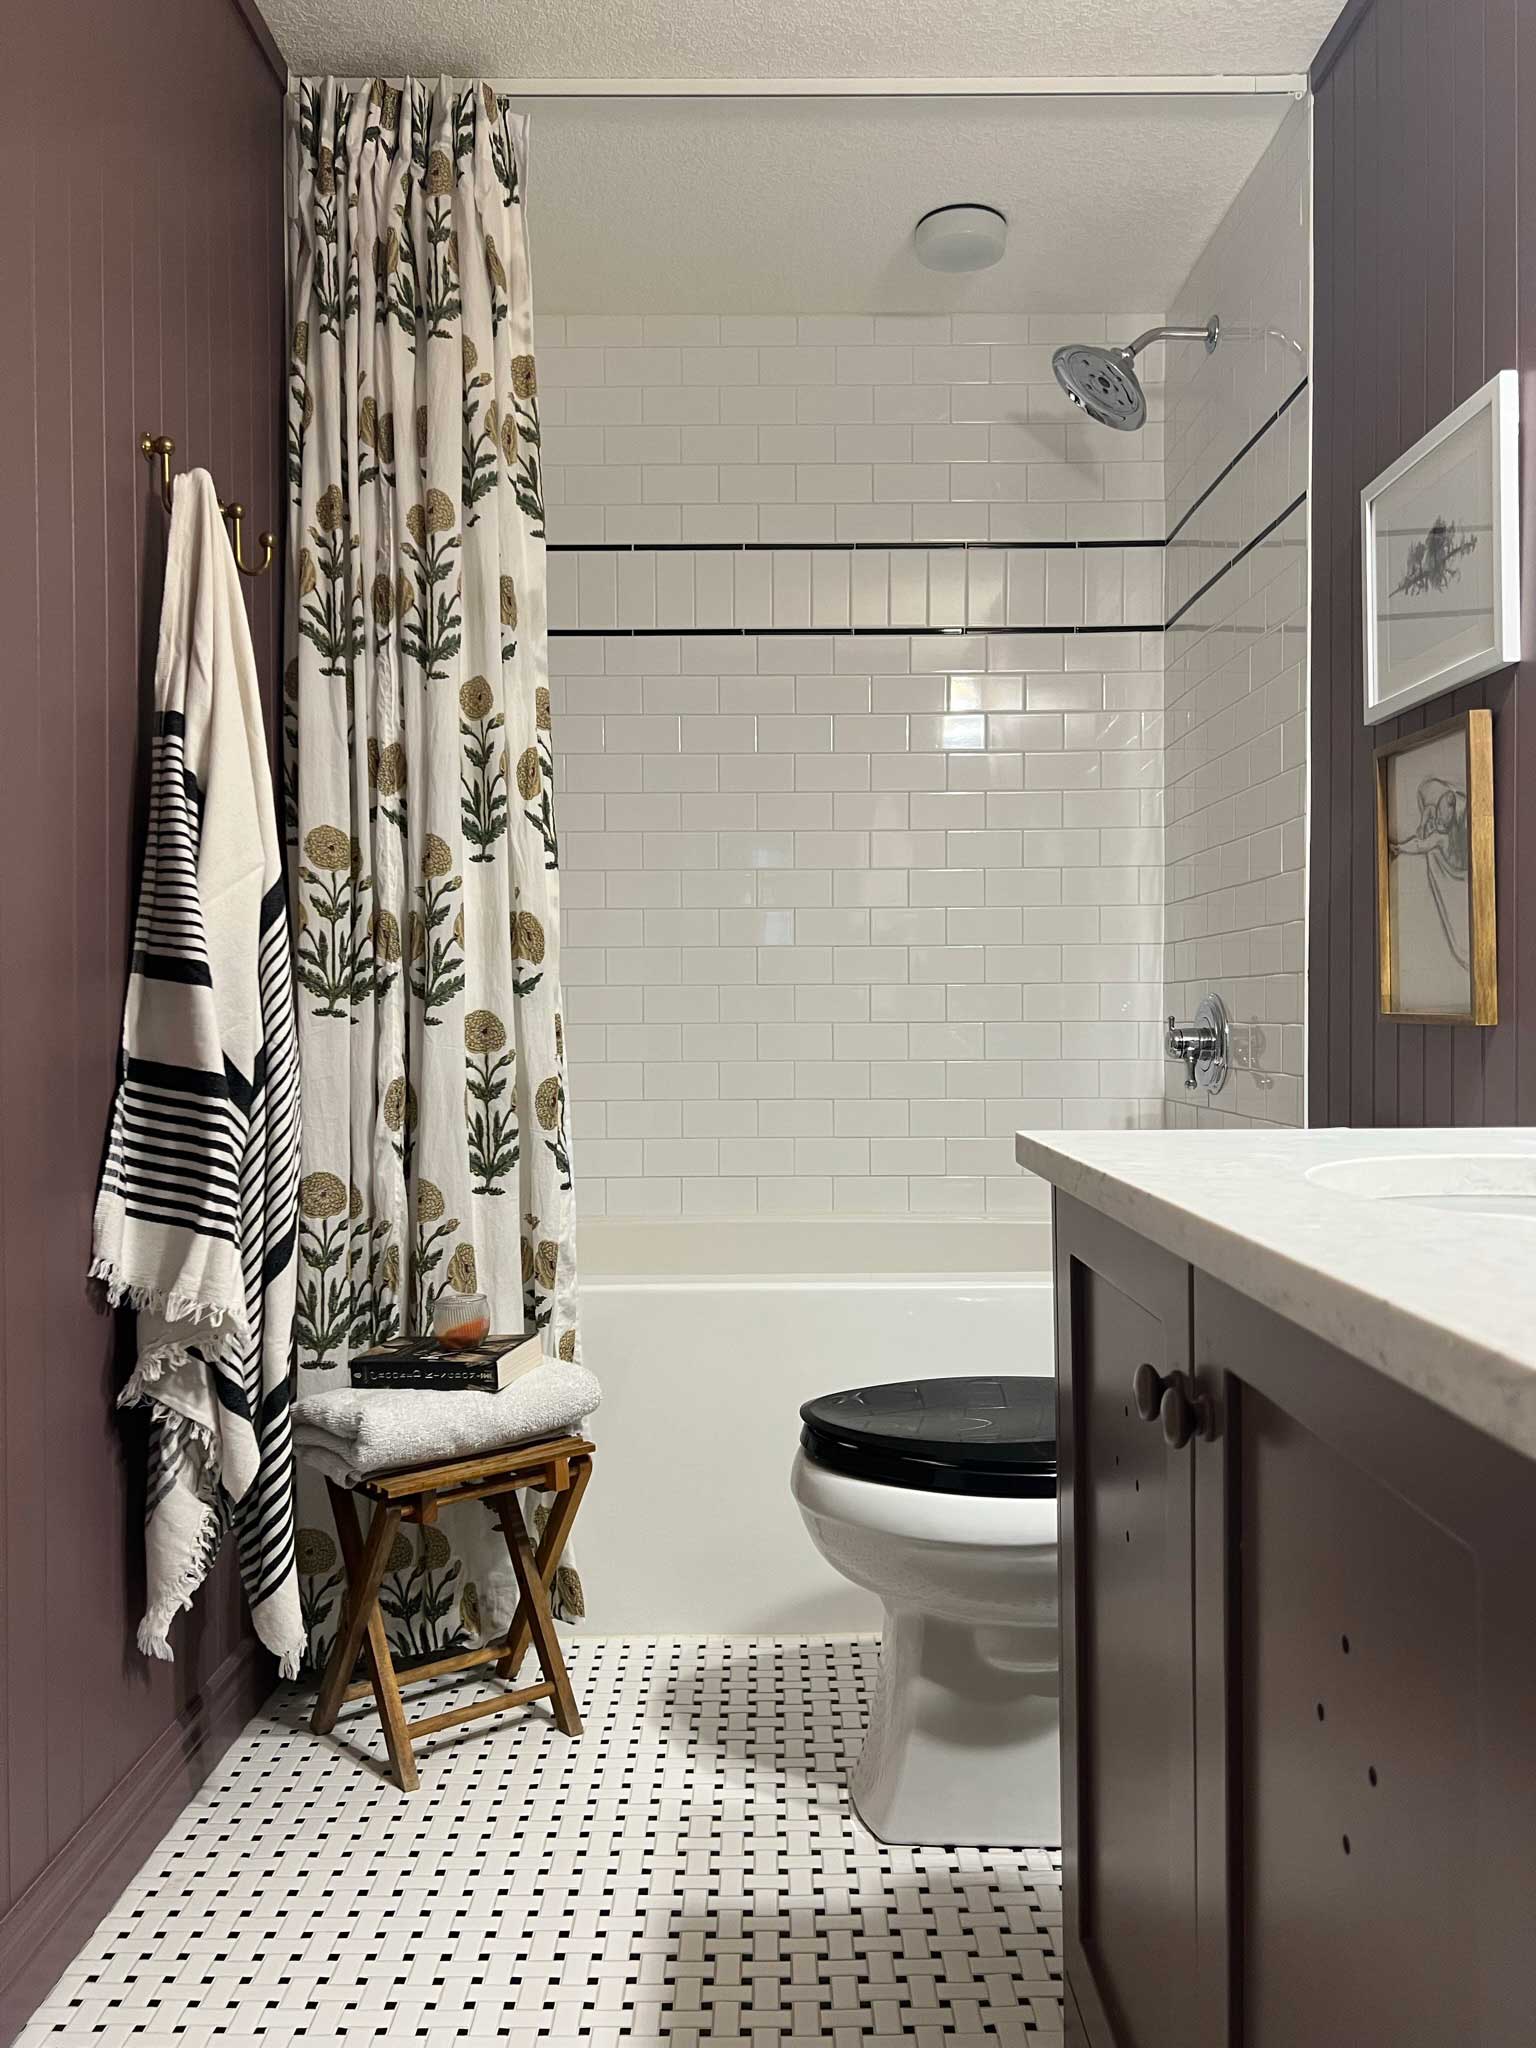
Source: erinzubotdesign
3. Mark the mounting points
Hold the track or its mounting plates in the planned position. Use a level to check a straight track from side to side. For a ceiling track, check that the path is parallel to the tub or shower base and that any curved section faces the correct direction.
Mark the screw holes through the actual brackets or track. Do not mark from a rough estimate if the holes are offset from the track center. For wall-mounted brackets, mark every required fixing point. For ceiling-mounted models, mark the holes along the track or at each ceiling support.
If possible, locate a solid framing member behind the wall or ceiling at one or more fixing points. Where there is no suitable framing, use anchors rated for the surface and the hardware. A wall anchor should sit fully in the material and should not be forced into an oversized or damaged hole.
Before drilling, hold the track in place once more and check the height, level, clearance, and curtain coverage. Pencil marks are easier to move than drilled holes.
4. Drill the wall or ceiling safely
The correct drilling method depends on the surface.
Painted drywall or plaster
Use a bit appropriate for the anchor. If you hit solid framing, use a suitable screw for that framing instead of installing a hollow-wall anchor at the same point. Avoid making the hole larger than the anchor manufacturer specifies.
Tile
Place a small piece of masking tape over the mark to help keep the bit from wandering. Use a tile-appropriate bit and begin slowly. Keep the drill straight and avoid hammer mode while passing through the tile. Once the bit has cleared the tile, switch to the bit and setting required for the material behind it.
Do not assume that the tile itself provides a secure fixing. The anchor must work in the substrate behind the tile, and the hole must be deep enough for that anchor without damaging hidden services. Remove dust from the hole before inserting the anchor.
Ceiling
Use the required ceiling anchor or fasten into framing where available. Ceiling-mounted tracks can be awkward to hold in position, so use a second person or temporary support if needed. Stop if the marked location conflicts with wiring, plumbing, or another concealed obstruction.
5. Attach the brackets or track
For a wall-mounted system, install the mounting plates or brackets first if the instructions call for that sequence. Keep each plate aligned with its mark, place the anchor or screw correctly, and tighten the fastener until the bracket is secure. Do not overtighten and crush tile, drywall, or a plastic anchor.
For a ceiling-mounted system, feed the runners into the track first when they cannot be added later. Hold the track with the slot facing downward, align the holes, and drive the screws through the track or its mounting points. Make sure screw heads, washers, and end hardware do not project into the runner path.
If the track uses ceiling supports or drop rods, check that each support is vertical and firmly attached before tightening the connection to the track. A track that is slightly twisted can make runners drag even when the mounting points appear secure.
For a curved track, use the supplied brackets and preserve the intended curve. Do not straighten or sharply bend a track unless the manufacturer specifically says it can be reshaped. A distorted curve can cause the curtain to bunch or the runners to catch.
6. Add end stops and runners
Install end caps, stops, or removable gates after the track is secured, following the hardware sequence in the instructions. If you have not already inserted the runners, feed them through the correct opening with the hanging part facing downward.
Move every runner from end to end by hand. It should travel smoothly through joints and around curves. If one catches, check for a burr, misaligned track section, projecting screw head, or incorrectly installed end stop. Fix the obstruction before hanging the curtain.
Attach the curtain to the runners and distribute the fabric evenly. If the curtain has a separate liner, hang both so the liner falls inside the tub or shower base and the decorative curtain remains where intended.
7. Test the finished installation
Open and close the curtain several times. Check that:
- The curtain covers the full shower opening when closed.
- The bottom edge stays inside the tub or shower base where required.
- The fabric does not catch on brackets, end stops, or joints.
- The track remains level and does not flex or pull away from the surface.
- The curtain can be pushed aside without excessive force.
- Water is not likely to escape around an uncovered end or outside corner.
If coverage is poor, adjust the curtain position or verify the track path before moving hardware. A track that is too short, too far outside the wet area, or poorly aligned may need repositioning rather than a different curtain arrangement.
Straight, curved, and ceiling-mounted track differences
A straight track is the simplest to align and works well for a standard rectangular opening. A curved track gives more elbow room but needs careful attention to its projection and support points. A ceiling-mounted track is useful when wall mounting is unsuitable or when you want the curtain path to follow a freestanding or open-sided shower area, but it requires accurate overhead marking and appropriate ceiling fixings.
The installation sequence is broadly the same for all three: plan the path, mark from the actual hardware, drill for the surface, secure the track, install the runners, and test the curtain. The differences are mainly where the supports attach and when the runners must be inserted.
Common installation mistakes
The most avoidable problems are drilling before checking curtain coverage, using an anchor that does not match the wall, forgetting to insert runners before closing the track, and leaving a screw head in the runner channel. Skipping the level check can also create a track that looks acceptable but causes the curtain to slide toward one end.
Take time to dry-fit the track and hardware before making permanent holes. That short check usually reveals clearance, length, and runner-access problems while they are still easy to correct.
References
- How to install a ceiling-mounted shower curtain | Curtain-Tracks.com. (n.d.). https://www.curtain-tracks.com/blog/How%20to%20install%20a%20ceiling-mounted%20shower%20curtain.html
- How to Install Shower Curtain Rods. (n.d.). https://www.lowes.com/n/how-to/install-pick-shower-curtain-rods
- Using a Ceiling Curtain Track to Hang a Shower Curtain. (n.d.). https://chrislovesjulia.com/shower-ceiling-curtain-track
- How to Install a Shower Curtain Rod on a Tile Wall. (n.d.). https://simaspaces.com/how-to-install-a-shower-curtain-rod-on-a-tile-wall
- How to Install a Shower Curtain Rod: Height & Setup Guide. (n.d.). https://www.buyrailings.com/blog/buy-railings-1/how-to-install-a-shower-curtain-rod-the-definitive-height-installation-guide-73
- Ceiling Shower Track Rod Installation Instructions. (n.d.). https://www.plumbingsupply.com/trakrodinstall.html
- CURVED SHOWER CURTAIN ROD. (n.d.). https://fergusonprod.a.bigcontent.io/v1/static/7633481_7376733_installation
- How to Install a Corner Shower Curtain Rod. (n.d.). https://www.youtube.com/watch?v=dHq6QRtMJ1k