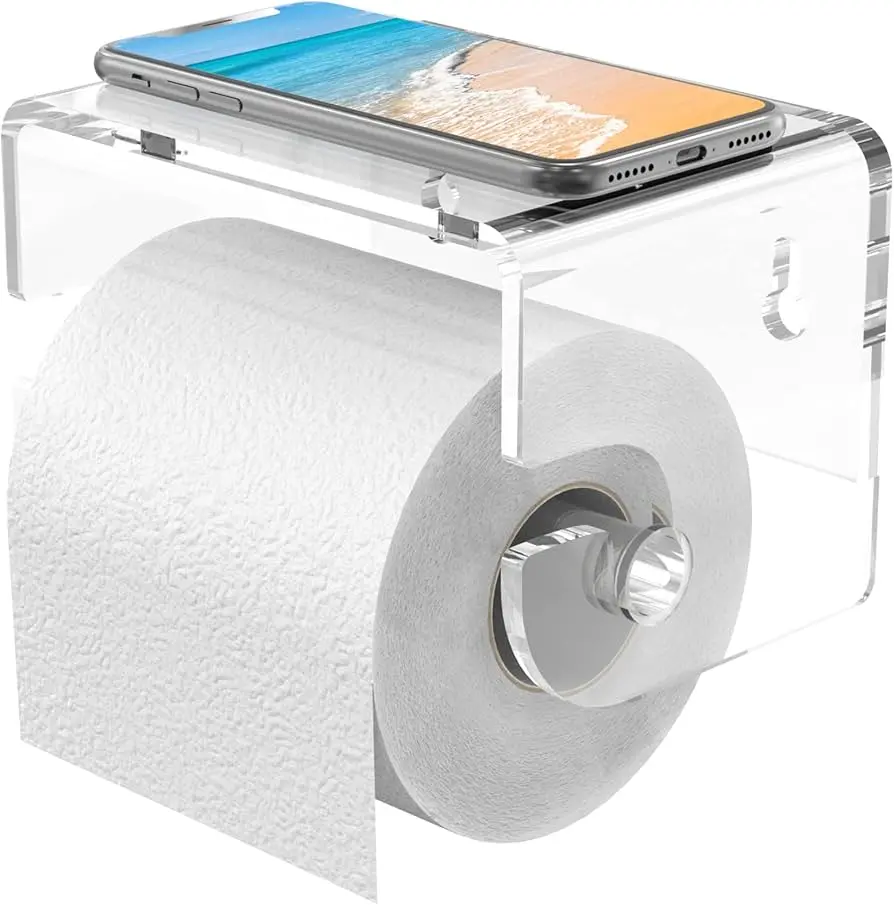
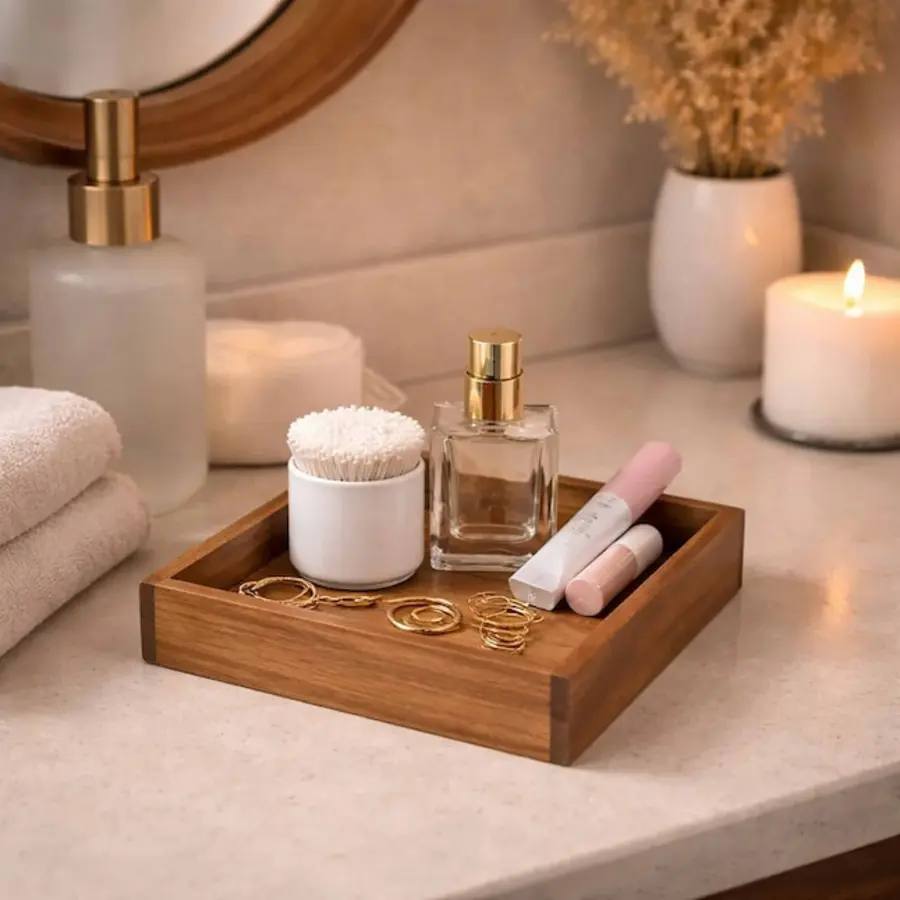
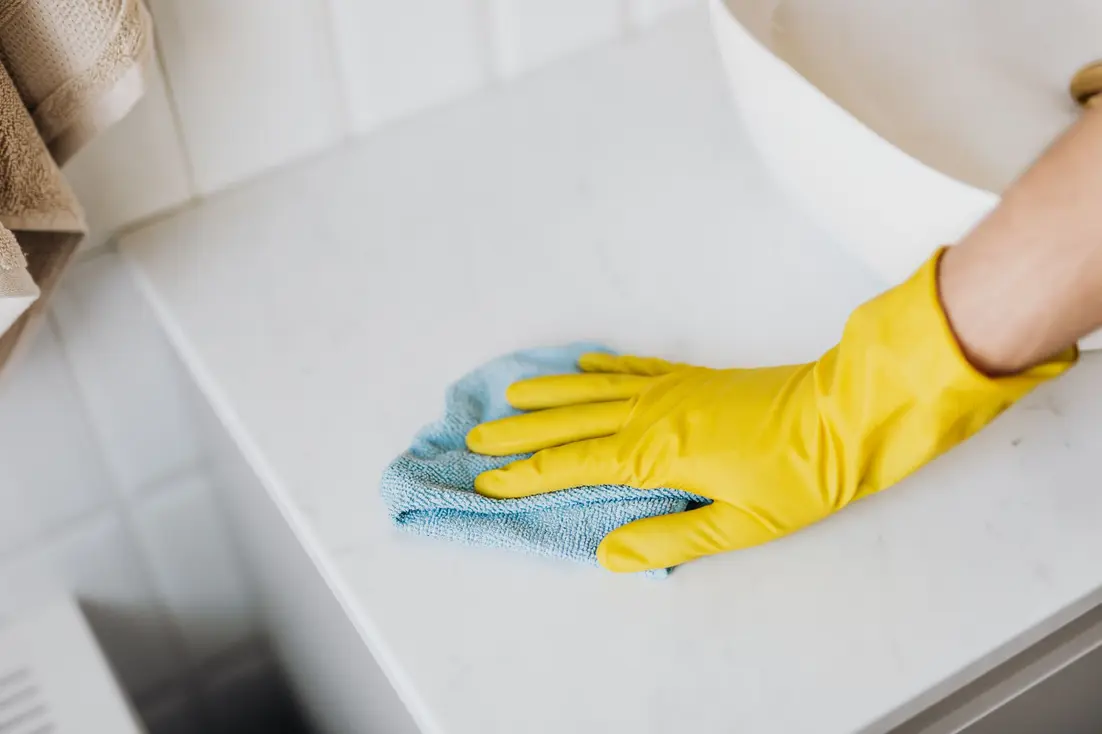
How to Install Bathroom Shelves Without Drilling
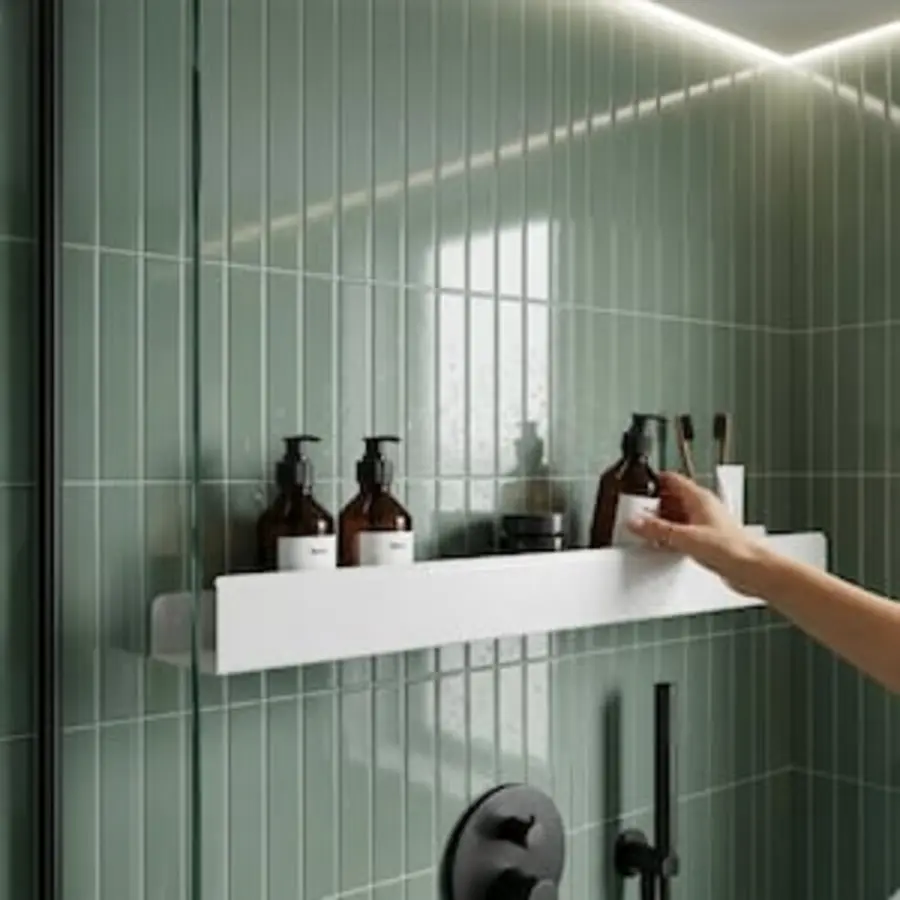
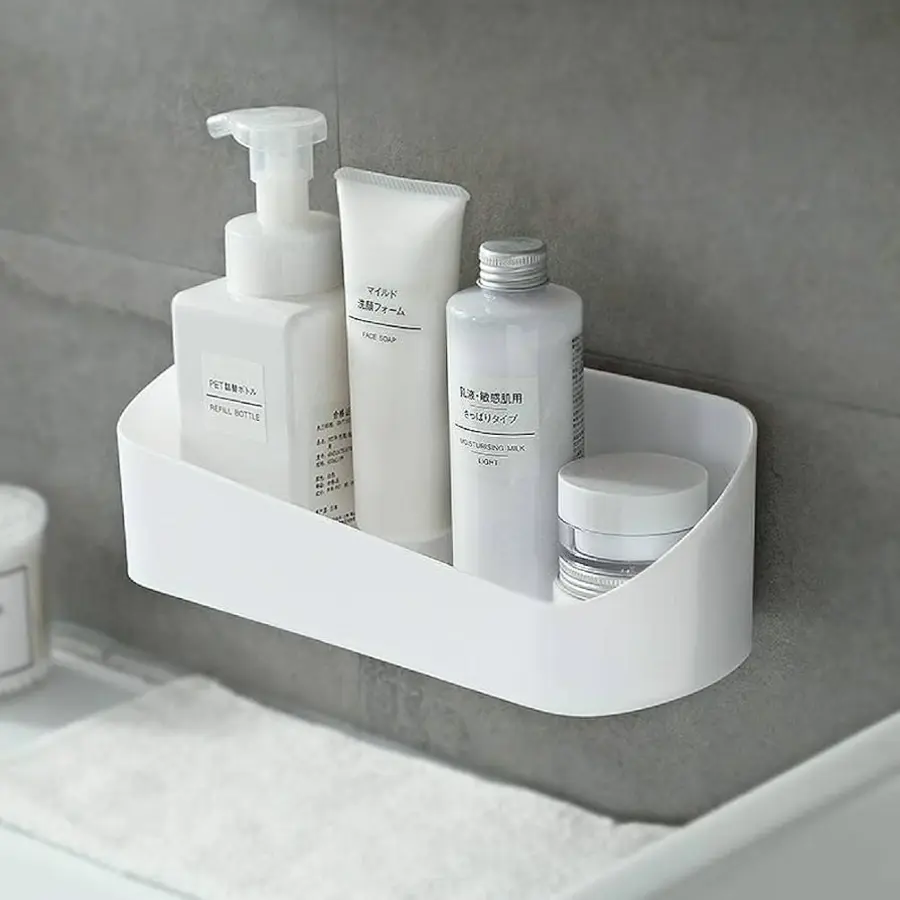
If you need storage but cannot put holes in the wall, you can install bathroom shelves without drilling by using an adhesive-mounted shelf, a tension-mounted unit, suction cups, or an over-the-door organizer. For most smooth bathroom tile, an adhesive shelf is the most direct option—but only when the surface, shelf, adhesive system, and load are compatible.
The installation itself is simple. Choose a shelf rated for bathroom use, clean and dry the mounting area, attach it exactly as directed, let the adhesive cure for the stated time, and add items gradually. Adhesive shelves are best for lighter toiletries. Heavy bottles, rough walls, damp painted surfaces, and shelves exposed to constant pulling may call for a different solution.
Choose the right no-drill shelf first
“No drill” describes several different mounting methods, and they do not work equally well in every bathroom.
- Adhesive-mounted shelves: These attach to the wall with pads, adhesive strips, or an adhesive-backed mounting system. They are usually a good fit for smooth, clean ceramic or porcelain tile.
- Suction shelves: These can work on very smooth, nonporous surfaces such as glass or glossy tile. Their grip depends heavily on surface condition and the quality of the suction cups.
- Tension shelves: A tension pole or frame braces between the floor and ceiling, or between two opposing surfaces. It avoids relying on wall adhesive and can suit a shower corner or space beside a tub.
- Over-the-door storage: This uses the top edge of a door rather than the wall. Check that the door closes freely and that the organizer does not interfere with the shower curtain or bathroom traffic.
Before buying, check the manufacturer’s stated weight capacity, the surfaces approved for installation, the required curing time, and whether the shelf is intended for wet or dry areas. Stainless steel, aluminum, and bathroom-grade plastic are practical choices where regular moisture is expected, but the mounting system still matters more than the shelf material alone.
Source: mineraltiles
Check the wall and location
Adhesive bathroom shelves work best on smooth, sound, nonporous surfaces. Ceramic tile, porcelain tile, glass, and some smooth metal surfaces are generally more suitable than textured or dusty walls.
Avoid mounting an adhesive shelf over:
- Loose, cracked, or hollow-sounding tile
- Peeling paint or wallpaper
- Flaking grout or a damaged caulk joint
- Textured plaster or heavily uneven surfaces
- Grease, soap film, mineral deposits, or persistent condensation
A painted wall needs extra caution. Even if the adhesive bonds well, removing it may pull paint from the surface. A tension shelf, freestanding unit, or over-the-door organizer may be a better rental bathroom shelving choice when the wall finish is delicate.
Select a location that does not require you to pull down on the shelf. Keep it clear of the shower curtain’s path, the door swing, and areas where towels or clothing can catch on it. In a shower, avoid placing a shelf where it will be repeatedly bumped while entering or exiting.
How to install bathroom shelves without drilling
1. Read the mounting instructions
Do this before cleaning or positioning the shelf. Some systems use a preattached pad, while others use a separate mounting plate, adhesive tabs, or a cartridge-applied adhesive. The instructions determine which surfaces are acceptable, how much adhesive to use, and when the shelf can be loaded.
Do not substitute a general-purpose glue or construction adhesive unless the shelf manufacturer specifically allows it. A product that bonds strongly may still be difficult to remove and could damage tile, grout, paint, or the shelf.
2. Mark the position
Hold the empty shelf against the wall and check its height, level, and clearance. Use removable painter’s tape to mark the top edge or the mounting points. If the shelf has more than one mounting pad, make sure both points sit on a flat, solid area rather than partly on a grout line.
For bathroom shelves on tile without drilling, a smooth tile face is usually preferable to a grout joint. Grout can be porous, uneven, or weaker than the tile surface, so follow the product instructions if the mounting area crosses or touches grout.
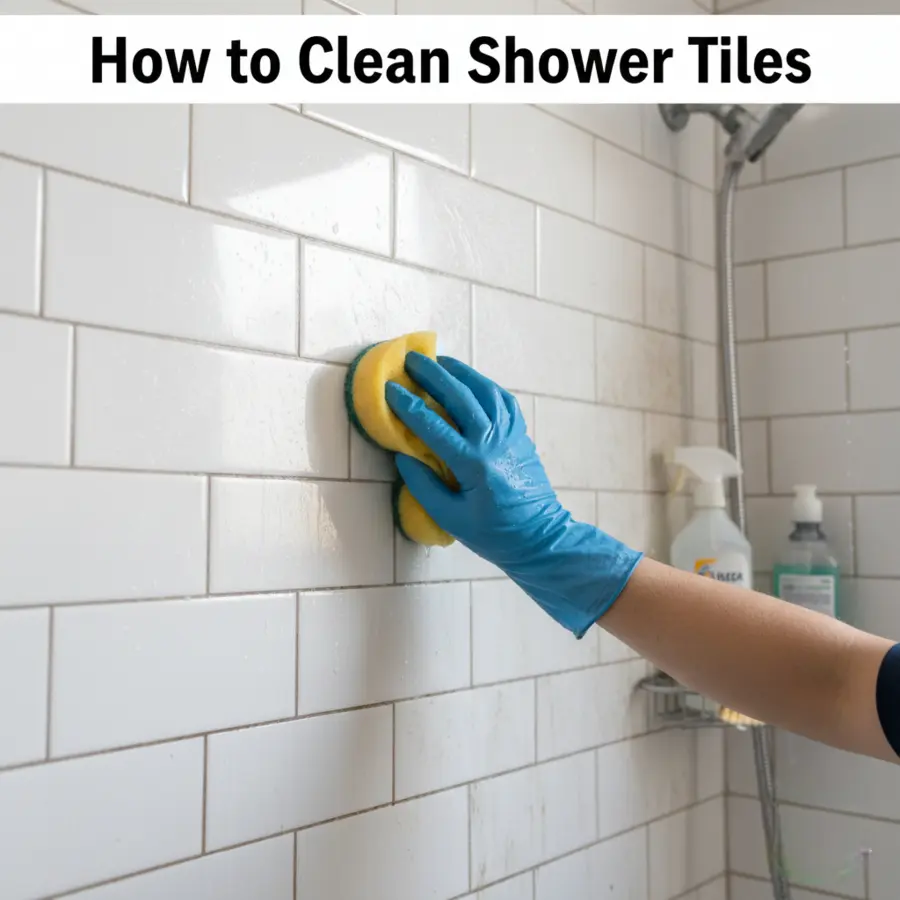
3. Clean the surface thoroughly
Remove soap residue, dust, body oils, and mineral buildup from the mounting area. Use the cleaner recommended by the shelf or adhesive manufacturer. If the instructions permit it, a final wipe with a suitable alcohol-based cleaner can remove residue, but the surface must be allowed to dry completely.
Do not mount the shelf while the tile is cold, wet, steamy, or visibly damp. Dry the area with a clean, lint-free cloth and give it additional time if moisture is trapped around grout or caulk.
4. Attach the adhesive system
Apply the pads, strips, or adhesive mount without touching the bonding surface more than necessary. Press firmly and evenly, especially around the edges. Keep the shelf level while the adhesive is still repositionable.
If the system uses a mounting plate, attach that part first and then fit the shelf after the plate has bonded. Do not hang toiletries on the shelf to help hold it in place. Their weight can shift the mount before it has developed its full hold.
5. Let it cure before loading
Curing time varies by product and conditions. Some bathroom mounting systems specify waiting 12 hours before attaching or loading the shelf; others require a different period. Use the longer time if the instructions and the bathroom conditions make that appropriate.
Keep the area dry during curing when the instructions call for it. A shelf that feels firmly attached after a few minutes may not yet be ready for its rated load.
6. Add weight gradually
Start with light items such as a bar of soap, a small bottle, or a sponge. Keep the heaviest items close to the wall rather than at the front edge, where they create more leverage. Avoid placing a large full bottle on a small adhesive shelf simply because its total weight appears to be within the stated limit.
After adding items, check that the shelf remains level and that the mount is not lifting, sliding, or separating from the wall. Remove the contents immediately if you see movement.
How much should an adhesive shelf hold?
Treat the listed weight capacity as a limit, not a target. The real result depends on the mounting surface, adhesive condition, shelf design, temperature, humidity, and how the shelf is used.
A shelf that holds bottles while sitting undisturbed experiences less stress than one that is pulled on daily. Do not use an adhesive shelf as a grab bar, footrest, towel rack, or support while getting in or out of the tub.
For a small bathroom, use several lightly loaded storage points rather than one heavily loaded shelf. This also makes everyday items easier to organize and reduces the temptation to overload a single mount.
Source: m.media-amazon
When another no-drill method is better
Choose a tension shelf when the wall is textured, painted, damp, or unsuitable for adhesive. It can also be useful when you need more storage but want the load transferred through the floor and ceiling rather than the wall surface.
Choose suction cups when the wall is very smooth and the items are light. They are convenient, but they may need occasional checking and are not a substitute for a fixed mount where the shelf will be pulled or heavily loaded.
Choose an over-the-door organizer when wall access is limited. Measure the door clearance and confirm that the organizer will not scrape the frame, block the door, or interfere with a shower curtain.
If you need a shelf for heavy bottles, frequent pulling, or long-term high-load storage, a properly screw-mounted shelf may be more appropriate. In a rental, ask the property manager before making changes or choose a freestanding or tension-based alternative.
Common mistakes to avoid
- Installing over soap film, dust, or moisture
- Applying adhesive to loose paint, wallpaper, or damaged grout
- Ignoring the product’s curing period
- Exceeding the stated load capacity
- Putting the heaviest bottles at the front edge
- Using the shelf as a handhold
- Mounting it where towels, doors, or shower curtains will catch on it
- Assuming a strong adhesive is removable without surface damage
A careful surface check and a patient curing period matter more than rushing the installation. For light everyday toiletries on a clean, smooth tile wall, an adhesive shelf can provide useful storage without drilling. For heavier loads or questionable surfaces, use a tension, freestanding, or screw-mounted solution instead.
References
- How to Choose the Best Bathroom Shelf No Drill: A Complete Buying Guide. (n.d.). https://smartbuy.alibaba.com/buyingguides/bathroom-shelf-no-drill
- Bathroom shelves and storage without drilling for gluing. (n.d.). https://www.tesa.com/en/consumer/bathroom-accessories/bathroom-storage
- NO DRILL SHOWER SHELF SOLUTION …. (n.d.). https://www.instagram.com/reel/DWUF_89DWxO?hl=en
- No Holes, No Glue Bathroom Shelf : 8 Steps (with Pictures). (n.d.). https://www.instructables.com/No-Holes-No-Glue-Bathroom-Shelf
- 6 Best No Drill Bathroom Shelves - Journeyman HQ. (n.d.). https://www.journeymanhq.com/435896/best-no-drill-bathroom-shelves
- Wall mounted bathroom rack - mounting without drilling - tesa. (n.d.). https://www.tesa.com/en/consumer/do-it-yourself-magazine/wall-mounted-bathroom-rack-mounting-without-drilling.html
- Hang shelves on bathroom tiles without screwing in. (n.d.). https://community.screwfix.com/threads/hang-shelves-on-bathroom-tiles-without-screwing-in.237345
- Yeegout No Drill Bathroom Shelves with Removable Hooks Aluminum Adhesive Shower Caddy Storage(Black Square) : Amazon.co.uk: DIY & Tools. (n.d.). https://www.amazon.co.uk/Yeegout-Bathroom-Removable-Aluminum-Adhesive/dp/B08V1JY4FK