How to Restore Your Bath and Make It Look Brand New Again
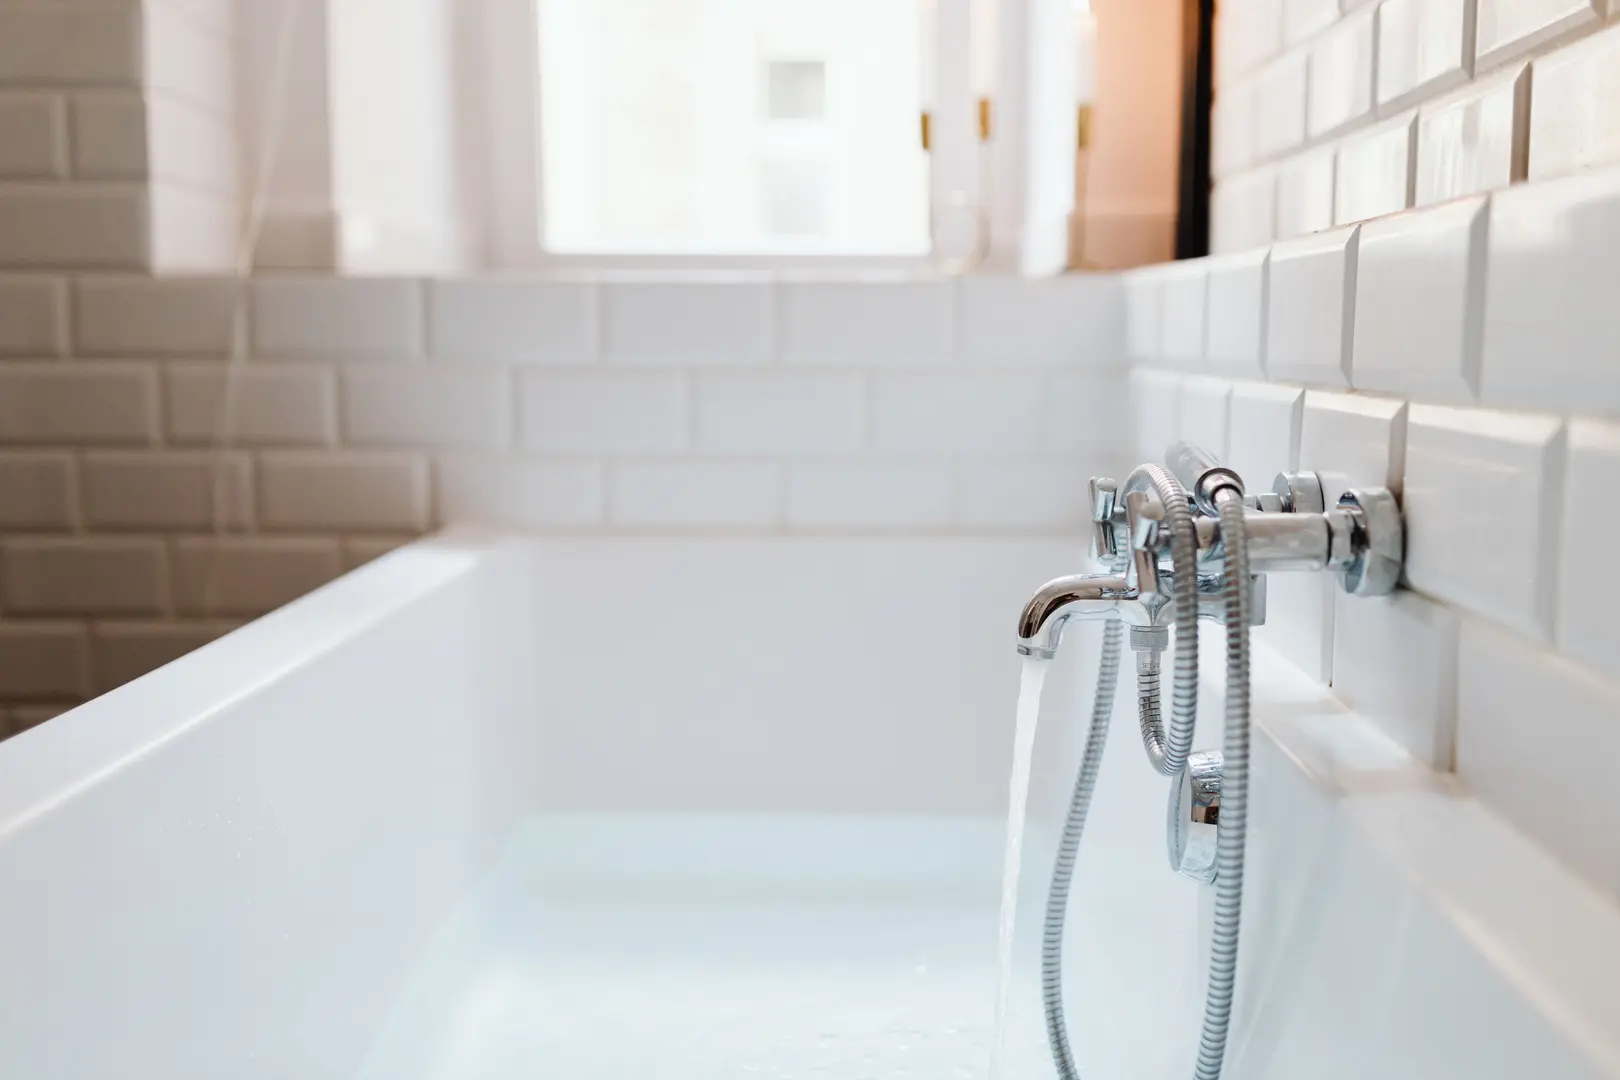
A tired-looking bath does not always need replacing. Soap scum, stained caulk, dull taps, small chips, and a worn surface can all make the fixture appear older than it is. Learning how to make your bath look brand new again starts with identifying which problems can be cleaned, repaired, refinished, or resealed.
Begin with the least invasive option: a thorough clean. If that is not enough, move on to small repairs, surface refinishing, and fresh silicone caulk. This step-by-step approach can improve the bath without committing to unnecessary work.
Clean Your Bath for a Fresh, New-Looking Finish
Cleaning is the best place to start because built-up residue can disguise the bath’s true condition. What appears to be a permanently dull or discoloured finish may simply be a layer of soap scum and everyday grime.
Wipe the bath after each use to reduce residue before it builds up. This small habit can make routine cleaning easier and help the surface retain a brighter, fresher appearance. Pay particular attention to the waterline, corners, textured areas, and the space around the drain and taps.
How often the bath needs a deeper clean depends on how frequently it is used. A bath used by several people may need more regular attention than one used only occasionally. Rather than following a rigid schedule, look for visible signs such as a dull film, marks around the drain, or residue that does not come away during a quick wipe.
A practical cleaning routine can include the following:
- Remove bottles, bath mats, and other accessories.
- Rinse or wipe away loose residue.
- Clean the main bath surface, starting at one end and working methodically to the other.
- Give extra attention to corners and textured sections.
- Clean the drain area and bath taps.
- Rinse away the cleaner and wipe the surface dry.
- Return only clean accessories to the bath.
For a natural cleaning option, try grapefruit and salt. The grapefruit can be used to work across dirty areas while the salt provides extra cleaning action. Apply it gently and concentrate on visible residue rather than aggressively scrubbing the entire surface. As with any cleaning method, consider the bath material and follow its care requirements.
Lemon is another simple option, particularly for refreshing bath taps. Use it on the affected areas, then wipe the taps clean so that juice and loosened residue are not left behind. Cleaning the taps can make a surprisingly noticeable difference because dull fittings often make the whole bath area look neglected.
Textured bath surfaces may need a different technique from smooth ones. Residue can remain in the small recessed areas even after the raised surface looks clean. Some bath owners report that Irish Spring 5-in-1 soap used with a brush helped them clean a textured bathtub. Treat this as an anecdotal cleaning workaround rather than a professional restoration or refinishing process. Use the brush carefully and avoid assuming that a method suitable for one bath finish will automatically suit another.
When assessing the results, let the bath dry and inspect it in clear light. This makes it easier to separate removable marks from actual surface wear. Look for:
- Small chips or scratches
- Dull areas that remain after cleaning
- Previous coating that appears uneven
- Gaps or discolouration in the caulk
- A visibly worn finish
- Rough or irregular work where the bath meets the wall
If the bath looks significantly better after cleaning, focus on consistent maintenance rather than immediately refinishing it. Wiping it down after use and deep-cleaning it according to demand may be enough to preserve the improvement.
If chips, worn coating, or obvious finish problems remain, the next step is to consider surface repair or refinishing.
Refresh the Surface With Bath Refinishing
Refinishing can renew a bath whose surface still looks tired after a thorough clean. The right approach depends on whether you are dealing with one small defect or widespread wear.
For a minor chip or scratch, a scratch repair kit may be sufficient. Focus the repair only on the damaged spot and follow the instructions included with the kit. A targeted repair is generally more appropriate than recoating the whole bath when the surrounding finish remains in good condition.
Before starting, clean the damaged area and inspect it closely. What first appears to be a scratch may be stubborn residue, while a small chip may be more visible once the bath is clean and dry. Good assessment helps prevent unnecessary refinishing.
When the entire surface looks worn, a bath refinishing kit can refresh its appearance. Depending on the product and bath surface, refinishing options may include enamel or epoxy paint. These coatings are intended to create a renewed-looking finish, but careful preparation and application are essential.
A sensible refinishing process involves:
- Assessing the existing surface. Determine whether the problem is a local chip, general dullness, or a previous coating that has failed.
- Cleaning thoroughly. Residue left on the bath can interfere with the final appearance.
- Repairing small defects. Deal with chips and scratches before applying a broader finish.
- Preparing only as directed. Follow the refinishing product’s instructions instead of improvising with tools or techniques.
- Applying the chosen coating carefully. Enamel and epoxy paints should be used according to their specific directions.
- Allowing the finish to set as instructed. Do not rush the bath back into use.
- Maintaining the renewed surface appropriately. Follow the recommended cleaning and care guidance for the coating.
There are different opinions about what “restoring” a bath should involve. Some people concentrate on repainting the visible area and updating accessories to suit the room’s current condition. Fresh towels, a new bath mat, coordinated storage, and cleaner fittings can help the restored bath feel more integrated with the décor.
Others favour a more technical refinishing solution that addresses the surface itself. This may be more appropriate when the finish is extensively worn or when an earlier coating is visibly failing. The important point is to choose the approach based on the bath’s condition rather than treating decoration as a substitute for necessary surface work.
Durability is a common concern with reglazed baths. A renewed coating may require different maintenance from the original surface, so consider the expected longevity and care requirements before proceeding. Review the refinishing product’s guidance and think realistically about how often the bath is used. The initial appearance matters, but so does your willingness to maintain the finish correctly.
If you are uncertain about the existing coating, the extent of the damage, or your ability to produce a consistent result, professional refinishing may be preferable to experimenting. This is particularly relevant when correcting a previous attempt, because adding another layer does not automatically hide poor preparation or an uneven finish.
Common DIY Mistakes in Bath Refinishing
Many refinishing problems begin before the coating is applied. Preparation matters, but more aggressive preparation is not necessarily better.
One common mistake is using a sander improperly. Users have reported that careless sanding created unnecessary mess and risked damaging nearby surfaces. Sanding without a clear understanding of the material can also make a manageable project more difficult. Do not assume that every bath needs heavy sanding or that a power tool is the best way to prepare it. Follow the chosen refinishing system rather than using a sander simply because the surface looks worn.
Another frequent problem is uneven preparation. If some areas are cleaned and prepared carefully while others are rushed, the finished bath may look inconsistent. Corners, curves, the area around the drain, and the edges near the wall all require attention. A coating can reveal rather than conceal differences underneath it.
A botched refinishing attempt may show up as:
- An uneven-looking coating
- Clearly visible marks beneath the new finish
- Poorly blended repair areas
- Rough transitions around the bath edges
- A finish that looks noticeably different from one section to another
- New coating applied over an already poor surface
If a previous attempt has failed, pause before applying more paint. Identify whether the problem came from cleaning, preparation, a local repair, application, or the condition of the previous finish. Simply repainting may reproduce the same defects.
Uneven wall finishing around the bath is another sign of poor preparation or workmanship. Although the wall is separate from the bath surface, an irregular texture or rough transition can make the entire installation look unfinished. Inspect the junction between the bath and wall before refinishing or replacing caulk. Surface work on the bath will not correct an uneven wall, and fresh silicone will not disguise every finishing flaw.
Other mistakes to avoid include:
- Refinishing before confirming that cleaning will not solve the problem
- Treating a small chip as if the whole bath needs repainting
- Coating over old residue or visibly poor repairs
- Ignoring awkward areas around taps, drains, and edges
- Expecting accessories to hide significant surface damage
- Choosing reglazing without considering future maintenance
- Rushing into a second attempt after an unsuccessful first one
Before reglazing, decide what result you expect and how long you need it to remain presentable. Also consider the cleaning and upkeep required by the renewed coating. Concerns about durability are reasonable, especially in a frequently used bathroom. A beautiful initial finish is only part of the decision; suitability and ongoing care are equally important.
Renew the Caulk for a Watertight, Finished Look
Old caulk can make a clean, refinished bath look neglected. It may become discoloured, uneven, or separated at the edges. More importantly, caulk helps maintain a waterproof seal where the bath meets the surrounding wall or other adjoining surfaces.
Replacing it can improve both protection and appearance. A clean line of silicone caulk gives the bath a more complete, professionally finished look and prevents gaps from undermining the result of your other restoration work.
Start by examining the existing caulk around the full edge of the bath. If it is failing or untidy, remove it carefully rather than applying a new layer over the top.
Use a craft knife to cut and lift the old caulk. Work slowly to avoid damaging the bath or adjacent wall finish. Once the main strip is removed, clear away remaining pieces so that the joint is ready for new silicone. This is also a good opportunity to inspect the edge for irregular wall finishing or remnants from earlier work.
The basic process is:
- Remove the old caulk carefully with a craft knife.
- Clear loose fragments and residue from the joint.
- Make sure the area is clean and ready for resealing.
- Apply silicone caulk along the bath edge.
- Create a neat, continuous line.
- Allow it to set according to the product directions before using the bath.
Take particular care around corners, as untidy joins can remain visible even when the straight sections look good. The objective is a consistent seal rather than an unnecessarily large bead of silicone.
Fresh caulk is often the final detail that brings the restoration together. Once the surface is clean, chips are repaired, and any refinishing is complete, a neat silicone seal frames the bath and makes the whole installation appear more cared for.
Ultimately, how to make your bath look brand new again depends on its present condition. Start with regular wiping and a thorough clean, use a repair kit for isolated chips, consider enamel or epoxy refinishing for a broadly worn surface, and replace deteriorated caulk with fresh silicone. By moving from simple maintenance to more involved restoration only when necessary, you can achieve a cleaner, brighter, and more finished-looking bath.