How to Paint Your Bathtub: A Cost-Effective Refinishing Guide
Painting a worn bathtub can refresh an entire bathroom without the disruption and expense of replacing the fixture. The process involves more than applying ordinary paint: successful refinishing depends on intensive cleaning, careful surface preparation, a compatible primer, and a coating designed for tubs.
If you are researching how to paint your bathtub, this guide explains the full process, the safety considerations, and when professional refinishing may be the better investment.
Why Bathtub Paint Can Transform Your Bathroom
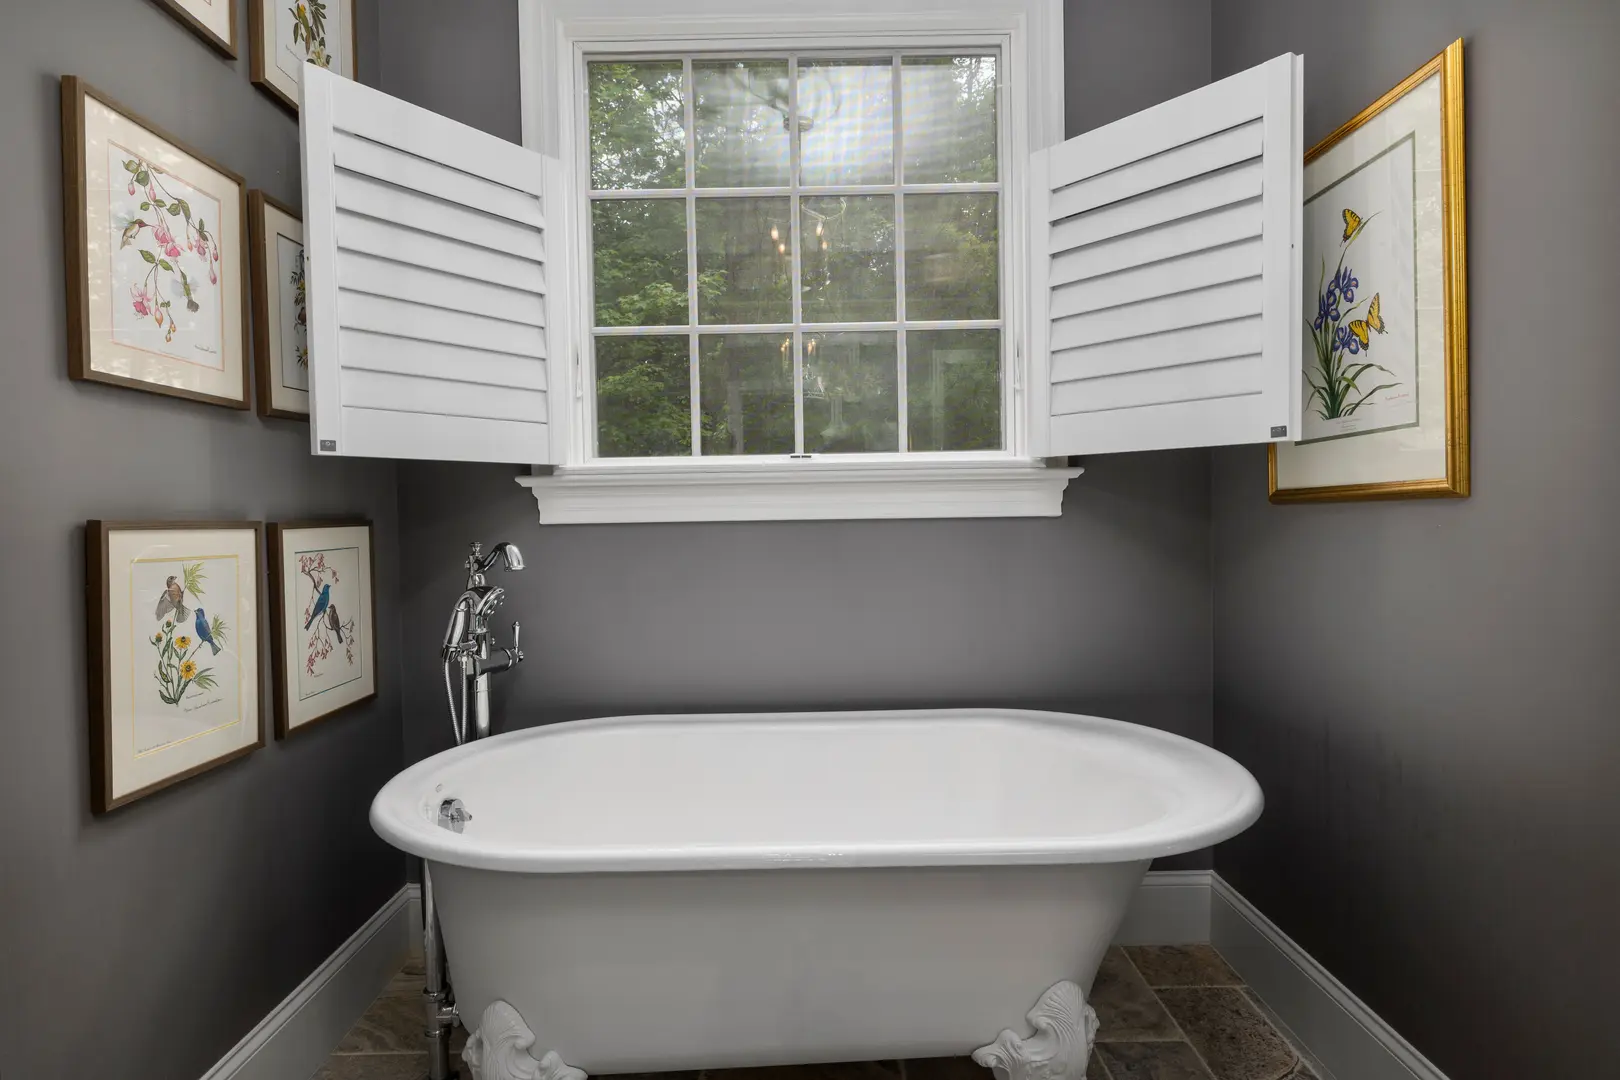
A bathtub often acts as the visual centerpiece of a bathroom. When its surface becomes faded, stained, scratched, or dated, the whole room can feel tired—even if the flooring, walls, and vanity remain in good condition.
Bathtub paint offers a cost-effective way to revitalize that centerpiece without removing the fixture. A properly prepared and coated tub can have a smooth, glossy appearance that makes the bathing area look cleaner and more polished. Refinishing also creates a durable surface when the coating is selected and applied correctly.
Color flexibility is another advantage. Depending on the refinishing system, you may be able to restore a traditional white finish or choose a color that better suits the rest of the room. A soft neutral can blend with understated décor, while a darker or more distinctive shade can make the bathtub a design feature.
Painting may be especially practical when:
- The bathtub is structurally sound but looks dated.
- Discoloration cannot be removed through normal cleaning.
- The surface has minor cosmetic damage that can be repaired.
- You want to avoid the work involved in removing and replacing a tub.
- The bathroom needs an affordable visual update.
Refinishing is not a shortcut for every problem. Major structural damage, persistent leaks, or other serious defects may require repair or replacement rather than paint. Before beginning, evaluate the tub honestly and confirm that your chosen coating is suitable for its surface material.
Preparing the Tub for a Lasting Paint Finish
Preparation is the most important part of learning how to paint your bathtub. Unlike a wall, a tub has a hard, smooth surface that is regularly exposed to water, cleaning, and physical contact. Paint will not adhere reliably if soap residue, body oils, old caulk, dust, or loose coating remains underneath it.
Begin by removing items that interfere with the project. Depending on the bathtub and bathroom layout, this may include the drain hardware, overflow cover, removable trim, and faucet components. If something cannot be removed safely, protect it carefully.
The tub then needs intensive cleaning. A surface that appears clean may still hold residue that affects adhesion. Pay close attention to corners, the area around the drain, the overflow opening, and the edges where the tub meets the wall.
Once clean, the surface must be sanded or otherwise abraded as directed by the refinishing system. Sanding reduces gloss and creates a surface to which primer and paint can bond. Any chips, scratches, or small damaged areas should also be repaired before painting. Repairs must be allowed to set and then blended smoothly into the surrounding surface.
Finally, mask the work area thoroughly. Protect walls, floors, tile, fixtures, and any other surfaces that should not receive primer or paint. Careful masking is particularly important when using a sprayer because airborne coating can travel beyond the edge of the tub.
Extensive preparation may feel disproportionate to the painting itself, but skipping it is one of the fastest ways to end up with peeling, bubbling, chipping, or an uneven finish.
Cleaning, Sanding, and Repairing Before You Paint
Use this focused checklist to prepare the bathtub:
Inspect the entire surface. Look for chips, peeling areas, cracks, scratches, failed caulk, and other damage. Determine whether the issues are cosmetic and suitable for refinishing.
Remove old caulk where necessary. Paint should not be used to conceal loose, moldy, or deteriorated caulk. Removing failed material also makes it easier to prepare the tub’s edges.
Clean the bathtub intensively. Remove soap film, oils, mineral residue, grime, and cleaning-product buildup. Follow the coating manufacturer’s cleaning instructions rather than assuming a quick household cleaning is sufficient.
Rinse and dry the surface. Residual cleaner can interfere with the coating. Make sure the tub is thoroughly rinsed and completely dry before proceeding.
Sand or grind as appropriate. Abrade the glossy surface evenly, paying attention to curved sections and difficult corners. Sanding can also help smooth repaired or rough areas, but it takes time and careful technique. Excessive or uneven work may leave visible marks, so follow the refinishing system’s directions.
Repair minor surface damage. Fill appropriate chips or imperfections with a repair material compatible with the tub and coating. Let the repair cure according to its instructions before smoothing it.
Remove all dust. Dust left behind can become trapped in the finish or weaken adhesion. Clean the surface again using the method recommended for the selected coating.
Mask the surrounding area. Use protective coverings and tape around walls, floors, drains, trim, and fixtures. Seal off nearby items that could be affected by splatter or overspray.
Complete a final inspection. Run your eyes over the tub from several angles. Look for remaining gloss, dust, rough repairs, residue, or missed damage before opening the primer.
Do not rush this stage to finish the project in a day. Careful preparation provides the foundation for every coat that follows.
Chemical Safety and Choosing Between DIY and Professional Refinishing
Bathtub refinishing products may involve hazardous chemicals. Treat every cleaner, repair compound, primer, and coating as a product that requires careful handling. Read its label, technical directions, and safety information before beginning.
Follow the manufacturer’s requirements for ventilation and personal protective equipment. Keep other people and pets away from the work zone, and do not use products near ignition sources when their instructions warn against it. Never combine chemicals unless the manufacturer specifically directs you to do so. Product instructions should also govern storage, cleanup, and disposal.
Ventilation deserves particular attention because bathrooms are often compact and enclosed. Opening a door is not automatically enough for every refinishing system. If you cannot meet the product’s ventilation requirements or do not have the required protective equipment, stop and consult a professional.
The decision between DIY and professional refinishing comes down to more than the initial price.
| DIY refinishing | Professional refinishing |
|---|---|
| Can reduce labor costs | Costs more upfront |
| Gives you control over scheduling and color | Offers experience with preparation and application |
| Requires substantial cleaning, sanding, masking, and curing time | Reduces the burden of a demanding project |
| Carries a greater risk of visible errors if the process is rushed | May provide more consistent, polished results |
| Requires you to manage chemical safety | Places application in trained hands |
DIY painting may be worthwhile for a careful, experienced homeowner who has enough time, suitable ventilation, and a tub with manageable cosmetic wear. Professional help may be worth the added cost when the finish is badly damaged, the shape is difficult to spray evenly, or a high-quality appearance is the priority.
Failed DIY attempts can bubble or chip, especially when cleaning and preparation are incomplete. Correcting a failed coating may create more work than refinishing the tub properly the first time. Consider both the potential savings and the consequences of having to redo the project.
How to Apply Bathtub Paint Step by Step
After preparation, follow the selected refinishing system exactly. Bathtub coatings vary, so the manufacturer’s instructions should take precedence over generalized advice.
Check the prepared surface. Confirm that repairs are smooth, dust is gone, and the tub is completely dry. Make sure masking is secure and the room meets all safety and ventilation requirements.
Apply the bonding primer. A compatible bonding primer helps the finish adhere to the prepared bathtub. Apply it evenly and avoid heavy areas, drips, or missed sections. Do not substitute an ordinary wall primer for a product intended for the refinishing system.
Allow the primer to dry. Observe the specified drying and recoating times. Applying the next coat too soon can trap material underneath or interfere with bonding. Waiting far longer than the stated recoat window may also require additional preparation, so follow the instructions closely.
Prepare the bathtub paint. Mix or combine the coating only as directed. Some systems have multiple components, making correct preparation and timing essential. Do not estimate ratios or modify the formula.
Apply the finish with a roller or HVLP sprayer. A suitable roller can make DIY application more accessible, although careful technique is needed to maintain an even finish. An HVLP sprayer can produce a more uniform appearance in experienced hands, but it requires proper equipment, masking, control, and safety measures.
Build the finish as instructed. Apply the required coats while respecting drying times. Avoid trying to hide everything with one heavy coat. Excess coating may sag, run, or cure unevenly.
Inspect between coats. Use good lighting to identify thin areas, trapped debris, drips, or other imperfections. Correct only what the product instructions allow at that stage.
Complete final touch-ups. Once the last coat has been applied, check edges, curves, and areas around openings. Touch-ups should blend into the finish rather than create thick patches.
Let the coating cure fully. Drying to the touch does not necessarily mean the bathtub is ready for water or regular use. Follow the stated curing period before reinstalling hardware, applying new caulk, cleaning the surface, or using the tub.
Avoid relying on standard spray cans for a full bathtub refinishing project. Users frequently report uneven coverage and disappointing finishes from this method. A roller or properly operated HVLP system is generally more appropriate when recommended by the coating manufacturer.
Execution matters at every stage. Contamination, insufficient sanding, incompatible materials, heavy coats, and ignored drying times can contribute to bubbling or chipping. If a defect appears, do not immediately cover it with more paint. Determine the cause and follow the manufacturer’s correction instructions.
Refinishing a Jacuzzi Tub for a Spa-Like Update
The same general painting process can be applied to a Jacuzzi-style bathtub: clean intensively, repair damage, abrade the surface, apply a compatible bonding primer, and finish with an appropriate coating.
However, a jetted tub has more openings, trim pieces, curves, and components to protect. Jets, controls, drains, and other fittings must be removed or masked as appropriate. Paint should not be allowed to obstruct functional openings or coat parts that are not intended for refinishing.
Preparation around jets can be especially demanding because residue and moisture may collect in these areas. Make sure the visible tub surface is clean and dry, and follow any applicable manufacturer guidance for the fixture.
A successful refinish can give a large Jacuzzi tub a more cohesive, spa-like appearance. Pairing a glossy tub surface with uncluttered countertops, soft textiles, and coordinated metal finishes can help turn an aging bathing area into a calmer retreat. Refinishing is particularly effective when the tub still works well but its color or surface no longer suits the room.
Because jetted tubs are more complex than standard tubs, professional refinishing may be a sensible choice if components are difficult to protect or the surface cannot be prepared evenly.
Pairing a Freshly Painted Tub with Stylish Faucets
A refreshed bathtub can make old or mismatched hardware more noticeable. Upgrading the faucet, handles, drain trim, or other visible fittings can add further visual impact and make the refinishing project feel complete.
Choose fixtures that support the bathroom’s existing style:
- Classic faucets often suit traditional bathrooms with decorative details, warm finishes, and familiar silhouettes.
- Modern faucets tend to work well with clean lines, restrained shapes, and simple finishes.
- Transitional designs can bridge old and new elements when you are updating the room gradually.
Cohesion is more important than making every metal surface identical. Consider how the bathtub faucet relates to the sink faucet, shower hardware, cabinet pulls, lighting, and accessories. Repeating a shape or finish in several places can make the design feel intentional.
The faucet should also be compatible with the tub’s existing configuration. Confirm installation requirements before purchasing, particularly if you hope to avoid modifying the bathtub or surrounding wall.
Ultimately, learning how to paint your bathtub is about combining disciplined preparation with a clear design goal. A glossy new finish can restore the room’s centerpiece, while coordinated faucets and accessories help the update extend beyond the tub itself. Whether you tackle the work yourself or hire a refinishing professional, careful execution is what turns a budget-conscious project into a convincing bathroom transformation.