How to Protect Your Bathroom Cabinet from Water Damage
Bathroom cabinets deal with frequent splashes, high humidity, leaking products and occasional plumbing problems. These conditions are especially challenging for cabinets made from MDF or particleboard, which can swell or lose their finish after absorbing moisture. Learning how to protect bathroom cabinet from water damage starts with recognising early warning signs, fixing the source and creating barriers against future exposure.
How to Recognise Existing Water Damage in Your Bathroom Cabinet
Water damage is not always obvious at first. It may begin beneath the sink, along an unfinished edge or at the base of the cabinet. Regularly inspect both the exterior and the storage area for these common signs:
- Warped or swollen panels: Moisture can cause cabinet sides, shelves and bases to expand or change shape. Particleboard and MDF are particularly vulnerable once water reaches the material beneath the surface.
- Soft or weakened wood: Gently inspect suspicious areas. A panel that feels soft, spongy or less stable than the surrounding material may have absorbed water.
- Peeling paint or laminate: Bubbling paint, lifting laminate and separating edge strips can indicate that moisture has penetrated the finish.
- Discolouration: Dark patches, watermarks or uneven colour around pipes and cabinet joints often point to a spill, leak or repeated condensation.
- Musty odours: A persistent damp smell may indicate trapped moisture or mold, even when the affected area is difficult to see.
- Doors that do not close properly: Swollen panels and warped frames can affect hinges and alignment, leaving doors uneven or difficult to close.
Remove stored products and inspect the entire interior with good lighting. Pay close attention to the area around pipe openings, the underside of shelves and the cabinet floor. Also check the wall and flooring around the unit because moisture may be entering from outside the cabinet.
Minor surface marks may be manageable once the area is dry and the water source has been resolved. Soft structural panels, widespread swelling or mold, however, suggest more extensive damage that should not be covered with paint or sealant.
Proven Methods for Preventing Bathroom Cabinet Water Damage
Effective prevention involves more than applying a protective finish. The cabinet must be kept away from ongoing leaks, standing water and persistent humidity. The most reliable approach combines plumbing checks, ventilation, surface protection and regular maintenance.
These measures are also important after a repair. Replacing a damaged panel or refinishing a cabinet will only offer a temporary improvement if water continues to reach the same area.
Identify and Repair the Source of Water Damage
Before treating the cabinet, determine where the moisture is coming from. Ignoring a small leak can allow damage to spread and make mold more difficult to manage.
Start by emptying the cabinet and drying all visible moisture. Then inspect likely sources, including:
- Supply pipe connections: Look around the connections beneath the tap for active drips or signs of previous moisture.
- Waste pipes and joints: Check the pipework below the basin, particularly after running water.
- The basin and tap area: Water may travel over the edge of the basin or around the tap before dripping into the cabinet.
- Sealant around nearby fixtures: Gaps or deteriorated seals can allow splashes to reach the wall, floor or side of the cabinet.
- Stored bottles: Loose caps, damaged containers and pump dispensers can leak slowly onto shelves.
- Nearby shower or bath splashes: Consider whether water regularly escapes onto the cabinet or surrounding floor.
- Condensation and poor airflow: Persistent dampness without an obvious plumbing leak may be connected to humid air and limited ventilation.
Dry the area and observe it again after using the sink or shower. This can help distinguish a plumbing leak from ordinary splashes or condensation. If the source is within plumbing that you cannot safely repair, arrange for an appropriate professional to address it.
Do not seal, paint or reinstall stored items until the cause has been fixed and the cabinet has dried. Trapping moisture beneath a finish or behind an organiser will not solve the problem and may allow the damage to recur.
Improve Airflow to Keep the Cabinet Area Dry
Ventilation helps humid air leave the bathroom instead of settling on cabinet surfaces. Run the extractor fan during and after showers, giving the room time to clear after steam-producing activities. Where possible, open a window to improve airflow.
Keep the area around the cabinet reasonably unobstructed. A cabinet packed tightly with towels, toiletries and cleaning supplies has less room for air to circulate, so a small leak or damp patch can remain hidden for longer.
It can also help to leave cabinet doors open temporarily after cleaning a wet shelf or dealing with a minor spill. The aim is to allow the area to dry fully rather than closing damp air inside. Ventilation will not repair a plumbing leak, but it reduces the ongoing moisture exposure that can shorten the cabinet’s useful life.
Protect Surfaces with a Suitable Waterproof Sealant
A compatible waterproof sealant creates a protective barrier between the cabinet surface and everyday moisture. It is particularly useful on exposed edges, joints and areas that regularly encounter splashes.
Before applying any product:
- Confirm that it is suitable for the cabinet material and its existing finish.
- Clean the surface and allow it to dry completely.
- Address loose laminate, peeling paint or damaged panels first.
- Follow the product instructions for preparation and application.
- Apply an even coat without leaving missed sections.
- Allow the sealant to dry fully before replacing products or exposing the surface to water.
Pay attention to cut edges and openings around pipes, as these areas may be less protected than factory-finished faces. However, sealant should not be treated as a way to hide active damage. A coating applied over damp, swollen or unstable material cannot restore its original strength.
Periodically inspect the finish for peeling, worn areas or gaps. Maintaining the protective layer is more effective than waiting until water has already reached the material underneath.
Raise the Cabinet Above the Floor When Possible
Floor-standing cabinets are exposed when water collects around their base. Repeated contact can cause the lowest panels to swell or warp, particularly when their edges are not fully protected.
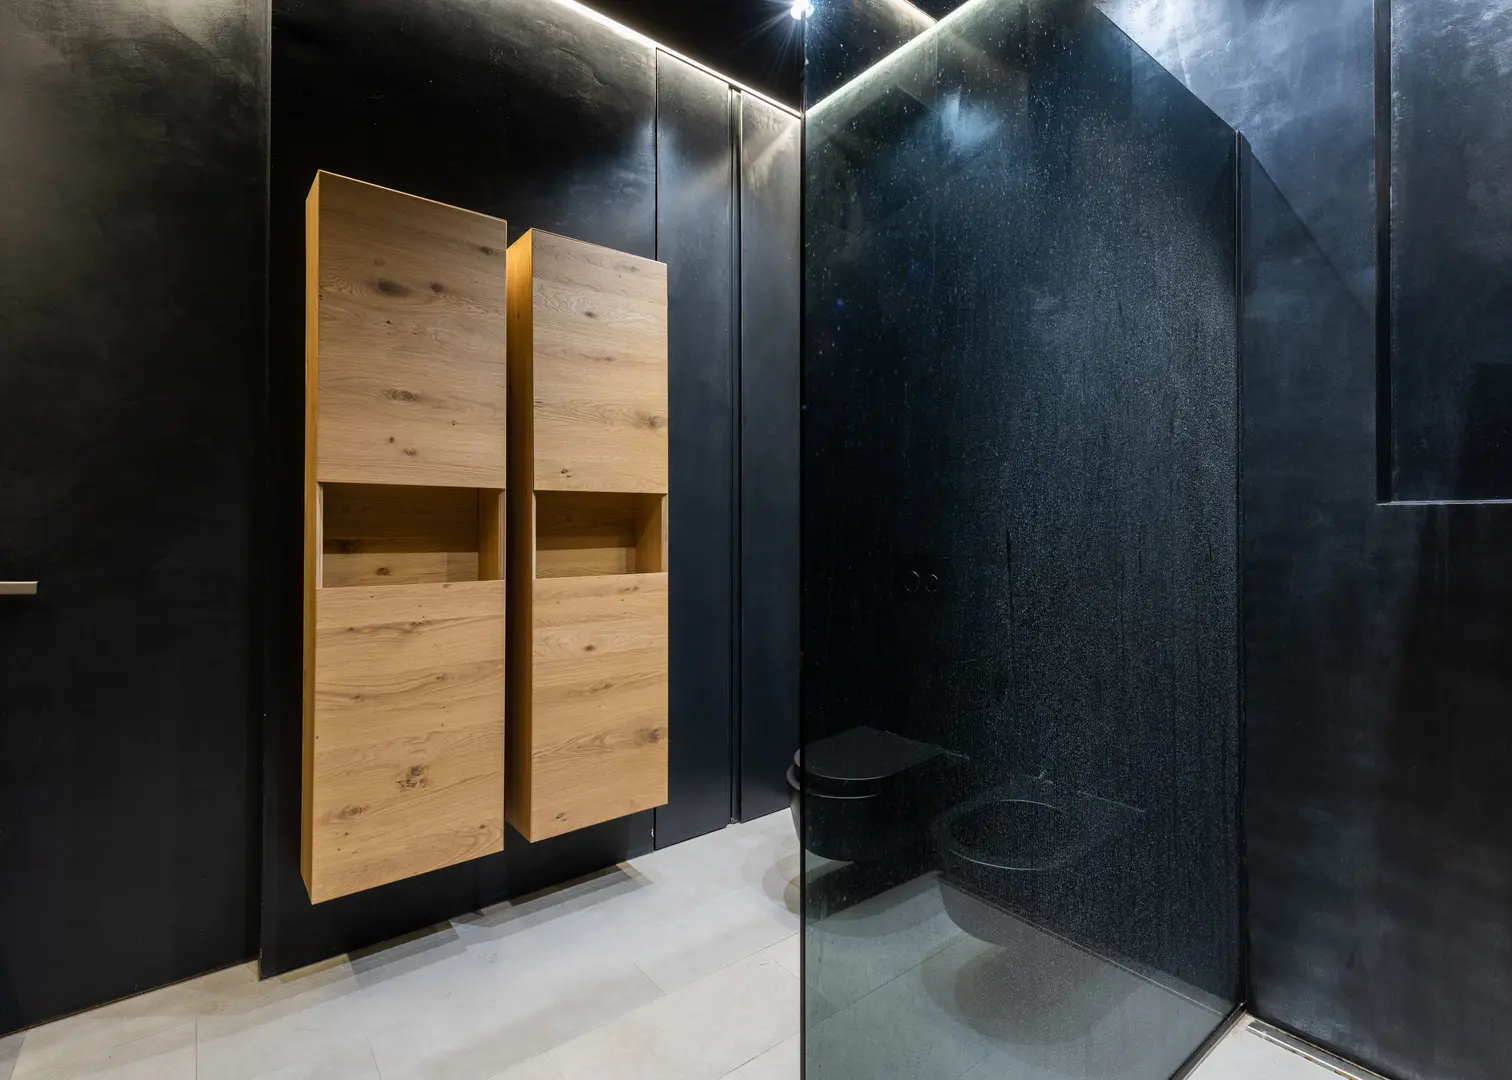
A wall-mounted cabinet keeps its base above floor moisture and makes it easier to see and clean spills underneath. This can be helpful in bathrooms where splashes frequently reach the floor.
Changing to a wall-hung design will not suit every room or cabinet. The wall and installation must be appropriate for the unit, so professional installation may be needed. If replacing or remodelling the bathroom, consider elevation alongside storage needs, plumbing positions and the cabinet’s overall design.
For an existing floor-standing unit, focus on keeping the surrounding floor dry. Do not allow wet bathmats or damp cleaning materials to rest against the cabinet base.
Use a Drip Tray or Splash Guard for Extra Protection
A drip tray beneath the sink pipework or stored liquids offers another layer of protection. It can catch small drips before they soak into the cabinet floor and makes leaked liquid easier to notice and remove.
Choose a tray that fits without obstructing plumbing or forcing stored items against pipes. Check it regularly, since a full or neglected tray cannot provide ongoing protection. A tray is a safeguard, not a substitute for repairing a leak.
Splash guards can be useful where water frequently escapes from the basin, shower or bath towards the cabinet. By limiting the path of splashed water, they reduce direct exposure to the cabinet’s sides and doors. Their placement should address the actual direction of the splashes rather than simply covering existing marks.
When Is Replacing the Bathroom Cabinet the Better Option?
Repair may be practical when the damage is limited to a small area, the cabinet remains stable and the source has been fixed. A worn finish, minor surface peeling or an isolated damaged component may be easier to address than replacing the entire unit.
Replacement is often the more sensible option when:
- Several panels are swollen, warped or soft.
- The cabinet base no longer supports stored items securely.
- Doors and drawers remain badly misaligned because the structure has changed shape.
- Laminate or finishes are separating across large areas.
- Mold or a musty smell persists within extensively damaged material.
- Repairs would leave the cabinet unstable or fail to address damage hidden inside the panels.
- The cabinet has suffered repeated water exposure despite previous repairs.
Do not judge the cabinet solely by its front surface. Empty it and examine the base, back, shelves, joints and areas around the plumbing. If you are unsure whether the structure can be repaired safely, seek advice rather than covering damaged material.
An upgrade can also provide practical benefits. A new cabinet may offer more suitable storage, a finish better matched to bathroom conditions or a wall-hung design that stays clear of wet flooring. It also gives you an opportunity to organise the pipework area and add protective trays from the beginning.
Before installing a replacement, repair every leak and let the surrounding wall and floor dry. Otherwise, the new unit may encounter the same problem.
Additional Habits for Preventing Future Damage
Long-term protection depends on routine care as well as the cabinet’s material and finish. Simple habits make it easier to control moisture and notice problems before they become extensive.
A useful routine includes checking plumbing, keeping the interior organised, drying wet surfaces and cleaning the cabinet regularly. These tasks are particularly important beneath a sink, where pipework and stored products can conceal small leaks.
Wipe Up Spills as Soon as They Happen
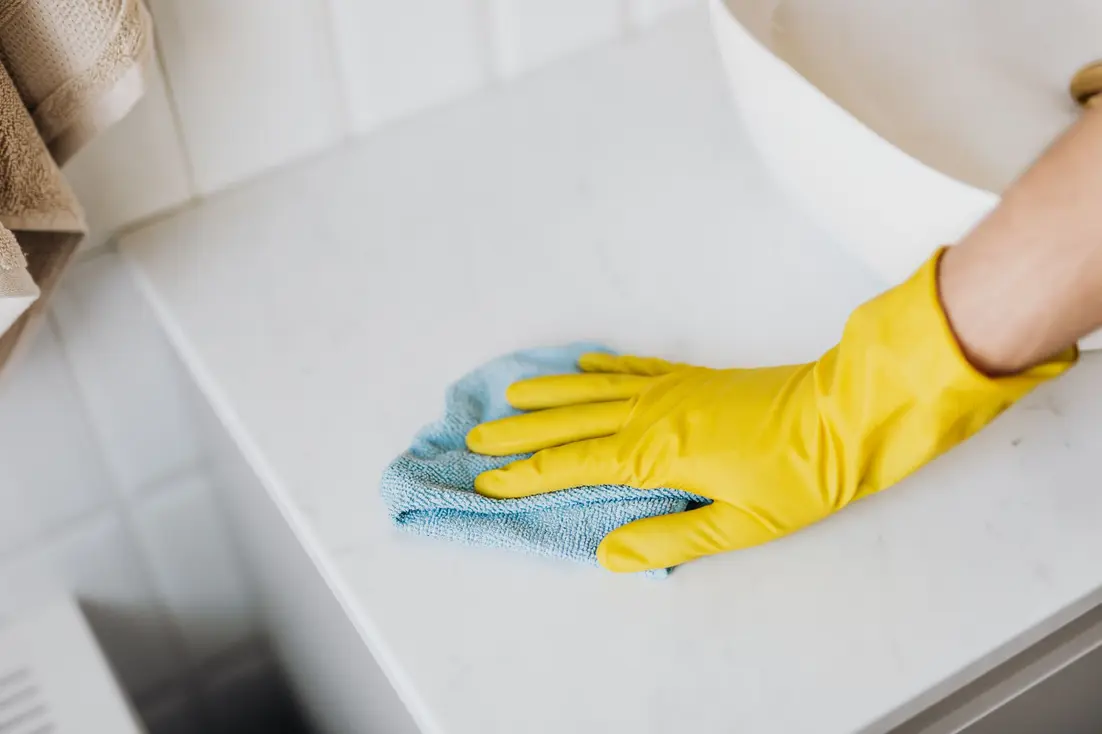
Water and leaked products should be wiped up as soon as they are noticed. Quick cleanup limits the time moisture has to enter joints, unfinished edges or damaged sections of the finish.
Use a clean, absorbent cloth and check whether liquid has travelled underneath bottles, organisers or shelf liners. If the surface remains damp, remove stored items and leave the area open until it dries.
Do not forget the cabinet exterior. Dry splashes around doors, side panels and the base, especially after showers, cleaning or bathing children. If spills repeatedly appear in the same place, investigate the cause instead of treating them as unavoidable.
Arrange Bathroom Products to Reduce Leaks and Mess
Organisers help contain leaking toiletries and prevent clutter from hiding moisture. Group similar products in removable trays or containers so the shelf beneath them is easy to inspect and clean.
Keep bottle caps secure and dispose of cracked or damaged containers. Avoid placing products where they press against plumbing joints or make the pipework difficult to inspect. Frequently used items should be easy to remove without knocking over other bottles.
An organised cabinet also makes unexplained moisture easier to trace. If one tray contains a spill, you can inspect the products inside it before assuming that the plumbing is leaking.
Clean the Cabinet Regularly and Check for Early Problems
Clean the cabinet about once a week, using a method suitable for its material and finish. Avoid leaving the surface wet after cleaning; wipe away remaining moisture and let the interior dry before closing the doors.
During cleaning, look for:
- New stains or dark patches
- Lifting edges or peeling finishes
- Dampness around pipes
- Water in a drip tray
- Loose or leaking product containers
- Swelling around shelf and panel edges
- Changes in door or drawer alignment
- Musty smells
Early detection keeps a minor spill or leak from developing into widespread damage. Combine these weekly checks with good ventilation, prompt plumbing repairs and a maintained protective finish. Together, these measures provide a practical, sustainable way to keep a bathroom cabinet dry, functional and presentable.