How to Recaulk a Bathtub for a Clean, Mold-Resistant Seal
A worn caulk line can make an otherwise clean bathtub look neglected—and it may allow water to reach the wall, floor, or framing around the tub. Fortunately, learning how to recaulk a bathtub is manageable for a first-time DIYer. The key is to remove the old material completely, prepare a clean and dry joint, and apply wet-area silicone in one controlled bead.
Why Recaulking Your Bathtub Helps Prevent Water Damage
Bathtub caulk seals the joint where the tub meets the wall, tile, or shower surround. Water regularly runs across these surfaces, so even a small opening in the seal can let moisture seep behind the tub or into nearby materials.
Fresh, properly bonded caulk creates a flexible, watertight barrier. This helps protect surrounding walls, flooring, and structural materials from repeated moisture exposure. It also removes gaps where water can remain trapped and contribute to persistent mold growth.
Recaulking is not simply a cosmetic update. It can help:
- Keep water out of the joint around the bathtub
- Protect nearby finishes and underlying materials
- Reduce damp areas where mold can return
- Improve the appearance of the tub surround
- Accommodate normal movement between the tub and wall
Caulk cannot repair existing water damage or solve a leak from plumbing, grout, or another source. If the area remains wet after the joint has been sealed, investigate the cause rather than applying more caulk over it.
Signs Your Bathtub Caulk Needs Replacing
Inspect the entire caulk line, including corners and less visible areas near fixtures. Failed caulk does not always separate evenly, so one section may look intact while another has already lost its seal.
Common warning signs include:
- Cracks: Splits through the bead can create a path for water.
- Flaking or peeling: Caulk that lifts from the tub or wall is no longer sealing the joint properly.
- Gaps: Openings may appear where the bead has shrunk, shifted, or detached.
- Discoloration: Dark or persistent staining can indicate mold or moisture within the caulk.
- Texture changes: Old caulk may become brittle, unusually soft, sticky, or uneven.
- Movement: If the bead shifts when touched gently or pulls away from either surface, its bond has failed.
- Recurring mold: Mold that quickly returns after cleaning may be embedded in damaged caulk or growing behind a loose edge.
Do not cover these problems with a second layer. New silicone generally needs a clean, sound surface to form a reliable bond. Caulking over cracked, dirty, or moldy material may temporarily hide the problem, but the new layer can fail along with the old one.
How to Choose Sealant for a Waterproof Bathtub Joint
Use 100% silicone sealant labeled for bathroom, tub, shower, or wet-area use. Silicone is suited to locations that experience frequent water exposure because it remains flexible and forms a durable waterproof seal when applied and cured correctly.
Flexibility matters because the bathtub and wall do not always remain perfectly still relative to each other. A tub may shift slightly under the weight of water and a person, while surrounding materials can also experience minor movement. A flexible silicone bead is better able to accommodate that movement without cracking or pulling away.
Consider these factors when choosing a sealant:
- Wet-area suitability: Confirm that the label identifies the product for tubs, showers, or similar bathroom applications.
- Surface compatibility: Check that it can bond to the tub and surrounding wall material.
- Joint movement: Favor a durable, flexible sealant where movement is expected.
- Color: Clear, white, or another matching color should complement both surfaces and provide a neat finish.
- Mold resistance: A bathroom-rated silicone may include protection intended to discourage mold growth on the cured sealant.
Avoid general-purpose acrylic caulk in the wet joint around a bathtub. Although some acrylic products are easy to apply and paint, they are not the preferred choice for a constantly wet zone. Follow the selected silicone manufacturer’s instructions for preparation, application, and curing.
Supplies and Tools for Recaulking a Bathtub
Gather everything before removing the old caulk. Once application begins, silicone can skin over quickly, so stopping to search for tape or a smoothing tool can leave an uneven bead.
The preparation supplies are just as important as the application tools. New caulk will not compensate for residue, moisture, or fragments of old sealant left in the joint.
Tools for Removing Old Caulk and Applying a Straight Bead
Useful tools include:
- Caulk-removal tool or plastic scraper
- Utility knife or razor scraper appropriate for the surface
- Needle-nose pliers for pulling out loose strips
- Soft brush or vacuum for clearing debris
- Clean, lint-free cloths
- Painter’s tape
- Caulk gun if using a standard cartridge
- Caulk-finishing tool
- Gloves
- A stable work light
Use sharp tools carefully, particularly around acrylic, fiberglass, coated surfaces, and soft finishes that can scratch. A plastic removal tool may be safer for a delicate tub surface. The goal is to remove the sealant without damaging the bathtub or wall.
A caulk gun with smooth, controlled pressure makes it easier to maintain a steady bead. Painter’s tape can define both edges of the joint, while a finishing tool helps press silicone into the gap and create a consistent surface.
Materials to Match the Tub Surface and Joint
Prepare the following materials:
- Bathroom-rated 100% silicone sealant
- Cleaner compatible with the bathtub and wall surface
- A suitable product for removing stubborn caulk residue, if needed
- Painter’s tape
- Disposable cloths or paper towels
- Water for filling the tub when appropriate
Read the silicone label before use. Bathtubs may be made from acrylic, fiberglass, porcelain-coated metal, or other materials, and shower surrounds may include tile, glass, stone, or manufactured panels. The sealant and cleaning products must be compatible with both sides of the joint.
Choose enough silicone to cover the gap without creating an oversized ridge. The best bead is not automatically the thinnest possible line. It should be narrow and tidy while still filling and bridging the joint completely. A bead that is too small may not seal the gap; an unnecessarily thick one can look messy and be harder to smooth.
Step-by-Step: Recaulk Your Bathtub Like a Professional
Stop using the bathtub and inspect the area. The joint must be accessible and able to dry fully. Look for loose panels, damaged grout, or signs that water may be coming from somewhere other than the caulk line.
Remove the old caulk. Carefully cut along both edges of the existing bead. Lift an end with a caulk-removal tool or scraper, then pull away as much as possible in strips. Use pliers if they help you grip the material.
Clear every remaining fragment. Scrape away thin patches and residue without gouging the tub or wall. Pay close attention to corners, where old silicone often remains. Incomplete removal is a common reason new caulk fails to adhere.
Clean the exposed joint. Remove soap residue, dirt, oils, and visible mold from the surfaces. Use a cleaner that is safe for the bathtub and surround. Do not mix cleaning products, and follow all label directions.
Let the area dry completely. Wipe away surface moisture and allow the joint to dry. Silicone should not be applied over a damp surface unless its manufacturer specifically permits it. Moisture trapped in the gap can interfere with adhesion and undermine the goal of creating a clean seal.
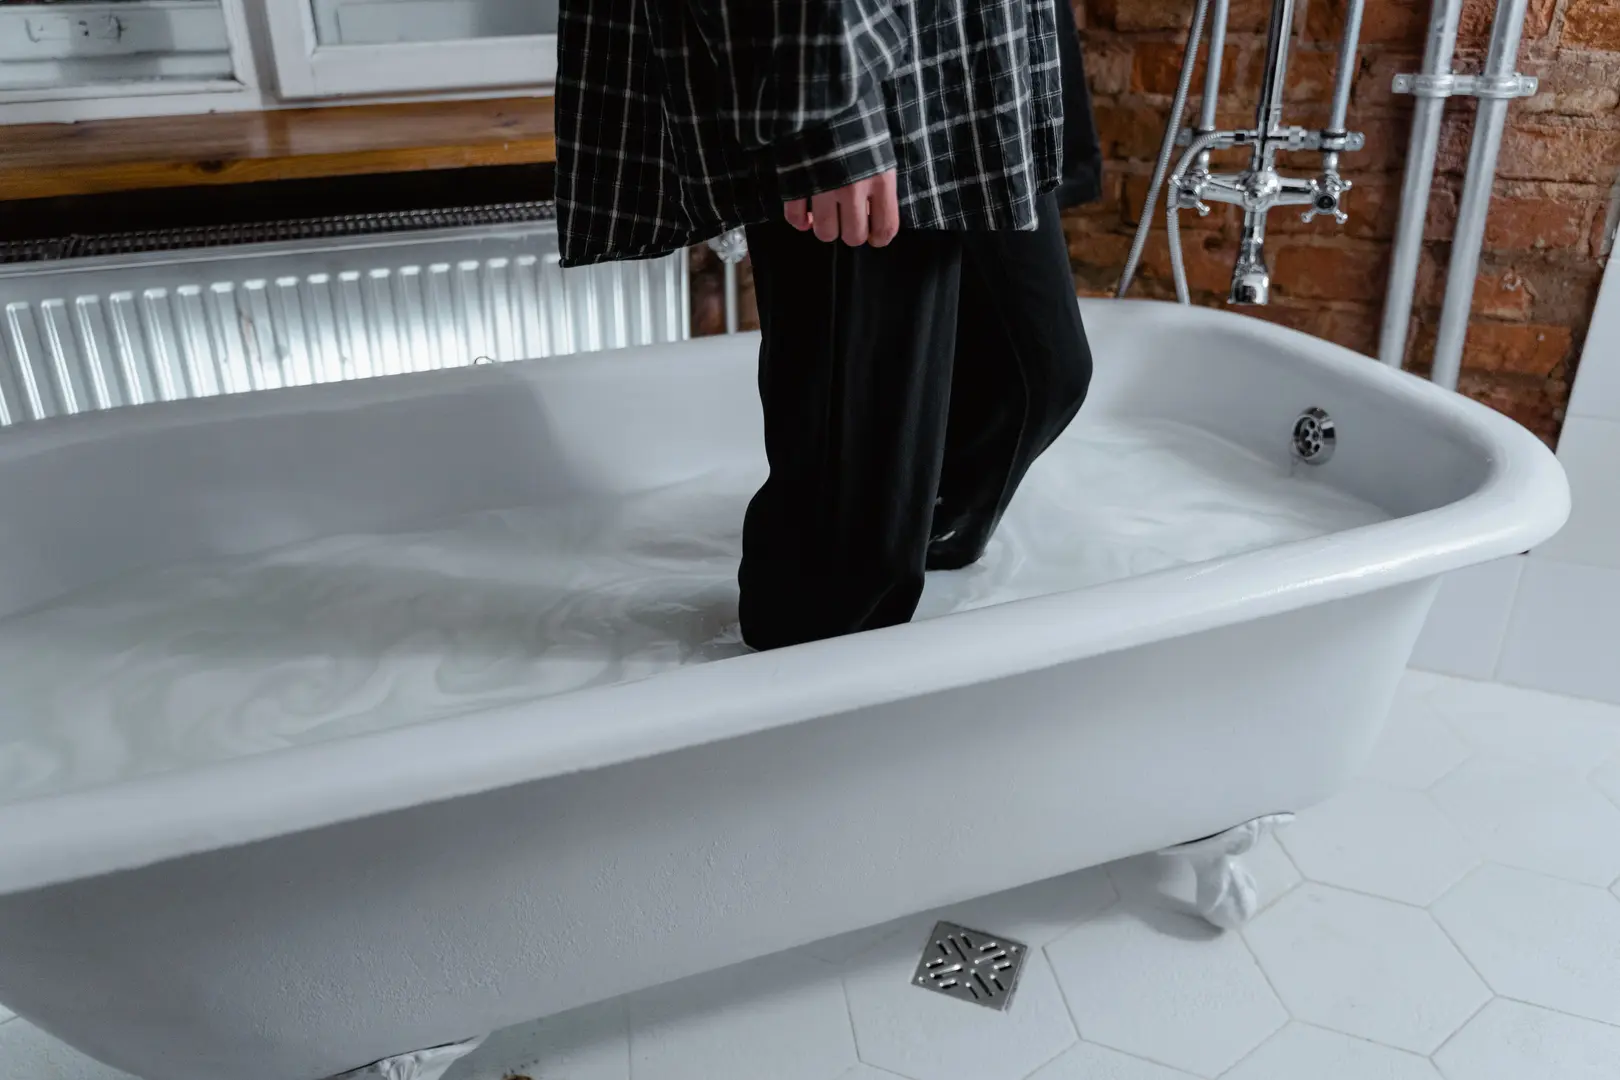
Fill the tub with water when accounting for movement. If the bathtub flexes or settles when filled, adding water before caulking can place it under a typical load. This opens the joint to its loaded position, helping the cured bead accommodate movement later. Keep the water level stable throughout application and curing.
Apply painter’s tape. Run one strip along the tub and another along the wall, leaving the intended joint exposed. Keep the tape lines even. Do not make the opening so narrow that the silicone cannot cover the gap.
Prepare the silicone nozzle. Cut the nozzle evenly at an angle suitable for the joint. Start with a smaller opening rather than making an unnecessarily large cut. If required by the package, puncture the inner seal and load the cartridge into the caulk gun.
Apply one continuous bead. Hold the nozzle at a consistent angle and move steadily along the joint while applying even pressure. Aim to push or guide silicone into the gap rather than merely laying it on top. Release pressure at stops to prevent excess material from collecting.
Smooth the silicone promptly. Before the surface begins to skin, use a caulk-finishing tool to shape the bead and press it against both sides of the joint. Work in a controlled pass. Wipe excess silicone from the tool as needed instead of spreading it onto nearby surfaces.
Remove the tape carefully. Pull the tape away while the silicone is still workable, following the sealant instructions. Remove it slowly so the edges remain clean. If necessary, make only a light final adjustment with the finishing tool.
Leave the seal untouched while it cures. Do not expose the caulk to water, press it, or repeatedly test whether it feels dry. Follow the manufacturer’s stated cure time, which may differ from the time when the surface first appears set.
Drain the tub only after the silicone has fully cured. If you filled the tub before caulking, leave it filled for the entire cure period. Draining it early changes the load on the joint while the silicone is still developing its final seal.
A clean result depends more on preparation and control than speed. If a section is visibly incomplete during application, correct it while the silicone is still workable. Once it begins curing, repeated touching usually makes the finish rougher.
Beginner Tips for Re-caulking Your Bathtub
First-time DIYers should work on a clean, well-lit joint and rehearse their hand position before dispensing silicone. Check that you can reach the full caulk line without leaning against a freshly finished section.
Keep these practical points in mind:
- Remove all old caulk rather than only the visibly loose pieces.
- Cut the nozzle conservatively; a large opening releases too much silicone.
- Maintain a steady pace and consistent pressure on the caulk gun.
- Apply enough material to seal the gap, but avoid an oversized bead.
- Smooth each section promptly instead of waiting until the entire room is caulked.
- Keep spare cloths nearby for tools and accidental drips.
- Do not try to clean cured silicone by smearing more fresh silicone over it.
Tub movement is especially important. The combined weight of bathwater and a person can slightly change the joint between the tub and wall. Filling the bathtub with water before applying silicone can help account for that loaded position and reduce stress on the finished bead.
However, this method requires patience: the bathtub must remain filled until the silicone has completely cured according to its label. Do not use, drain, or disturb the tub during that period.
Long-Term Ways to Prevent Mold in the Bathroom
Mold-resistant silicone helps, but no caulk line remains clean if it is continually wet and poorly ventilated. Long-term prevention depends on reducing lingering bathroom moisture.
After recaulking:
- Run the bathroom exhaust fan during bathing and afterward.
- Open a window when practical if the room needs additional ventilation.
- Wipe or squeegee water from the tub surround and caulk line.
- Avoid leaving wet cloths, bottles, or bath accessories pressed against the seal.
- Clean the joint regularly with products safe for silicone and the surrounding surfaces.
- Inspect corners and edges for small cracks, lifting, or discoloration.
- Address leaks and damaged sealant promptly instead of waiting for a large gap.
Drying the caulk line after bathing is particularly helpful. It limits the time that moisture remains on the surface and makes it easier to notice early changes in the seal.
Common Mistakes to Avoid When Replacing Bathtub Caulk
A professional-looking bead can still fail if the surface underneath was poorly prepared. Avoid these frequent errors:
- Leaving old caulk in the joint: Remaining silicone and residue can prevent a secure bond.
- Applying over dirt or soap film: A clean-looking surface may still contain residue that affects adhesion.
- Caulking a damp joint: Trapped moisture works against a dry, reliable seal.
- Using acrylic caulk in the wet zone: Choose bathroom-rated 100% silicone for the bathtub joint.
- Cutting the nozzle too large or unevenly: This makes the flow difficult to control and can create a bulky bead.
- Applying too little silicone: A very thin line is not effective if it fails to cover and fill the gap.
- Applying too much silicone: Excess material is harder to smooth and may spread beyond the joint.
- Stopping and starting repeatedly: An inconsistent pace can leave lumps, gaps, and weak transitions.
- Waiting too long to smooth the bead: Silicone should be shaped while it is still workable.
- Touching the seal during curing: Pressing or testing it can deform the bead before it is ready.
- Draining a weighted tub too soon: If the tub was filled for caulking, it should stay filled until the sealant fully cures.
- Ignoring recurring failure: Caulk that repeatedly cracks or develops mold may indicate movement, persistent moisture, or another issue that needs attention.
Thorough removal, careful cleaning, a controlled bead, and an undisturbed cure are the foundations of a durable bathtub seal. When each stage is completed properly, fresh silicone provides a cleaner appearance and stronger protection against moisture and recurring mold.