How to Remove a Bathroom Mirror Without Damaging the Wall
A bathroom mirror should be removed according to the way it is attached. A framed mirror may lift from a cleat, hooks, or brackets, while a frameless builder-grade mirror is often held by clips, mirror mastic, construction adhesive, or a combination of adhesive and clips. Identify the mounting method before pulling or prying.
For a small, light mirror with visible hardware, careful DIY removal may be reasonable. A large frameless mirror, a mirror firmly bonded over drywall or tile, or any mirror that is cracked, unusually heavy, hard to support, or connected to lighting is safer to leave to a professional glass or remodeling service.
Before you start: decide whether DIY removal is appropriate
Do not begin by testing how strongly the mirror is attached. A sudden release can send the glass forward, and force applied to one corner can crack it or damage the wall behind it.
Arrange a helper before removing a large mirror. One person should support the mirror while the other loosens hardware or separates adhesive. If the mirror cannot be held securely throughout the work, stop and hire a professional.
Professional removal is the better choice when:
- The mirror is wide, tall, thick, cracked, or difficult to reach.
- It covers most of a vanity wall and you cannot access its edges safely.
- It is bonded over delicate tile, wallpaper, plaster, or a wall surface you need to preserve.
- It has electrical wiring, lights, a defogger, or other powered features.
- You do not know what is behind the mirror or cannot create a controlled working gap.
- The glass begins cracking, shifting unpredictably, or separating in pieces.
If the mirror is illuminated or electrically connected, turn off the appropriate circuit before touching it, and have electrical work handled by someone qualified.
Gather protection and basic tools
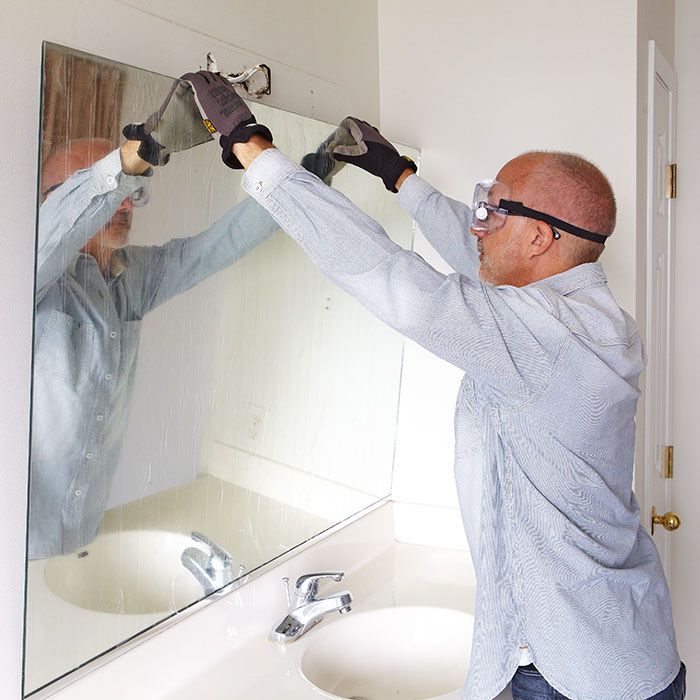
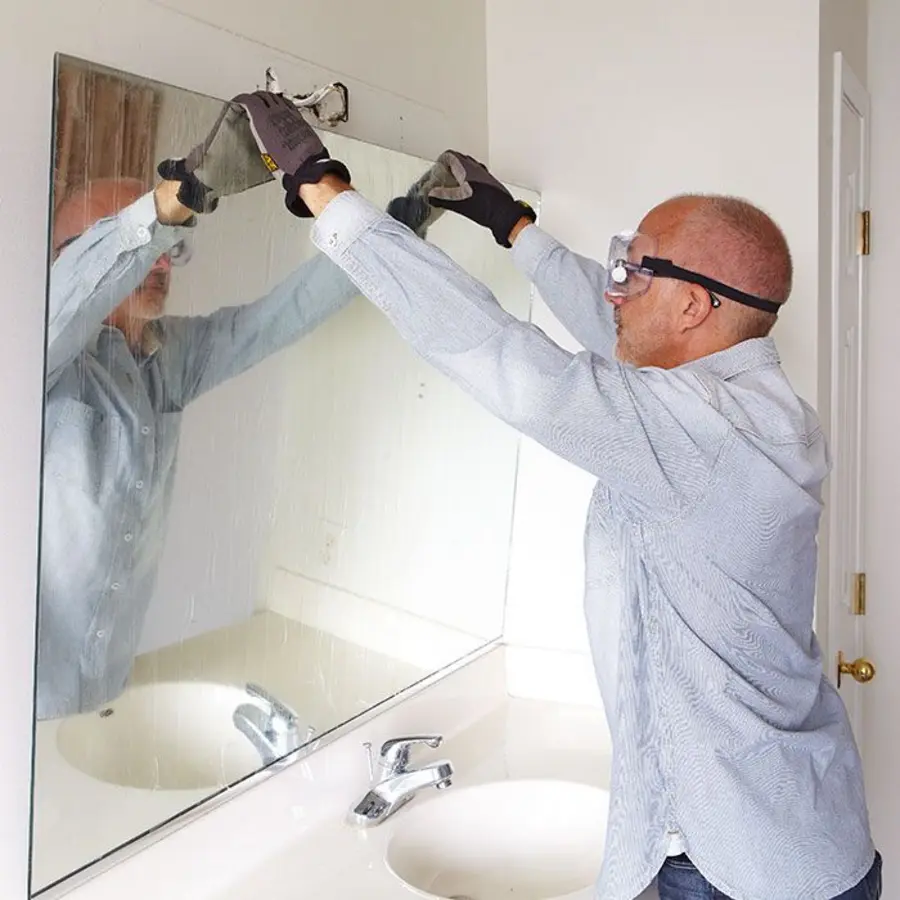
Use safety glasses, sturdy work gloves, closed-toe shoes, and clothing that covers your arms. Protect the sink, countertop, floor, and nearby fixtures with a drop cloth or padded coverings. Keep children and pets out of the room.
Depending on the mounting method, you may need:
- A screwdriver or drill for clips and brackets
- Painter’s tape or duct tape
- A broad putty knife or plastic shim
- A mirror-removal wire or strong cutting wire with suitable handles
- Cardboard or a padded surface for setting the mirror down
- A second person to support and carry the glass
A hair dryer may soften some adhesive. Avoid using heat aggressively, especially near painted surfaces, plastic fixtures, electrical components, or a mirror that is already cracked. Do not rely on heat to make a firmly bonded mirror safe to remove.
Source: i.ebayimg
Identify how the mirror is attached
Framed mirror on hooks or a cleat
Look along the top and sides of the frame for hanging hardware. A framed mirror may sit on a wall cleat, hang from wire, or rest on hooks. Support the frame first, then lift it vertically or away from the wall only as the hardware requires. Do not pull from one side.
If the frame is secured with screws, remove the screws while your helper holds the mirror. Some frames also have lower retaining brackets. Do not remove the last retaining screw or clip until the mirror is fully supported.
Frameless mirror held by clips
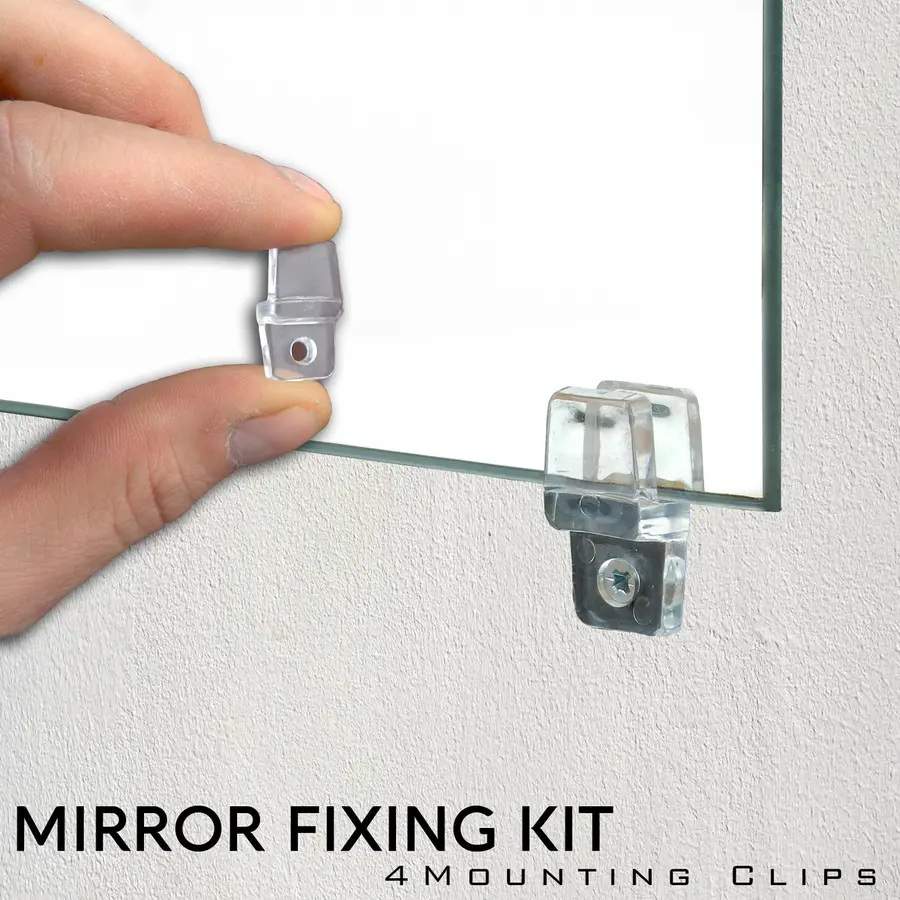
Small metal or plastic clips may be visible around the edges. Some clips have a removable face or screw; others support the mirror from below and keep it against the wall from above.
A clipped mirror can still have adhesive or caulk behind it. If it does not lift after the accessible clips are removed, do not force it. Look for additional clips, a bead of caulk, or adhesive at the back.
Frameless mirror glued to the wall
A mirror that has no visible hardware and does not shift when gently pressed may be attached with mirror mastic or construction adhesive. Adhesive-mounted mirrors are the highest-risk type because the bond can release unevenly and the glass can break while it is being pried.
Some mirrors use both adhesive and clips. Remove only the hardware you can clearly identify, then keep the mirror supported while testing whether adhesive remains.
How to remove a bathroom mirror from clips or brackets
Clear and protect the area. Remove items from the vanity and cover the countertop, sink, and floor. Make sure the helper has a stable place to stand.
Tape the glass. Apply strips of tape across the front in a spaced grid. This does not make broken glass harmless, but it can help keep pieces together if the mirror cracks. Keep tape away from the edges you need to inspect.
Support the mirror. Hold the frame or glass with both hands, or use a suitable support that does not put pressure on a single point. Keep the mirror close to the wall.
Remove accessible hardware. Loosen side and upper clips or brackets while the helper supports the mirror. Leave lower supports in place until you are ready to lift the mirror away in a controlled motion.
Lift as directed by the hardware. A mirror on hooks or a cleat usually lifts before it moves outward. A mirror sitting in lower clips may need to tilt only after the upper restraints are gone. Never twist the mirror to free one stuck corner.
Carry it vertically. Move the mirror to a padded, secure location away from the work area. Do not lay unprotected glass where it can be stepped on or knocked over.
If a clipped mirror will not move after the clips are removed, stop and reassess. Adhesive may still be holding it, and the procedure becomes an adhesive-removal job rather than a simple hardware removal.
How to remove a glued bathroom mirror
A glued mirror should be separated gradually, with the glass supported the entire time. Do not insert a crowbar or pry bar deeply behind the mirror. Concentrated force can crack the glass and gouge drywall or tile.
Tape the front. Cover the mirror with a spaced pattern of tape. Leave the edges visible enough to monitor movement.
Support the lower edge. Have a helper hold the mirror, or arrange padded support beneath it where that can be done without pressing against the glass. The mirror should not be allowed to fall forward if the adhesive releases.
Create only a small gap. Where an edge is accessible, use a broad putty knife or plastic shim carefully and near the wall surface. Work gently. The goal is to make room for a cutting tool, not to lever the mirror away.
Cut the adhesive progressively. If you can safely reach behind the mirror, work mirror-removal wire through the adhesive in a controlled back-and-forth motion. Move across bonded areas rather than pulling hard on one corner. Add or reposition shims only enough to keep a released section from closing.
Keep checking the support. As more adhesive separates, the weight shifts. Pause whenever the mirror moves, and have the helper adjust their grip before continuing.
Lift the mirror away only when free. Confirm that no adhesive, caulk, clip, or bracket remains attached. Then carry the mirror vertically to a safe padded location.
A hair dryer may help soften some adhesive at an accessible edge, but it is not a substitute for support and controlled cutting. Avoid applying high heat to the mirror or wall, and follow the instructions for any tool or adhesive product you use.
Source: mobileimages.lowes
Cleaning the wall after removal
Some adhesive removal will damage paint or pull away the paper surface of drywall. That is normal with strongly bonded mirror mastic; trying to remove every hardened spot by force can make the repair larger.
Once the mirror is out of the work area, inspect the wall. Use a broad putty knife held nearly flat to lift loose adhesive without gouging the surface. Stop if the drywall paper begins tearing. For remaining adhesive, choose a removal product only after checking that it is suitable for the wall finish, paint, drywall, or tile involved. A product safe for one surface may stain or damage another.
For minor drywall damage, remove loose material, fill or patch the area with a suitable wall-repair product, allow it to dry, then sand, prime, and repaint as needed. On tile, avoid scraping across the glaze and check product compatibility before using a solvent or adhesive remover.
Common mistakes to avoid
- Pulling a large mirror away from the wall without a helper
- Removing every clip before the mirror is supported
- Prying hard from one corner
- Using a sharp tool deep behind the glass
- Assuming a frameless mirror is clipped just because the edge is visible
- Applying strong heat near paint, plastic, wiring, or a cracked mirror
- Working over an uncovered sink or countertop
- Carrying the mirror through the room without planning the route
The safest approach is controlled and slow: identify the attachment, protect the room, support the glass, separate one section at a time, and stop when the mirror cannot be controlled. If the mirror is large, bonded firmly, damaged, or electrically connected, professional glass removal is usually safer than trying to save the wall through force.
References
- How to Remove a Bathroom Mirror | Angi. (n.d.). https://www.angi.com/articles/how-to-remove-bathroom-mirror.htm
- How to Remove a Bathroom Mirror? (6 Easy Steps). (n.d.). https://www.sunrisespecialty.com/how-to-remove-a-bathroom-mirror
- How to Remove a Bathroom Mirror: Clips, Brackets, and Glue -. (n.d.). https://shihangbath.com/how-to-remove-a-bathroom-mirror
- How to Remove a Bathroom Mirror | Lowe’s. (n.d.). https://www.lowes.com/n/how-to/remove-a-bathroom-mirror?msockid=168013a3016862290b5604a600a06330
- easily and safely remove a bathroom wall mirror that is glued on. (n.d.). https://www.craftylittlegnome.com/remove-a-bathroom-wall-mirror
- Removing A Bathroom Mirror: A Step-by-Step Guide - Bath Arcadia. (n.d.). https://www.batharcadia.com/how-to-remove-bathroom-mirror
- How To Remove Bathroom Mirror From Wall Easily & Safely | Bathroom Makeover On A Budget EP.4. (n.d.). https://www.youtube.com/watch?v=JXK0EWTVi0w
- How-To Workshops - How To Replace A Bathroom Mirror | The Home Depot. (n.d.). https://www.youtube.com/watch?v=OUKcSdejF7c