How to Remove Floor Tile: Preparation, Steps, and More
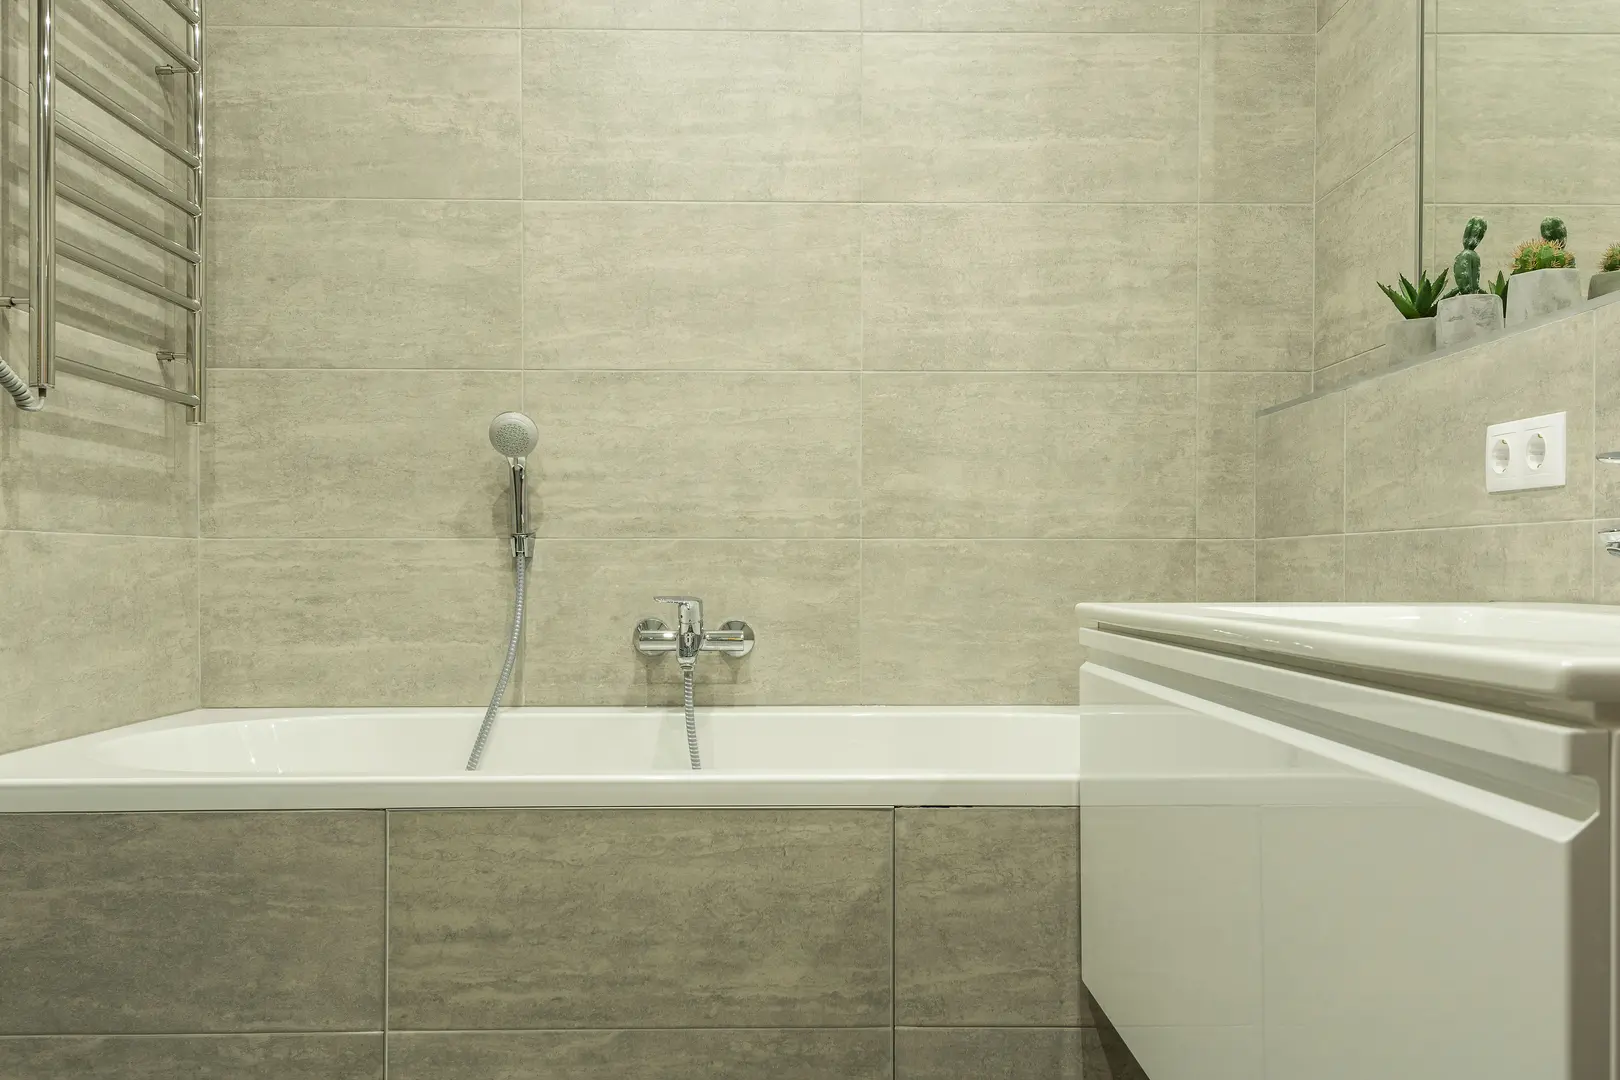
Removing old tile can refresh a bathroom and create a sound base for a new finish. However, demolition can also damage drywall, backer board, waterproofing, or the subfloor if it is rushed. Learning how to remove floor tile safely starts with careful preparation, the right tools, and a plan for handling adhesive and mortar after the tiles are gone.
Preparing the Space Before Removing Bathroom Tile
Clear the bathroom before demolition begins. Remove rugs, toiletries, freestanding shelves, waste bins, and other items that could obstruct your movement. If possible, take out easily removable fixtures or accessories near the work area.
Protect everything that will remain in place. Cover the bathtub, shower base, vanity, toilet, counters, and adjacent flooring with suitable protective material. Secure the covering so tile fragments cannot slide underneath it. Close nearby doors or use barriers to help contain dust, but maintain appropriate ventilation while working.
Before starting:
- Identify the exact wall or floor area being removed.
- Locate edges, transitions, fixtures, and trim around the tile.
- Check whether the tile continues beneath a vanity or other fixed feature.
- Decide where removed tile and mortar will be collected.
- Create a clear route for carrying debris out of the bathroom.
- Protect plumbing fixtures and drains from dust and fragments.
Do not rely on grout cleaner as a demolition aid. Some cleaners can affect a tile’s finish when used incorrectly, and users have reported stripping the shine from bathroom tile. Follow the cleaner’s directions if you are cleaning tile that will remain. For tile removal, mechanical tools are generally more useful than aggressive cleaning chemicals.
Essential Tools for Taking Up Bathroom Tile
The tools required depend on the tile, adhesive, and underlying surface. Gather the essentials before beginning so you do not have to cross a debris-covered room to find another tool.
Useful tools include:
- Cold chisel
- Pry bar
- Hammer
- Heat gun
- Putty knife or sturdy scraper
- Grout-removal tool
- Utility knife
- Floor scraper
- Dustpan and brush
- Shop vacuum suitable for construction debris
- Buckets or durable debris containers
- Drop cloths or protective floor coverings
A cold chisel helps break the bond beneath ceramic, porcelain, and stone tile. A pry bar can lift loosened pieces, although it should be used gently over drywall, backer board, or wood subfloors. A heat gun may soften some adhesives, particularly beneath certain peel-and-stick tiles. Keep it moving and avoid overheating one spot or using it near materials that could be damaged by heat.
Powered demolition tools can speed up a large project, but they also make it easier to gouge the substrate. Hand tools provide more control around plumbing, waterproofed areas, corners, and tiles that border surfaces you want to preserve.
Protective Equipment for Bathroom Tile Removal
Broken tile can produce sharp edges and small flying fragments. Mortar and grout removal can also create considerable dust. Wear protective equipment throughout the project, including during cleanup.
Recommended safety gear includes:
- Safety goggles that protect the sides of the eyes
- A suitable face mask or respirator for demolition dust
- Durable work gloves
- Long sleeves and long trousers
- Sturdy, closed-toe footwear
- Hearing protection when using loud powered tools
- Knee protection when working on the floor
Inspect gloves periodically because sharp tile can cut through damaged material. Do not kneel directly on loose shards, and avoid overfilling debris containers. Tile and mortar are heavy, while jagged pieces can tear weak bags or cause an awkward load to shift.
Steps for Removing Bathroom Tile
Begin by defining the removal area. Mark the stopping points where old tile meets tile or another finish that will remain. Examine those boundaries closely because edges around cabinets, doorways, shower trays, and plumbing penetrations require slower work.
Estimate the project time based on more than the room’s size. Small areas can take longer than expected when the tile is firmly bonded or the mortar is stubborn. Your plan should allow time for:
- Clearing and protecting the bathroom.
- Removing trim, sealant, and grout at the boundaries.
- Finding and loosening the first tile.
- Removing the remaining tile.
- Scraping adhesive or mortar.
- Inspecting and repairing the substrate.
- Cleaning and disposing of debris.
Do not schedule the new installation immediately after demolition unless you are confident about the surface below. A damaged or uneven substrate may need attention before replacement tile can be installed.
Choose a practical starting point. An exposed edge or already-loose tile is generally easier than an intact tile in the middle of a tightly bonded field. If no edge is available, carefully break one tile to create access. The first tile is often the slowest because there is not yet room to position a chisel or scraper beneath it.
Removing Tile from a Bathroom Wall Without Causing Damage
Wall tile is commonly attached to drywall, plaster, cement backer board, or another tile substrate. The goal is to separate the tile and adhesive without driving tools deeply into the wall. Some surface damage may still occur, especially when the bond is stronger than the facing material.
Follow this process:
Prepare the surrounding area. Cover the floor, tub, shower base, vanity, and fixtures. Tile falling from a wall can chip or scratch unprotected surfaces.
Remove nearby accessories. Take down shelves, towel bars, outlet covers, and removable trim that interfere with access. Work carefully around plumbing fittings and electrical components.
Cut flexible joints. Use a utility knife to cut through sealant where the tile meets the tub, shower base, counter, ceiling, or adjoining wall. This separates the removal area from surfaces that will remain.
Remove grout along the boundary. Clear grout between the first tiles and around the perimeter. Doing so reduces the chance of pulling or cracking neighboring tile that is not being removed.
Start at a loose tile or accessible edge. Position a cold chisel or putty knife at a shallow angle behind the tile. Tap lightly with a hammer. Avoid pointing the chisel directly into the wall.
Remove the first tile in small pieces if necessary. Breaking the center can create space, but control each strike. Once an opening exists, work from the exposed edges toward the remaining tiles.
Continue one tile at a time. Slide the tool behind each tile and apply steady pressure. Do not force a pry bar deeply behind the wall finish, as concentrated pressure can puncture or tear it.
Clean the wall surface. Scrape off adhesive or mortar using shallow passes. Stop if the wall begins to crumble, delaminate, or flex.
Inspect the substrate. Determine whether it is flat and stable enough to reuse. Damaged sections may need repair or replacement before new tile is installed.
If preserving the wall is the highest priority, slower hand-tool removal offers better control. In some installations, replacing a damaged section of substrate may ultimately be more practical than spending excessive time separating every trace of mortar from a fragile surface.
Taking Up Bathroom Floor Tile While Protecting the Subfloor
Understanding how to remove floor tile is especially important because aggressive demolition can gouge plywood, crack a stable underlayment, or disturb waterproofing below the surface. Before using force, try to identify what lies under the tile and whether that layer needs to remain.
Use the following method:
Remove movable items and trim. Clear the floor and remove accessible base trim or transition strips. If a fixture remains, protect it and cut the sealant around its base where appropriate.
Separate the tile field from adjoining finishes. Remove grout or sealant at doorways, walls, shower edges, and other transitions. This prevents demolition pressure from transferring into tile that will stay.
Find a starting point. Look for a cracked, hollow, or loose tile. An exposed edge at a threshold may also provide access. If all tiles are intact, carefully break one tile and clear its pieces.
Clear the first opening. Remove fragments with a cold chisel and hammer. Keep the chisel angled toward the empty space rather than down into the floor.
Work under adjacent tiles. Insert the chisel, scraper, or pry bar at a low angle beneath the next tile. Use controlled taps or steady leverage. Lift only as much as necessary to release the tile.
Adjust the technique to the bond. If the tile breaks into small pieces, continue methodically instead of using harder blows. Forcing the tool downward can damage the subfloor without making removal much faster.
Collect debris as you go. Keeping the work area clear makes it easier to see the substrate and reduces the chance of kneeling or stepping on sharp fragments.
Remove adhesive or mortar. Scrape the remaining material in shallow passes. A floor scraper can cover open areas efficiently, while a cold chisel provides more control near edges and fixtures.
Vacuum and inspect the surface. Look for gouges, loose areas, uneven patches, moisture-related deterioration, or movement. The base should be stable and appropriately prepared before receiving a new finish.
Peel-and-stick tile presents a different problem. After the tile is lifted, sticky residue may remain and make the floor unpleasant or difficult to walk on. Gentle heat from a heat gun may help soften some adhesive, followed by careful scraping. Any cleaner or adhesive-removal method should be suitable for the particular subfloor and the flooring planned next.
Wax paper is sometimes suggested as a barrier beneath peel-and-stick products to prevent the adhesive from bonding directly to the underlying surface. That is a preventive idea for an installation being planned; it does not remove residue from tile that has already been installed. Existing adhesive still needs to be softened, scraped, or otherwise treated in a way that will not harm the substrate.
Also evaluate whether a waterproofing layer may be present beneath the floor tile. Some bathrooms have functioned without obvious problems even when no separate waterproofing layer was used, but the absence of waterproofing can still represent a potential risk. If a membrane is present and intended to remain, chisels and scrapers can puncture it. Work cautiously and have the exposed assembly assessed before installing new tile if its condition or construction is unclear.
Handling Mortar Removal
Mortar can be more difficult to remove than the tile itself. Tiles may release in large sections while the hardened setting material remains firmly attached to the substrate. Plan for mortar removal as a separate phase rather than assuming the surface will be clean once the tiles are gone.
For efficient removal:
- Begin with a scraper held at a shallow angle.
- Work from an exposed mortar edge.
- Use controlled chisel taps on thick or stubborn ridges.
- Remove small sections instead of attempting to pry up a large bonded area.
- Vacuum frequently so you can see high spots and avoid repeatedly working cleaned areas.
- Use extra caution around seams, plumbing penetrations, and possible waterproofing.
- Stop before grinding or chiseling into the substrate itself.
The objective is not simply to make the floor look clean. It is to produce a stable, appropriately even surface for the next stage. If mortar is strongly bonded to a fragile substrate, removing the substrate with the mortar attached may sometimes cause less overall damage than aggressive scraping. The correct choice depends on whether the existing base is sound, reusable, and compatible with the planned installation.
Six Common Types of Bathroom Tile
Tile type affects both appearance and removal difficulty. Dense or brittle materials may break differently, while natural stone surfaces often require more care during cleaning and maintenance.
| Tile type | Typical bathroom use and removal considerations |
|---|---|
| Ceramic | Common on bathroom walls and floors. It may chip or break into sharp pieces during removal, so eye and hand protection are essential. |
| Porcelain | A dense tile frequently used for floors and wet areas. Its strength does not mean it will lift intact; the bond and substrate largely determine the removal process. |
| Glass | Often installed as mosaics, borders, or decorative wall tile. Broken glass produces very sharp fragments, making controlled removal and thorough cleanup especially important. |
| Marble | A natural stone valued for its distinctive veining. It is sensitive to inappropriate cleaners, and removed pieces can be heavy and prone to cracking. |
| Slate | A natural stone with a textured, layered appearance. During demolition, it may separate unevenly and leave irregular fragments. |
| Limestone | A natural stone used for both walls and floors. It requires suitable care during use, while removal should account for the weight and sharp edges of broken pieces. |
Regardless of material, the setting method often matters more than the tile itself. A lightly bonded tile may lift cleanly, while a similar tile set in stubborn mortar may require extensive scraping. Take time to identify the substrate, protect surrounding finishes, and adjust your approach as soon as you see how the installation responds.