How to Replace a Shower Door Bottom Seal
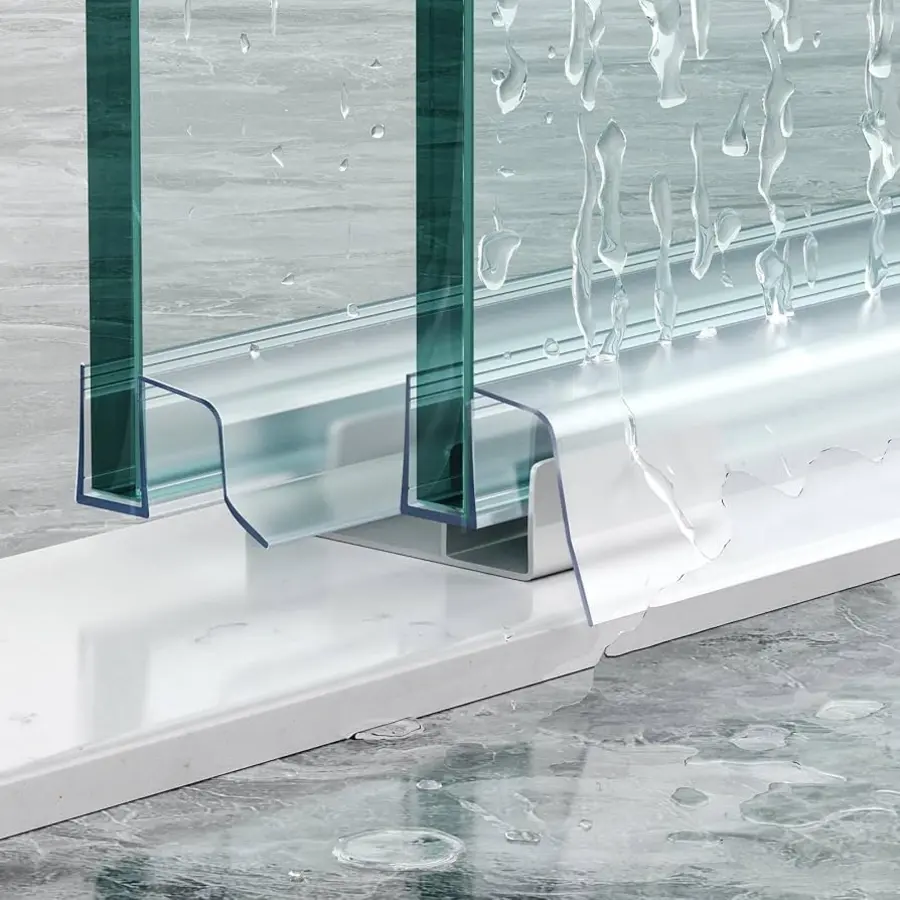
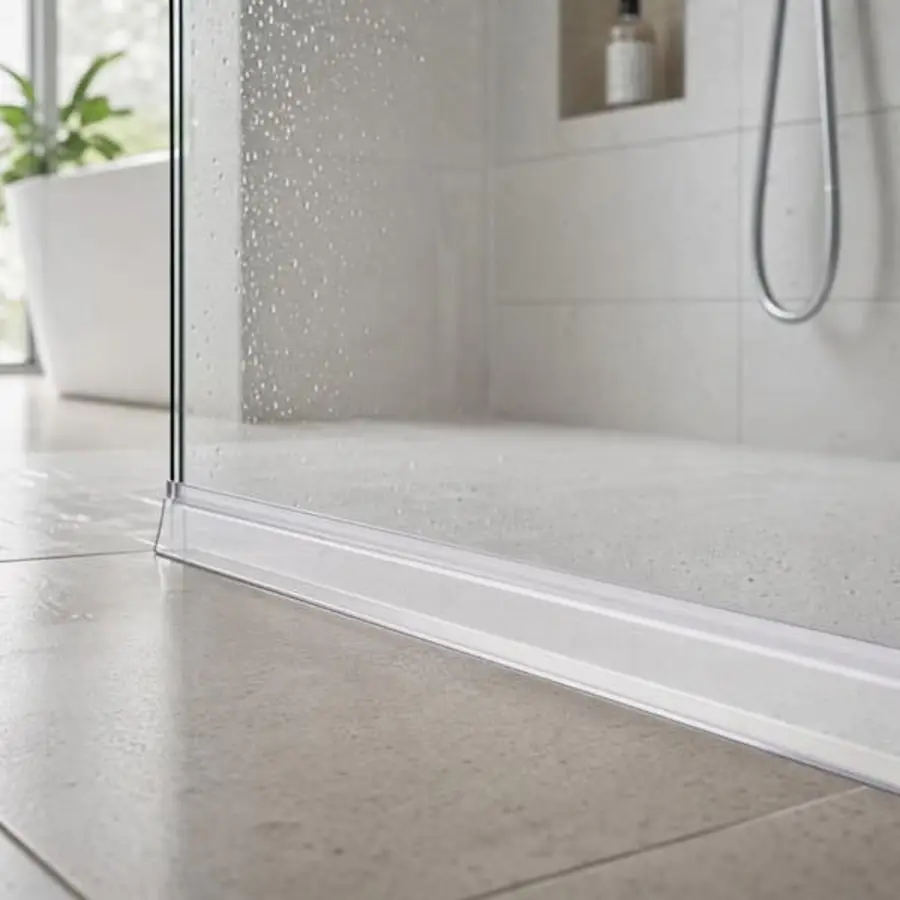
Water escaping beneath a shower door is often caused by a worn bottom sweep or drip seal. If the seal is split, loose, shortened, or no longer touches the shower tray correctly, replacing it is usually a manageable repair. The important part is buying a seal that matches both the glass thickness and the way the original seal attaches.
Most frameless glass doors use a push-on or slide-on vinyl seal. Some seals fit into a channel, while others are held by a separate drip rail or screws. Identify that attachment method before pulling anything apart. If the glass, hinges, frame, or drip rail is damaged, the problem may need a shower-door specialist rather than a replacement strip.
Before replacing the seal
Open the door and inspect the bottom edge from inside and outside the shower. Look for:
- A split, brittle, cloudy, or flattened vinyl strip
- A section that has pulled away from the glass
- A gap between the seal and the tray
- Water escaping at one end of the door
- Mineral buildup or debris preventing the seal from sitting fully
- A loose or damaged metal drip rail
Run a small amount of water in the shower and watch where it escapes. Water can travel along the tray or frame, so do not assume that a leak beneath the door is caused by the bottom seal. Check the side seals, door alignment, tray edge, and nearby joints as well.
If the door is cracked, moves unusually on its hinges or rollers, or requires removing heavy glass from its hardware, stop and arrange professional help. Do not force a stuck seal with a screwdriver against the glass.
Identify and measure the replacement
Take a clear photo of the existing seal while it is still installed. The profile and attachment method are easier to identify before removal.
Measure or verify these details:
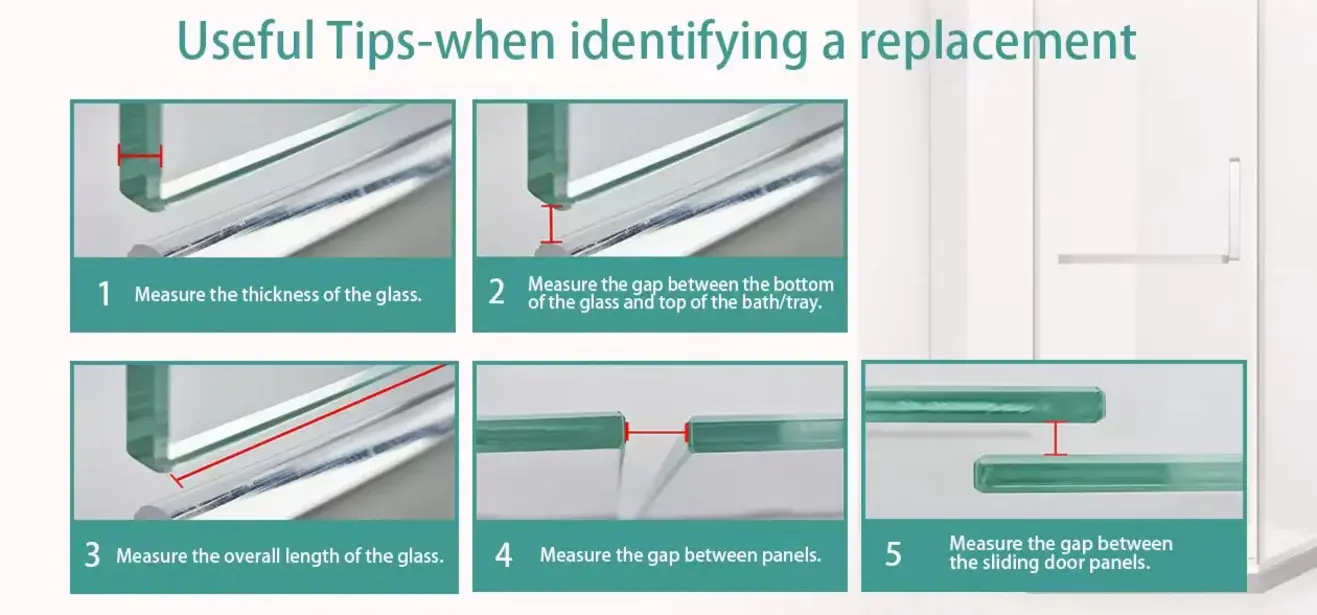
- Glass thickness: Measure the exposed glass at the lower edge where the seal grips. Do not estimate from appearance. Replacement seals are commonly sold for specific glass thicknesses, and a seal that is too loose may fall off while one that is too tight may not fit.
- Door length: Measure the bottom edge or the existing seal from end to end. Buy a piece that is at least as long as the door, then trim it to fit if necessary.
- Seal profile: Note whether the seal has one downward flap, a drip lip that projects toward the shower, a fin, or another shape.
- Attachment method: Check whether it pushes directly onto the glass, slides into a channel, or sits behind a drip rail secured with screws.
If the old seal is missing or its shape is unclear, use the door and glass details to ask a bathroom-glass supplier for a matching profile. A product described only as a “universal” shower sweep may still be wrong for your glass thickness or door design.
Source: showerdoorseal
Tools and materials
Gather the replacement seal, a tape measure, scissors or a sharp utility knife, a soft cloth, mild bathroom cleaner, and a non-abrasive plastic scraper if needed. You may also need a screwdriver if the original seal is attached to a removable drip rail.
Keep a towel nearby to catch water and protect the shower tray. Use care around the glass edge. Avoid striking, twisting, drilling, or levering against the glass, and do not use a metal blade where it could scratch or chip the door.
How to replace a shower door bottom seal
1. Open the door and support your work area
Open the door far enough to reach the full bottom edge. Keep the shower area dry and clear. If the door is heavy, do not remove it just to make the job easier unless the door manufacturer’s instructions specifically allow it and you have suitable help.
2. Remove the old seal
For a push-on seal, start at one end and pull it straight down or away from the glass. Work gradually along the edge rather than twisting the strip sharply.
For a slide-in seal, pull it along the channel if it will move. A small amount of steady movement is safer than forcing it. If the seal is held behind a drip rail, inspect the fasteners and remove only the parts needed to release the strip. Keep track of screws and note the rail’s original orientation.
If the strip will not release without levering against the glass or disturbing the door hardware, stop. The seal may not be designed for simple removal, or the rail may be part of the door’s support system.
3. Clean and dry the lower edge
Remove loose residue from the glass, channel, or rail with a cloth and a suitable bathroom cleaner. Mineral deposits and old material can prevent the new seal from seating evenly. A plastic scraper can help with stubborn buildup, but use light pressure.
Wipe away cleaner and allow the attachment area to dry fully. The new seal needs a clean, dry surface to grip correctly. Do not apply silicone simply to compensate for a seal that is the wrong size or profile.
4. Cut the replacement to length
Compare the replacement with the door before cutting. Mark the required length and cut cleanly with scissors or a sharp utility knife. Keep the ends straight unless the original seal has a specific angled or shaped end.
It is better to trim a little at a time than to cut the strip short. The seal should cover the intended bottom edge without bunching at either corner. Leave clearance where necessary for the door frame, hinge, or fixed panel, following the shape of the original seal.
5. Fit the new seal
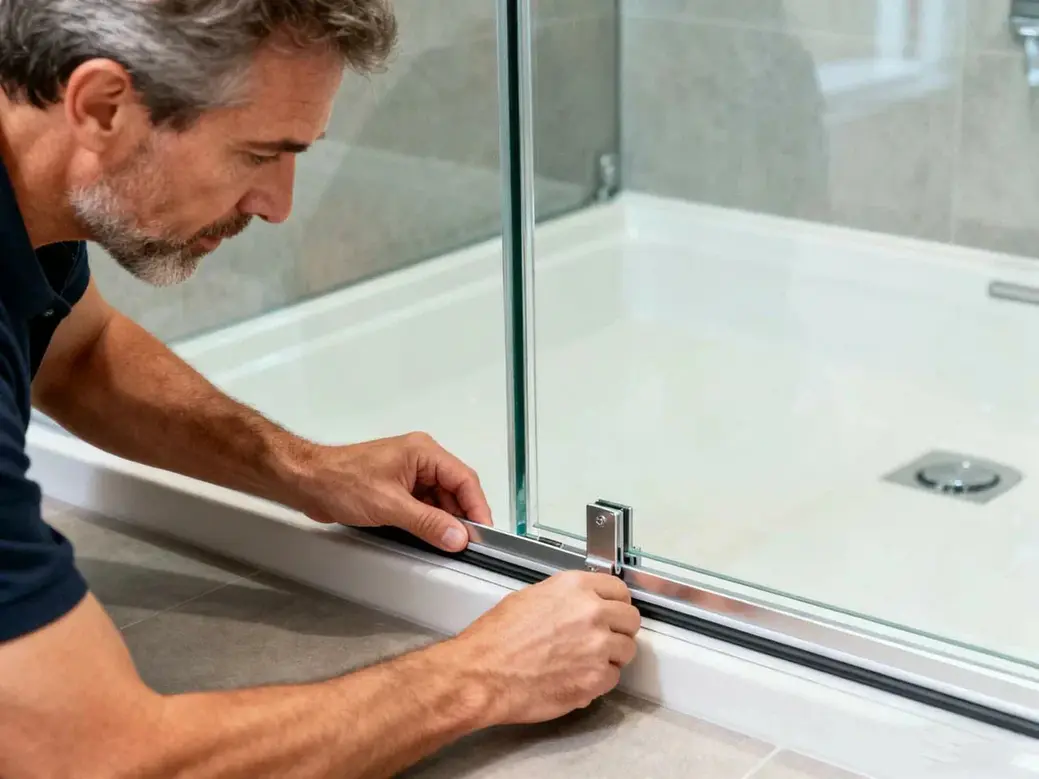
For a push-on seal, align the gripping channel with the bottom edge of the glass and press it on starting at one end. Continue along the door, pressing firmly and evenly so the seal does not stretch or bow.
For a channel-mounted seal, slide or press it into place according to its design. If the fit is tight, follow the replacement manufacturer’s instructions. Do not hammer the seal or force a tool between the glass and the channel.
Make sure the drip flap points in the same direction as the original. On many doors, the flap directs water back toward the shower rather than out onto the bathroom floor. If the strip has a rail, refit the rail and its fasteners without overtightening.
Source: horow
6. Check the door movement and contact
Close the door slowly. The new seal should not catch hard on the tray, scrape the floor, buckle against the frame, or prevent the latch from working. Look along the full length for gaps and confirm that the seal meets the tray or threshold as intended.
If one end touches while the other has a gap, check the door alignment before trimming more material. A sagging hinged door, shifted roller, or uneven tray may be the real cause of the leak.
7. Test for leaks
Run water inside the shower while keeping the spray directed away from the door hardware and outside joints. Watch the bottom edge and both corners. If water escapes, dry the area and inspect the seal’s direction, seating, length, and contact with the tray.
A seal that pulls off with a gentle tug is probably the wrong size, incorrectly fitted, or being prevented from seating by residue. Replace it with a profile matched to the measured glass and original attachment method rather than relying on a heavy bead of adhesive.
When a replacement seal will not solve the leak
A new sweep cannot correct every water-containment problem. Get advice from a shower-door or glass specialist if:
- The glass is chipped, cracked, or visibly stressed
- The door is loose, sagging, or difficult to control
- Hinges, rollers, brackets, or the frame are damaged
- The drip rail is corroded, bent, or no longer secure
- The leak comes from a failed side seal, tray joint, or wall connection
- The replacement cannot be fitted without removing heavy glass
Do not seal over a moving or damaged door with adhesive or bathroom caulk. That can hide the underlying problem and make future repair more difficult.
Keeping the new seal working
After showering, remove standing water and wipe away residue from the bottom edge when practical. Keep the seal and its channel free from hair, soap buildup, and mineral deposits. Inspect it periodically for splitting, curling, loose sections, or a new gap at the threshold.
The most reliable shower door sweep replacement is not necessarily the thickest or most heavily advertised strip. It is the one with the correct glass fit, profile, length, and direction of water deflection. Match those details first, then test the closed door before treating the repair as finished.
References
- How to Replace Shower Door Bottom Seal: 2025 DIY Guide. (n.d.). https://horow.com/blogs/guide/how-to-replace-shower-door-bottom-seal-2025-diy-guide
- How do I replace a shower door’s bottom seal?. (n.d.). https://www.quora.com/How-do-I-replace-a-shower-door-s-bottom-seal
- How To Replace Glass Shower Door Bottom Seal and Strip.. (n.d.). https://www.fabglassandmirror.com/blog/how-to-replace-shower-door-bottom-seal-strip
- How to Replace a Shower Door Bottom Seal. (n.d.). https://www.mcocod.com/blogs/knowledge/how-to-replace-a-shower-door-bottom-seal
- Shower Door Seal Replacement: DIY Guide | Dulles Glass. (n.d.). https://www.dullesglass.com/blog/how-to-replace-a-shower-door-seal-diy-guide-for-frameless-shower-doors
- Shower seal (bottom of your shower door} how-to do a Shower Sweep Replacement. (n.d.). https://www.youtube.com/watch?v=-1fjvsS48U0&vl=en-US
- Replacing that old, dirty shower trim seal is a simple way …. (n.d.). https://www.instagram.com/reel/C-XHlVxxwkY?hl=en
- Shower Door Bottom Strip Replacement Guide. (n.d.). https://www.facebook.com/fb-answers/shower-door-bottom-strip-replacement