How to Replace a Shower Valve and Fix Common Problems
Your shower valve is one of those behind-the-wall components that is easy to take for granted. It controls how much water flows from the showerhead and how hot or cold that water gets. As long as it works, there is no reason to think about it. But when water drips, pressure drops, or the temperature shifts without warning, the valve quickly becomes the center of attention. Often the first clue is a drip, a weak stream, or water temperature that will not stay steady. The repair may be as simple as replacing a worn cartridge or as involved as selecting a new valve body, depending on the condition of the parts behind the wall. Learning how to replace a shower valve or repair one of its key parts can help you avoid unnecessary plumbing bills and get your shower working normally again.
This guide explains what a shower valve does, the common problems that develop, and the steps to replace a worn cartridge. It also covers factors to consider when a full valve replacement is needed and explains when it is smarter to call a professional.
Understanding Shower Valves
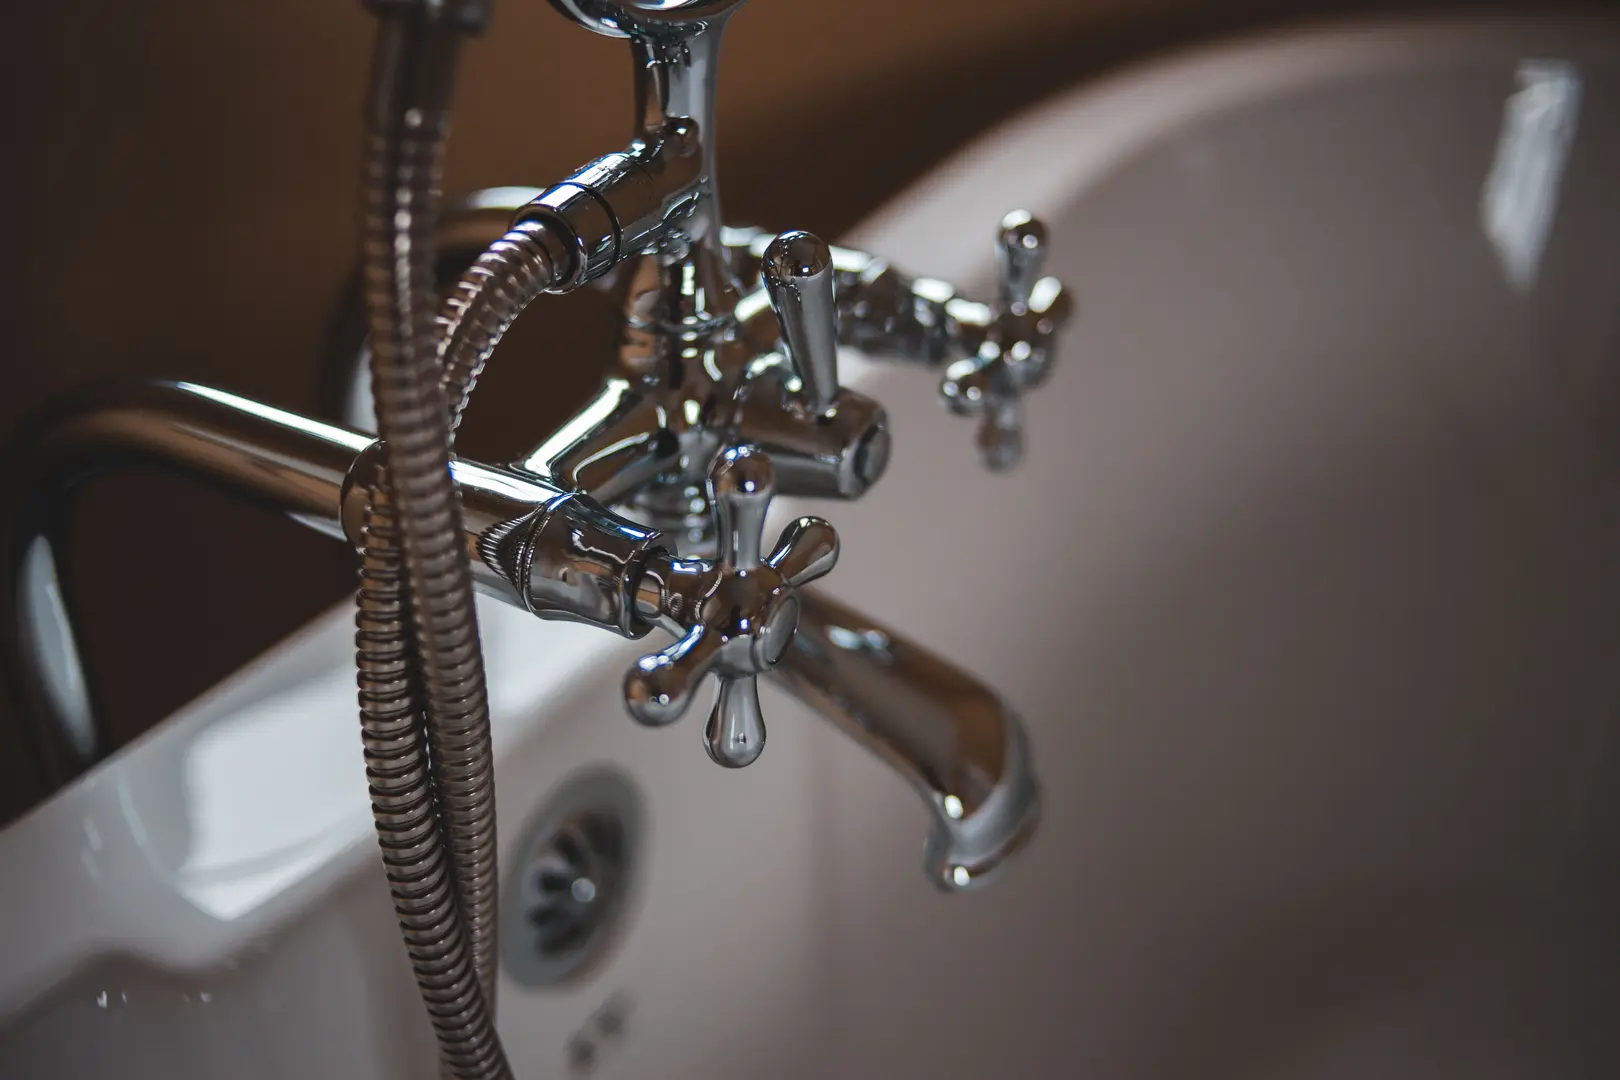
At its simplest, a shower valve is the mechanism that controls your shower’s water pressure and temperature. It sits behind the wall, usually connected to both hot and cold supply lines. Every time you adjust the handle, you change how much of each supply is allowed to mix. The result is the flow of water you feel in the shower.
Because the valve is hidden from view, it does not receive the same attention as a showerhead or faucet. You likely will not notice it until a problem develops. A shower valve can last for years, but it is not immune to wear. Mineral buildup from hard water, faulty internal parts, and normal wear and tear can all cause issues that need attention. Hard water tends to leave scale on the cartridge and inside the valve body, which slowly restricts movement and can force the valve to work harder.
Recognizing the difference between a minor repair and a full replacement starts with understanding how the valve operates. If the valve body is still in good shape and only a moving part is worn out, a replacement cartridge or washer might solve the problem. If the valve itself has become too corroded or damaged, a complete replacement may be required. That decision becomes easier once you know how the internal parts work and which symptoms point to a cartridge rather than the whole valve.
How Shower Valves Work
Shower valves blend hot and cold water from your home’s plumbing system to deliver the desired temperature and pressure. The handle or knob you turn controls the internal mechanism, but the exact behavior depends on the type of valve installed. Each style handles the mixing task differently, and the replacement parts are not interchangeable. There are three common types in residential showers.
- Pressure-Balancing Valves: These maintain a consistent water temperature by adjusting to changes in water pressure. They are great for preventing sudden temperature fluctuations when someone flushes a toilet or runs a sink.
- Thermostatic Valves: These allow users to set a specific water temperature. They provide greater control and are ideal for households with young children or individuals sensitive to temperature changes.
- Diverter Valves: Found in combination bathtub/shower setups, these valves direct water between the bathtub faucet and the showerhead.
A pressure-balancing valve handles this by reacting quickly to changes in pressure from other fixtures. Thermostatic valves add a second layer of control by holding the mixed water near the temperature you set. Diverter valves do not regulate temperature; they only change where the water flows, so their problems tend to show up when switching between tub and shower.
The type of valve in your shower determines how repairs and replacements are handled. A diverter issue might be simple to identify, while a thermostatic valve may require a matching cartridge or a more careful repair approach. Knowing which type you have also helps when you need to order replacement parts.
Common Issues with Shower Valves
Shower valve problems can show up in several ways. The first step is to notice the symptom and connect it to the likely cause. Some issues are more annoying than serious, while others can lead to wasted water and higher utility bills if left alone.
- Leaky Showerhead or Faucet: If water continues to drip after the shower is off, the seal inside the valve has likely worn out. A washer, O-ring, or cartridge might be damaged and no longer form a tight seal.
- Difficulty Adjusting Water Temperature: A valve that is hard to turn or does not hold a comfortable temperature is often related to a pressure-balancing or thermostatic valve issue. If the temperature suddenly changes when another fixture is used, the cartridge may not be responding properly.
- Low Water Pressure: Mineral deposits from hard water can build up inside the valve and restrict flow. A deteriorating valve can also narrow the passageway and reduce pressure at the showerhead.
- Water Won’t Shut Off Completely: If the shower continues running even when the handle is in the off position, the valve may have failed internally. In this case, replacement might be the only reliable fix.
Each of these problems can be traced back to a specific part of the valve, but the symptoms can overlap. A leaky head and a valve that will not shut off both involve a failure to create a complete seal, while low pressure and temperature issues often point to a cartridge that is no longer moving freely. These symptoms can also overlap with other plumbing issues, so it is wise to look for common signs of a leak elsewhere in the home before focusing solely on the shower valve.
DIY Shower Valve Repair
Some shower valve issues can be repaired without professional help. If you are comfortable with basic home improvement projects, a leaking showerhead, a stuck handle, or inconsistent temperature can often be traced to a worn cartridge or washer. The process requires a few tools and some patience, but it is manageable for many homeowners. The risk is low when the valve body is in good condition and the problem is limited to the cartridge or seals.
Before starting, confirm that you have the correct replacement part for your valve. The handle design and valve type can vary, and the new cartridge or washers need to match the setup in your shower. A part that looks similar but is not designed for your valve can cause leaks or a handle that will not fit. If you are ready to tackle how to replace a shower valve cartridge, the following steps will guide you from preparation to testing.
Tools and Materials Needed
Before you begin, gather the items you will need. Having them ready prevents delays and helps you stay organized. If the old cartridge is difficult to remove, a cartridge removal tool may also be needed, but it is best to start with the basic kit and see how the job goes.
- Adjustable wrench: for loosening and tightening nuts.
- Screwdriver: to remove handle screws and the escutcheon plate.
- Plumber’s grease: to help the new cartridge slide in and create a smooth seal.
- Replacement cartridge or washers: depending on the source of the problem.
- Pipe tape: to ensure threaded connections seal properly.
- Needle-nose pliers: to grip and pull out the old cartridge.
Keep a small towel nearby as well in case a little water spills out when you open the valve area. Having your tools laid out within reach makes the job less stressful and lowers the risk of losing small parts.
Replacing a Shower Valve Cartridge
A worn-out cartridge is one of the most common causes of shower valve problems. Replacing it can restore proper temperature control and prevent leaks. The cartridge is the part inside the valve that moves when you turn the handle. Over time, it can become stiff, cracked, or covered in mineral deposits. Because it is an internal part, it can wear out without obvious damage from the outside.
Follow these steps to replace the cartridge.
Turn Off the Water Supply: Locate your home’s main water shutoff valve and turn off the water supply before removing anything. This is the most important step. If you skip it, water can spray out and flood the bathroom as soon as the handle is removed.
Remove the Shower Handle: Use a screwdriver to detach the handle from the valve stem. Once the handle is off, remove the escutcheon plate, which is the cover plate behind the handle, to access the valve body.
Extract the Old Cartridge: Carefully pull the old cartridge out using pliers. If it is stuck, do not force it. A cartridge removal tool may be necessary to pull it free without damaging the valve body. Forcing a stuck cartridge can break the valve and turn a simple repair into a larger project.
Install the New Cartridge: Apply a thin layer of plumber’s grease to the new cartridge before inserting it into the valve body. This helps it slide in smoothly and seat properly. Make sure it is aligned correctly so the handle will fit and operate as expected.
Reassemble the Shower Handle: Slide the escutcheon plate back into place and reattach the handle. Tighten the screws gently. Overtightening can strip threads or crack plastic parts. The handle should turn easily and not wobble.
Turn the Water Back On: Restore the water supply, then test the shower. Turn the handle to check both hot and cold settings, and inspect for leaks around the valve area. If the water shuts off cleanly and the temperature stays steady, the repair is done.
If the shower still has problems after the cartridge replacement, the issue may lie elsewhere in the valve assembly. Recheck the handle, the plate, and whether the new cartridge is fully seated. When in doubt, a professional plumber can help you identify the exact cause.
Choosing the Right Shower Valve
Sometimes a cartridge replacement is not enough. If the valve body is cracked or you want to upgrade to a more reliable style, a full valve replacement is likely needed. Choosing the right valve can prevent future problems and improve how your shower feels.
- Compatibility: Make sure the new valve matches your existing plumbing setup. Some models require modifications to the pipes, so it is important to check whether the new valve will fit without major changes.
- Water Efficiency: A water-saving model can help reduce your water bill while maintaining firm pressure. These valves are designed to limit flow without making the shower feel weak.
- Material Durability: Brass and stainless steel valves are more durable and longer-lasting than plastic alternatives. It is worth investing in a valve made from sturdier materials, especially if you plan to stay in your home for years.
A full valve replacement is more involved than swapping a cartridge because it may require access to the plumbing behind the wall. The new valve must also match the supply connections and fit inside the existing wall opening. If you are not sure which valve is right for your home, plumbing services can provide expert guidance and help you find a solution that works with your existing setup.
When to Call a Professional
Although DIY repair can solve minor issues, there are situations where it is better to call a licensed plumber. Knowing your limits can save you from expensive damage and ensure the job is done safely.
- There’s a leak behind the wall: Hidden leaks can cause water damage and mold growth. If you notice water stains, peeling paint, or a musty odor near the shower, a professional should inspect the area.
- The valve is corroded or stuck: If the valve does not budge, do not use excessive force. Forcing it can damage the surrounding plumbing and make the repair more complicated.
- You’re experiencing persistent temperature fluctuations: If the temperature continues to change no matter how many parts you replace, there may be a deeper issue in the home’s plumbing system.
- Your home has low water pressure throughout: When multiple fixtures have weak pressure, the problem is likely not limited to the shower valve. A plumber can assess the whole system and identify the root cause.
Taking on a repair and then discovering the valve body is damaged can waste time and leave you without a working shower. A licensed plumber can confirm whether the valve is repairable, recommend a suitable replacement, and complete the job without risking the surrounding wall or pipes.