How to Replace a Shower Handle: A Simple DIY Guide
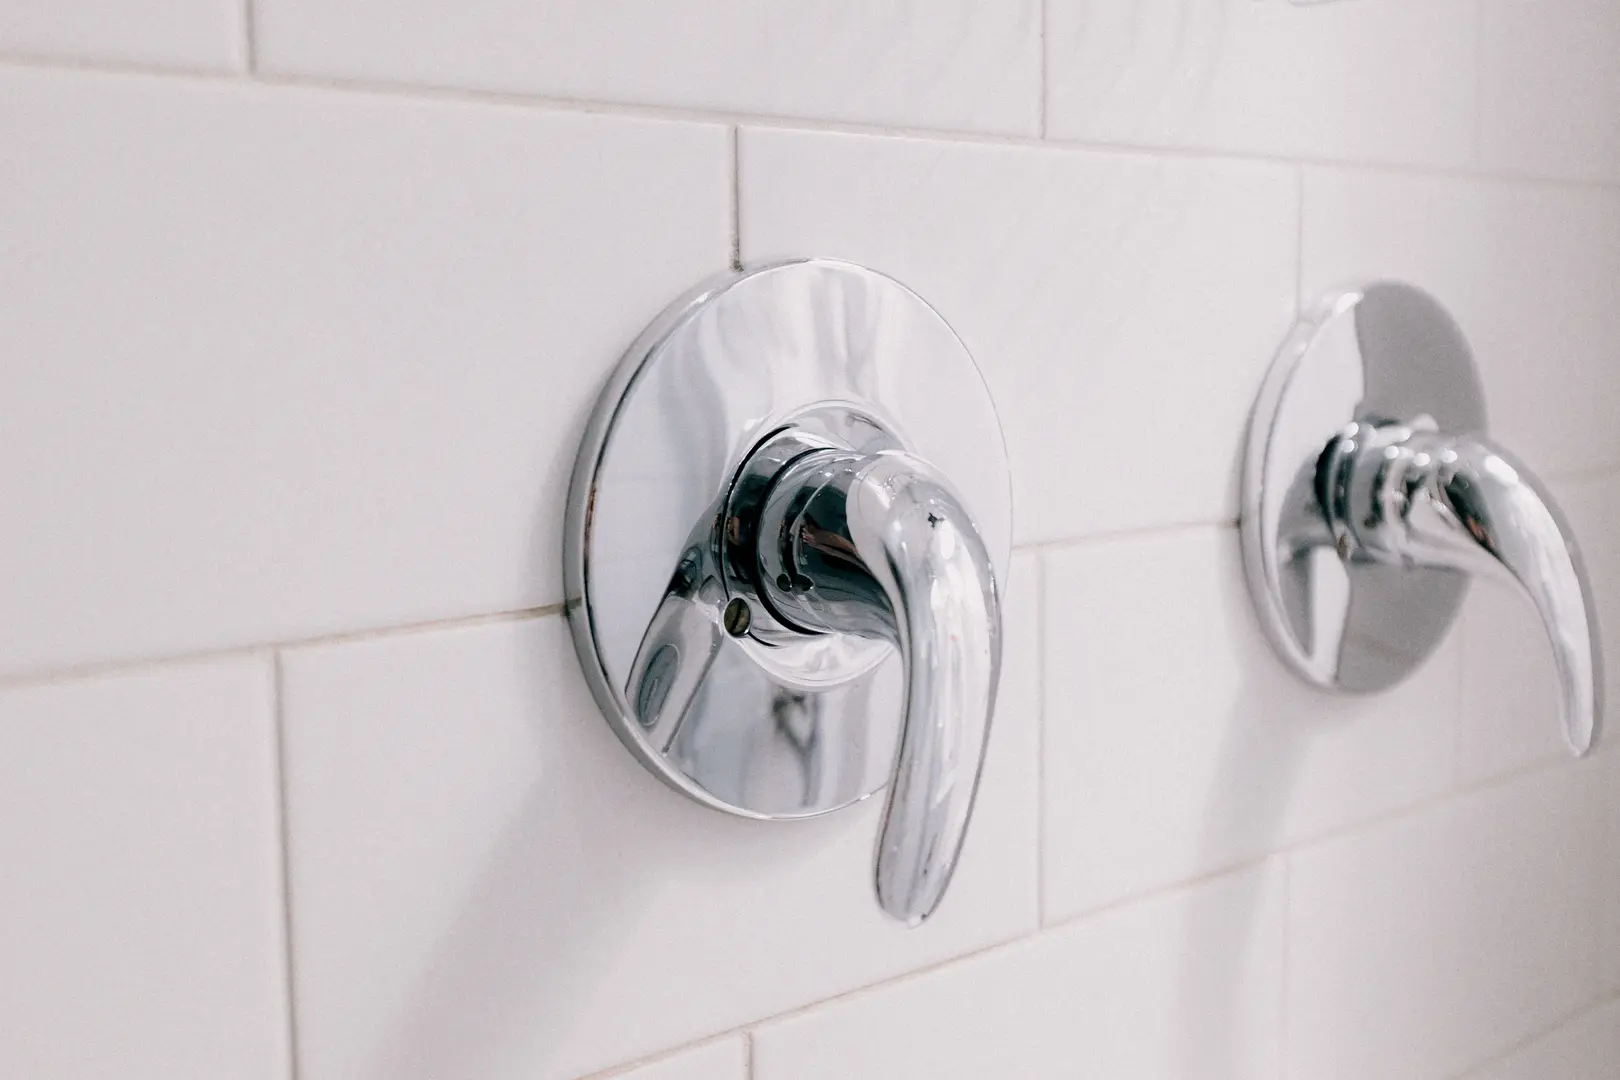
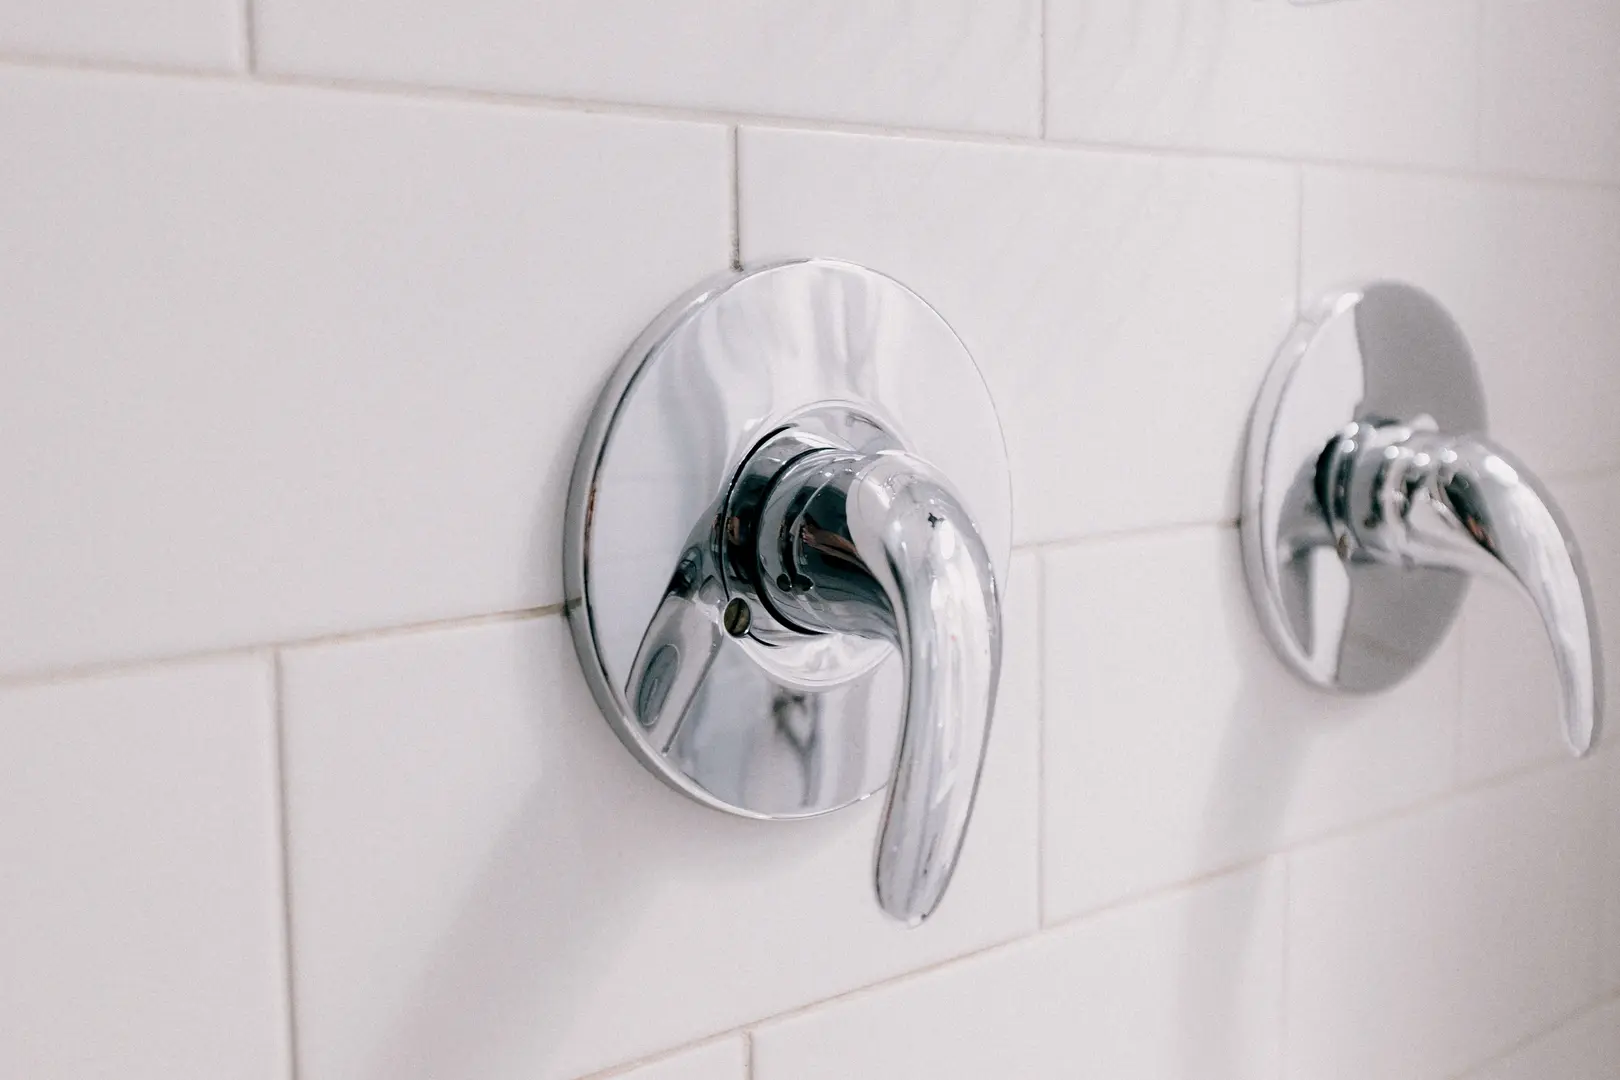
Replacing a worn, dated, or awkward shower handle can make the entire shower look more polished. It is also a manageable weekend project for many homeowners because the handle is typically held in place by a small screw.
This guide explains how to replace shower handle hardware safely, choose a compatible replacement, remove a stubborn handle, and troubleshoot common installation problems.
Give Your Shower a Fresh Style With an Easy Upgrade
A shower handle is a small detail, but it occupies a visually important place in the bathroom. Replacing an old finish or damaged handle can noticeably refresh the shower without changing tile, plumbing, or the surrounding wall.
The basic process is straightforward:
- Shut off the water supply.
- Locate and loosen the handle screw.
- Remove the old handle.
- Clean and inspect the exposed valve stem.
- Install and test the replacement handle.
The project becomes more complicated if the screw is stripped, mineral buildup has bonded the handle to the stem, or the new handle is not compatible with the existing valve. Identifying the brand and connection style before buying replacement hardware can prevent many of these issues.
Decide Whether to Replace Only the Handle or the Full Shower Set
Before taking anything apart, decide how extensive you want the update to be.
A handle-only replacement is generally the quickest and most affordable option. It is a practical choice when:
- The showerhead and tub spout are still in good condition.
- You can find a replacement that matches the existing finish.
- The valve works properly.
- Only the handle is loose, damaged, or outdated.
Replacing the handle, showerhead, and tub spout together creates a more coordinated appearance. This can be worthwhile when the existing fixtures have mismatched finishes or when you want a more complete bathroom update.
Compatibility remains important in either case. A coordinated trim set may look unified, but its handle must still fit the valve installed behind the shower wall. Do not choose a set based on appearance alone.
Prepare the Tools You Will Need
Gather your tools before shutting off the water. Shower handle screws can be small and may sit inside a recessed opening, so having several tool sizes available is useful.
Your basic tool list should include:
- A set of Allen wrenches
- A Phillips screwdriver
- A screwdriver set
- Pliers
- A flashlight
The flashlight is particularly helpful because the screw may be hidden on the underside of the handle or behind a decorative cap. Examine the screw before selecting a tool. Using an Allen wrench or screwdriver that does not fit correctly can damage the screw head and make removal much harder.
You will also need the replacement handle and its supplied screw or fastener. Before beginning, compare the new hardware with the existing handle and check any manufacturer compatibility information.
If the old handle appears heavily corroded or has visible mineral deposits, you may also need vinegar to loosen the buildup. A handle puller can help if the handle remains stuck after the screw has been removed.
Remove the Existing Shower Handle Safely
Start by turning off the main water supply. Although you are initially working with exterior trim rather than opening the valve itself, shutting off the water is a sensible precaution against an unexpected release of water.
After shutting off the supply, open the shower valve to drain the remaining water. Wait until the flow stops before continuing.
Next, inspect the handle from several angles. Depending on the design, the retaining screw may be:
- Underneath the handle
- On the side of the handle
- Behind a small decorative cap
- Recessed inside an opening near the handle base
Do not force or twist the handle until you know where the screw is located.
Locate the Set Screw and Take Off the Handle
Use the flashlight to look underneath and around the handle. If you cannot see a set screw, check for a decorative cap bearing a logo or hot-and-cold indicator.
Carefully remove the cap to expose the screw. Then determine whether it requires an Allen wrench or a Phillips screwdriver.
Remove the handle as follows:
- Insert the correctly sized tool fully into the screw.
- Turn slowly to loosen the fastener.
- Remove the screw or loosen it enough to release the handle.
- Pull the handle straight away from the wall.
Keep control of the small screw as it comes out. Some set screws remain inside the handle, while others come out completely.
Avoid aggressive side-to-side movement. The handle connects to the valve stem or an internal adapter associated with the shower cartridge. Excess force may damage components you intend to keep.
Once the handle is off, look at the way its internal opening engages with the valve stem. This connection will help you determine whether the replacement has the correct shape and orientation.
Loosen a Handle That Will Not Come Off
If the screw has been removed but the handle will not slide off, mineral buildup may be holding it in place.
Vinegar can help dissolve deposits around the connection. Apply it to the affected area and allow it to contact the buildup before trying the handle again. Work patiently rather than pulling with sudden force.
For a particularly stubborn handle, use a handle puller. This tool applies controlled pulling pressure and can remove the handle more evenly than twisting it with pliers.
Keep the handle’s connection to the shower cartridge in mind. If the valve stem moves excessively or the cartridge appears to be coming forward with the handle, stop pulling. The goal is to separate the handle from its connection, not extract or disturb the valve cartridge.
If the handle remains immovable or the visible valve components appear damaged, professional help may be preferable to applying more force.
Fit the Replacement Handle for a Clean, Secure Result
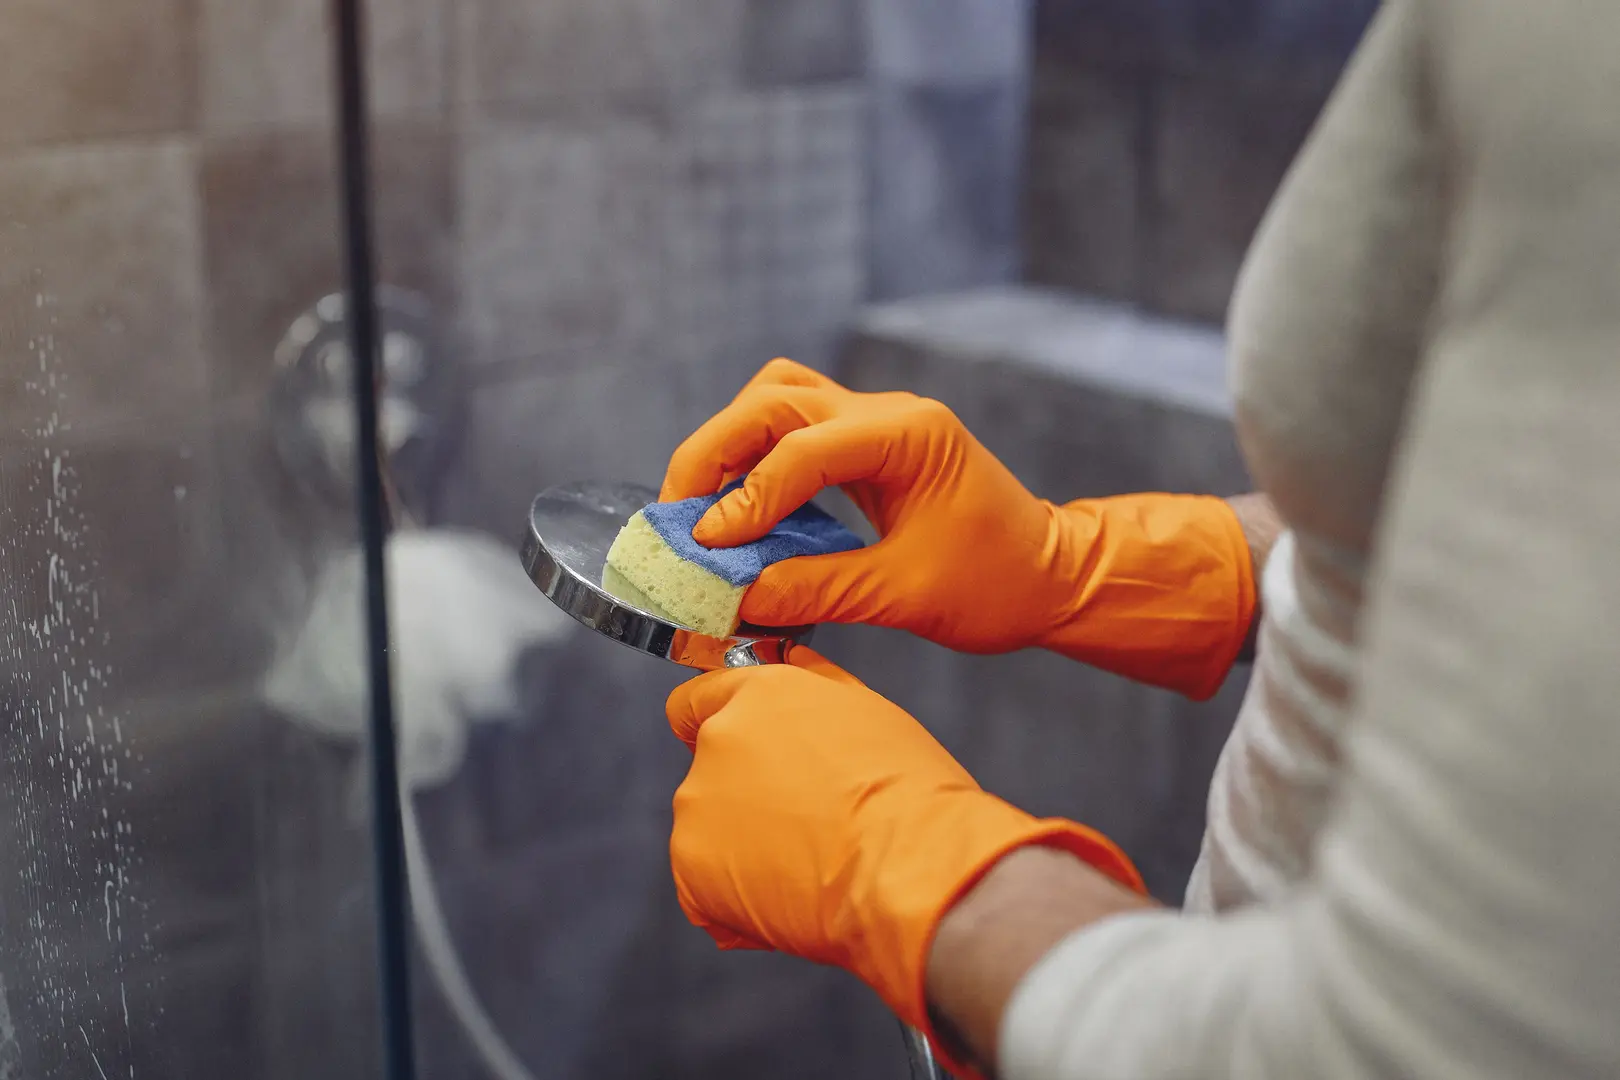
After removing the old handle, clean the exposed valve stem and the surrounding mounting area. Remove loose mineral deposits or debris that could prevent the new handle from sitting evenly.
Before tightening anything, test the fit of the replacement. It should engage securely with the valve stem or adapter without needing to be forced. Check that it sits at the intended distance and does not wobble excessively.
A suitable replacement should:
- Match the valve or approved adapter
- Engage firmly with the stem
- Move through the expected operating range
- Sit in the correct off position
- Avoid rubbing against surrounding trim
If the new handle will not slide into place, do not enlarge its opening or force it onto the stem. Recheck the brand, model compatibility, and connection shape.
Position the Handle Correctly and Tighten It
Correct orientation is important for both appearance and operation. With the valve in the off position, place the handle in its proper resting position before installing the screw.
Follow this sequence:
- Confirm that the shower valve is in the off position.
- Align the handle with the valve stem or internal adapter.
- Press the handle into place evenly.
- Insert or tighten the retaining screw.
- Test the handle’s movement before restoring the water.
Tighten the screw until the handle is secure, but do not overtighten it. Excessive force can damage the screw head or make future removal difficult.
Once the handle is stable and moving correctly, close the shower valve. Restore the main water supply and test the handle. Turn it carefully through its normal range, confirm that water flow responds properly, and return it to the off position.
Consider Upgrading to a Complete Shower Set
A single new handle can refresh the shower, but a complete set provides a more coordinated transformation. Matching the handle with the showerhead and tub spout can create a deliberate, higher-end appearance.
Full-set upgrades are especially appealing when:
- Several fixtures look worn.
- The existing finishes do not match.
- You want to follow a more current bathroom style.
- The showerhead or spout also needs replacement.
However, visual coordination does not guarantee plumbing compatibility. Verify that the trim handle works with your existing valve and that the other pieces are appropriate for their respective connections.
A complete set may also involve more work than a handle-only replacement. Consider the condition of each fixture, your budget, and whether the additional components genuinely need updating.
Solve Common Problems After Replacing the Handle
Most handle replacements are simple, but small fasteners often create the biggest challenges. A set screw can become damaged when the wrong Allen wrench or screwdriver is used, or when the tool does not sit fully in the screw head.
If the screw is only slightly damaged, stop before repeated attempts make it worse. Recheck the required tool and make sure it fits firmly.
A badly stripped screw may require a screw extractor. This tool is designed to remove fasteners that can no longer be turned normally. Use it carefully around the finished handle and nearby trim.
After removing a damaged screw, replace it with the correct fastener rather than reusing it. A compromised screw may not hold the handle securely and could be more difficult to remove later.
Correct a Loose or Poorly Fitting Handle
A loose handle is not always caused by an undertightened screw. The underlying issue may be incorrect alignment or incompatibility between the handle and valve stem.
If the handle wobbles:
- Turn off the water supply again.
- Remove the handle.
- Inspect how it engages with the valve stem.
- Reposition any compatible internal adapter.
- Reinstall the handle and tighten the screw securely without overtightening.
If the handle still does not fit tightly, confirm that it is designed for your valve. Shower handles are not universally interchangeable. Even products that look similar may use different stem shapes, adapters, or mounting arrangements.
Do not rely on the screw to pull an incompatible handle into place. The handle should fit the stem correctly before final tightening.
Troubleshoot a Handle That Sticks, Spins, or Sits Upside Down
Post-installation problems usually point to alignment, compatibility, or an incorrectly positioned internal component.
If the handle sticks: Remove it and check for debris or mineral deposits on the valve stem. Confirm that the handle is aligned properly and is not rubbing against the surrounding trim. If the valve stem itself is difficult to turn, the problem may extend beyond the handle.
If the handle spins without resistance: The handle may not be engaging with the valve stem or adapter. Remove it and inspect the internal connection. A loose screw, incorrect adapter, worn connection, or incompatible handle can prevent the handle from controlling the valve.
If the handle turns in the wrong direction or does not reach the correct positions: Check its orientation with the valve in the off position. Remove and reinstall it in the correct alignment.
If an applicable Moen handle sits upside down: Some Moen models include an internal black piece that controls the handle’s orientation. Remove the handle, flip that internal black component, and reinstall the handle. This correction is model-specific, so do not assume it applies to every Moen valve or to other brands.
If repositioning the handle does not solve the problem, verify the replacement part number or compatibility information. Persistent sticking or free-spinning may indicate an issue with the valve stem, adapter, or cartridge rather than the exterior handle.
Answers to Common Shower Handle Replacement Questions
Choosing the right part is often more challenging than the physical installation. These answers address compatibility, valve identification, and the safety precautions involved in replacing a shower handle.
Will Any Shower Handle Fit My Valve?
No. Shower handles are not universal. A handle must match the installed valve or use an adapter specifically designed for that valve.
Valve stems and handle connections vary by brand and model. A handle may look right from the outside but still fail to engage with the internal connection. That can result in a loose handle, incorrect movement, or a handle that spins without operating the shower.
Identify the valve brand before buying a replacement. When possible, choose a manufacturer-approved handle or trim option listed as compatible with your valve.
How Do I Identify My Shower Valve Type?
Begin by checking the existing handle, trim plate, and decorative cap for a brand name or logo. The appearance and control style may also help narrow down the manufacturer, but visual similarity alone is not enough to guarantee a match.
Take clear photos before and after removing the handle. Useful images include:
- The complete handle and trim
- Any visible logo or brand marking
- The exposed valve stem
- The back and internal opening of the old handle
- Any adapter positioned between the stem and handle
You can use these photos when comparing replacement parts or asking a plumbing supplier or manufacturer for identification help. Keep the old handle available until the new one has been installed and tested.
Is It Safe to Replace the Handle Without Shutting Off Water?
You should shut off the water before starting. The handle is an external control, but removing it exposes the connection to the valve, and unexpected movement or a damaged component could create a water problem.
Turn off the main water supply, open the shower valve to drain residual water, and verify that the flow has stopped. After installing the new handle, make sure the valve is in the off position before restoring the supply.
Taking this precaution adds a small amount of time to the project while helping you work more safely and avoid an unexpected flood.