How to Replace a Toilet Seat: A Step-by-Step Guide
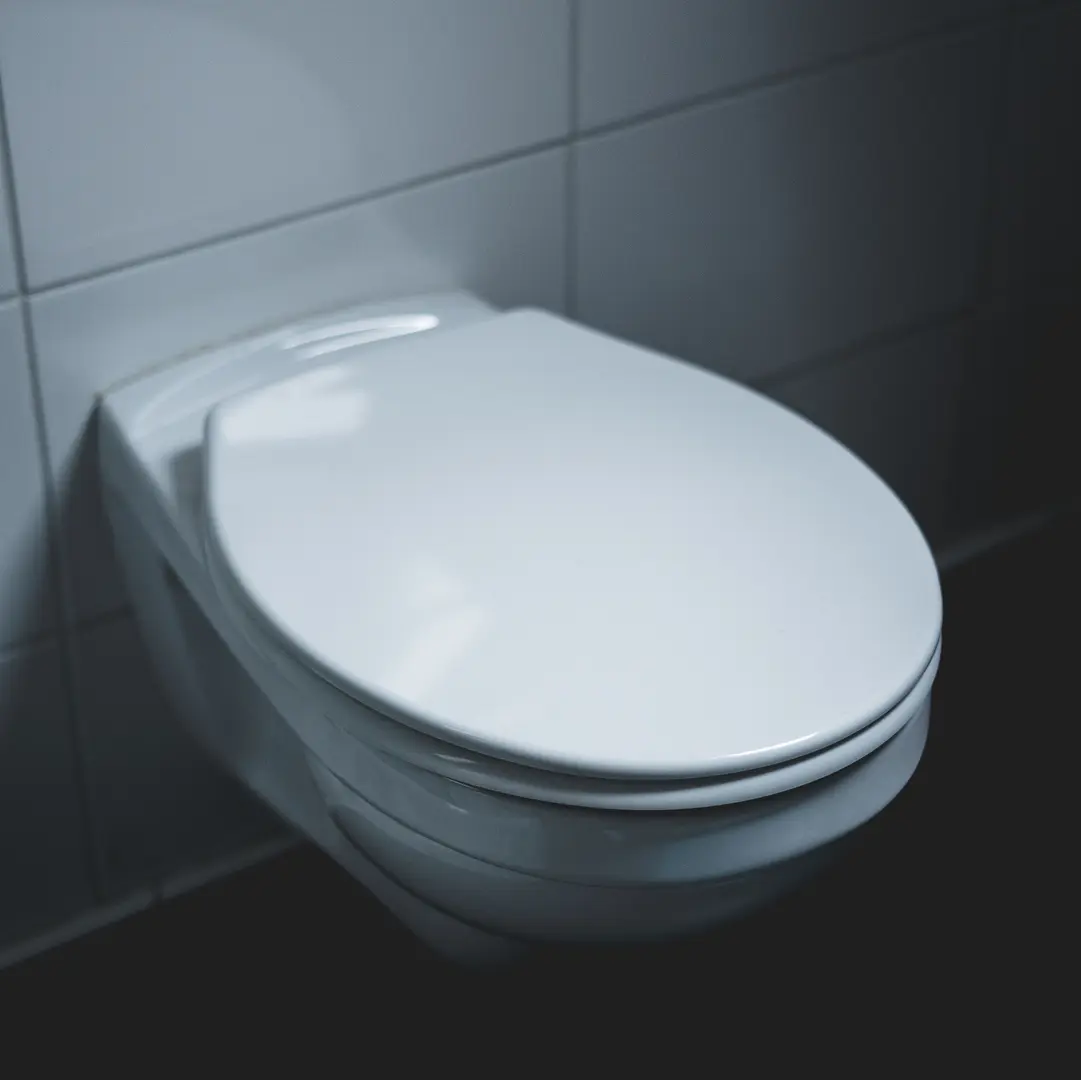
Replacing a worn, loose, or damaged toilet seat is a manageable home maintenance task. Most installations require only basic tools, but careful alignment and controlled tightening make the difference between a secure seat and one that slides.
This guide explains how to replace toilet seat hardware safely, from checking compatibility to making final adjustments.
Prepare Before Replacing the Seat
Before removing anything, confirm that the replacement seat is compatible with your toilet. Toilet bowls and mounting systems vary, so do not assume every seat will fit correctly.
Check the following:
- Bowl shape: Compare the replacement seat with the shape of the bowl.
- Mounting-hole position: Make sure the seat’s bolts can line up with the holes behind the bowl.
- Mounting access: Look underneath the bowl to see whether you can reach the nuts. Some toilets use hardware installed primarily from above.
- Included components: Confirm that the package contains the seat, hinges, bolts, nuts, washers, and bolt covers described in the instructions.
- Manufacturer directions: Read the instructions before beginning because hinge and fastener designs can differ.
Keep all replacement hardware in its packaging or in a small container until needed. Nuts, washers, and hinge components can easily roll away or fall behind the toilet.
The exact tools depend on the old and new hardware, but it is helpful to have:
- Protective gloves
- Eye protection
- A flat-head or Phillips screwdriver
- An adjustable wrench or pliers
- Cleaning cloths or disposable paper towels
- Bleach-based or vinegar-based cleaning solution
- A small container for old hardware
Inspect the old fasteners before choosing your tools. If a screwdriver slot is visible on top while a nut sits underneath, you may need to hold one side steady while turning the other.
Choose a Toilet Seat Style and Bolt Material
The replacement should suit both the bowl and the way the toilet is used. Common seat choices include:
- Round seats: Designed for round toilet bowls.
- Elongated seats: Shaped to fit longer, elongated bowls.
- Soft-close seats: Hinges lower the seat and lid gradually rather than letting them drop freely.
- Quick-release seats: The seat can be detached from its hinges to make cleaning around the mounting area easier.
- Standard hinged seats: A simple option with conventional hinges and mounting hardware.
Shape is the first compatibility concern. A feature such as soft-close operation does not compensate for a seat that does not match the bowl or mounting holes.
You may also need to choose between plastic and metal bolts:
| Bolt material | Potential advantages | Points to consider |
|---|---|---|
| Plastic | Lightweight and generally unaffected by rust | May flex or fail to hold the seat firmly if the hardware or alignment is unsuitable |
| Metal | Can provide a firm connection when correctly fitted | Older metal hardware may corrode and become difficult to remove |
Plastic bolts are not automatically a poor choice. Properly aligned and tightened plastic hardware may secure a seat adequately. However, if a seat repeatedly slides even after adjustment, stronger replacement hardware may help, provided it is compatible with the hinges and toilet.
Do not select fasteners based only on strength. The bolts must fit through the mounting holes and work with the seat’s hinge system. Follow the seat manufacturer’s installation instructions where they differ from general guidance.
Clean Around the Existing Toilet Seat
The area around toilet-seat hinges often contains residue in narrow gaps that are difficult to reach during routine cleaning. Cleaning before removal makes the job more pleasant and prevents dirt around the old hardware from spreading.
Put on gloves and eye protection. Use either a bleach-based solution or a vinegar-based solution according to the cleaner’s directions. Never mix bleach and vinegar or combine bleach with other cleaners.
Wipe the following areas:
- The top and underside of the old seat
- The hinge surfaces
- The bolt covers
- The space around the mounting holes
- The visible portions of the bolts and nuts
- Crevices between the hinges and bowl
Allow the cleaner the recommended contact time, then wipe the area as directed on its label. If the hinges block access to some areas, clean what you can now and finish after removing the seat.
Cleaning the visible fasteners also makes it easier to identify corrosion, damaged screwdriver slots, or hardware that may be difficult to turn.
Take Off the Old Toilet Seat
Raise the seat and lid. Locate the two hinges at the rear of the bowl, then look for covers over the bolt heads. Depending on the design, the covers may lift, flip open, or detach.
Once the bolt heads are exposed, look underneath the rear of the bowl for the nuts. In a typical installation, the bolt passes down through the hinge and mounting hole, with a nut securing it from below.
Remove the seat one side at a time:
- Place the correct screwdriver into the top of the bolt.
- Hold the nut underneath with your fingers, a wrench, or pliers.
- Turn the screwdriver or nut in the loosening direction.
- Continue until the nut can be removed.
- Repeat the process on the second bolt.
- Lift the seat and hinges away from the bowl.
Some nuts are designed to turn by hand, while others require a tool. Avoid using unnecessary force at the start; first make sure you are turning the correct component in the correct direction.
Corroded metal fasteners may require extra patience. Keep the screwdriver seated securely in the bolt head and apply controlled pressure. If the hardware is badly corroded or cannot be removed without risking damage to the toilet, stop and consider asking a plumber or experienced repair professional for help.
After lifting off the old seat, place the removed hardware in a container rather than leaving it on the floor. Clean the newly exposed mounting area, including the tops of the holes and the space where the hinges rested. Dry the surface before installing the replacement.
Position the Replacement Seat
Set the new seat on the toilet bowl with the hinges positioned over the mounting holes. Keep the seat and lid closed at first so you can judge how well the full assembly follows the outline of the bowl.
Many hinge systems allow some forward, backward, or side-to-side adjustment. Move the seat until:
- The front edge sits in a suitable position over the bowl.
- The left and right sides appear evenly aligned.
- Both hinge openings match the bowl’s mounting holes.
- The seat can open without obvious resistance around the hinge area.
If the hinges offer more than one possible position, choose the alignment that fits the bowl best rather than simply setting the bolts at one extreme. Make the seat reasonably even now, although you will have another opportunity to adjust it before fully tightening the nuts.
Fit the New Seat Bolts
With the seat and hinges aligned, insert the replacement bolts through the hinge openings and the mounting holes in the bowl. Depending on the design, washers or hinge plates may need to go onto the bolts first. Follow the order shown in the seat’s instructions.
Feed each bolt straight through without forcing it. If a bolt resists:
- Check that the hinge opening is centered over the bowl hole.
- Confirm that the bolt is facing the correct direction.
- Look for a washer or hinge component that may be out of place.
- Reposition the seat slightly and try again.
Once both bolts are in place, pause before attaching the nuts tightly. Close the seat and look at its position from the front and sides. Adjust the hinges until the seat is centered and does not appear twisted.
This check is important because tightening the hardware can make further movement more difficult. Correcting the alignment now helps prevent a crooked or sliding seat later.
Fasten the Nuts Without Over-Tightening
Attach the washers and nuts underneath the bowl in the order specified by the manufacturer. Start each nut by hand if possible. This helps the nut engage correctly and reduces the chance of forcing mismatched threads.
Tighten the two sides gradually:
- Hold the bolt head steady with a screwdriver if required.
- Tighten the first nut until it is lightly secure.
- Move to the second nut and tighten it to a similar point.
- Recheck the seat’s alignment.
- Alternate between the two sides until the hinges are stable.
Do not apply excessive force. Over-tightening can damage plastic hardware, distort hinge components, or make future removal more difficult. The goal is to stop movement, not to tighten each fastener as hard as possible.
After securing both sides, hold the seat near the front and gently test for side-to-side movement. If it shifts, first verify that the hinges are centered and that all washers or mounting pieces are correctly installed. Then tighten each side a little at a time and test again.
If the seat remains stable, stop tightening. More force is not beneficial once the hardware is secure.
Common Mistakes When Replacing a Toilet Seat
Several installation mistakes can leave a new seat loose or poorly aligned:
- Buying the wrong shape: A round seat will not properly match an elongated bowl, and vice versa.
- Ignoring the mounting system: A seat may have the right shape but use hardware that is unsuitable for the toilet’s mounting access.
- Losing replacement parts: Missing washers or hinge pieces can prevent the bolts from holding correctly.
- Fully tightening one side first: This can pull the seat out of alignment before the other side is secured.
- Forcing bolts through misaligned holes: Resistance often indicates that the hinge or bolt needs to be repositioned.
- Over-tightening the nuts: Excessive force is not a reliable solution for movement and may damage the hardware.
- Installing the bolt covers too early: Covers can hide the fasteners before final adjustments are complete.
Plastic bolts are a common concern when a toilet seat slides. However, replacing them immediately is not always necessary. Begin by checking alignment, washer placement, and nut tightness. Properly installed existing hardware may be enough to stabilize the seat.
If correctly tightened plastic bolts still allow movement, compatible metal hardware or aftermarket screw-type bolts may provide a firmer connection. These are optional parts and may require a separate purchase. Before using them, make sure they fit the toilet’s mounting holes and the replacement seat’s hinges. Do not substitute hardware that conflicts with the manufacturer’s instructions.
Attach the Bolt Covers
Once the seat is aligned and the nuts are secure, fit the covers over the bolt heads or hinge bases. Confirm the correct orientation before pressing them into place.
Some covers snap down, while others slide or rotate into position. They should sit evenly without forcing them. If a cover will not close, check whether:
- The bolt head is seated correctly.
- A hinge component is misaligned.
- The cover is facing the wrong direction.
- The bolt extends in a way that interferes with the cover.
Do not use the covers to hide an unfinished adjustment. Resolve any looseness or alignment problem before closing them.
Check and Adjust the Replacement Seat
Complete the installation by testing the full range of hinge movement. Raise and lower both the seat and lid several times. They should move without binding, rubbing, or pulling the hinges out of position.
Then perform a final stability check:
- Look at the seat from the front to confirm that it remains centered.
- Gently test for side-to-side movement.
- Confirm that both hinges remain flat and evenly positioned.
- Check that the bolt covers stay closed.
- Make sure the nuts remain secure underneath the bowl.
If the seat moves, reopen the covers and adjust the bolts. Loosen them only enough to reposition the seat, then tighten both sides gradually. Retest the hinges and stability before replacing the covers.
Toilet-seat hardware can loosen over time through normal use. Check it periodically and tighten it when needed, using controlled pressure rather than excessive force. Regular cleaning around the hinges will also give you an opportunity to notice movement or loose components before the seat becomes unstable.